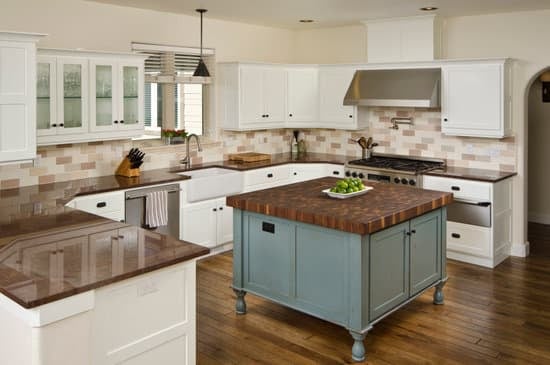
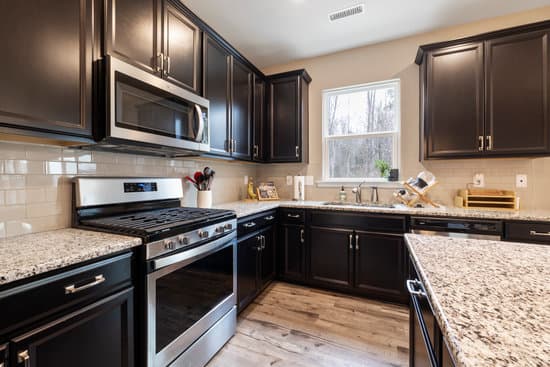
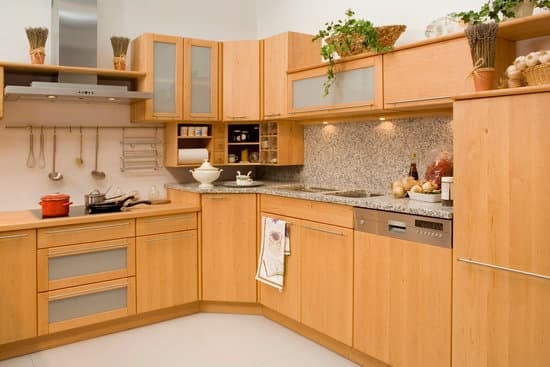
Are you tired of your old kitchen counter and ready for a change? In this article, we will show you how to build a brand new kitchen counter from scratch. By following these step-by-step instructions, you can create a beautiful and functional space for all your culinary adventures. From selecting the perfect materials to installing the countertop, we’ve got you covered. Get ready to transform your kitchen into a safe and stylish haven for cooking and gathering with loved ones.
Selecting the Perfect Materials
When building a kitchen counter, it’s important to carefully select the perfect materials. Choosing the right countertop material is crucial for both safety and durability. There are various types of materials available in the market, so it’s essential to compare them before making a decision.
Firstly, consider the level of maintenance required for each material. Some materials may require regular sealing or polishing, while others are low-maintenance and easy to clean. Secondly, think about the overall style and aesthetics you want to achieve in your kitchen. Different countertop materials have distinct colors, patterns, and textures that can enhance or complement your kitchen design.
Additionally, keep in mind the durability and resistance of each material to heat, stains, scratches, and moisture. Granite and quartz countertops are known for their strength and resistance to these elements. On the other hand, laminate countertops offer affordability but may not be as resistant.
By comparing different types of materials based on maintenance requirements, aesthetics, durability, and resistance factors, you can select the perfect countertop material that meets both your safety needs and desired look for your kitchen counter project.
Measuring and Planning Your Design
To start, you’ll need to carefully measure and plan out your design for the new kitchen counter. Safety should be a top priority when it comes to designing your kitchen counter. Begin by measuring the available space in your kitchen and consider the layout that will work best for your needs. Take into account factors such as ease of movement, accessibility, and functionality. Once you have a clear idea of the design layout, it’s important to allocate your budget wisely. Determine how much you are willing to spend on materials, appliances, and labor. Research different options and compare prices to ensure that you stay within your budget while still achieving the desired look and quality for your kitchen counter. By taking these steps, you can create a well-planned design that meets both your safety requirements and aesthetic preferences.
Cutting and Assembling the Pieces
Start by measuring and planning out your design for the new kitchen counter, making sure to carefully cut and assemble the pieces. Safety should always be a priority when working with tools and equipment. Here are some cutting techniques and joining methods to ensure a secure and sturdy kitchen counter:
- Measure twice, cut once: Double-check your measurements before making any cuts to avoid any mistakes.
- Use appropriate tools: Select the right saw or cutter for the material you’re working with, such as a circular saw for straight cuts or a jigsaw for curved edges.
- Wear protective gear: Always wear safety goggles, gloves, and ear protection when operating power tools.
- Choose strong joining methods: Consider using pocket screws, dowels, or wood glue to securely fasten the pieces together.
By following these guidelines, you can confidently cut and assemble your kitchen counter while prioritizing safety in every step of the process.
Installing the Countertop
Once you have finished cutting and assembling the pieces, it’s time to install your new countertop. Before starting, ensure that you have all the necessary tools and materials ready. Safety should be your top priority throughout the installation process.
To begin, make sure the base cabinets are level and secure. Then, carefully place the countertop on top of them, ensuring a snug fit. Use sealing techniques such as applying silicone caulk along the edges to prevent water damage and to create a tight seal.
When installing larger countertops, it’s recommended to have an extra pair of hands for assistance. This will help avoid any accidents or injuries caused by lifting heavy objects alone.
Lastly, remember these countertop installation tips: double-check measurements before cutting, use appropriate safety gear like gloves and goggles while working with power tools, and always follow manufacturer instructions for best results.
With these steps in mind, you’ll soon have a beautiful and functional kitchen counter in place!
Finishing Touches and Maintenance Tips
Now that you’ve completed the installation, it’s important to focus on the finishing touches and maintenance of your new countertop. Here are a few key tips to ensure its longevity and keep it looking its best:
- Cleaning Techniques: Regularly clean your countertop using mild soap or a specialized stone cleaner. Avoid harsh chemicals or abrasive cleaners as they can damage the surface. Wipe up spills promptly to prevent staining.
- Sealing the Countertop: Depending on the material of your countertop, it may require periodic sealing to protect against stains and moisture. Follow the manufacturer’s instructions for sealing and resealing intervals.
- Avoid Heat Damage: Always use trivets or hot pads when placing hot pans or pots on your countertop to prevent heat damage.
- Prevent Scratches: Use cutting boards when chopping fruits, vegetables, or other ingredients to avoid scratching the surface of your countertop.
Following these maintenance tips will help keep your kitchen counter in top shape for years to come while ensuring the safety of yourself and others who use it regularly.
Conclusion
In conclusion, building your own kitchen counter is a rewarding project that allows you to customize your space and save money. By carefully selecting materials, measuring accurately, and assembling with precision, you can create a beautiful and functional countertop. Once installed, remember to regularly maintain it for long-lasting durability. So go ahead and embark on this DIY adventure – you’ll be proud of the result every time you cook in your new kitchen!

