Are you looking to update your kitchen and add a touch of style? Choosing the right backsplash can make all the difference in creating a safe and visually appealing space. In this article, we will guide you through the process of selecting a kitchen backsplash that suits your design preferences, fits within your budget, and is easy to maintain. From assessing your kitchen’s overall style to exploring different materials and harmonizing with countertops and cabinets, we’ve got you covered!
Assessing Your Kitchen Design and Style
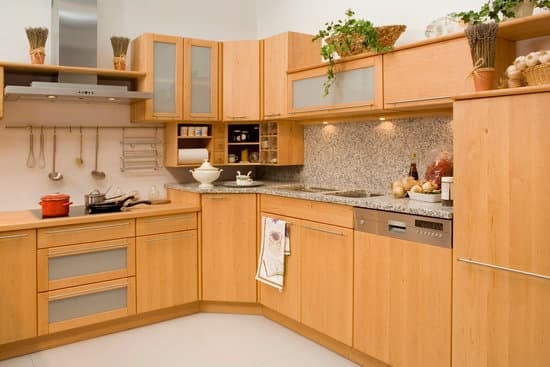
You should assess your kitchen design and style before choosing a backsplash. Evaluating functionality is essential to ensure that your backsplash not only looks good but also serves its purpose effectively. Take into consideration the size of your kitchen, the amount of natural light it receives, and the overall layout. For example, if you have a small kitchen with limited natural light, choosing a lighter-colored backsplash can help create an illusion of space and brightness. On the other hand, if you have a large kitchen with plenty of natural light, you can opt for darker or bolder colors to add depth and character. Additionally, incorporating personal taste is crucial in creating a cohesive look. Consider the color scheme and materials used in your cabinets, countertops, and flooring to ensure that your chosen backsplash complements them well.
Considering Your Budget and Maintenance Needs
When considering your budget and maintenance needs, it’s important to take into account the cost and upkeep requirements. Budget considerations play a significant role in choosing a kitchen backsplash that suits your financial limitations. There are various options available at different price points, ranging from affordable materials like ceramic tiles to more expensive options like natural stone or glass. It’s crucial to assess not just the initial cost but also the long-term expenses associated with maintenance and repairs. Additionally, you should factor in the maintenance requirements of each type of backsplash material. Some materials may require regular sealing or special cleaning products, which could add to your overall expenses over time. By carefully considering your budget and maintenance needs, you can choose a kitchen backsplash that not only enhances the style of your space but also fits comfortably within your financial constraints while ensuring easy upkeep for years to come.
Exploring Different Materials and Styles
Consider exploring a variety of materials and styles for your kitchen backsplash. When it comes to choosing the right one for you, safety should be a top priority. Metallic finishes can add a touch of elegance and sophistication to your kitchen. Not only are they visually appealing, but they are also durable and easy to clean, making them a great choice for those who desire low maintenance options. Another popular option is mosaic patterns. These intricate designs can create a stunning focal point in your kitchen while providing an extra layer of protection against splashes and stains. Whether you prefer sleek metallic finishes or vibrant mosaic patterns, there are plenty of choices available that will suit both your style and safety needs.
Harmonizing with Your Countertops and Cabinets
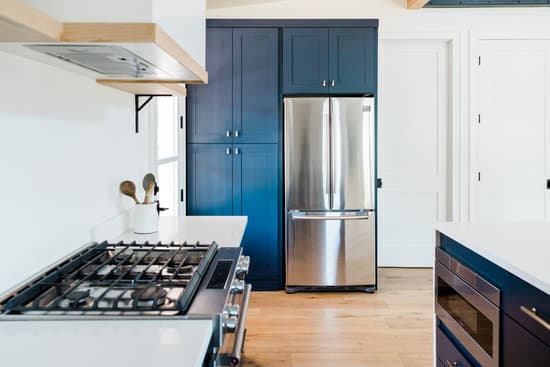
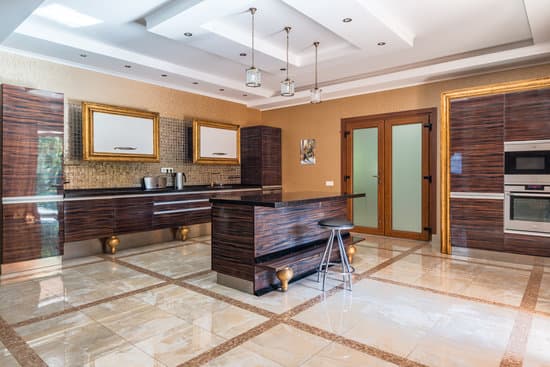
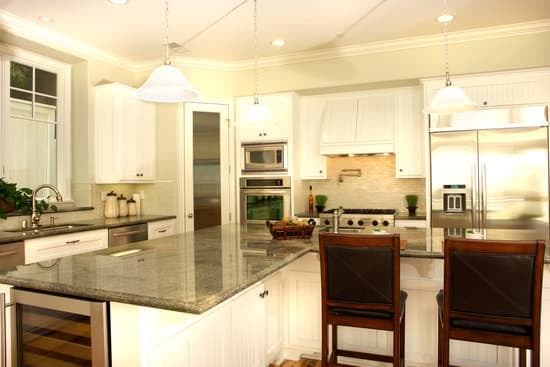
To ensure a cohesive and visually appealing kitchen design, it’s important to harmonize your backsplash with the countertops and cabinets. When choosing a backsplash, consider matching colors that complement your countertop and cabinet hues. This creates a seamless flow in your kitchen while giving it an elegant look. For instance, if you have white countertops and cabinets, opting for a white or light-colored backsplash can create a clean and airy feel. On the other hand, if you have darker countertops and cabinets, you might want to choose a backsplash with contrasting textures to add depth and visual interest. Mixing materials like glass or metal tiles can achieve this effect, creating a stunning focal point in your kitchen while maintaining harmony with your countertops and cabinets. Remember, safety is essential when selecting materials for the backsplash to ensure durability and ease of cleaning.
Seeking Inspiration and Making a Decision
Looking for inspiration and making a decision can be an exciting part of designing your kitchen. When choosing a backsplash, it’s important to find the right color palette that complements your countertops and cabinets while adding personality to your space. Start by considering the overall style and mood you want to create in your kitchen. Look for color palettes that evoke feelings of warmth and comfort, such as earthy tones or soft neutrals. Additionally, incorporating personal touches into your backsplash design can make it truly unique. Consider using tiles with patterns or textures that reflect your personal taste and interests. Whether it’s a subtle geometric pattern or a bold mosaic, these personal touches will bring character to your kitchen while creating a harmonious balance with the rest of your design choices.
Conclusion
So there you have it! Choosing a kitchen backsplash may seem like a daunting task, but by following these steps and considering your design, budget, and maintenance needs, you can find the perfect option for your space. Take the time to explore different materials and styles, ensuring they harmonize with your countertops and cabinets. Seek inspiration from various sources before making a final decision. With a little effort and planning, your kitchen will have a stylish backsplash that adds both functionality and beauty to the space.

