Whether you want to watch a movie or present a pitch to a client, projectors are a great way to enhance the experience. And, of course, the ideal way to do it is with a screen hanging from the ceiling.
There are quite a few benefits to this once you figure out how to hang it. That’s exactly what we are here to help you with. Here’s how to hang a projector screen from the ceiling.
This page contains affiliate links, and as an Amazon Associate we earn from qualifying purchases which means we receive a small commission when you make a purchase, at zero cost to you.
Preparing the Projector Screen in General
First, you need to prepare the projector screen. This means you need to measure the screen to make sure the placement is right vis-a-vis the room. You must start by measuring the distance between the two bracket connectors.
Sometimes they are placed at the very edge which means you need to measure the length of the entire screen. But that’s not always the case. Hence the measuring.
After that, you must do the same with the ceiling and mark the spots that are best suited to hang the screen. You can use a marker, a pencil or a measuring tape to make a note of the location. If you’re going to use the tape, you will have to remember the measurements where you intend to hang the projector screen.
If the room you’re in has a high ceiling, you probably took a good look at it before you bought the screen. It should ensure that the screen has enough length to drop down to eye level so that viewing the content on the screen is convenient.
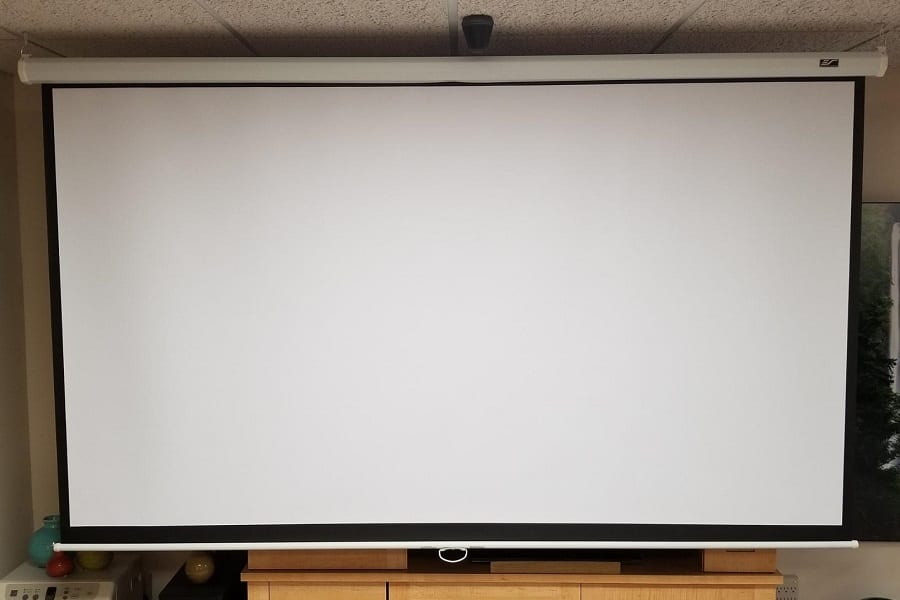
After picking the right place for the screen, you need to take it out of the box and get it ready to fix it at your chosen location. Most of the products you find these days are equipped with ceiling mounting options, like the Elite Screens Manual B Series:

This means they come with bracket connectors that are on the top of the screen. They keep the screen held up and are partly already installed saving you a little trouble. After that, you just need a few hook snaps or eye bolts to hook them up.
If you have never seen them, eye bolts are a type of screw but they have a loop in the end. Setting the projector screen is a very easy process that has only about three steps.
- Get a couple of eye bolts that fit with the bracket connectors attached to the projector screen.
- Screw the bolts into the connectors on the projector screen.
- Take the hook snaps and attach them to the loops in the eye bolts.
And, that’s it. You are ready to go.
How to Hang a Projector Screen from the Ceiling
Wall-mounted screens might be easier to deal with but a lot of people like their projector screens hanging from the ceiling and for good reason. For one, it becomes really easy to pull them up and down depending on whenever you want to use the projector without feeling like there’s a piece of furniture in the way. This is also a very efficient way of having a projector in a room that does not have a lot of space.
Now, once again, the process of hanging the projector screen is quite easy. But you need to make sure that it is done securely so that you don’t end up watching it crash in the middle of your movie or presentation.
Here’s what you will need to get started. Take a look and make a quick run to the hardware store if you need something.
Things You Will Need
- Snap links
- Ceiling hooks
- Toggle bolts or eye-bolt screws
- Hook snaps
- A stud finder or a very strong magnet
- One screwdriver
- One drill
- One marker or pencil
- One measuring tape
- Wall-hanging L brackets
Setting up the Screen with Respect to the Ceiling
Not every ceiling is built to handle weights. And while your projector screen is not too heavy, you need to make sure that you find a good ceiling stud to hold the screen otherwise it might crash to the ground. It will also cause damage to the ceiling in the process so you most definitely want to avoid this.
You also want to make sure that the screen is centered so that you don’t have to strain your neck watching it. These are all different ways of saying that you might feel like skipping the marker or a measuring tape from the list above but you should not.
All ceilings have studs or joints which are essentially beams that make sure that the ceiling can handle the weight you are adding to it. You can use a stud finder to locate them and you can start the search under the drywall because they are usually aligned parallel to it.
Next, you must find a really strong magnet or a stud finder so that you can locate the ceiling studs. All you need to do with a stud finder is point it at the ceiling and move it along. You can stop when you see a red light because that is where the joint is.
If you are going to use a magnet, it gets even easier because the magnet sticks to the stud and the screws that connect the studs to the drywall. Then you take the marker and highlight the location. Make sure you come down and see if that works for you from where you will be watching the projector screen.
Most projector screens are sort of equipped for ceiling mounting purposes as they tend to come with hook snaps. Even if not, they are quite easily available in most electronics stores. But you must figure out whether you want to use toggle bolts or eye-bolt screws to hang the screen.
But if your ceiling doesn’t have a stud in the location you have chosen, you are going to have to pick a different location. Alternatively, you can also add a wooden plank or a beam right underneath the drywall and that will work just fine too. The process gets a little longer is all.
Now you must figure out if you want to use eye-bolt screws or toggle bolts. Here’s how you use them.
With Eye-Bolt Screws
Eye bolt screws are the preferred choice to hang a projector screen from the ceiling because they are fast and easy to use. It is literally just a couple of steps to get the job done.
- Attach the eye-bolt screws to the ceiling. Make sure the screw is properly twisted into the ceiling so that it is secure. Lucky for you, this doesn’t take a lot of effort. You might have to add a basic amount of pressure.
- Locate the hook straps that are attached to your projector screen. Now, attach these straps to the bolts that you have already plugged into the ceiling. They must be attached securely to both the bolts in the ceiling and the case of the projector screen.
It’s possible that your screen came with loops in which case you must replace the eye bolts with hook screws and the rest of the process is the same.
With Toggle Bolts
You can also use toggle bolts to attach your projector screen to the ceiling. But there are a couple of things you need to know about them. Using toggle bolts makes it a bit tougher to install the screen as compared to using eye-bolt screws.
It is also likely to take you a little more time. So, in this case, you must put aside a couple of hours to find the studs and install the screen with toggle bolts. But they are more secure and if this is the one you have picked, here’s how you need to proceed.
- Toggle bolts come with folded wings. So, start by making a hole in the ceiling with a drill. The holes must be big enough to fit the folded wings.
- Remove the wings from the toggle bolts and place the bolts into the hook in the ceiling. The hooks will already have holes which is where you need to insert the toggle bolt.
- Once the toggle bolt is placed in the hook, you must connect the wings back to it. You might want to leave space for about three threads at the top.
- Now that the wings have been folded, you must insert the bolts in the holes you drilled into the ceiling.
- Then you must get a screwdriver and tighten the toggle bolt and the hook to your ceiling. Next, you must connect your projector screen and attach it to the hook.
So, if you can find the time for it, this is a more secure way to hang your projector screen.
How to Hang a Projector Screen from a Drop Ceiling
If you have a drop ceiling situation, you will need a slightly different approach. But it is not a lost cause. Here’s what you can do when dealing with a drop ceiling.
Use a Projector Bracket
Using a projector bracket is a quick way to get the job done. All you need to do is screw the bracket into the ceiling. Using the methods described earlier, find the stud and screw the bracket into it so that the screen is more secure. Once you are sure of it, attach the projector screen to the projector bracket.
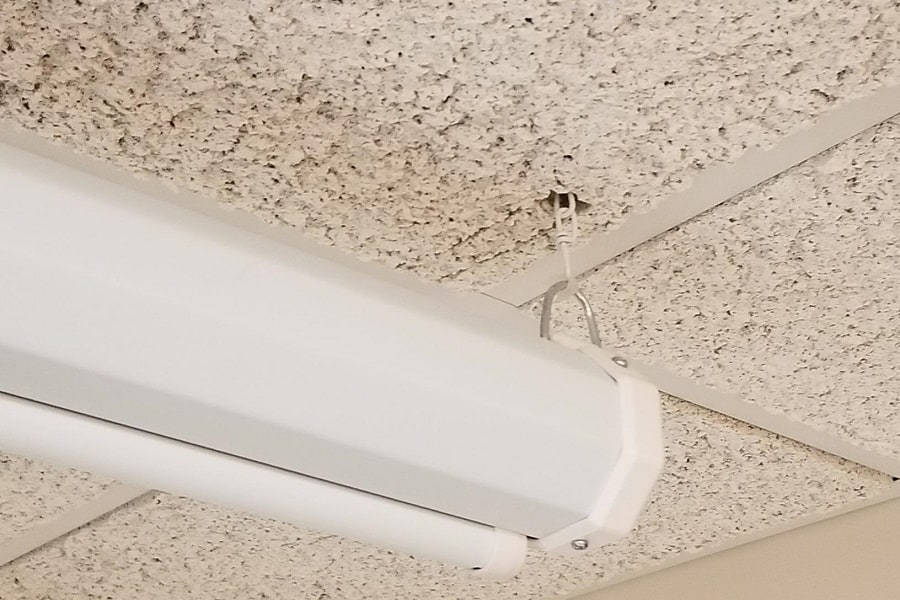
Use a Projector Ceiling Plate
To begin with, you need to find a place where the projector will be screwed in. Then you must put the ceiling plates in place and secure them. This can be done by screwing it into the studs in the ceiling. You know how to find them. And in case your ceiling does not have a stud, you must strongly consider installing one for the sake of safety.
Then you must drill a hole in the ceiling so that the pipe, that is attached to the projector bracket, can go through. Following that, you can connect the bracket to the screen and you are good to go.
For a Universal Drop Ceiling
This one is another easy way of installing the projector screen. Typically, the universal procedure is as easy as it is because it comes with a ceiling mount. In the middle of that mount, you will find brackets that are adjustable such that you can tilt, swivel and rotate them to a great degree.
The legs of these brackets are also adjustable to accommodate larger projectors. And it makes it easy for you to twist and turn the projector should the need arise.
Wrapping Up
Hanging a screen from the ceiling might seem like a difficult process but it’s really not. The key is not just in following the aforementioned steps but in having all the right tools available.

