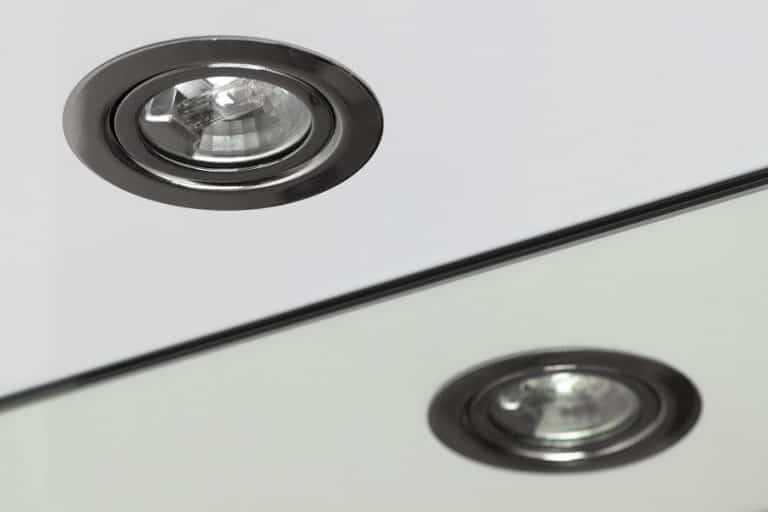
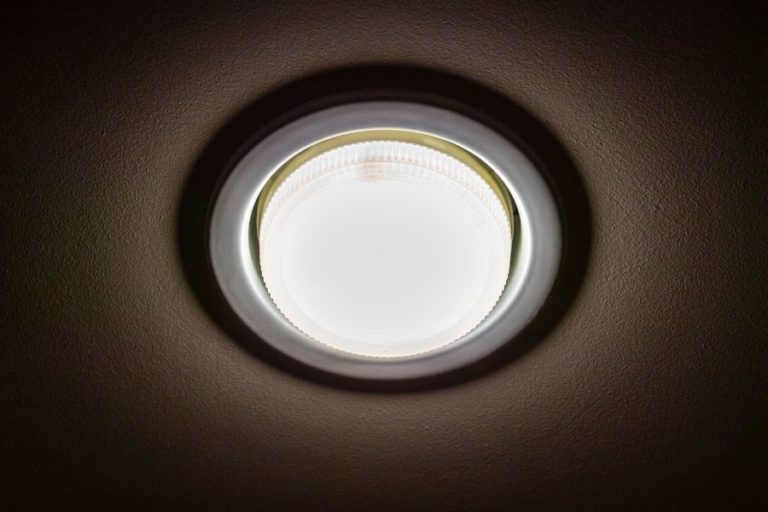
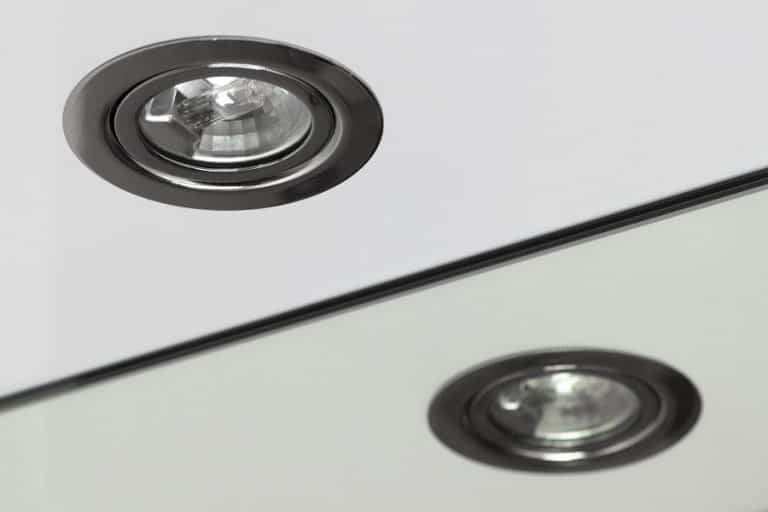
Flush mount ceiling lights are concealed, neat, yet functional light fixtures that are excellent options for rooms having low ceilings. And, whether you’re planning to replace an old light fixture or install a new flush mount ceiling fixture, the process is very simple and you can do it on your own as a DIY project.
While some lighting jobs may be difficult to do and you may have to hire an electrician to do them for you, updating a flush mount ceiling light fixture is a job that you can do on your own very easily.
However, if you’re unsure how to go about it, here are our step-by-step instructions on how to replace flush mount ceiling light easily without hiring a professional.
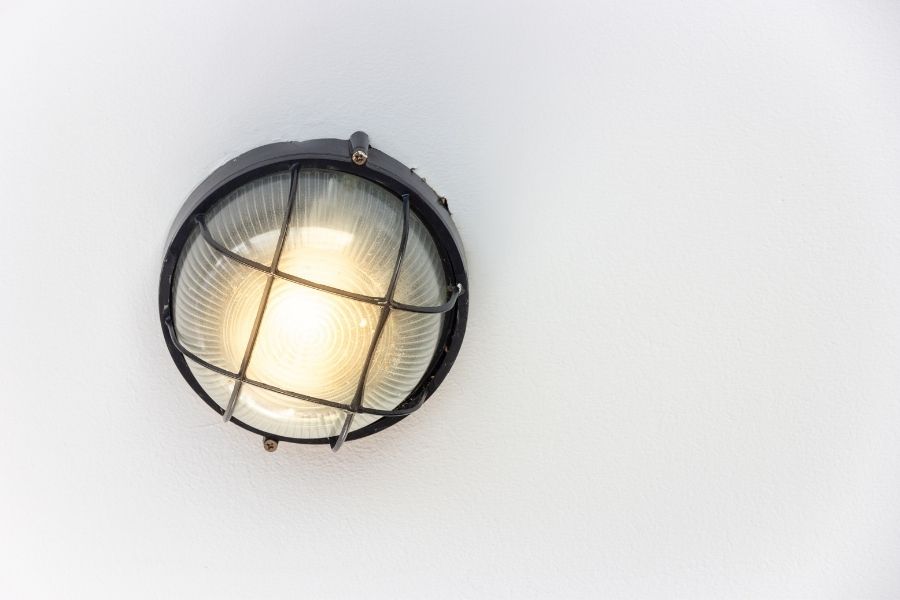
Tools Required to Replace Flush Mount Ceiling Light
Before you replace a flush-mounted ceiling light, you will need to get the tools and other equipment needed for the job. Here is a list of the things you need:
- Screwdriver
- Voltage tester
- Electrical tape
- Wire connectors
- Replacement ceiling light fixture
- Ladder or step stool
How to Replace Flush Mount Ceiling Light
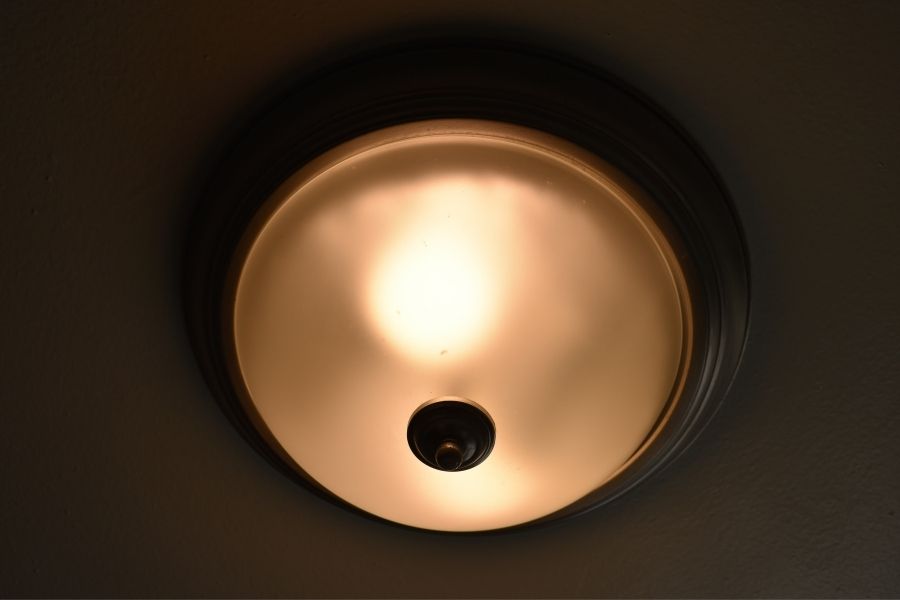
1. Turn Off the Power
The most important step when doing any electrical job or replacing a light fixture is to turn off the power to the fixture. Locate the breaker box in your home and check the list of numbers for each of the corresponding areas in your home. Find the number of the room that you are working in and turn off the breaker switch.
When you turn off the breaker switch, it cuts off the electricity being supplied to the room. This will help you to install the new light fixture safely. If you’re not able to find the correct breaker switch, then it is a good idea to simply turn off the power supply to the entire house.
2. Remove the Ceiling Light Fixture
Once the power is turned off, the next step is to remove the old ceiling light fixture. To do this, first, remove the glass globe or shade that covers the lightbulbs by detaching the screws or nuts holding the globe or cover in place. Then you need to unhook the mounting clips that hold the shade in place or unscrew the cover itself.
Once the globe or shade has been taken off, then you will see the base of the light fixture and the lightbulbs. Remove the lightbulbs by unscrewing them and place them aside if you plan to use them along with the new ceiling light fixture.
The main part of the ceiling light fixture is usually under the globe or shade and you must remove this before you can install the new ceiling light fixture. Most of the ceiling light fixtures are usually fitted to a mounting base with screws, which must be loosened and removed. Then, separate the light fixture from the mounting base.
3. Disconnect the Wires and Mounting Base
Once you have unscrewed the light fixture, you will find an electric box with electric wires. You will most likely find 3 wires—white, black and green or copper. The white-colored wire is the neutral wire, while the black wire is called the hot wire and finally, the green or copper-colored wire is the ground wire. Some old model lighting fixtures may not have a ground wire.
Check that there is no electricity in the wires by using the voltage tester. Pull out the wires and then unscrew the wire nuts or wire connectors in order to disconnect the wires of the light fixture from the ones in the electric box. Untwist the wires so that they become free.
Once you remove the wires, you can detach the light fixture from the ceiling completely. Next disconnect the mounting base, also known as a mounting bar or mounting strap, which is fixed to the electrical box on the ceiling and is what connects the light fixture to the electrical box.
The mounting bar is usually attached to the electrical box with screws. Using a screwdriver, you must disconnect the mounting bar before installing the new flush mount ceiling light. If the new ceiling light that you plan to install uses the same kind of mounting base as the earlier one, then you can let it be.
4. Install the Mounting Bar and Connect the Wires
Once all the parts of the old light fixture have been removed, you’re all set to install the new flush mount ceiling light. If the new light fixture can use the existing mounting base, then you can screw the base of the fixture into the existing mounting bar directly.
Or, if the fixture comes with its own mounting bar, then you can attach the new mounting bar to the electrical box. The fixture will then be fixed to the base. It is a good idea to read the installation instructions for your new flush mount ceiling light before installing it. The next step in the installation process is to connect the wires.
Most light fixtures can be connected to the wires that you disconnected earlier. However, before you do that, check the wires. If the wiring is very old and is cracked or damaged, then reinforce it by wrapping the wires with electrical tape.
Make sure that the electrical tape covers the wire right up to the exposed end. Then begin connecting the wires. First, connect the ground wire on the light fixture to the copper-colored one in the ceiling by making use of a wire connector.
Next, connect the white wire on the fixture to the white wire on the ceiling and finally, connect the black wires of the fixture, as well as the ceiling in a similar manner using wire connectors.
5. Install the Ceiling Light Fixture
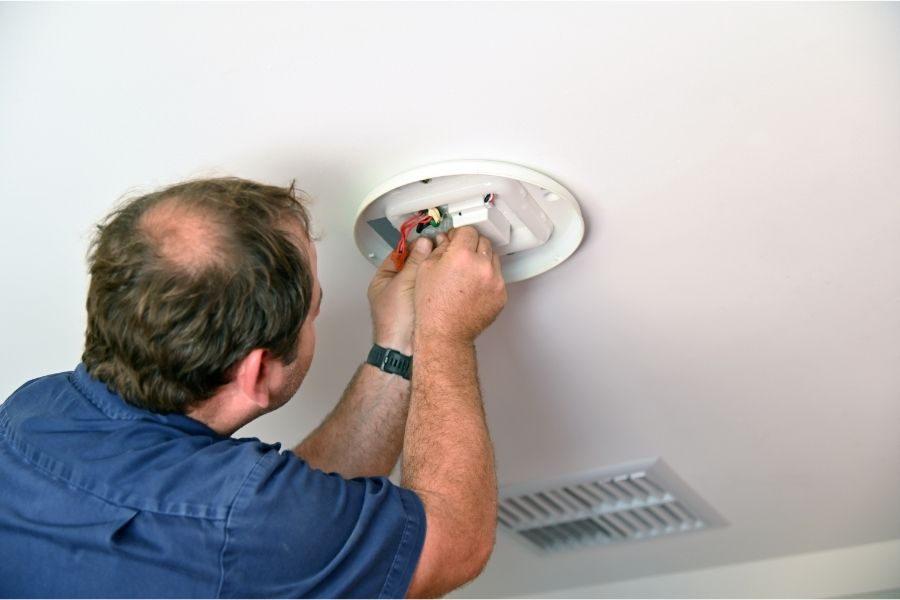
Once you have connected the wires, fold them up and tuck them properly into the electrical box. Arrange the light fixture’s base and ensure that the screws are also lined up properly.
Then, twist the base into place by turning it clockwise until the screws are connected properly. Using a screwdriver, tighten the screws as much as it is required to ensure that the ceiling light fixture is secured properly and is mounted flush against the ceiling.
6. Install the Lightbulbs and the Shade
Install the lightbulbs into the base of the ceiling light fixture. Check the manufacturer’s instructions for the wattage of the light bulb. Switch on the power to the breaker and then turn on the light to test it. If the light does not turn on, then check the wiring connections.
Once you have the light working properly, the final step is to install the light cover, glass globe or shade on the flush mount ceiling light fixture (if the fixture has one). Some shades are fixed with screws, while others can be installed by turning the shade clockwise to screw it on and you’re all done.
In conclusion, replacing a flush mount ceiling light is super easy. All you need is the right tools, some time and patience. And, by following our step-by-step guide, you can replace your flush mount ceiling light easily and conveniently. And, when you’re all done, you can simply sit back and enjoy your nifty handiwork!

