IKEA products are frankly infamous for how complicated it can get to put them together. If you’ve been putting off installing the under cabinet lights, this is your sign to do it!
Read on for a complete guide on how to install IKEA under cabinet lighting.
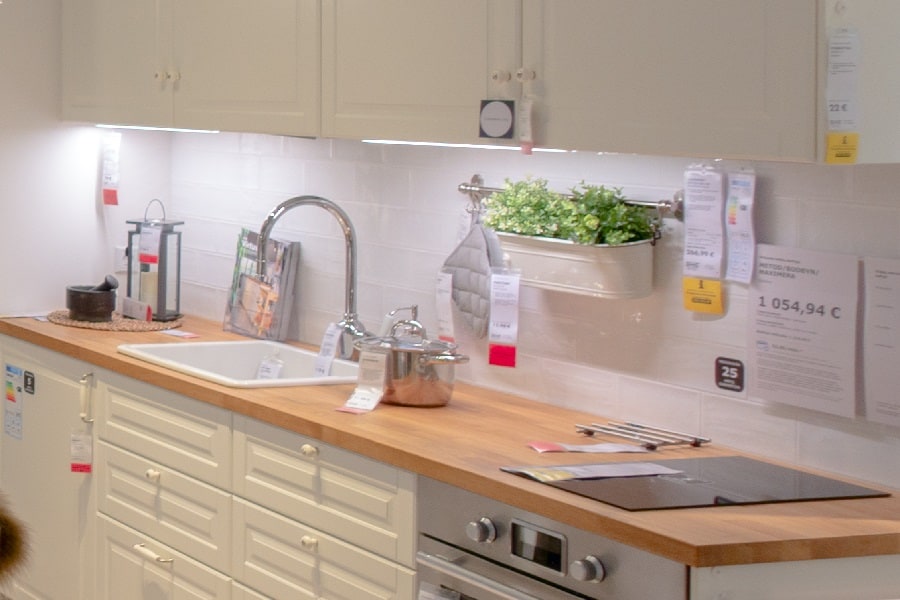
How to Install IKEA under Cabinet Lighting
Step 1
First of all, unpackage everything and go through the instructions carefully. It might seem obvious, but a lot of people often discover a small part later or find out that they have skipped an important step in the process.
So make sure you go through the manual and familiarize yourself with the entire process.
Step 2
Now that you’re ready to begin, you need to first gently move the lightbulb out of its casing. This will expose the wiring. Remember, the bulb just needs to come out of the casing, it doesn’t need to be disconnected.
The bulb should just pop out of place. If you are using too much force, you are doing it wrong.
You should be able to see the holes where the screws are supposed to go. Place the light under the cabinet and space it wherever you want to install it. Mark the positions for future reference, it will save you a lot of headache later.
Do this for all the lights you intend to install and make sure you space them out properly. This is an important step, as you might mess up the spacing if you don’t map it out beforehand.
Step 3
After marking all the positions, start securing the lights to the underside of your cabinet. Using ½ inch screws is recommended as they won’t poke out inside the cabinet. If you have extraordinary thick cabinets, you can consider longer screws.
Use safety goggles while doing this and take care to be accurate with the placement of the lights as you’ve marked it all out already.
Once they are installed in the right spots, just snap the lights back into place.
If you read the instructions carefully, you must have seen that they ask you to lead the cord of every cabinet light to the back of the cabinet and run it up from there so it is not visible.
This is impossible because the kitchen cabinets at IKEA use a rail system. You cannot run anything up behind them.
You will need to drill a small hole at the top of the cabinets and feed the cords through it. Try to fit as many wires as possible so that you don’t have to drill too many holes.
Step 4
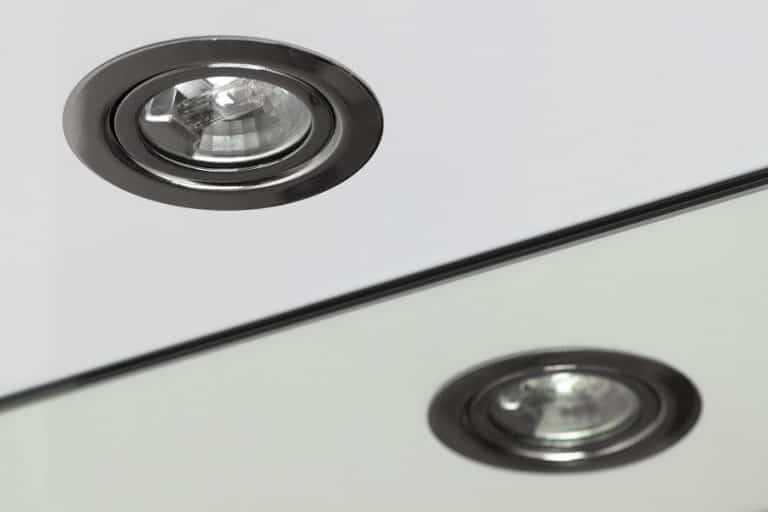
When the spotlights are up, all that’s left is to ensure that they get power. You need to connect them to the transformer box to power them.
The transformer box and the power cord will not be included with the lights, you need to purchase them separately. This is because how many of these you will need depends on how many lights you are installing.
A transformer box can power 9 spotlights and a power cord can power 10 transformer boxes. Make sure you have everything you need before you proceed to the next step.
Step 5
Connect the wires of the lights to the transformer box. This has become increasingly simple because newer versions of the lights will just plug in, sort of like a phone charger. You don’t need to be particularly handy to be able to do this.
After you connect them, check if all the lights are working. The transformer can be plugged into any outlet nearby. It has a simple on/off switch, so all you need to do is turn it on.
It is very easy to DIY this whole process. Unlike other electrical work, it is highly unlikely that you will need an electrician for this.
Step 6
The mess of wires is probably looking very shabby, especially if you have installed a lot of lights. Now that the lights are up and running, it is time to clean up the wires.
You must have gotten cord covers with the lights. Use them to put away the wires under the cabinet. This should solve most of your problem.
You will be left wires going from under the cabinet to the transformer. Go to any electrical store and find some cord management fixtures you like (like these ones). There are a lot of options to choose from, so you can get creative with this one.
Use them to secure the flyaway wires to the walls or the cabinet and arrange everything as neatly as possible. Voila! You’re all done installing your IKEA under cabinet lighting.
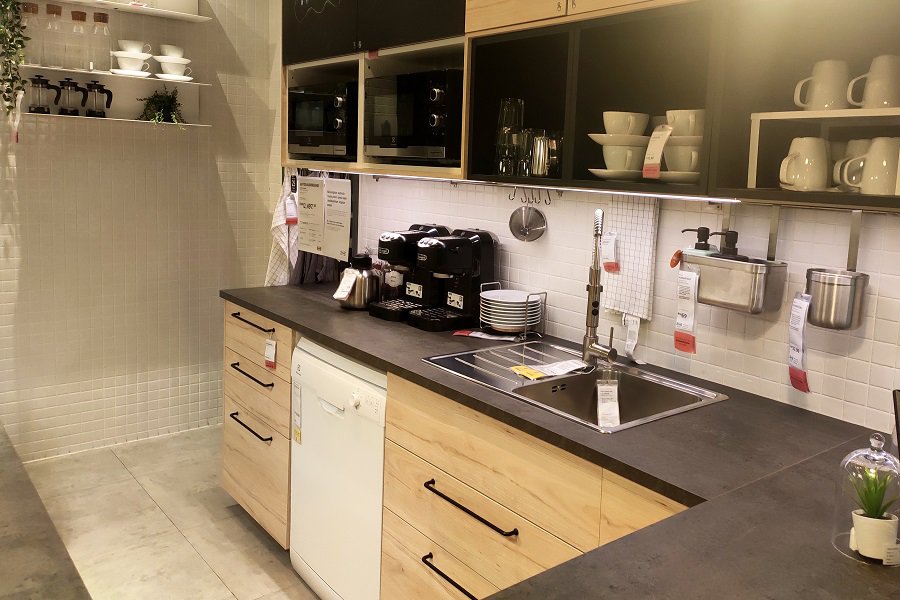
How Do You Hardwire IKEA under Cabinet Lighting?
You also have the option of hardwiring IKEA under cabinet lighting. Here’s how you can go about it:
- Before you do anything, turn off the power to the outlets in the kitchen. You can directly turn off the circuit that powers the outlets in the kitchen. This is a necessary step for a safe process.
- Pick the outlet you want to use and unscrew the screws on the outlet cover. When the cover is removed, the outlet will be exposed. Remove it from the box.
- There will be a round indentation or a round knockout in the uppermost part of the junction box. Cut the plug off the wires and connect them to the corresponding wires in the junction box.
- The fixtures themselves could pose a problem, as they might not have been designed to be affixed permanently. It can be a little tricky to fix, so you can ask someone for help with this part.
You will also need to hide the wires after you hardwire the lights under the kitchen cabinet. It is best to fix the lights towards the front of the cabinet so that you get maximum light on your counter.
This way, it becomes easy to tuck away the stray wires along the inside of the cabinets. Just drill a tiny hole towards the front part of the cabinet and lead the wires through the hole.
You can also use other cable management fixtures to secure the wires however you want. It doesn’t really matter how you manage them as long as they are out of the way, so you can be creative here.
Related Post:
9 Easy Tips on How to Hide Under Cabinet Lighting Wires
Parting Thoughts
If you were wondering how to install IKEA under cabinet lighting, you now know everything you need to know. It might look tricky, but we promise it is a lot simpler than it sounds.
What are you waiting for? Install your lights and enjoy luminous, ambient lighting in your kitchen.

