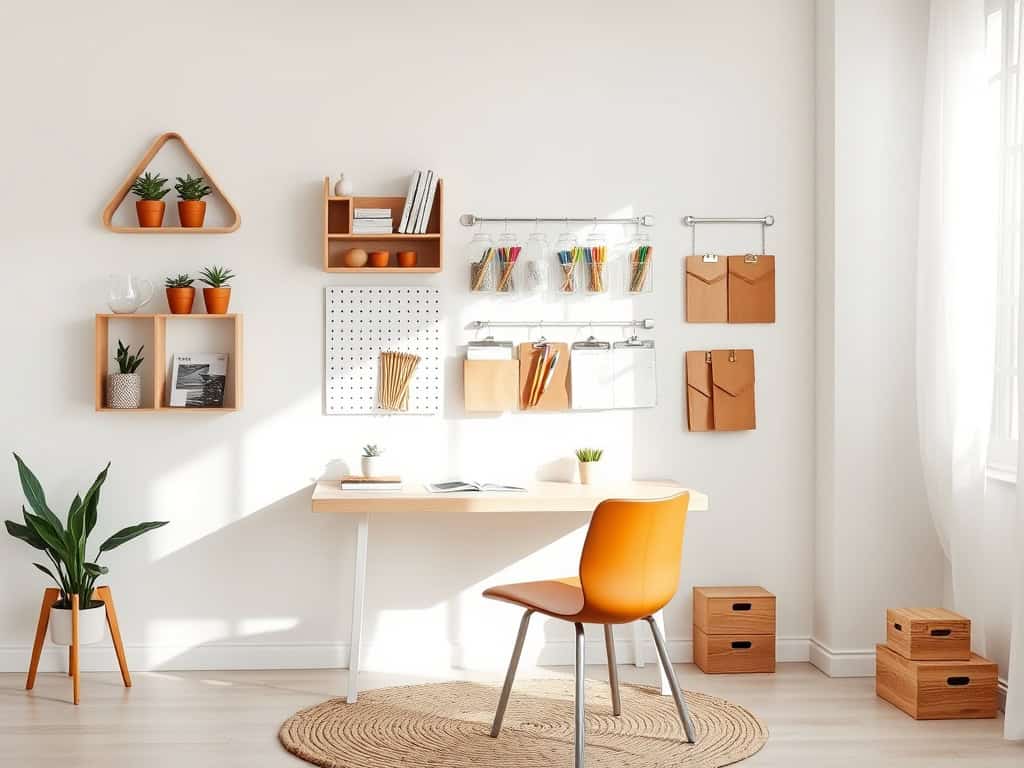
Did you know that the average person spends 1,700 hours per year in their home office? That’s a lot of time to be surrounded by clutter and disorganization! After tackling my own chaotic workspace last year, I’ve discovered seven clever DIY storage solutions that won’t break the bank. Whether you’re dealing with overflowing papers, tangled cords, or supplies scattered everywhere, you’ll find these creative ideas perfect for transforming your home office into an organized oasis – and the best part is, you can complete each project in a single weekend.
DIY Floating Shelves for Vertical Storage
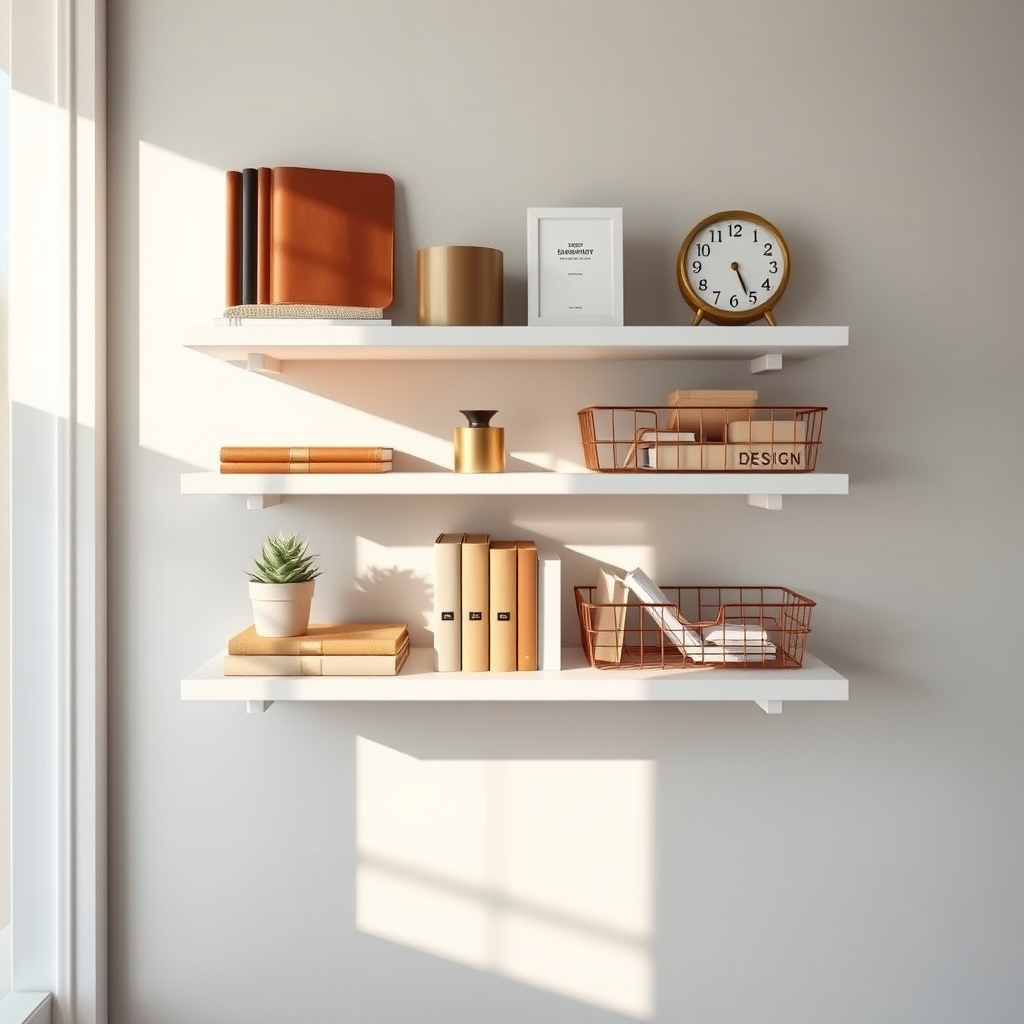
Maximizing vertical space in a home office is crucial for maintaining an organized and efficient workspace. Floating shelves not only provide practical storage solutions but also create an aesthetically pleasing way to display essential items while keeping your desk clear and clutter-free.
By installing DIY floating shelves, you can transform unused wall space into valuable storage areas, perfect for books, office supplies, decorative items, and file holders. This vertical organization system helps maintain a clean workspace while keeping frequently used items within arm’s reach.
Materials Needed:
- Wooden boards (cut to desired shelf lengths)
- Floating shelf brackets
- Wall anchors
- Level
- Drill and drill bits
- Screwdriver
- Pencil
- Measuring tape
- Stud finder
- Sandpaper
- Wood finish or paint (optional)
Start by determining the ideal placement for your shelves, using a stud finder to locate wall studs and marking their positions. Measure and mark the desired height for each shelf, ensuring they’re level. Install wall anchors where studs aren’t available, then attach the floating shelf brackets securely to the wall.
Sand the wooden boards smooth and apply your chosen finish if desired. Once dry, mount the shelves onto the installed brackets, ensuring they’re firmly attached and level.
When arranging items on your new floating shelves, place frequently used items at eye level or within easy reach of your workspace. Group similar items together and consider using decorative containers or organizers to keep smaller items contained.
Maintain visual balance by alternating between practical storage and decorative elements.
Additional tip: Consider installing LED strip lighting beneath the shelves to create ambient lighting and highlight displayed items. Keep heavier items closer to bracket mounting points for better weight distribution, and regularly dust and reorganize shelves to maintain their functionality and appearance.
Leave some empty space on each shelf to prevent a cluttered look and allow for future additions to your office supplies.
Pegboard Wall Organization System
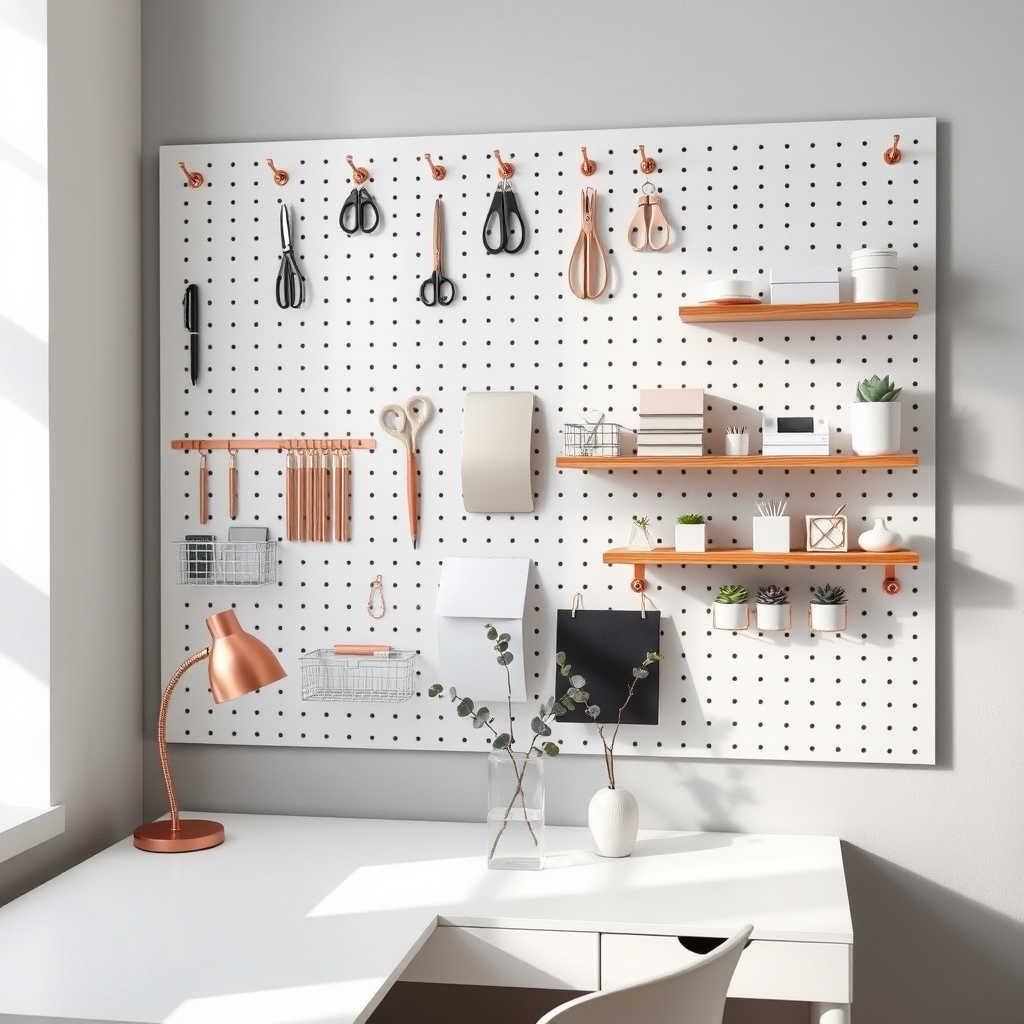
A well-organized pegboard system transforms any home office wall into a highly functional and customizable storage solution. By utilizing vertical space, a pegboard keeps essential items visible and easily accessible while freeing up valuable desk and drawer space.
This modern take on traditional workshop organization has become increasingly popular in home offices for its versatility and clean aesthetic. The beauty of a pegboard organization system lies in its adaptability to changing needs.
Whether storing office supplies, important documents, or tech accessories, the modular nature of pegboards allows for frequent reorganization as work habits evolve. Additionally, this system can be styled to complement any office décor, from minimalist to industrial designs.
Required Items:
- Pegboard panel
- Wall anchors and screws
- Spacers or furring strips
- Power drill
- Level
- Pencil
- Measuring tape
- Various pegboard hooks and accessories
- Storage bins and baskets
- Label maker
- Wire clips
- Tool holders
Installation begins with measuring the intended wall space and mounting the pegboard using spacers to create a gap between the wall and board, allowing hooks to be inserted easily.
Secure the board to wall studs using appropriate anchors and ensure it’s perfectly level. Once mounted, plan the layout by grouping similar items together and considering workflow patterns.
Arrange frequently used items at eye level and less-used items higher or lower on the board. Position hooks and accessories to accommodate specific items, ensuring proper weight distribution across the board.
Install various organizational components such as shelves, bins, and tool holders based on your needs. Group writing implements in cups, position paper organizers for easy access, and utilize small containers for items like paper clips and thumbtacks.
Create designated zones for different activities or project types to maintain clear organization. To maximize the pegboard’s effectiveness, regularly assess and adjust the layout based on usage patterns.
Consider using color-coding or labels to maintain organization, and leave some empty space for future additions. Implement a system where items return to their designated spots after use, and periodically clean both the board and accessories to prevent dust accumulation.
Remember that the key to successful pegboard organization is finding the right balance between accessibility and visual appeal.
Custom Desk Drawer Dividers
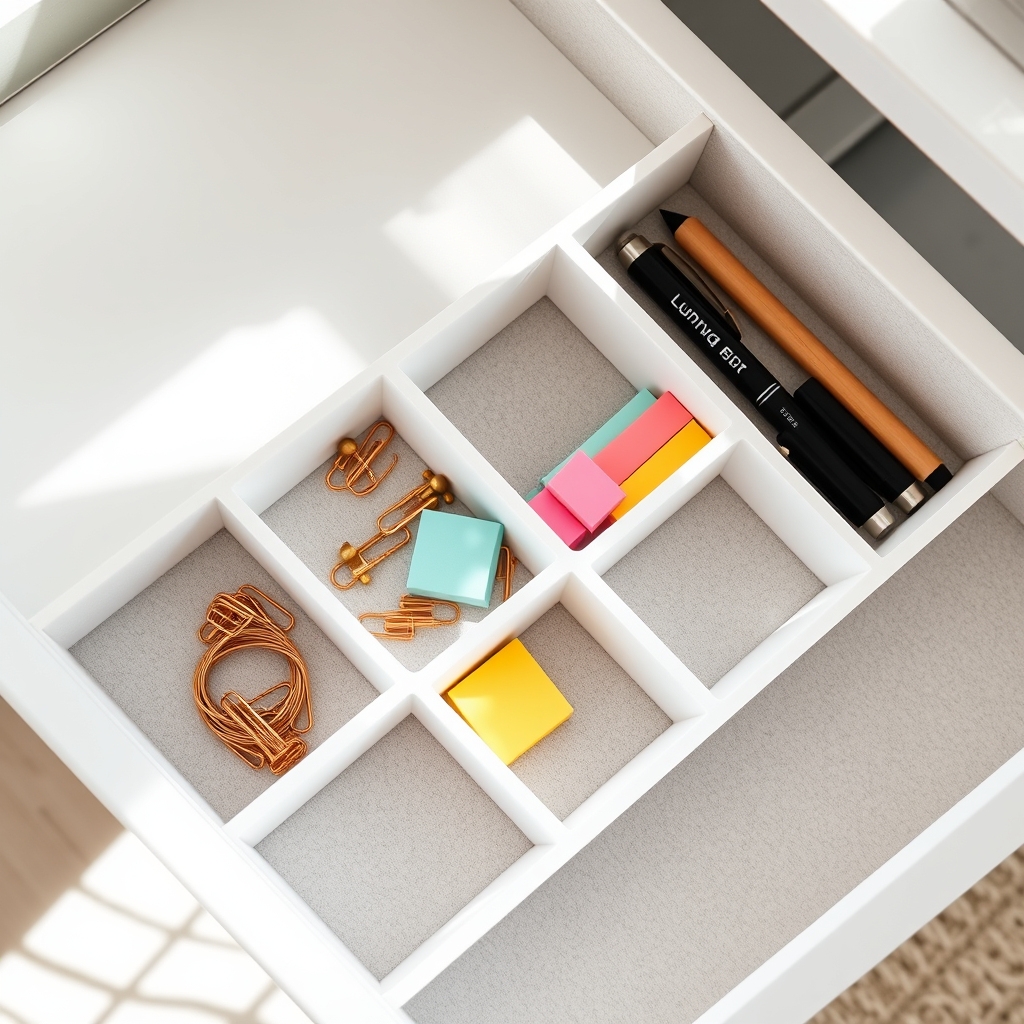
A well-organized desk drawer system serves as the foundation for a productive workspace, eliminating the daily frustration of searching for essential items and maintaining a clutter-free environment.
Custom drawer dividers take organization to the next level by creating personalized compartments that perfectly fit your specific items and workflow needs.
When desk drawers are properly compartmentalized, they transform from chaotic catch-alls into efficient storage solutions that can significantly improve work productivity.
Custom dividers ensure that every item has its designated space, making it easier to maintain order and quickly access necessary supplies throughout the workday.
Required Items:
- Measuring tape
- Cardboard or foam board
- Scissors or craft knife
- Ruler
- Pencil
- Double-sided tape
- Self-adhesive felt or non-slip drawer liner
- Clear adhesive contact paper (optional)
- Storage containers or small boxes (optional)
Begin by removing everything from the drawer and measuring its interior dimensions, including depth.
Create a rough sketch of your ideal drawer layout based on the items you need to store.
Cut your chosen material (cardboard or foam board) to create vertical and horizontal dividers that fit snugly within the drawer’s dimensions.
For stability, make slight notches where dividers intersect, allowing them to lock together in a grid pattern.
Test the configuration with your items before securing the dividers permanently.
Once satisfied with the layout, cover the dividers with contact paper if desired for durability and aesthetics.
Secure the dividers to the drawer bottom using double-sided tape, and line the compartments with felt or non-slip liner to prevent items from sliding.
For optimal long-term success, reassess your drawer organization every few months to ensure it still meets your needs.
Consider using small containers within larger compartments for tiny items, and label each section if multiple people use the workspace.
Remember to measure items before creating compartments to ensure proper fit, and always leave some flexible space for future additions to your office supplies.
Cable Management Solutions From Common Items
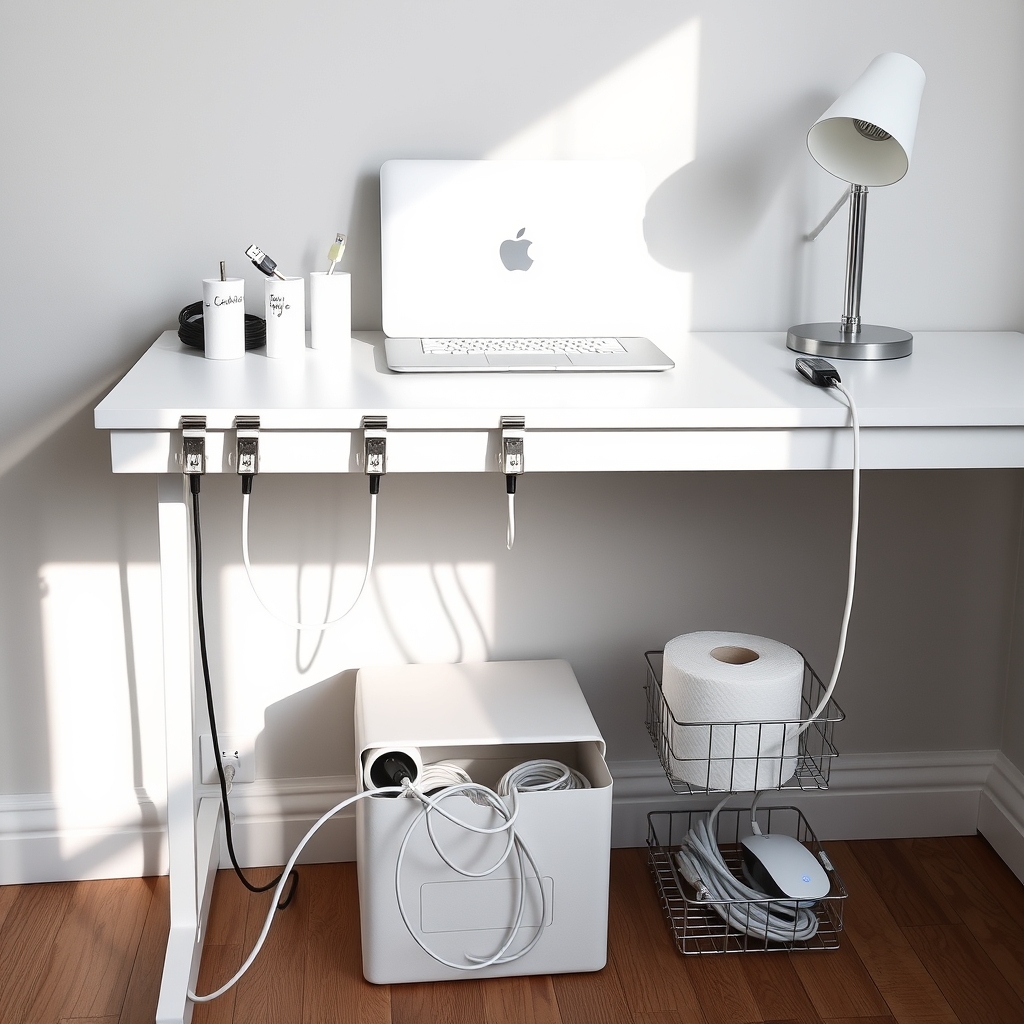
A cluttered mess of cables not only creates an eyesore in your home office but can also lead to decreased productivity and potential safety hazards. Tangled wires make it difficult to identify which cable belongs to which device, causing frustration when you need to unplug or replace equipment.
Additionally, loose cables collect dust and can become damaged when accidentally pulled or twisted. Managing cables effectively transforms your workspace into a clean, professional environment while protecting your electronic investments.
The best part is that you don’t need expensive solutions – many common household items can be repurposed for excellent cable management, saving both money and reducing waste.
Required Items:
- Binder clips
- Empty toilet paper rolls
- Rubber bands
- Zip ties
- Label maker or masking tape
- Scissors
- Command hooks
- Empty paper towel tubes
- Box cutter
- Small storage box
Start by unplugging all devices and separating the cables. Using masking tape or a label maker, create tags for each cable indicating its purpose and corresponding device. Group cables by function (power cables, peripheral cables, network cables) and use binder clips attached to the edge of your desk to guide cables along a designated path.
For cables that run along the floor, cut paper towel tubes lengthwise to create cable channels that can be decorated or painted to match your décor. For power strips and adapters, use an empty storage box as a cable management station. Cut strategic holes in the box for cables to enter and exit, keeping surge protectors and power bricks hidden inside.
Secure bundles of cables using toilet paper rolls as organizing tubes, labeling each roll for easy identification. Use rubber bands or zip ties to keep cables together when they run in the same direction, maintaining about an inch of slack to prevent stress on the connections.
For maximum organization success, perform a monthly cable audit to remove any unused cables and adjust cable pathways as needed. Consider installing a wire basket under your desk to store extra cable length, and use Command hooks strategically to prevent cables from falling when devices are disconnected.
Remember to leave enough slack in all cables to allow for movement of adjustable furniture pieces without causing strain on the connections.
Upcycled Mason Jar Supply Organizers
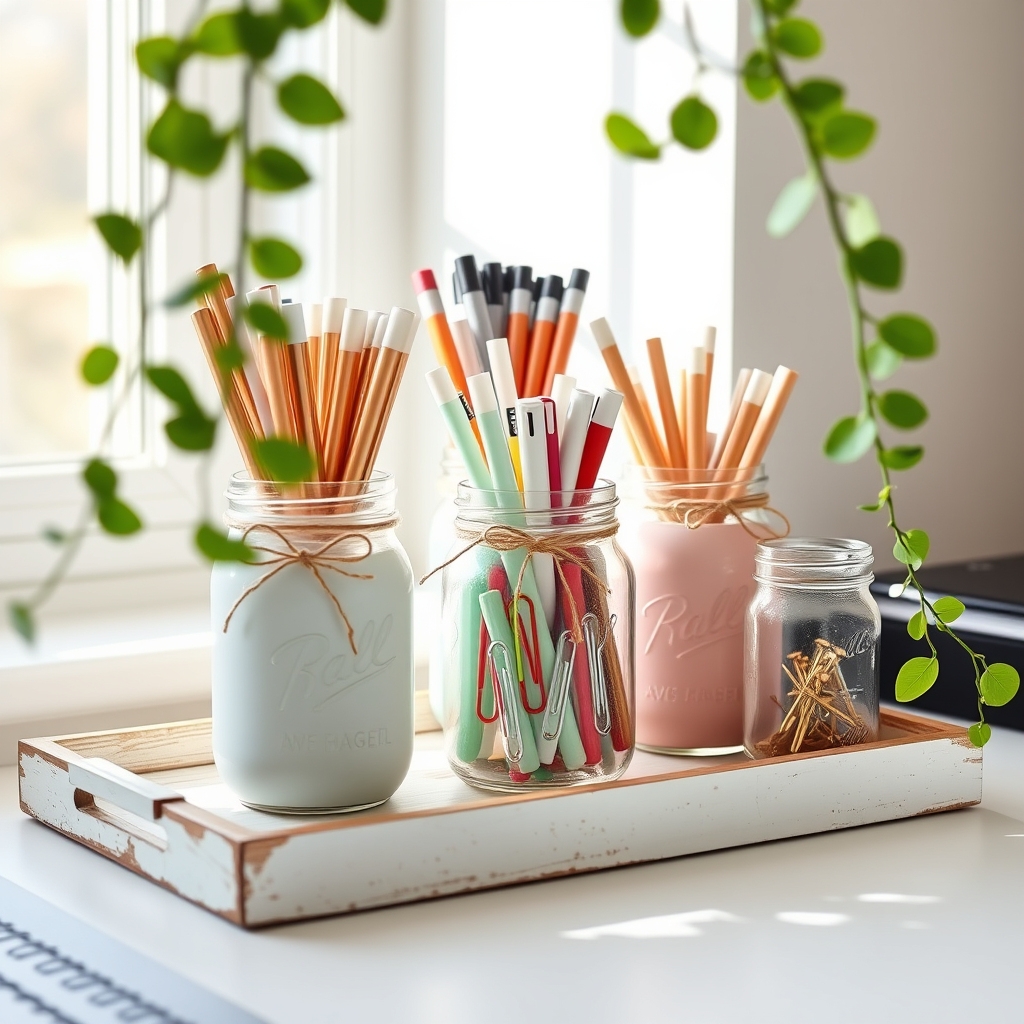
Organizing office supplies is essential for maintaining an efficient and productive workspace, yet many traditional organizers can be costly and lack personality. Mason jar organizers offer an eco-friendly, customizable solution that adds vintage charm while keeping supplies visible and easily accessible.
Repurposing mason jars as office supply organizers not only reduces waste but also creates a cohesive, aesthetically pleasing storage system that can be tailored to any desk setup. These versatile containers can be painted, labeled, or decorated to match your office décor while providing practical storage for everything from paper clips to paint brushes.
Required Items:
- Clean mason jars in various sizes
- Spray paint (optional)
- Paint brushes
- Chalk paint or acrylic paint
- Adhesive labels or label maker
- Decorative ribbon or twine
- Sandpaper
- Clear sealant
- Wood board or tray (optional)
- Hot glue gun
- Cleaning supplies
Begin by thoroughly washing and drying your mason jars, removing any old labels or residue. If painting the jars, sand the surface lightly to help the paint adhere better, then apply two thin coats of paint, allowing each coat to dry completely. For a distressed look, sand edges lightly after painting. Once decorated, apply a clear sealant to protect the finish.
Sort office supplies by category and size to determine which items will go in each jar. Taller items like pencils and markers should go in larger jars, while smaller items such as paper clips and thumb tacks work better in smaller containers. Create clear labels for each jar to maintain organization.
For added functionality, consider mounting jars to a wooden board or arranging them on a decorative tray for easy transport. For optimal organization success, position the jars within arm’s reach of your primary work area, with frequently used items in front.
Consider using jar attachments like mason jar soap pumps for items like hand sanitizer or lotion, and regularly assess and adjust your organization system based on your changing needs. Creating designated zones for different supply categories will help maintain order and make items easier to locate when needed.
Hidden Storage Behind Cabinet Doors
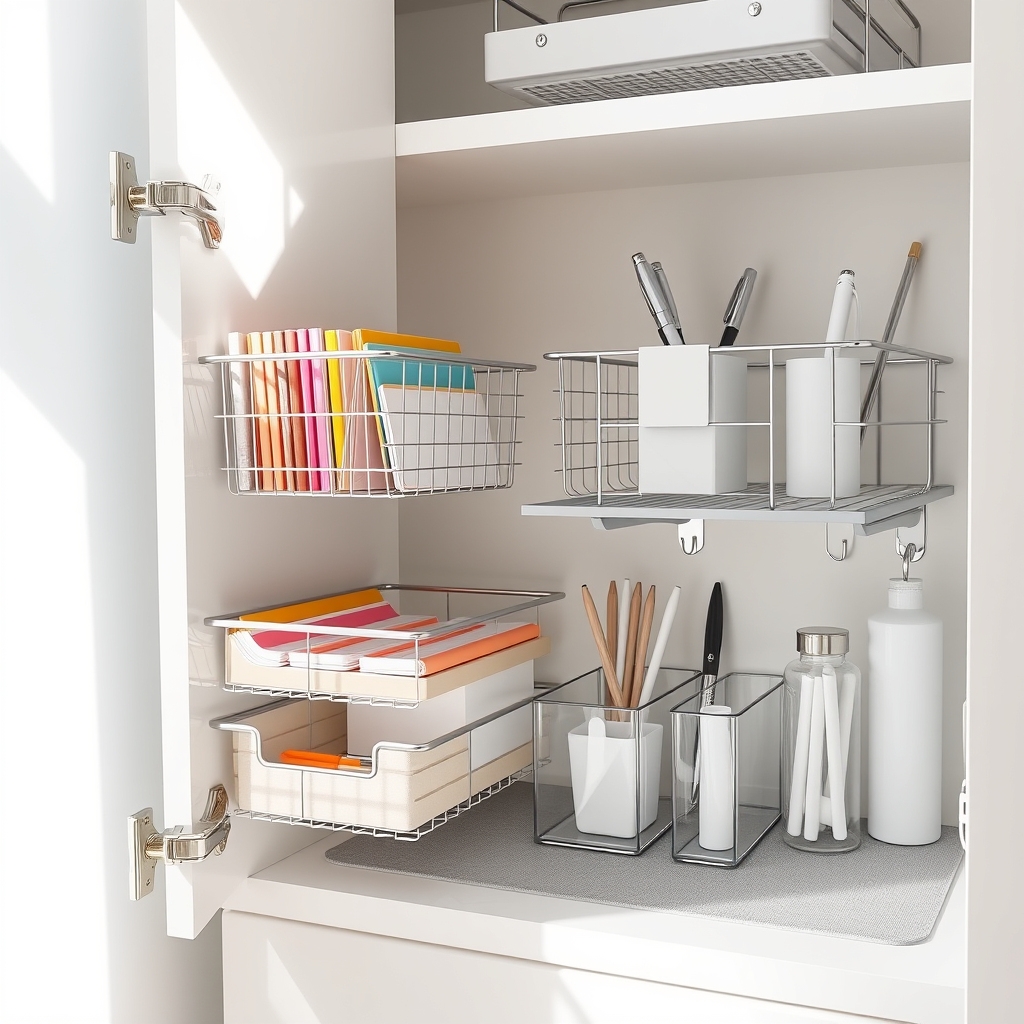
Making the most of cabinet door space is a game-changer for home office organization, transforming often-overlooked surfaces into valuable storage real estate. These hidden spaces can dramatically increase your storage capacity while maintaining a clean, clutter-free appearance in your workspace.
When properly utilized, cabinet door storage can house frequently used items within arm’s reach while keeping them concealed from view. This approach not only maximizes space efficiency but also helps maintain focus by reducing visual distractions in your work environment.
Required Items:
- Over-the-door organizers
- Adhesive hooks
- Command strips
- Wire baskets
- Clear pocket organizers
- Measuring tape
- Pencil
- Level
- Mounting hardware
- Drawer liner or non-slip mat
- Label maker
First, measure the interior of your cabinet doors and note any hinges or existing hardware that might interfere with storage solutions. Install non-slip mats or drawer liner material to protect the door’s surface. Select appropriate organizing tools based on your measurements and the items you plan to store.
Mount your chosen organizing solutions, ensuring they don’t interfere with the cabinet’s closing mechanism. Position heavier items at the bottom of the door to maintain balance. For adhesive solutions, clean the surface thoroughly and allow proper curing time before use. Wire baskets work well for bulkier items, while clear pocket organizers are ideal for smaller supplies and documents.
Additional Tips:
Consider weight distribution when loading door organizers to prevent strain on hinges. Regularly inspect mounting hardware and adhesive attachments to ensure they remain secure. Group similar items together and implement a labeling system for quick identification. Leave some space empty for future additions, and periodically review and adjust your organization system based on changing needs.
Wall-Mounted Paper Filing System
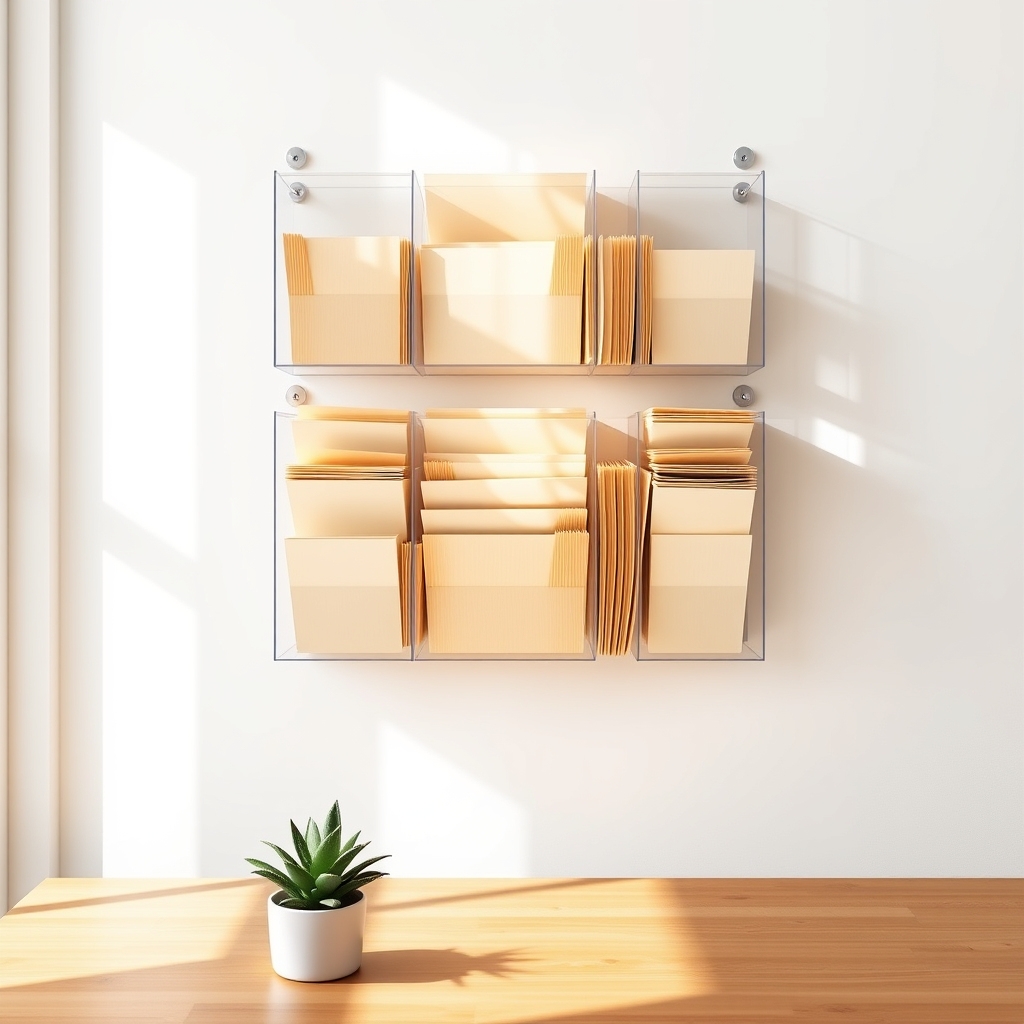
A well-organized wall-mounted filing system transforms cluttered paperwork into an accessible, visual system that maximizes vertical space while keeping important documents within arm’s reach. Unlike traditional filing cabinets that hide papers away, wall-mounted solutions create an active filing system that keeps current projects visible and encourages regular document management.
This approach not only saves valuable desk and floor space but also serves as a visual reminder of ongoing tasks and deadlines. When properly implemented, a wall-mounted paper filing system can dramatically improve workflow efficiency and reduce the time spent searching for specific documents.
Required Items:
- Wall-mounted file holders or pockets
- Wall anchors and screws
- Level
- Drill
- Pencil
- Measuring tape
- File folders or manila envelopes
- Labels or label maker
- Command strips (optional)
- File dividers
- Document categories list
Mount the filing system by first determining the ideal location – typically at eye level and within easy reach of your workspace. Measure and mark the wall space, ensuring enough room for all required folders. Install wall anchors if mounting into drywall, then secure the filing system according to manufacturer instructions.
Create clear categories for your documents and label each pocket or holder accordingly. Consider using a tiered approach: urgent items at eye level, active projects in the middle, and reference materials toward the bottom.
Group similar documents together and establish a straightforward filing system using color coding or alphabetical ordering. Place frequently accessed items in easily reachable positions. Implement a regular maintenance schedule to prevent overflow and maintain organization.
Additional Tips: Implement a “touch it once” rule – when handling papers, immediately file them in their designated spots rather than creating temporary piles. Review and purge files monthly, scanning important documents for digital backup. Consider adding a small “action” section for items requiring immediate attention, and maintain a consistent filing schedule to prevent system breakdown.

