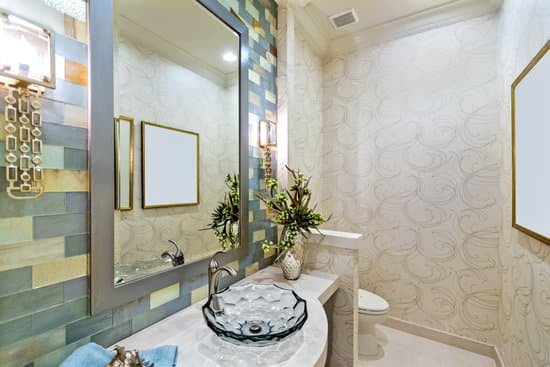
Are you looking to update your bathroom flooring? Vinyl plank flooring is a great option that is not only affordable but also durable and easy to maintain. In this article, we will guide you through the step-by-step process of laying vinyl plank flooring in your bathroom. With our simple instructions and safety tips, you can transform your bathroom into a stylish and functional space without breaking the bank. Let’s get started!
Preparing the Bathroom Surface
Before starting, make sure the bathroom surface is clean and free of any debris. This step is crucial to ensure a smooth and long-lasting vinyl plank flooring installation. Begin by thoroughly cleaning the subfloor, removing any dirt or dust particles that could prevent proper adhesion of the new flooring. Inspect the subfloor for any signs of damage or unevenness. If there are any imperfections, fix them before proceeding further.
Next, it is essential to waterproof the bathroom to prevent moisture from seeping through and damaging your vinyl plank flooring. Apply a waterproofing membrane over the entire bathroom floor, including around the edges and seams. This will create a protective barrier against water leaks and spills.
Remember, safety should always be a priority when working in a bathroom environment. Make sure you wear appropriate personal protective equipment like gloves and safety goggles throughout this process to protect yourself from potential hazards.
Choosing the Right Vinyl Plank Flooring
When selecting the appropriate vinyl plank for your bathroom, it’s important to consider various factors. Here are some things to keep in mind:
- Waterproof vs. Water Resistant: Make sure to choose vinyl plank flooring that is specifically designed to withstand moisture and water exposure. Waterproof vinyl planks are completely impervious to water, while water resistant ones can handle some moisture but may not be suitable for areas prone to frequent spills or high humidity.
- Advantages of Luxury Vinyl Plank Flooring: Luxury vinyl plank (LVP) flooring offers several benefits for bathroom use. It is highly durable, scratch-resistant, and easy to clean. LVP also provides a comfortable and warm underfoot feel, making it ideal for bathrooms where you often walk barefoot.
- Safety: Look for vinyl planks with slip-resistant features or options that allow you to add an extra layer of protection against slips and falls in wet conditions.
Considering these factors will help you choose the right vinyl plank flooring that combines both style and functionality for your bathroom.
Measuring and Cutting the Planks
To measure and cut the planks for your bathroom installation, start by using a tape measure to determine the length and width needed. Measure each area carefully, allowing for any obstacles such as toilets or fixtures. When cutting the planks, it’s important to use proper cutting techniques to ensure a clean and accurate result. A straight edge or T-square can help guide your cuts for precision. One common mistake is not measuring twice before cutting once, so be sure to double-check your measurements before making any cuts. Another mistake is applying too much pressure when cutting, which can cause the plank to break or splinter. Remember to take your time and use gentle pressure when cutting the planks for a successful installation.
Installing the Vinyl Planks
Once you have measured and cut the planks, it’s time to begin installing them in your bathroom. Start by cleaning the subfloor thoroughly to remove any dirt or debris that could affect the adhesive. Make sure the surface is dry before proceeding. Begin at one corner of the room and lay down the first plank, ensuring it is snug against the wall. Continue laying each plank tightly together, using a tapping block and rubber mallet to secure them in place. As you install, periodically check for any gaps or unevenness. If you encounter any issues, troubleshoot by adjusting the planks or making necessary cuts. Remember to leave a small expansion gap around the perimeter of the room for vinyl plank maintenance purposes. Once all planks are installed, give them a final inspection and ensure they are properly adhered to avoid any potential safety hazards in your bathroom.
Finishing Touches and Maintenance Tips
After installing the vinyl planks, it’s important to apply the finishing touches and follow proper maintenance tips. Here are some essential tips for waterproofing your vinyl plank flooring and keeping it clean in your bathroom:
- Seal the edges: Apply a silicone sealant along the edges of the flooring to prevent water from seeping underneath.
- Clean up spills promptly: Wipe away any spills or splashes immediately to avoid water damage or staining.
- Use gentle cleaning products: Avoid abrasive cleaners that can scratch or dull the surface of your vinyl planks. Instead, opt for mild soap and warm water or a specially formulated vinyl floor cleaner.
Regularly sweep or vacuum your vinyl plank flooring to remove dirt and debris that can cause scratches over time. By following these simple steps, you can ensure that your bathroom’s vinyl plank flooring stays waterproofed and looking its best for years to come.
Conclusion
Now that you have learned how to lay vinyl plank flooring in your bathroom, you can confidently tackle this home improvement project. By following the steps outlined in this article, you will be able to prepare the surface, choose the right flooring, measure and cut the planks, and install them properly. Don’t forget to add those finishing touches for a polished look. With proper maintenance, your new vinyl plank flooring will last for years to come. Happy DIY-ing!

