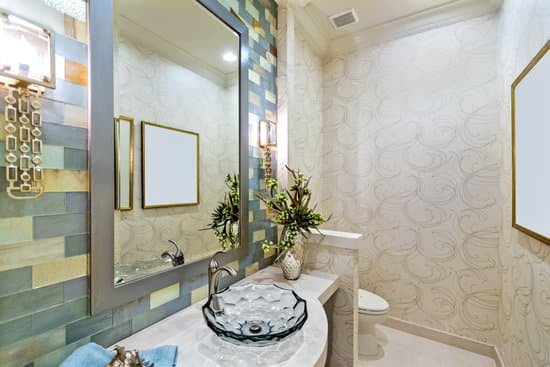
Are you looking to add a touch of elegance and sophistication to your bathroom? An easy way to do this is by adding a frame around your mirror. Framing your bathroom mirror can make it the centerpiece of the room, enhancing its look and feel. With just a few simple steps, you can quickly transform an ordinary-looking mirror into something special that will help tie together the overall design of your bathroom!
In this article, we’ll go over how to add a frame to your bathroom mirror in no time at all. You won’t need any expensive tools or materials either – just some basic supplies from around the house or from an online store. We’ll also discuss ways you can customize and personalize the frame for added safety and security. By following these tips, you’ll be able to create a stylish new look for your bathroom without spending too much money or time!
So if you’re ready to give your home’s interior design an upgrade, read on and learn how to easily add frames around those plain old mirrors in no time flat! We know you’ve been looking forward to making changes that increase both style and safety in one fell swoop; with our instructions, you’ll have beautiful framed mirrors before you know it!
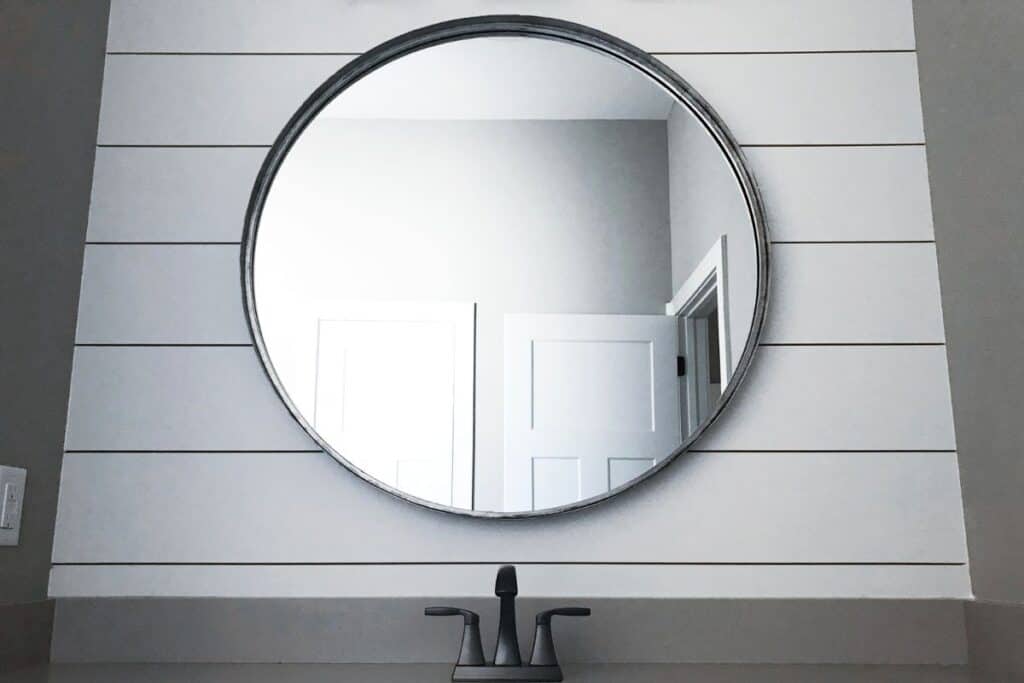
Materials Needed
To complete this project, you will need a few supplies. The most important items are wood screws, mirror clips and a tape measure. If your mirror is larger than the frame, you may also need saw and sandpaper to make sure everything fits properly.
Once you have all of these materials ready to go, it’s time to start adding the frame to your bathroom mirror! Take precise measurements so that everything lines up perfectly. Measure twice and cut once – accuracy is key when working with mirrors. Make sure that each piece of the frame has been accurately measured before using the saw or sandpaper. After cutting any pieces, use sandpaper to smooth out rough edges for safety purposes.
Measuring The Mirror
After you have gathered all the materials, it’s time to measure the mirror. To do this accurately, take your measuring tape and measure both the length and width of the mirror. It is important to also get an accurate measurement of the area that will be framed. Additionally, use the tape measure to gauge the circumference of the mirror too. Once these measurements are taken, write them down for later reference when you purchase your frame.
Now with all the dimensions in hand, you can confidently shop for a frame that perfectly complements your bathroom decor and fits securely around your existing mirror. And don’t forget to double check that all measurements line up before making any purchases! With these guidelines followed, you’ll soon be able to install a beautiful new frame around your bathroom mirror – giving it an entirely fresh look.
Choosing A Frame
When it comes to upgrading your bathroom mirror with a frame, there are several important considerations. To get the look you want while ensuring safety and satisfaction:
- Choose the right material for your frame: wood, metal, plastic or composite materials?
- Select a style that matches the other design elements in your bathroom: traditional, modern, rustic or industrial?
- Pick a color that complements your wall paint and flooring choices.
Once you have decided on these basics of frame selection, then you should begin to consider more specific details such as size, shape and trim options. Deciding on the size is imperative since an oversized or undersized frame can disrupt the overall aesthetic balance of the room. When considering shape, remember that round frames often complement square mirrors nicely while oval shapes bring out curves in rectangular mirrors best. Finishing touches like beveled edges and ornamental trims add visual interest to even plainer styles of frames.
With careful thought and attention to detail when choosing a frame for your bathroom mirror upgrade project, you’ll soon find yourself admiring a beautiful result!
Attaching The Frame To The Mirror
Now that you have your frame and mirror, it’s time to attach the two together. Before getting started, make sure both the frame and the mirror are clean. Then carefully measure out where each screw will go on the back of the frame before attaching. This way, you won’t be guessing when trying to line up holes in the frame with those in the mirror.
Next, grab a power drill and bore pilot holes into both pieces before adding screws. Place some putty or caulk around any gaps between the mirror and frames before inserting screws so everything is airtight. Once all screws are securely fastened, check again for any missed spots or potential shifting due to movement from drilling earlier on. Now that your frame is attached to the mirror, you can officially hang it up!
Securing Frame In Place
Securing your frame in place is an important step to ensuring that your bathroom mirror is safe and secure. To begin, make sure the frame you have chosen will fit securely on your existing mirror. Measure twice and ensure no gaps are present between the sides of the frame and the edges of the mirror before proceeding with attaching it.
Next, attach the frame using a strong adhesive or screws depending on what type of material was used for the construction of both your frame and existing mirror. If utilizing a liquid adhesive, apply evenly across all four corners on both surfaces to ensure proper attachment. Additionally, if inserting screws into either surface use caution not to damage any surrounding areas while securing them into place. After completing this task, double check that each corner has been securely attached and there are no movements when pressing gently against it. With careful planning and attention to detail you can easily achieve a secure frame attachment for your bathroom mirror!
Painting And Finishing The Frame
Once the frame has been built, it’s time to paint and finish it. Here are a few tips for painting your frame:
- Make sure the surface is clean before you begin applying any type of primer or paint.
- Use a brush to apply even strokes from one side of the frame to the other.
- Allow each coat of paint to dry completely before adding additional coats for proper coverage.
After your frame is painted, its finishes should be applied in order to protect it from water damage and corrosion over time. Some finishing products include polyurethane, shellac, varnish, lacquer, and acrylic sealers; these will all help provide protection while giving your frame an attractive look that can last for years with minimal maintenance requirements. When refinishing your frame, make sure you use only quality products recommended by professionals in order to ensure longevity and durability! By properly painting and finishing your wooden bathroom mirror frame, you’ll have a beautiful addition to your home decor that is both stylish and highly functional.
Hanging The Mirror
Now it’s time to hang the mirror. Depending on the size and weight of your bathroom mirror, you’ll want to make sure that whatever method you use is secure. You don’t want to risk a nasty accident! For smaller mirrors, using adhesive strips or hooks can be an effective solution. If you’re working with something heavier, like a frame hanging mirror, you’ll need more sturdy materials such as screws directly into wall studs. Make sure everything is level before securing completely. With any luck, after a few minutes of hard work you should have a beautiful framed bathroom mirror ready for admiring in no time!
Adhesive Alternatives
The task of adding a frame to your bathroom mirror doesn’t have to be daunting. There are many alternatives available for adhering the frame, some of which may even make the job easier!
- Adhesive Strips: These strips come in various sizes and shapes, making them easy to install on any type of surface. They also provide an ideal grip and hold that can last a long time.
- Glue Adhesives: If you’re looking for something stronger than adhesive strips, opt for glue adhesives instead. This is especially recommended if you want it to stay put longer without having to worry about slipping or falling off.
- Double-sided Tape: Another great option is double-sided tape. It’s thin enough that it won’t damage your walls when removing it, yet strong enough to keep the frame attached securely in place with no worries of loosening over time.
- Velcro Strips: For those who prefer not to use either adhesive strips or glue adhesives, velcro strips are another viable alternative. Not only do they offer superior gripping power but they don’t leave any sticky residue behind once removed from the wall either!
- Liquid Nails: Last but certainly not least is liquid nails – one of the strongest adhesives out there for this particular application. Simply apply a small amount around the edges and let dry before attaching the frame; then enjoy its secure fitment as it will stay firmly in place until you decide otherwise!
No matter which method you choose, always remember to measure twice and cut once so that everything fits perfectly into place and looks amazing when finished! With these key tips in mind, now all that’s left is picking up supplies and getting started on your project right away – good luck!
Tips On Maintenance
Now that you know the adhesive alternatives to consider when adding a frame to your bathroom mirror, it’s time to talk about maintenance tips. Mirror and frame cleaning should be done on a regular basis in order to keep them looking like new. First of all, use mild detergents or warm water with a damp cloth for general dusting and wiping down surfaces. You can also use window cleaner for more stubborn dirt and grime buildup. Secondly, if there is any tarnish or corrosion on either the mirror or frame, apply an appropriate metal polish before buffing away with a soft cloth. Finally, apply sealants regularly as part of your ongoing bathroom maintenance routine in order to protect both the mirror and frame from damage caused by moisture exposure over time. Ultimately, these simple steps will help you maintain your framed bathroom mirror in top condition!
Decorative Options
When it comes to decorating a bathroom mirror, the possibilities are endless. Decorative mirrors come in all shapes and sizes, from wall mirrors with ornate frames to more simple designs like plain rectangular or round shaped mirrors with decorative frames. There are also many different types of materials available for your mirror frame, including wood, metal, plastic, and glass.
The choice of material can be based on personal preference as well as budget restrictions. If you’re looking for something classic but still stylish then wooden frames may be just what you need. For those who want to add some extra glamour to their bathroom space, metal frames provide an elegant touch that will reflect light beautifully. Plastic and glass frames offer versatility when trying to achieve different looks while remaining affordable at the same time.
No matter which type of frame you choose for your bathroom mirror, it’s important to make sure they match the other design elements within the room. This is essential if you want to create a cohesive look throughout the entire space! With careful consideration given to selecting the right frame style and material, you’ll soon have a beautiful piece that adds character and charm to any bathroom interior.
Conclusion
In conclusion, adding a frame to your bathroom mirror is an easy and affordable way to upgrade the look of your space. It’s important to measure twice before you buy so that you can get the perfect fit for your mirror. After choosing a frame, attaching it to the mirror takes just a few simple steps. We suggest using nails or screws to securely hold the frame in place, but adhesive strips are also great alternatives if you’d prefer something less permanent. With our tips on maintenance and some creative ideas for decorative options, you’ll be able to keep your framed bathroom mirror looking beautiful for years to come.
Once everything is in its place, step back and admire your work! You did it – now enjoy the fruits of your labor by relaxing in front of this stylishly framed bathroom mirror! Whether you’re getting ready every morning or taking time out after a long day, there’s no better feeling than knowing you’ve made such an improvement with minimal effort and expense.
So go ahead – add a frame around your bathroom mirror today! Who knows – it might sparkle up more areas of your home as well!

