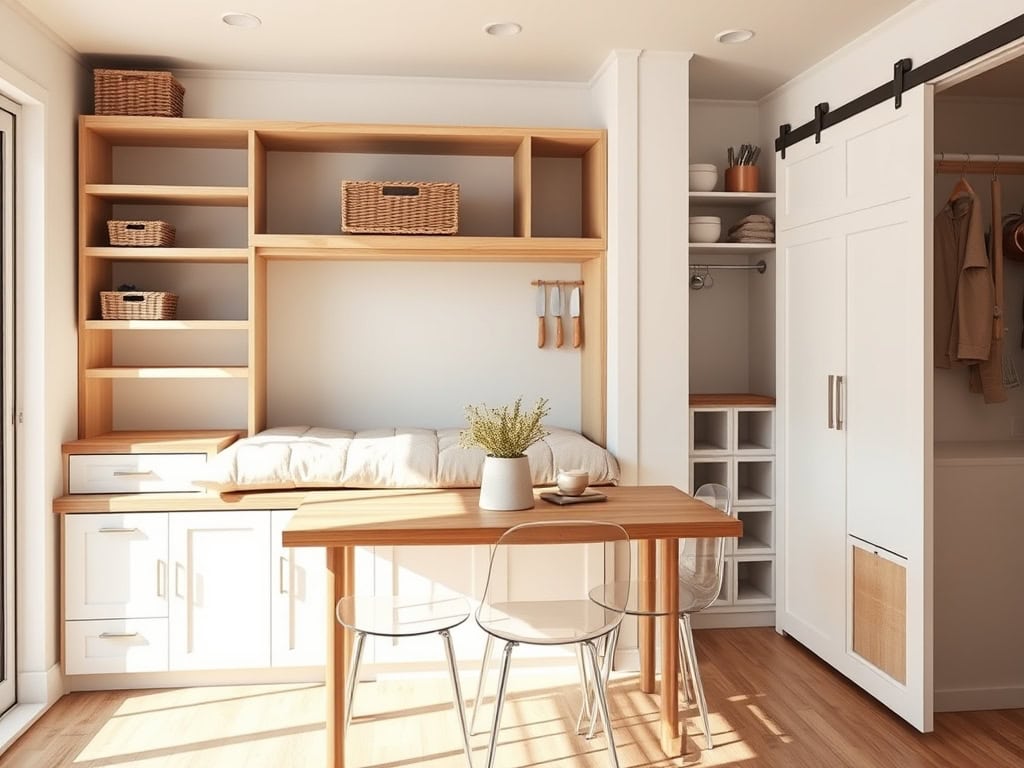
If you’ve ever felt like your tiny home is about to burst at the seams from cramming in one too many belongings, you’re not alone! As someone who transformed a 400-square-foot space into an organized sanctuary, I know the struggles of small-space living. You’ll be amazed at how even the tiniest nooks can become storage goldmines with the right strategies. Let me share seven genius solutions that’ll help you maximize every precious inch of your cozy haven.
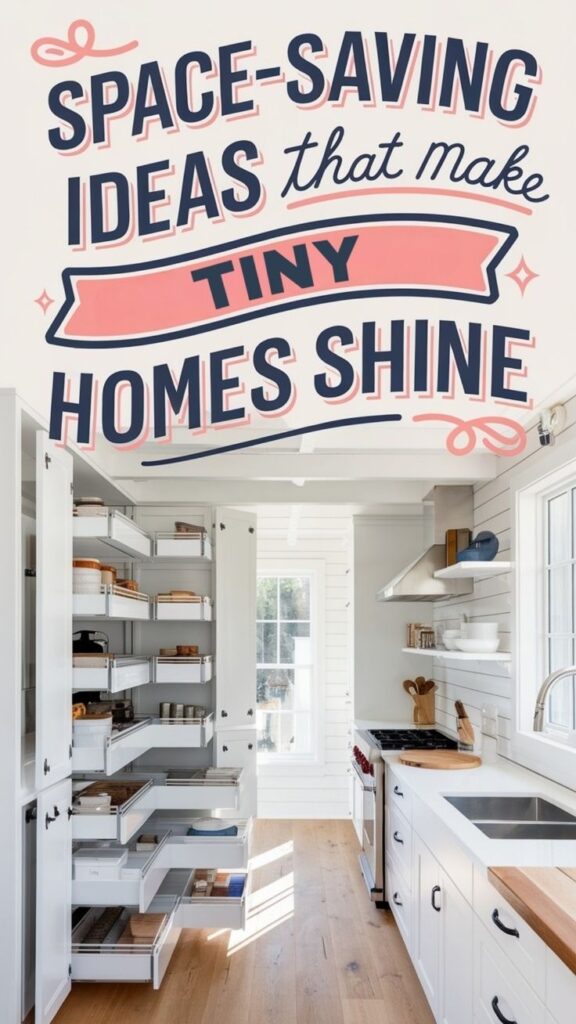
Vertical Storage Solutions That Transform Dead Space
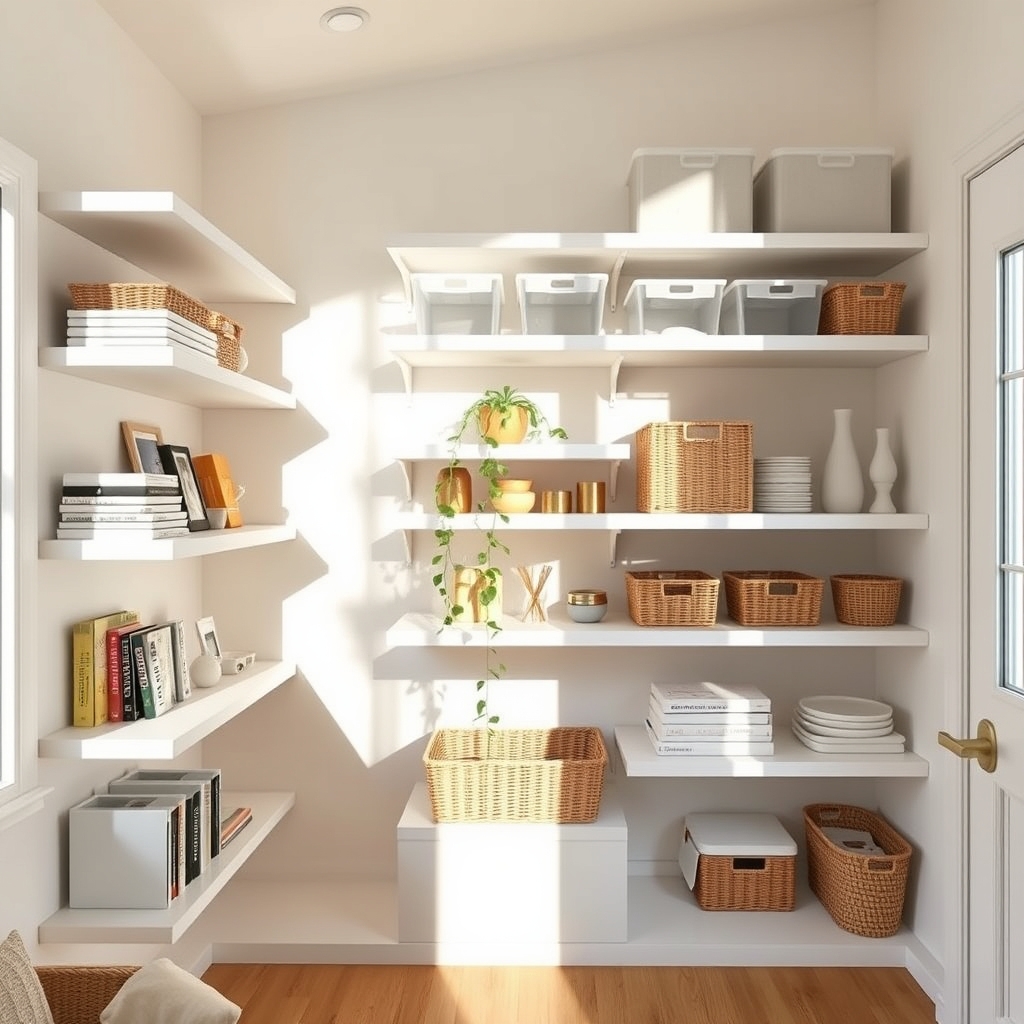
Vertical storage is the secret weapon in tiny home organization, turning previously unused wall space into valuable storage real estate. By thinking upward instead of outward, homeowners can effectively double or triple their storage capacity without sacrificing precious floor space.
Maximizing vertical space requires strategic planning and an understanding of your daily needs. The key is to create accessible storage zones that work with your natural movement patterns while keeping items organized and within reach. Proper vertical storage can transform cluttered spaces into efficient, visually appealing areas that enhance your tiny home’s functionality.
Required Items:
- Measuring tape
- Level
- Wall anchors
- Screwdriver
- Drill
- Floating shelves
- Wall-mounted hooks
- Over-door organizers
- Pegboards
- Magnetic strips
- Command strips
- Storage containers
- Labels
- Step stool
Start by analyzing your wall space and mapping out zones based on item frequency of use. Install floating shelves at varying heights, ensuring frequently used items are at eye level and less-used items above.
Mount pegboards in work areas like kitchens or craft spaces, using hooks and accessories to create customizable storage. Utilize door spaces with over-door organizers or mounted pocket organizers.
Consider installing floor-to-ceiling shelving units in corners or narrow spaces. Incorporate magnetic strips for metal items in kitchens or workspaces. Use vertical drawer organizers inside cabinets to maximize interior storage.
Install hooks at different heights for hanging items like coats, bags, and accessories. When arranging items, implement the vertical file system where possible, storing items vertically rather than stacked. This approach makes items more visible and accessible while maximizing space usage.
Remember to leave some wall space empty to prevent visual cluttering, and regularly assess your vertical storage system to ensure it continues meeting your needs efficiently.
Additional Tip: Incorporate clear containers and labels for items stored at higher levels, making it easier to identify contents without requiring a step stool. Regularly rotate items based on seasonal use, keeping current-season items within easy reach and storing off-season items in higher spaces.
Multi-Functional Furniture With Hidden Storage
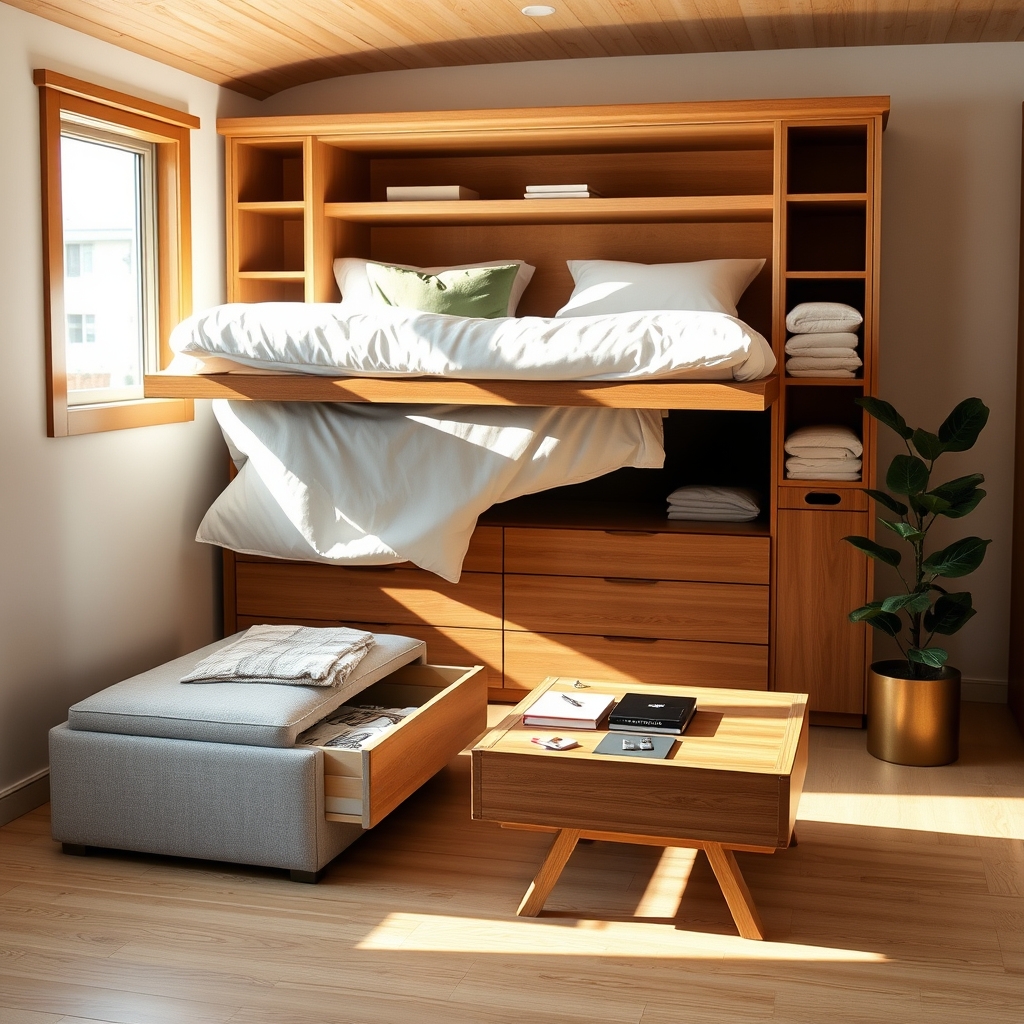
Living in a tiny home requires maximizing every square inch of space, and multi-functional furniture with hidden storage serves as a cornerstone of efficient tiny living. These ingenious pieces not only fulfill their primary purpose but also provide valuable storage solutions that keep your living space organized and clutter-free.
Strategic implementation of multi-functional furniture transforms your tiny home from a cramped space into a well-organized sanctuary. By selecting pieces that serve dual purposes, you eliminate the need for additional storage furniture while maintaining the aesthetic appeal and functionality of your living space.
Required Items:
- Measuring tape
- Storage bins or baskets
- Labels or label maker
- Drawer organizers
- Space-saving hangers
- Vacuum storage bags
- Furniture sliders
- Level tool
- Basic tools (screwdriver, Allen wrench)
Start by assessing your existing furniture and identifying pieces that can be replaced with multi-functional alternatives. Focus on large items first, such as beds with built-in drawers, ottoman storage benches, or expandable dining tables with hidden compartments.
Install these pieces in a way that allows easy access to their storage components while maintaining proper traffic flow in your space.
Create designated zones within each piece of furniture based on frequency of use and item categories. For example, organize seasonal items in under-bed storage, daily essentials in ottoman compartments, and documents in hollow coffee table drawers. Use drawer organizers and storage bins to maintain order within these spaces and prevent items from becoming jumbled.
Additional Tips: Rotate stored items seasonally to maintain organization and prevent unused items from occupying valuable space. Consider using vacuum storage bags for soft items stored in furniture compartments, and implement a regular maintenance schedule to review and reorganize stored contents.
Label hidden compartments discretely to remember what’s stored where, and keep frequently used items in easily accessible areas of your multi-functional furniture.
Under-Bed Organization Systems
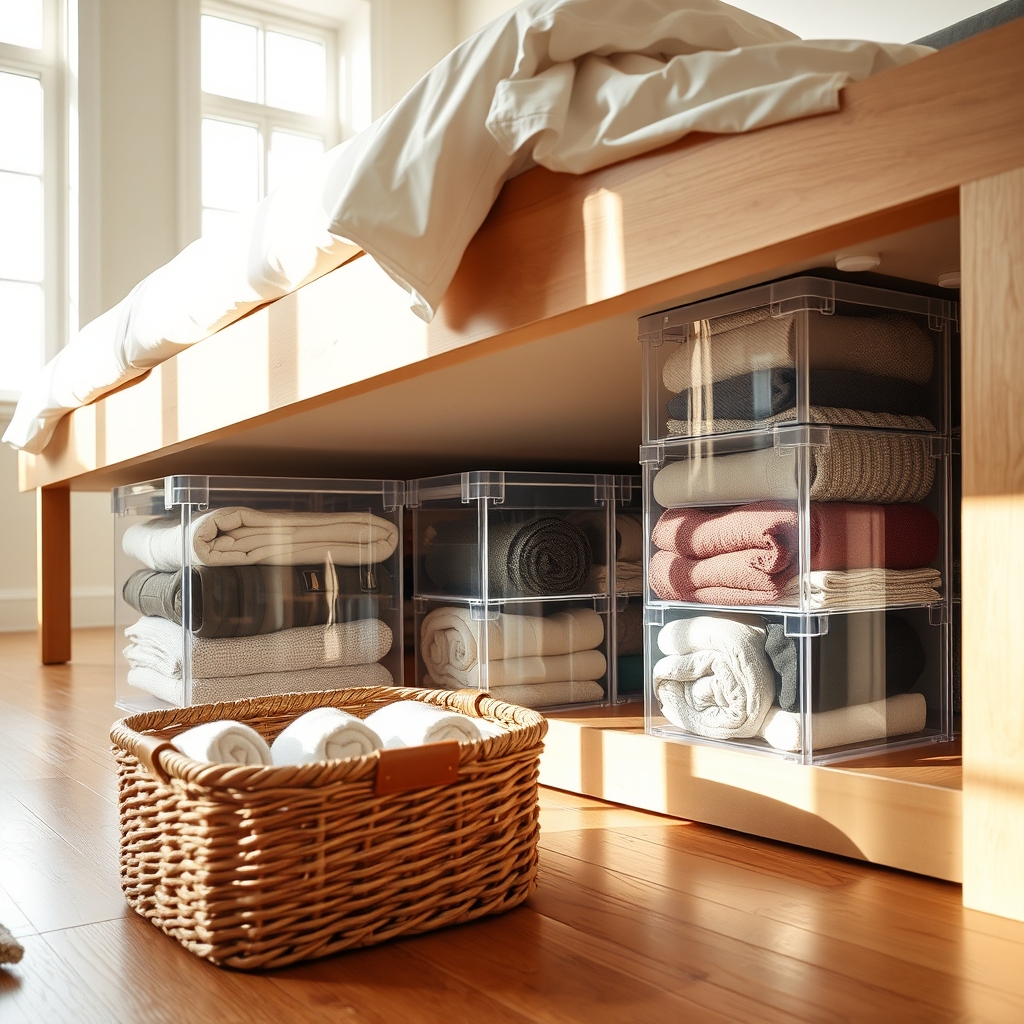
Making the most of under-bed space is crucial in tiny home living, where every square inch counts. This often overlooked storage area can provide substantial room for seasonal items, extra linens, clothing, and everyday essentials without consuming valuable visible living space.
Under-bed storage becomes even more valuable when properly organized with systematic solutions. A well-planned under-bed organization system can effectively double your storage capacity while keeping items dust-free, easily accessible, and properly preserved.
Required Items:
- Rolling storage containers
- Measuring tape
- Bed risers (if needed)
- Vacuum storage bags
- Labels and marker
- Drawer dividers
- Pull-out organizer rails
- Anti-dust covers
- Clear plastic bins
- Storage baskets with handles
Start by measuring the available space under your bed, including height, width, and depth. Remove everything from under the bed and thoroughly clean the area. Install bed risers if additional height is needed. Select appropriately sized containers that maximize the space while allowing easy sliding access.
Arrange containers by frequency of use, with commonly accessed items positioned near the foot or sides of the bed for convenient retrieval. Sort items into categories before placing them in containers. Use vacuum storage bags for soft items like extra bedding or seasonal clothing.
Install drawer dividers within larger containers to prevent items from shifting. Position pull-out organizer rails if using custom drawers to ensure smooth operation. Label all containers clearly on multiple sides for easy identification.
Additional Tips: Consider using clear containers for better visibility, and create a master list of stored items and their locations. Implement a rotation system for seasonal items, and schedule quarterly maintenance to prevent dust accumulation and reassess organization needs.
Use drawer stops to prevent containers from rolling too far under the bed, and maintain clear pathways around the bed for easy access to stored items.
Wall-Mounted Storage and Floating Shelves
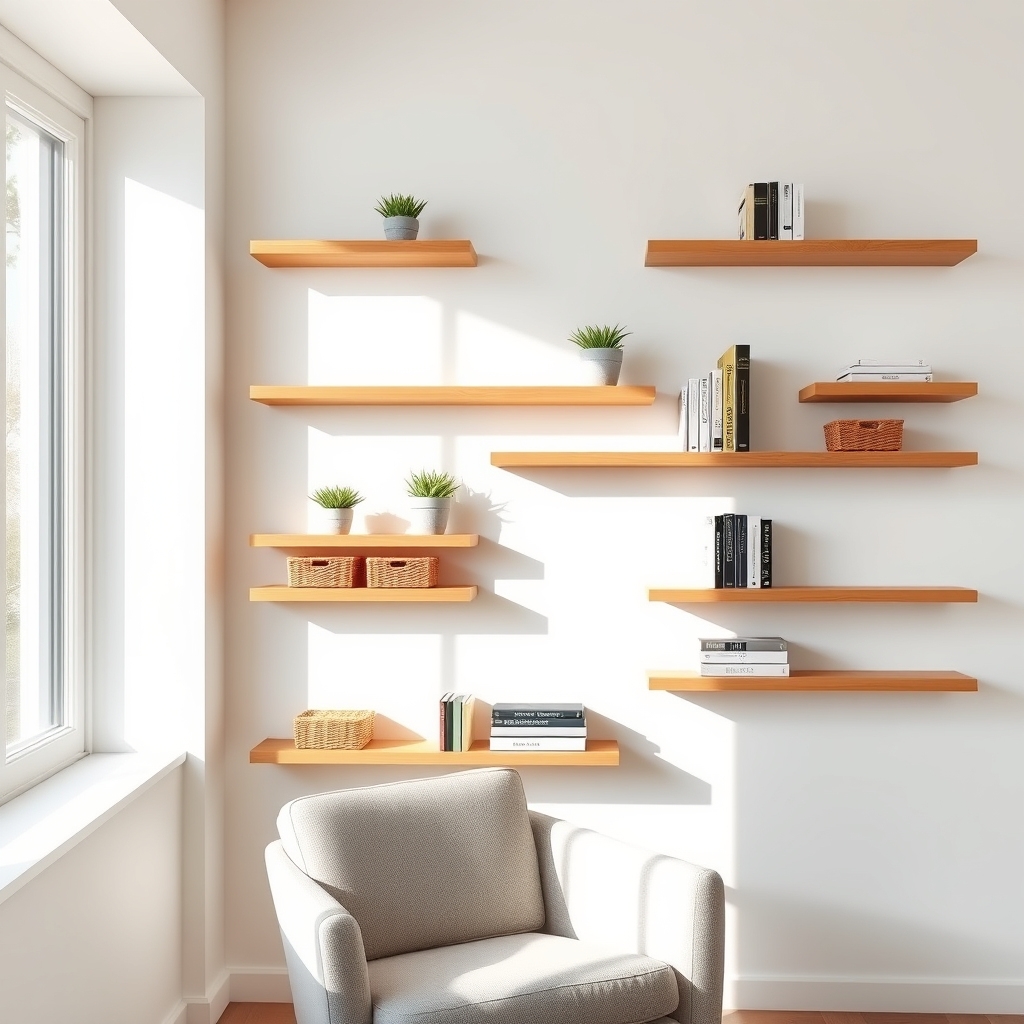
Wall-mounted storage and floating shelves represent essential solutions for maximizing vertical space in tiny homes, transforming bare walls into functional storage areas. These installations not only create additional storage but also maintain an open, airy feeling by keeping items off the floor and creating visual interest throughout the space.
Strategic placement of wall storage can revolutionize how you utilize your tiny home’s square footage, allowing you to store everything from books and decorative items to kitchen supplies and clothing. The key lies in combining both practical storage needs with aesthetic appeal, creating a harmonious balance between form and function.
Required Items:
- Stud finder
- Level
- Drill and drill bits
- Screwdriver
- Wall anchors
- Mounting brackets
- Floating shelves
- Wall-mounted organizers
- Measuring tape
- Pencil
- Command strips/hooks
- Storage containers
- Cable concealer
Start by mapping out your wall space using a measuring tape and pencil, marking stud locations with the stud finder. Consider both the weight capacity needed for your items and the visual flow of the space when deciding placement.
Install the heaviest units first, ensuring they’re secured into wall studs for maximum support. Progress from larger to smaller installations, maintaining consistent spacing between units. Mount floating shelves at varying heights to create visual interest while maximizing storage potential.
Install frequently-used items at eye level, with lesser-used items stored higher up. Incorporate a mix of open shelving and closed storage options to accommodate both display-worthy items and those better kept hidden.
Additional Tips: Utilize corner spaces by installing L-shaped floating shelves or corner units to maximize otherwise wasted space. Consider incorporating adjustable systems that can be modified as your storage needs change.
Always leave some empty wall space to prevent visual cluttering, and use coordinating storage containers or baskets to maintain a cohesive look. Remember to periodically assess the weight load on your shelves and adjust items as needed to prevent sagging or damage.
Door-Back and Over-Door Storage Hacks
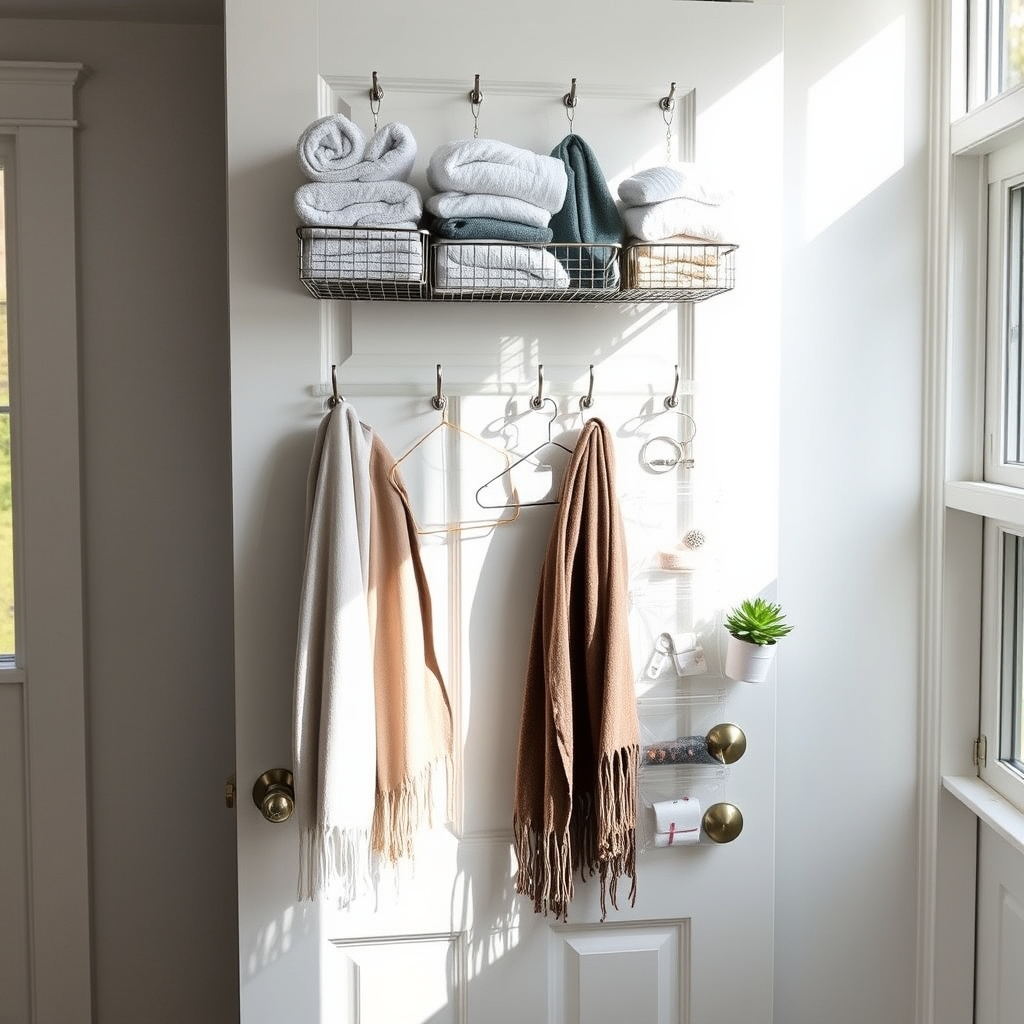
Making the most of every vertical space is crucial in tiny home living, and doors represent some of the most underutilized real estate in small spaces. Door-back and over-door storage solutions can transform these overlooked areas into valuable storage zones, effectively doubling or tripling your storage capacity without consuming precious floor space.
By implementing strategic door storage systems, you can organize everything from pantry items and cleaning supplies to accessories and office materials. This approach not only maximizes space efficiency but also keeps frequently used items easily accessible while maintaining a clutter-free environment throughout your tiny home.
Required Items:
- Over-door hooks or hangers
- Door-mounted organizers
- Command strips or adhesive hooks
- Tension rods
- Clear pocket organizers
- Measuring tape
- Drill and screws (if mounting permanent solutions)
- Level
- Wire baskets
- S-hooks
- Adjustable straps
Start by measuring each door’s dimensions, including thickness, to ensure proper fit of organizing systems. Install over-door hooks at the top of the door, ensuring they don’t interfere with door closure. For permanent solutions, mount brackets or organizers using appropriate screws and anchors, keeping weight distribution in mind.
When using adhesive solutions, clean the door surface thoroughly and follow weight guidelines strictly. For bathroom doors, consider clear pocket organizers for toiletries and personal care items. Kitchen doors can benefit from mounted spice racks or pantry organizers. Bedroom doors work well with jewelry organizers or accessory storage. Ensure all items are secured properly and don’t impede door movement.
Additional Tips: Rotate stored items seasonally to maintain organization and prevent overcrowding. Use clear organizers when possible to easily locate items, and implement a labeling system for opaque storage solutions. Consider door swing radius when planning storage depth, and regularly check mounting hardware to ensure security, especially for heavier items.
Magnetic and Pegboard Storage Solutions
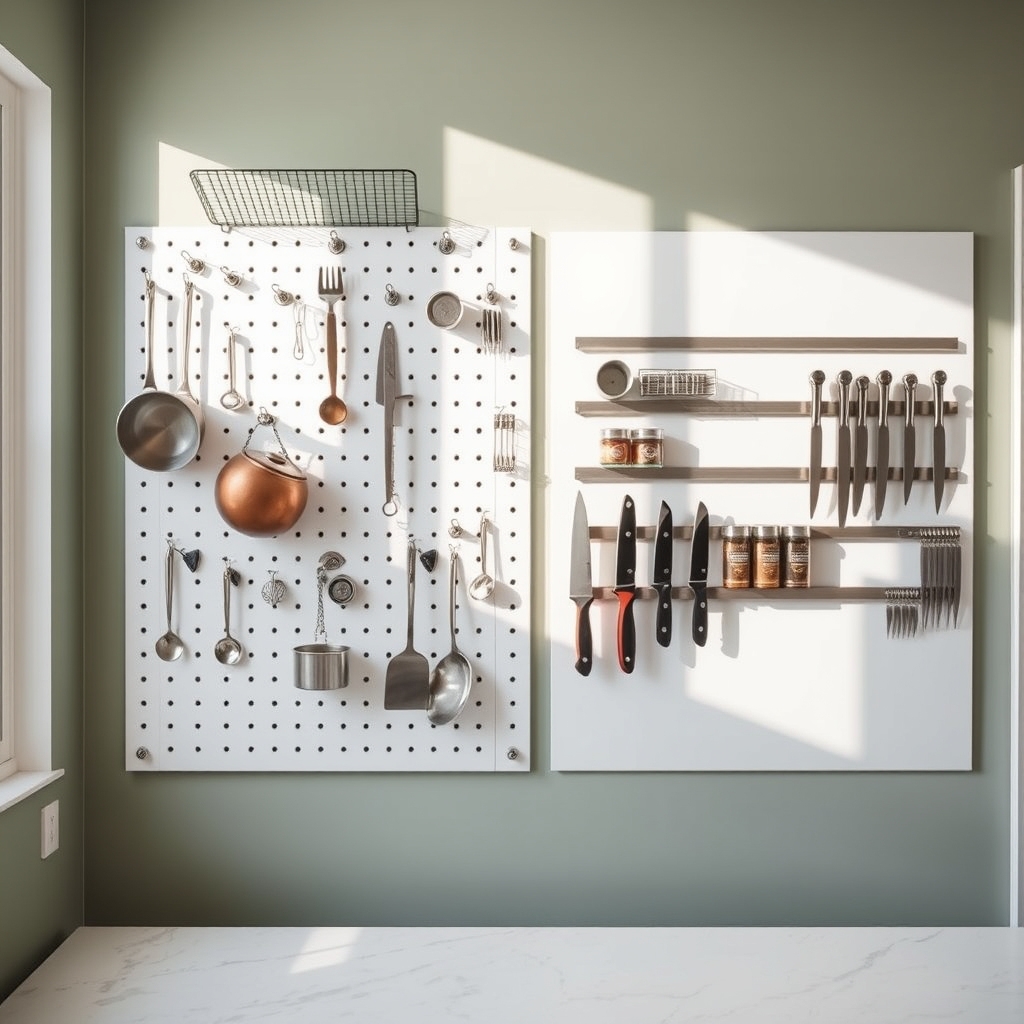
Magnetic and pegboard storage solutions represent game-changing space-saving techniques for tiny home living. These versatile systems transform vertical wall space into functional storage areas, keeping essential items easily accessible while maintaining a clutter-free environment.
By implementing magnetic strips and pegboard panels strategically throughout your tiny home, you can create customizable storage that adapts to your changing needs. These solutions are particularly effective in kitchens, workspaces, and utility areas where tools and frequently used items need to be within arm’s reach.
Required Items:
- Pegboard panels
- Pegboard hooks and accessories
- Magnetic strips
- Magnetic containers
- Mounting hardware
- Level
- Drill
- Screwdriver
- Stud finder
- Measuring tape
- Pencil
- Wall anchors
Start by identifying optimal wall spaces for installation, using a stud finder to locate secure mounting points. For magnetic strips, mount them at eye level in frequently accessed areas, ensuring they’re properly anchored to support the weight of intended items.
Install pegboards by creating a frame of furring strips to allow space behind the board for hooks, then secure the pegboard to the frame using appropriate screws.
For magnetic storage, organize items by category and test their magnetic strength before committing to final placement. With pegboards, begin with essential items positioned at eye level, then arrange less frequently used items above or below.
Create zones for different activities or item types, such as cooking utensils in the kitchen or tools in a workspace area. Maximize effectiveness by regularly reassessing your organization system. Remove items that haven’t been used in three months, and adjust hook positions as your needs change.
Consider adding labels or color-coding your zones, and install small containers or baskets on the pegboard for items that don’t hang well. Keep frequently used items between shoulder and hip height for optimal accessibility.
Space-Saving Cabinet and Drawer Organizers
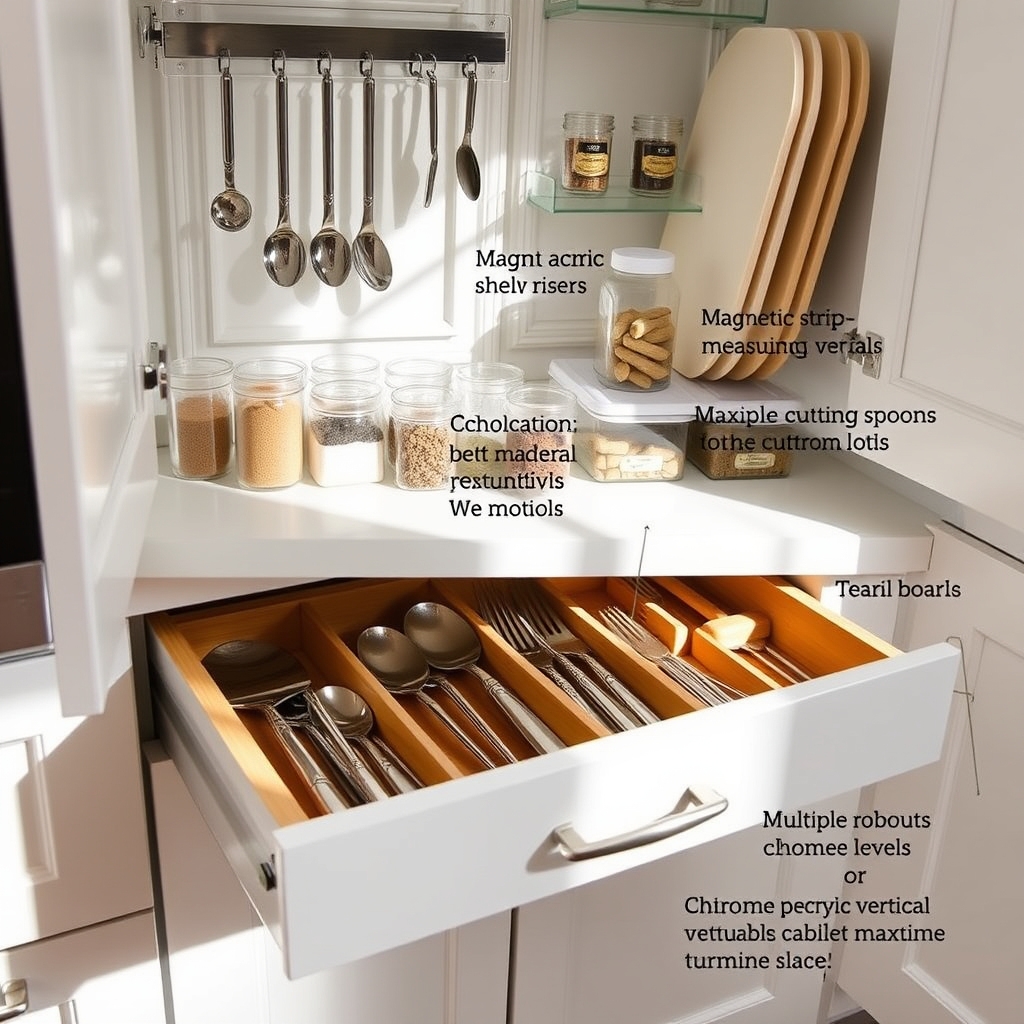
Making the most of cabinet and drawer space is crucial in tiny home living, where every square inch matters. Well-organized storage solutions can transform cluttered, inefficient spaces into functional storage areas that maximize vertical space and make items easily accessible.
Strategic drawer and cabinet organization not only creates more usable space but also reduces the time spent searching for items and maintains a clutter-free environment. Proper organization systems can effectively double your storage capacity while keeping everything visible and within reach.
Required Items:
- Drawer dividers
- Expandable shelf organizers
- Tension rods
- Stack-able containers
- Magnetic strips
- Command hooks
- Measuring tape
- Label maker
- Clear bins
- Door-mounted organizers
Start by removing everything from your cabinets and drawers, measuring the spaces, and categorizing items by frequency of use and function. Install drawer dividers to create designated spaces for different items, ensuring they stay in place during drawer movement.
For cabinets, implement a combination of shelf risers and stackable containers to utilize vertical space effectively. Position frequently used items at eye level and store lesser-used items in higher or lower spaces.
Add magnetic strips inside cabinet doors for metal items and install door-mounted organizers for additional storage. Use clear containers to maintain visibility of contents and implement a labeling system for quick identification.
Stack items vertically when possible, and use tension rods to create additional levels for storing baking sheets, cutting boards, or cleaning supplies.
To maintain the organization system, regularly assess and adjust the layout based on usage patterns. Consider implementing a one-in-one-out rule to prevent accumulation of unnecessary items.
Place frequently used items in easily accessible locations and rotate seasonal items to deeper storage areas. Regular maintenance of your organization system will ensure long-term efficiency and maximize the benefits of your space-saving solutions.

