Let’s face it – your commercial kitchen might not be running as smoothly as a well-oiled machine, but that’s about to change! If you’re tired of watching your staff bump into each other or waste precious minutes searching for ingredients, you’re in the right place. I’ve spent 15 years managing restaurant kitchens, and I’ve discovered that peak efficiency isn’t just about working harder – it’s about working smarter. These ten game-changing organization ideas will transform your kitchen’s chaos into clockwork.

Implement the Kitchen Zone System

A well-organized commercial kitchen is essential for maintaining efficiency, food safety, and smooth workflow during busy service periods. The kitchen zone system divides the workspace into dedicated areas for specific tasks, reducing cross-contamination risks and minimizing unnecessary movement between stations.
The zone system transforms a chaotic kitchen environment into a streamlined operation where every staff member knows exactly where to find tools and ingredients. This systematic approach not only increases productivity but also helps maintain sanitation standards and reduces the likelihood of accidents in fast-paced kitchen environments.
Required Items:
- Labels and label maker
- Storage containers
- Shelving units
- Color-coded cutting boards
- Mobile work stations
- Storage racks
- Sanitizing supplies
- Floor tape or markers
- Zone signage
- Equipment layout diagram
The implementation of a kitchen zone system starts with identifying five primary zones: storage, food preparation, cooking, plating, and cleaning. Begin by mapping out these zones according to workflow, ensuring that frequently used items are easily accessible.
Position the prep zone between storage and cooking areas to create a logical sequence. Install appropriate storage solutions in each zone, such as shelving units for dry storage, refrigeration for cold prep, and designated areas for equipment specific to each station.
Create clear boundaries between zones using floor markers or tape, and install proper signage to identify each area. Ensure each zone has necessary sanitization stations and safety equipment. Position mobile workstations strategically to allow flexibility during peak service times while maintaining the integrity of each zone’s designated purpose.
Additional Tips:
Train staff thoroughly on the zone system and establish standard operating procedures for maintaining organization within each area. Regularly audit zones for efficiency and make adjustments based on workflow patterns.
Consider implementing a color-coding system for tools and equipment specific to each zone, reducing cross-contamination risks and making it easier for staff to maintain organization during busy periods. Review and update zone layouts quarterly to accommodate menu changes or new equipment additions.
Maximize Vertical Storage Solutions

Vertical storage in commercial kitchens is one of the most underutilized yet valuable spaces available. By effectively using wall space and vertical areas, kitchens can dramatically increase their storage capacity without expanding their footprint, leading to improved workflow and efficiency during busy service times.
Proper vertical storage organization not only maximizes space but also ensures compliance with health codes and safety regulations. When items are stored vertically, they become more visible and accessible, reducing time spent searching for ingredients or equipment and minimizing the risk of cross-contamination.
Required Items:
- Wall-mounted shelving units
- Heavy-duty mounting brackets
- Wire racks
- Pegboards
- S-hooks and utility hooks
- Wall-mounted pot racks
- Magnetic knife strips
- Level
- Measuring tape
- Power drill
- Wall anchors
- Label maker
Start by conducting a thorough assessment of available wall space, paying special attention to areas above prep stations and unused corners. Install the heaviest-duty shelving units at comfortable reaching height for frequently accessed items.
Mount pegboards between shelving units for hanging smaller tools and equipment. Position pot racks strategically above cooking stations, ensuring proper clearance for ventilation systems.
Create designated zones on your vertical storage systems based on frequency of use and item category. Install magnetic knife strips at eye level near prep areas. Utilize adjustable wire shelving for dry goods storage, ensuring proper spacing between shelves to accommodate various container heights.
When mounting any storage solution, always use appropriate wall anchors and verify weight capacity ratings.
Additional Tips:
Consider implementing a color-coding system for different storage zones, and regularly audit vertical storage arrangements to ensure they continue meeting your kitchen’s evolving needs.
Install adequate lighting to illuminate all storage areas, and maintain clear labels on all containers and shelves. Remember to leave some space for future expansion and avoid overcrowding vertical storage solutions, as this can create safety hazards and efficiency bottlenecks.
Design an Efficient Equipment Layout

A well-designed commercial kitchen equipment layout serves as the foundation for operational efficiency, staff safety, and optimal workflow. Proper placement of equipment reduces unnecessary movement, minimizes accidents, and ensures smooth service during peak hours, ultimately impacting the bottom line of any food service operation.
The layout must follow the natural flow of food preparation, from receiving and storage to preparation, cooking, and service. An efficient equipment layout can reduce labor costs by up to 30%, decrease food waste, and improve service times while maintaining food safety standards and meeting health department regulations.
Required Items:
- Floor plan blueprint or grid paper
- Measuring tape
- Equipment specifications and dimensions
- Health department regulations
- Workflow analysis charts
- Electrical and plumbing requirements
- Safety equipment locations
- Ventilation system specifications
- Traffic pattern analysis tools
Starting with the main cooking line as the central point, position equipment in a logical sequence that mirrors your menu preparation process. Create distinct zones for preparation, cooking, plating, and cleaning, ensuring each area has adequate workspace and storage.
Allow minimum clearances of 36 inches between equipment pieces for staff movement and maintenance access. Position refrigeration units and prep tables within easy reach of cooking stations while keeping heat-generating equipment separate from cold storage.
Group similar equipment together to create efficient work triangles. Position the dish washing station away from food prep areas but accessible to both the dining room and kitchen. Install fire suppression systems and ensure all equipment meets local ventilation requirements.
Factor in utility connections and maintain clear paths to emergency exits. Consider implementing mobile equipment where possible to maintain flexibility in the layout. Create backup plans for equipment maintenance scenarios, and ensure the design accommodates future growth or menu changes.
Regular evaluation of traffic patterns and workflow efficiency will help identify areas for layout improvements and optimization.
Create Smart Label and Dating Protocols
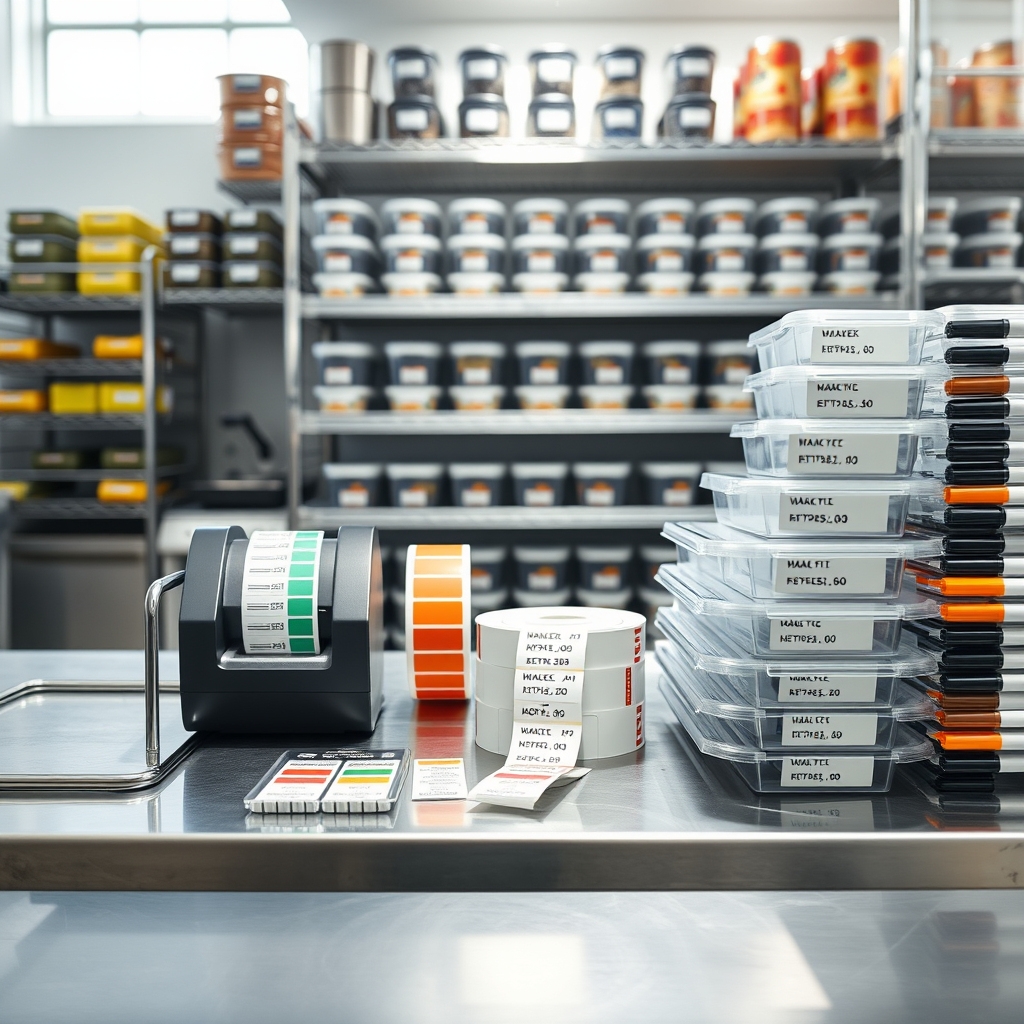
Proper labeling and dating protocols are critical components of any well-run commercial kitchen, directly impacting food safety, inventory management, and operational efficiency. Clear, consistent labeling systems help prevent foodborne illness, reduce waste, and ensure compliance with health department regulations while streamlining kitchen operations.
Implementing standardized labeling practices enables kitchen staff to quickly identify ingredients, track freshness, and maintain FIFO (First In, First Out) rotation. This systematic approach minimizes confusion, speeds up prep work, and creates a professional environment where all team members can work confidently and efficiently.
Required Items:
- Label maker or printer
- Waterproof labels
- Permanent markers
- Date-coding labels
- Label removal solution
- Storage containers
- Clear tape
- Template sheets
- Standard operating procedure manual
- Color-coding supplies
The implementation process begins with establishing a standardized labeling format that includes essential information: product name, prep date, use-by date, and handler’s initials. Create pre-printed templates for common items and designate specific label locations on containers.
Institute a color-coding system for different food categories or days of the week to enhance visual organization. Train all staff members on proper label placement, required information, and date calculation methods.
Develop a daily routine for checking dated items and removing expired products. Establish clear protocols for different food categories – prepared foods typically require name, date made, and use-by date, while received goods need delivery date and expiration date.
Implement a verification system where senior staff members regularly audit labeling compliance.
Additional Success Tips: Purchase labels specifically designed for kitchen environments that can withstand moisture and temperature changes. Create a centralized labeling station with all necessary supplies and reference materials.
Conduct regular staff training refreshers and maintain a photo guide of properly labeled items for reference. Consider implementing digital tracking systems to complement physical labels, especially for inventory management and rotation schedules.
Establish First-In-First-Out (FIFO) Systems
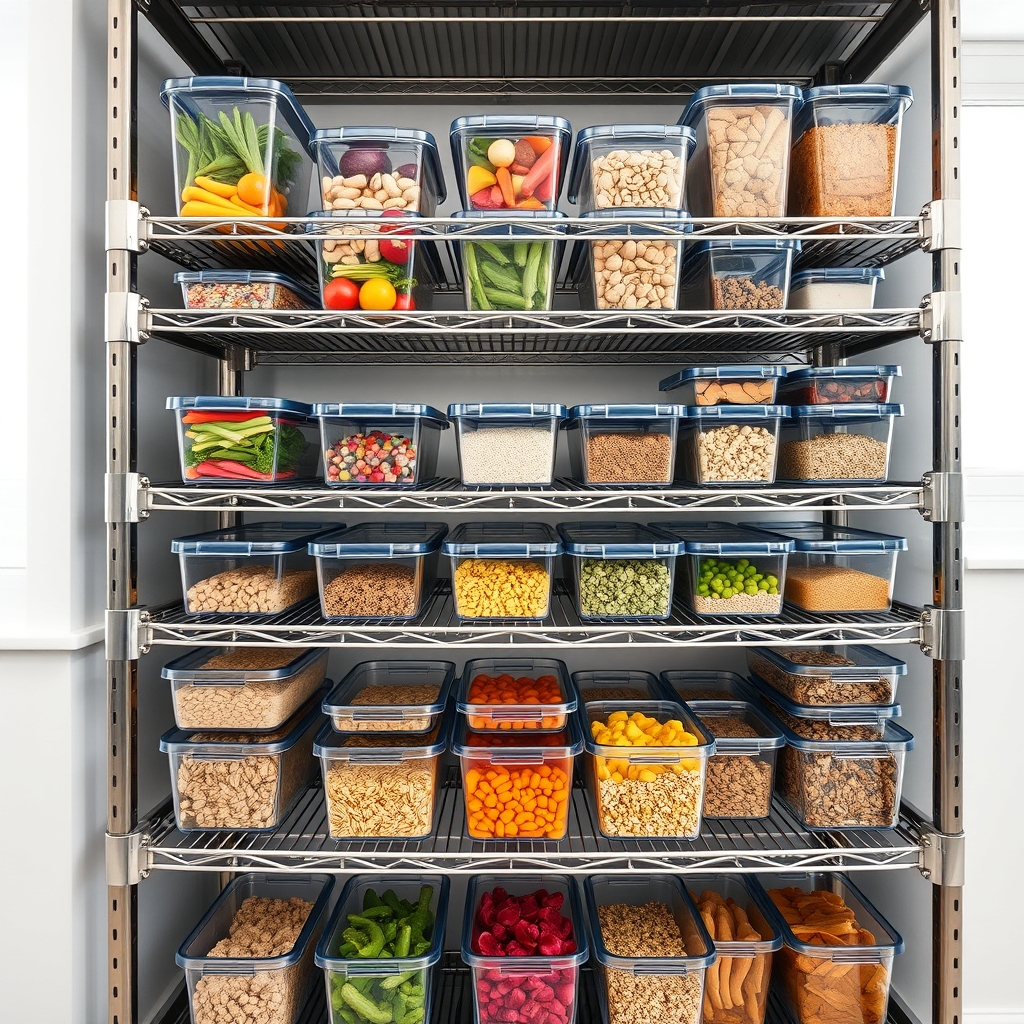
Proper FIFO systems are the backbone of any well-run commercial kitchen, ensuring food safety, reducing waste, and maintaining inventory control. When products are systematically rotated and used in the order they were received, kitchens can minimize spoilage and maintain consistent food quality while meeting health department requirements.
Implementing an effective FIFO system requires careful planning and consistent execution across all storage areas, including dry storage, walk-in refrigerators, and freezers. This organizational method not only helps prevent financial losses but also ensures that customers receive the freshest possible ingredients in their meals.
Required Items:
- Label maker or permanent markers
- Date labels or stickers
- Clear storage containers
- Mobile storage racks
- Clipboard with inventory sheets
- Color-coded labels
- Shelf dividers
- Storage bins
- Rotation labels
- Dry-erase markers
Start by clearing and cleaning all storage areas, then designate specific zones for different food categories. Install clearly marked shelving units with older products placed at the front and newer items behind them. Label all items with receipt dates and expiration dates using a consistent format.
Create a standardized labeling system that all staff members can easily understand and follow. For refrigerated items, use clear containers that allow visibility of contents and organize them on mobile racks with newer items placed behind existing stock.
Implement a color-coding system for different days of the week to make rotation schedules immediately apparent. Train staff to always check dates before storing new deliveries and to properly position items according to their receipt dates.
Additional Tips: Consider implementing a digital inventory system to complement your physical FIFO organization. Create weekly checklists for staff to verify proper rotation, and designate a team member to conduct regular audits of the system.
Post clear instructions and rotation charts in storage areas, and include FIFO protocols in new employee training materials to ensure consistent compliance across all shifts.
Optimize Prep Station Organization
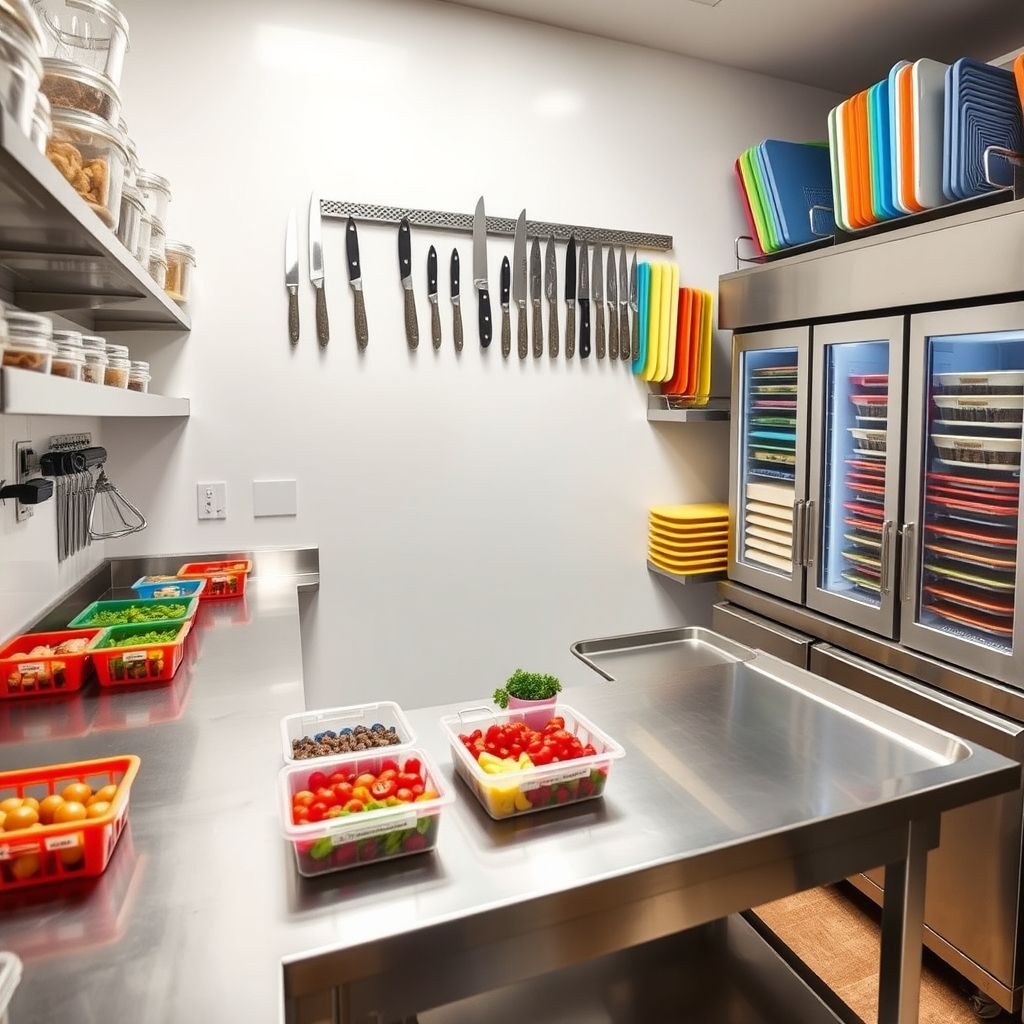
A well-organized prep station serves as the heartbeat of any commercial kitchen, directly impacting food preparation speed, kitchen workflow, and overall operational efficiency. When prep stations are properly organized, chefs and kitchen staff can maintain consistent output quality while reducing preparation time and minimizing cross-contamination risks.
Proper prep station organization can reduce staff frustration, improve food safety compliance, and increase productivity by up to 30%. An efficiently organized prep station ensures that ingredients, tools, and equipment are readily accessible, allowing kitchen staff to maintain a smooth workflow during peak service hours.
Required Items:
- Stainless steel prep tables
- Storage containers of various sizes
- Label maker and labels
- Cutting boards
- Knife racks
- Sanitizing solutions
- Speed racks
- Under-counter refrigeration
- Prep containers
- Sheet pan racks
- Mise en place containers
- Wall-mounted shelving
Begin by establishing distinct zones within the prep area based on task types: washing, cutting, mixing, and assembly. Install wall-mounted shelving above prep tables to maximize vertical storage space. Position frequently used equipment and tools within arm’s reach of their designated work zones.
Place cutting boards in vertical holders and mount knife racks on walls or magnetic strips for easy access. Create a systematic arrangement of ingredients using clear, labeled containers stored in speed racks or under-counter refrigeration units. Implement a first-in-first-out (FIFO) rotation system for all stored items.
Position prep containers and mise en place vessels in a line that matches your kitchen’s workflow, ensuring that commonly paired ingredients are stored near each other.
Additional Tips: Conduct regular audits of your prep station organization system to identify bottlenecks or inefficiencies. Train all staff members on proper organization protocols and establish cleaning schedules for each zone.
Consider implementing a color-coding system for different food categories to prevent cross-contamination and maintain food safety standards. Regularly update labels and storage containers to maintain optimal freshness and organization.
Set Up Mobile Storage Solutions
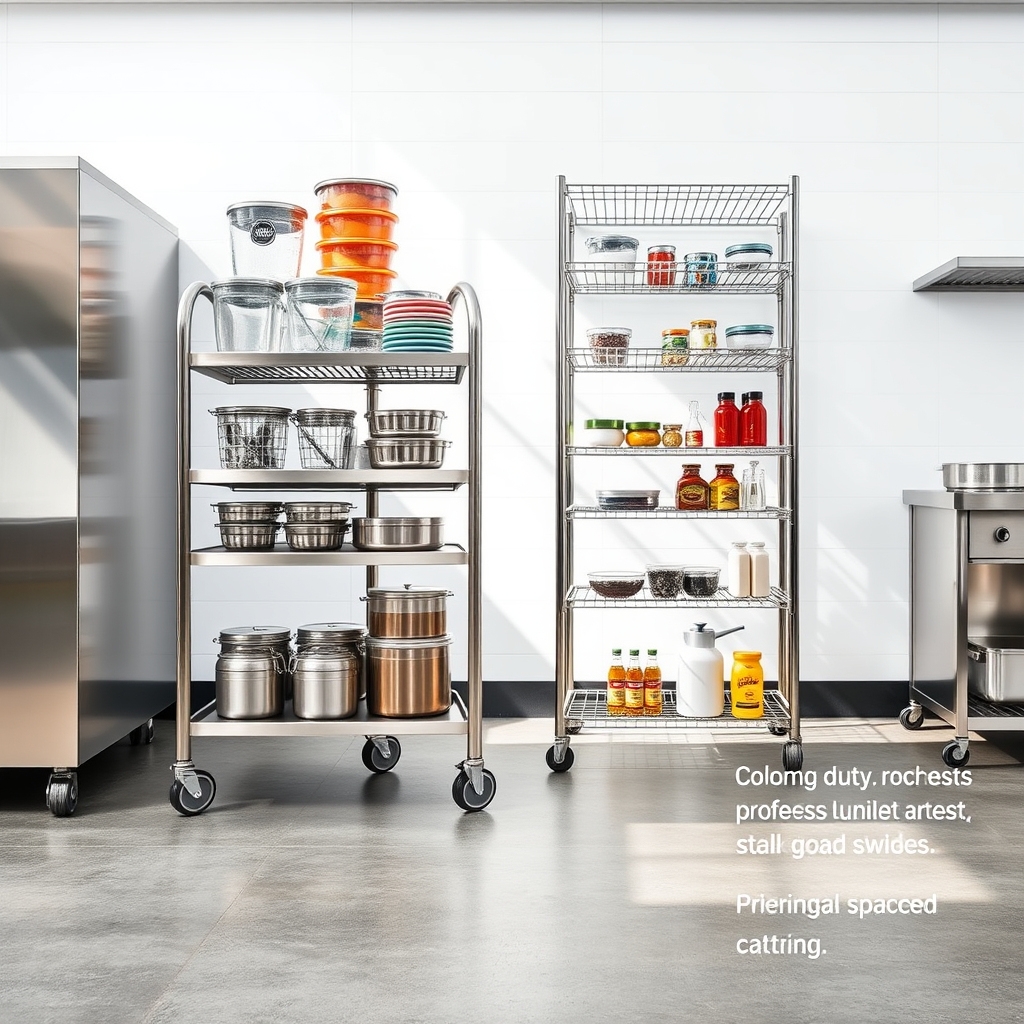
Mobile storage solutions are essential in modern commercial kitchens where space efficiency and flexibility are paramount.
These versatile units allow kitchen staff to quickly access ingredients, tools, and equipment while maintaining an organized and adaptable workspace that can evolve with changing needs throughout service periods.
The implementation of mobile storage solutions not only maximizes available space but also improves workflow by reducing unnecessary movement and ensuring supplies are always within reach.
This mobility becomes particularly valuable during rush periods when quick access to ingredients and tools can significantly impact service speed and quality.
Required Items:
- Stainless steel utility carts
- Wire shelving units with wheels
- Mobile ingredient bins
- Rolling rack systems
- Heavy-duty casters
- Storage containers
- Label maker
- Shelf liners
- Bungee cords or straps
- Drawer organizers
- S-hooks
Begin by assessing your kitchen’s workflow patterns and identifying areas where mobile storage would be most beneficial.
Select appropriate mobile units based on specific needs – utility carts for prep stations, rolling racks for dry storage, and wire shelving for cooler items.
Install quality casters on all units, ensuring they’re rated for the weight they’ll carry and are suitable for your flooring type.
Organize items on mobile units according to frequency of use and weight distribution.
Place heavier items on bottom shelves for stability, and group similar items together.
Create designated zones for each mobile unit and establish clear labeling systems to maintain organization.
Consider implementing a color-coding system to quickly identify contents and ensure proper storage location after use.
Additional Tips:
Regularly maintain wheels and casters to ensure smooth operation, and establish cleaning schedules for mobile units.
Train staff on proper usage and storage protocols to maintain organization.
Consider implementing a check-in/check-out system for mobile units to track their location and prevent misplacement during busy service periods.
Always ensure mobile units are locked when stationary to prevent accidents and maintain kitchen safety standards.
Streamline Inventory Management
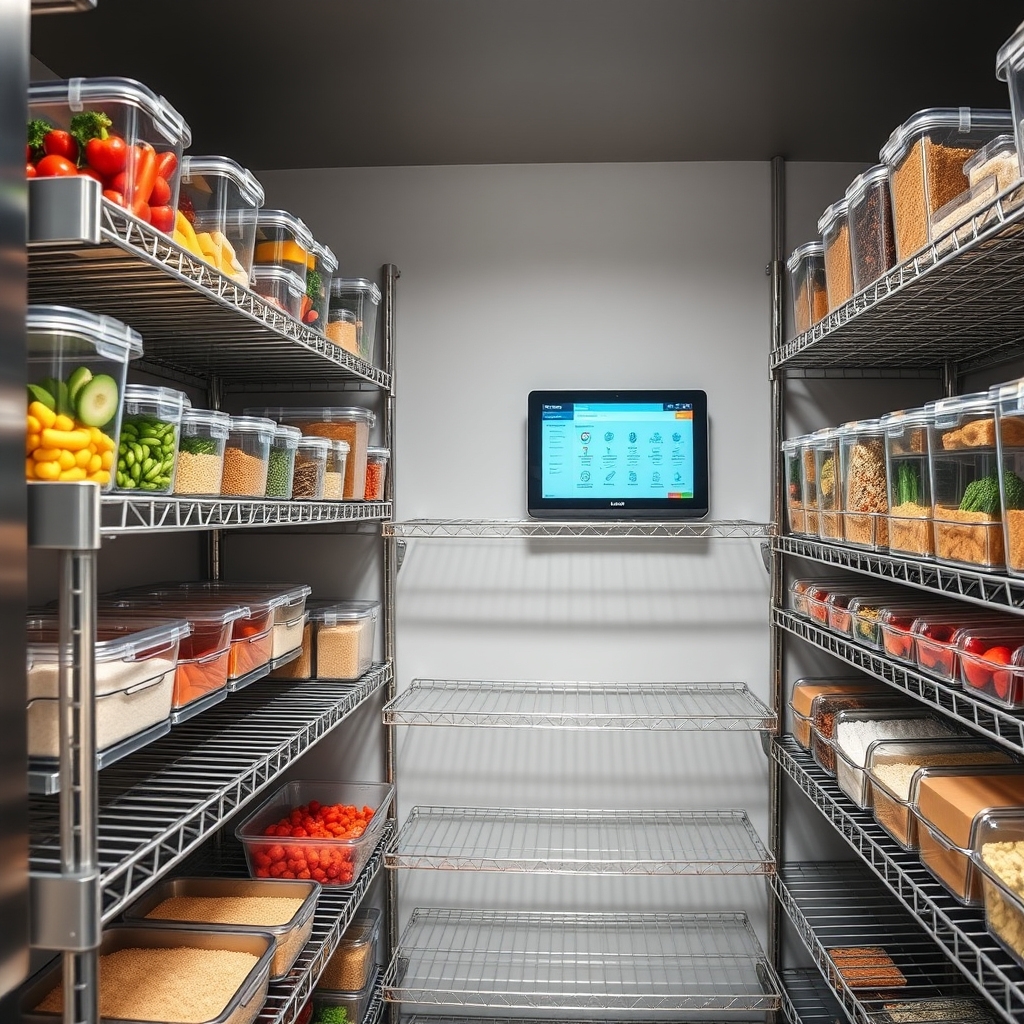
Effective inventory management is the backbone of any successful commercial kitchen operation. Without proper organization and tracking systems in place, kitchens risk overordering, food waste, and unnecessary expenses that can significantly impact their bottom line. A well-organized inventory system ensures that ingredients are used in the correct order, stock levels remain optimal, and food safety standards are consistently met.
Streamlined inventory management goes beyond simple stock counting – it’s about creating an efficient flow of goods from delivery to storage to preparation. When implemented correctly, a proper inventory system reduces time spent searching for items, minimizes emergency orders, and helps maintain consistent food costs. This organization system also helps kitchen staff maintain better control over food quality and freshness.
Required Items:
- Label maker
- Storage containers
- Clipboard and inventory sheets
- Shelving units
- Clear storage bins
- Date labels
- Permanent markers
- Digital scale
- Inventory tracking software
- Mobile device or tablet
- First-in, First-out (FIFO) labels
The organization process begins with implementing a standardized storage system. Designate specific zones for different categories of items – dry goods, refrigerated items, and frozen products. Install clear, adjustable shelving units and organize items by frequency of use, with frequently accessed items at eye level. Label all shelves and containers clearly with item names, par levels, and dating information.
Create a systematic inventory counting schedule, with daily counts for high-turnover items and weekly counts for slower-moving products. Implement a digital inventory management system that can track stock levels, automatically generate purchase orders, and provide usage reports. Train all staff members on proper receiving procedures, including quality checks and immediate proper storage of delivered items.
Additional Tips: Conduct regular audits of your inventory system to identify areas for improvement. Consider implementing a barcode scanning system for larger operations to reduce human error in counting. Maintain a minimum of two people responsible for inventory management to ensure consistency and accountability. Review and adjust par levels quarterly based on seasonal changes and business volume fluctuations.
Install Efficient Shelving Systems
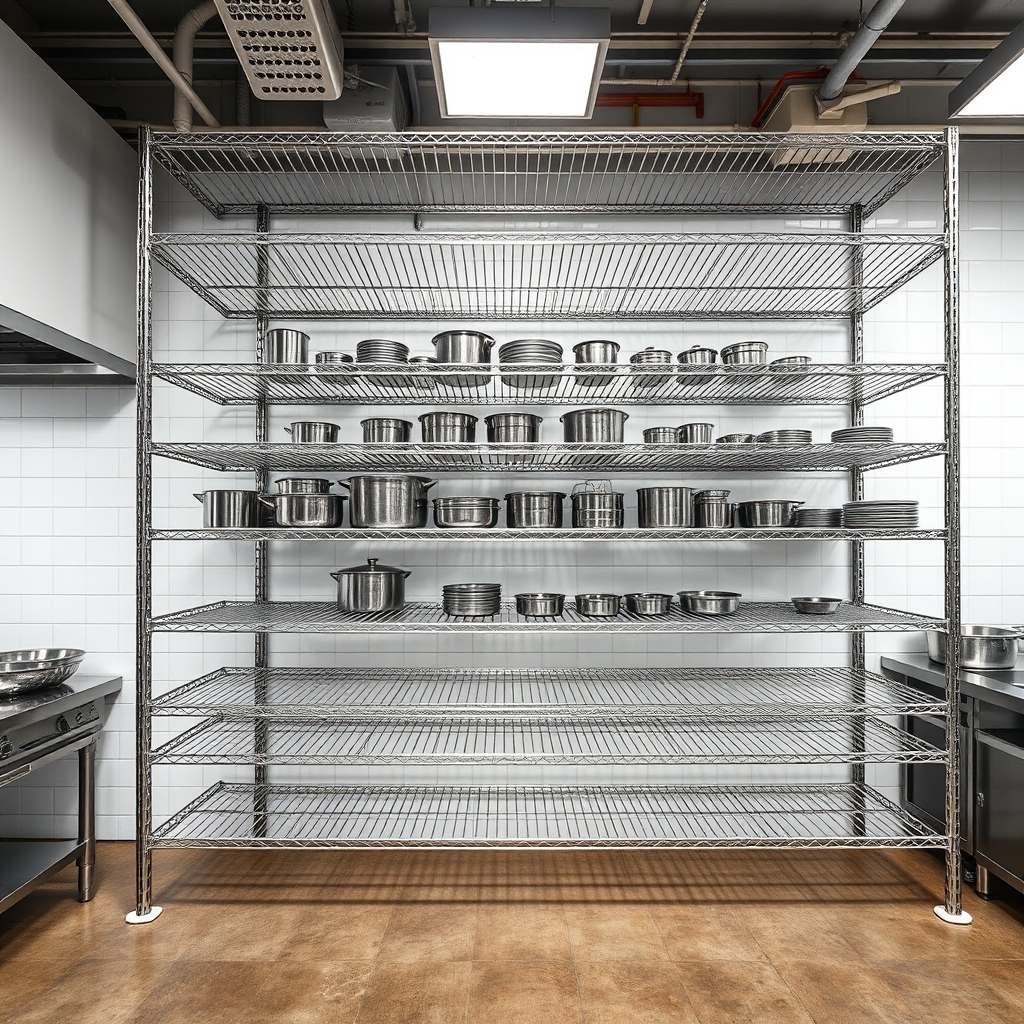
Proper shelving systems serve as the backbone of any well-organized commercial kitchen, directly impacting workflow efficiency and food safety compliance. A strategically planned shelving layout can reduce worker fatigue, minimize cross-contamination risks, and maximize available storage space while ensuring easy access to frequently used items.
Installing the right shelving systems not only streamlines daily operations but also helps maintain inventory control and cleanliness standards. When shelving is properly organized, staff can quickly locate items, rotate stock effectively, and maintain proper food storage temperatures, ultimately contributing to a more productive kitchen environment.
Required Items:
- NSF-certified wire shelving units
- Shelf labels and markers
- Measuring tape
- Level
- Assembly tools
- Wall anchors
- S-hooks and shelf clips
- Anti-slip shelf liners
- Storage containers
- Cleaning supplies
Start by measuring your available wall space and mapping out shelving locations based on workflow patterns and safety regulations. Install the heaviest-duty shelving units closest to prep areas for frequently accessed items, ensuring proper weight distribution and leaving adequate aisle space for staff movement.
Position shelves at varying heights to accommodate different container sizes, maintaining 6 inches of clearance from the floor for bottom shelves to meet health codes.
Create designated zones on shelving units based on food categories, equipment type, or preparation stages. Install wire shelving with adequate ventilation for proper air circulation, particularly in refrigerated areas. Implement a clear labeling system for each shelf section, indicating contents and organizing items by FIFO (First In, First Out) rotation method.
For optimal organization maintenance, train staff on proper shelf usage protocols and regular cleaning schedules. Consider installing additional features like shelf dividers or bins for smaller items, and regularly audit the system to ensure it continues meeting kitchen needs. Adjust shelf heights and locations as needed based on changing inventory requirements and workflow patterns.
Develop Clear Storage Container Standards
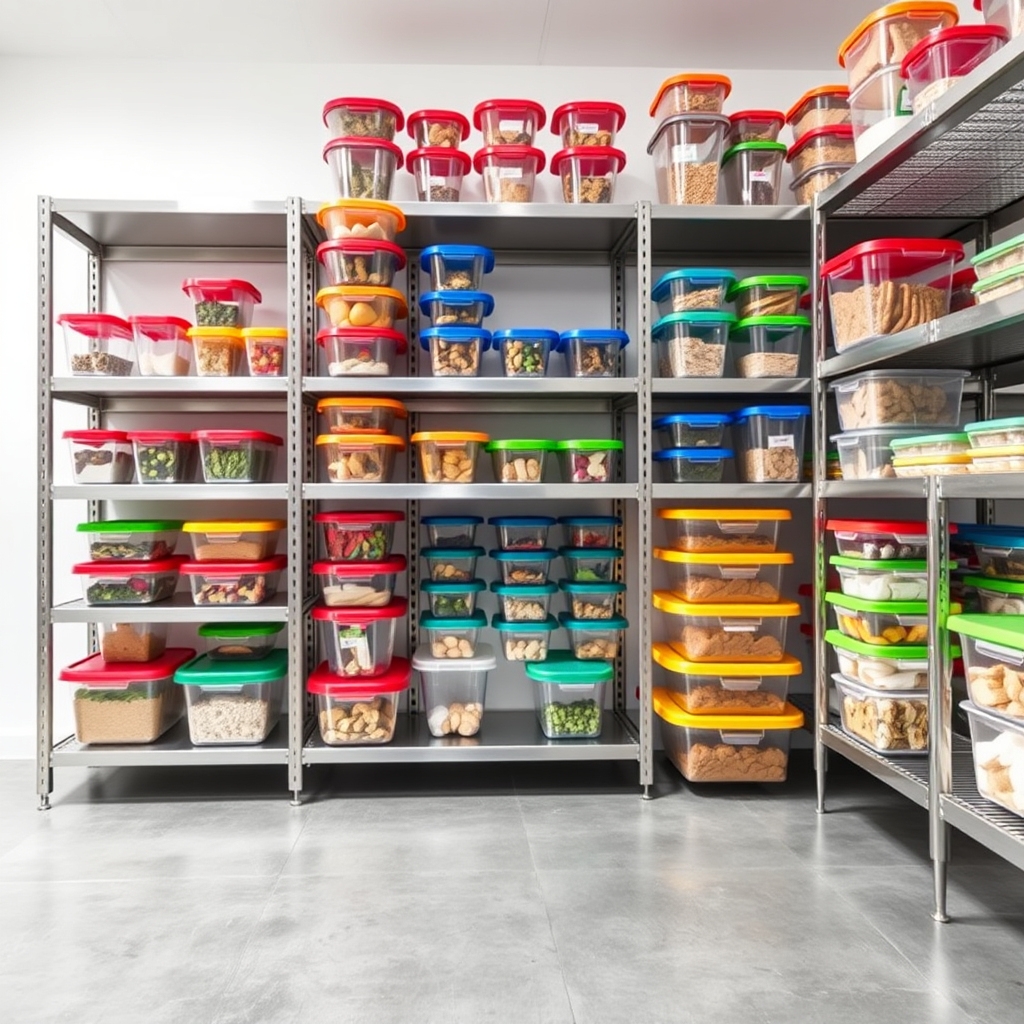
Proper storage container organization is crucial in any commercial kitchen, serving as the foundation for food safety, inventory management, and operational efficiency. Well-organized containers prevent cross-contamination, reduce food waste, and enable staff to quickly locate ingredients during busy service periods.
Standardizing storage containers creates a uniform system that all kitchen staff can easily follow and maintain. This consistency not only improves workflow but also helps maintain health code compliance and makes inventory tracking more accurate and efficient.
Required Items:
- Clear plastic storage containers
- Container labels
- Label maker
- Color-coded container lids
- Measuring cups/scales
- Storage racks
- Container size guide chart
- Food rotation labels
- Permanent markers
- Sanitizing supplies
The standardization process begins with selecting a uniform brand and style of containers in various sizes that stack efficiently. Implement a color-coding system for lids based on food categories: red for raw meat, blue for seafood, green for produce, and yellow for prepared items.
Label each container clearly with contents, date, and storage requirements using waterproof labels. Create designated zones in storage areas for different container sizes, maintaining the FIFO (First In, First Out) system.
Additional Tips: Conduct regular audits of storage containers to ensure compliance with standards. Replace damaged containers immediately to maintain system integrity. Train new staff thoroughly on container protocols and post visual guides in storage areas.
Consider implementing a regular cleaning schedule for all containers and storage areas, and designate a team member to oversee container organization compliance.

