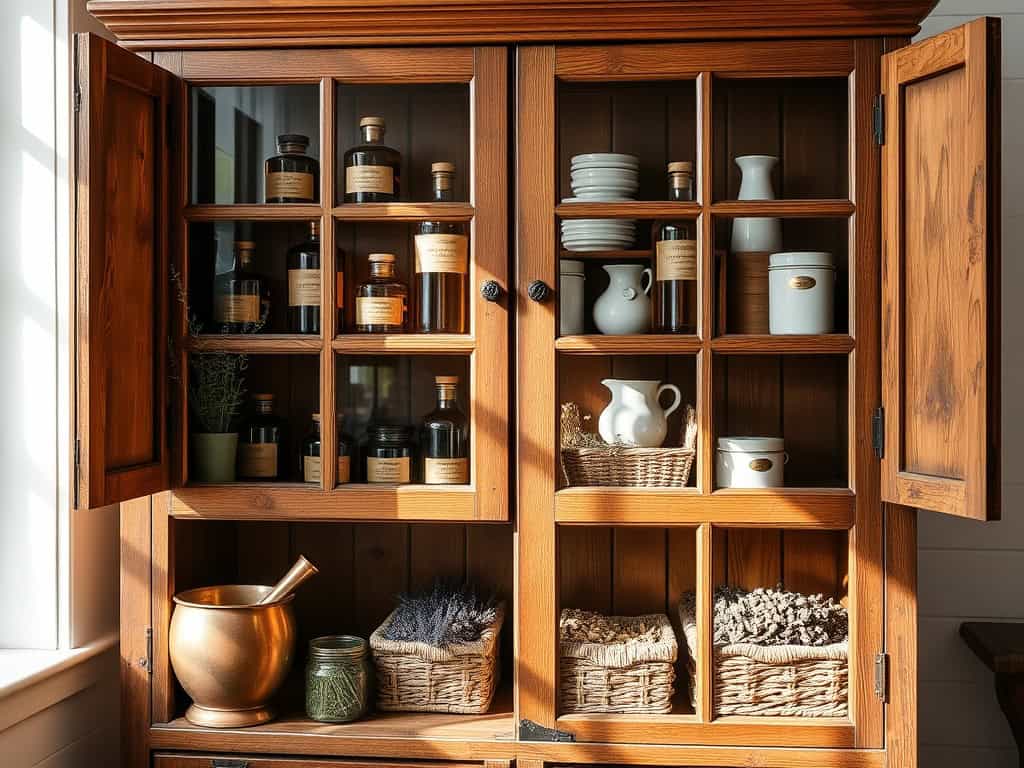
Recent surveys show that 73% of natural wellness enthusiasts struggle to organize their botanical supplies effectively. If you’re looking to transform your home’s healing space, you’ll love discovering how to blend style with function through strategic storage solutions. From vintage apothecary cabinets that tell a story to modern floating shelves that maximize space, these nine creative ideas will help you craft an organized wellness sanctuary that’s both beautiful and practical.

Vintage Apothecary Cabinets: Blending History With Function
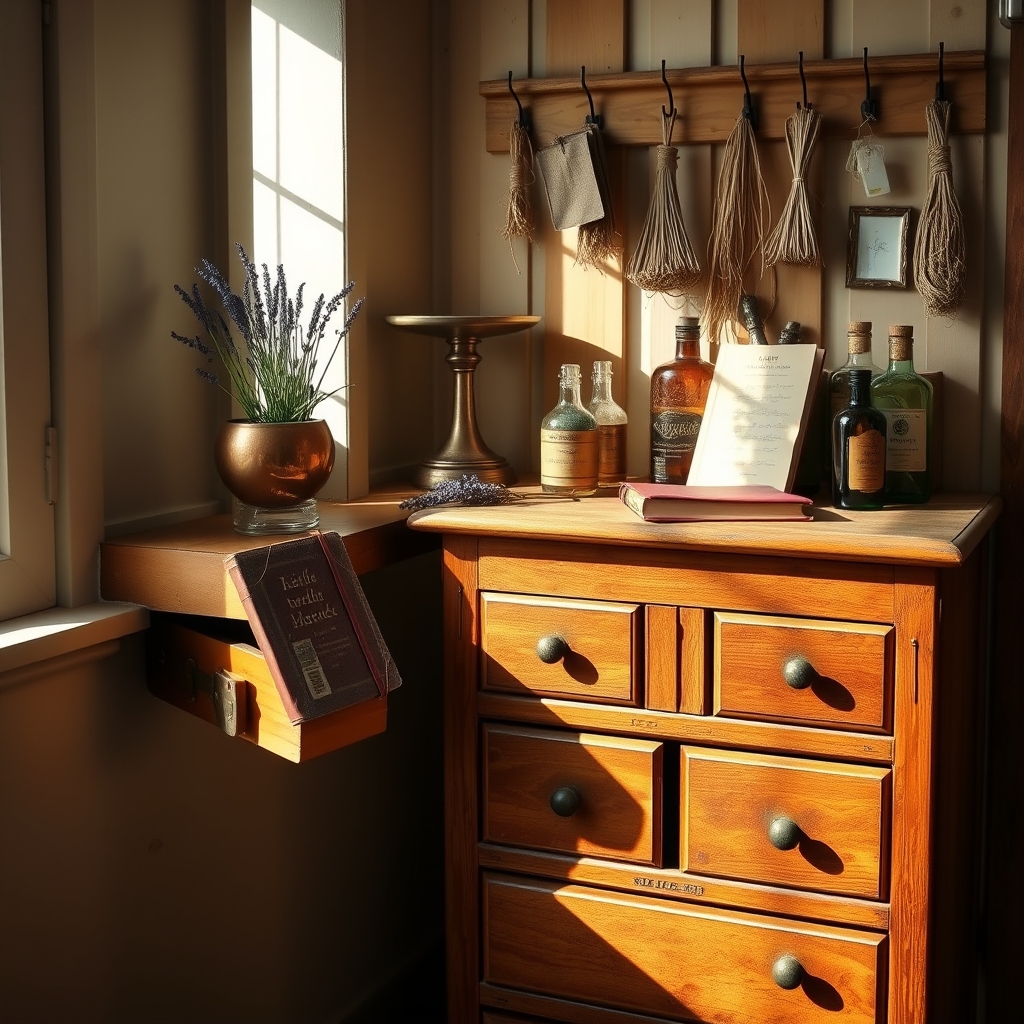
Vintage apothecary cabinets represent more than just storage solutions; they embody a perfect marriage of historical charm and practical functionality.
These timeless pieces, with their multiple drawers and compartments, originally designed for storing medicinal herbs and compounds, now serve as ideal storage systems for modern home remedies, herbs, and wellness supplies.
The key to successfully organizing a vintage apothecary cabinet lies in creating a system that honors both its historical significance and meets contemporary storage needs.
When properly arranged, these cabinets become functional pieces of art that keep healing supplies accessible while adding character to any space.
Required Items:
- Vintage apothecary cabinet
- Glass jars or containers
- Labels and label maker
- Drawer liners
- Small organizing boxes or dividers
- Cleaning supplies
- Cotton or linen bags
- Measuring spoons
- Small funnels
- Inventory notebook
- Preservation materials (silica gel packets)
Begin by thoroughly cleaning and restoring your vintage cabinet, ensuring all drawers slide smoothly and checking for any needed repairs.
Sort your herbs, remedies, and supplies into categories: dried herbs, tinctures, essential oils, and tools.
Assign specific drawers or sections based on frequency of use, with commonly accessed items placed at eye level.
Line each drawer with appropriate material to protect both the wood and contents.
Create a logical organization system within each drawer using small boxes or dividers.
Place items in appropriate containers – glass jars for dried herbs, dark bottles for light-sensitive materials, and cotton bags for delicate items.
Label everything clearly with contents and dates.
Maintain a detailed inventory system, noting locations of items and their expiration dates.
For optimal preservation and organization, store light-sensitive items in darker bottom drawers, keep volatile oils separate from dry herbs, and maintain adequate air circulation.
Consider creating a reference guide attached to the inside of the cabinet door listing contents and their locations.
Regularly audit your supplies, rotating older items forward and replacing expired products to maintain an efficient and safe storage system.
Glass Jar Collections With Custom Labels
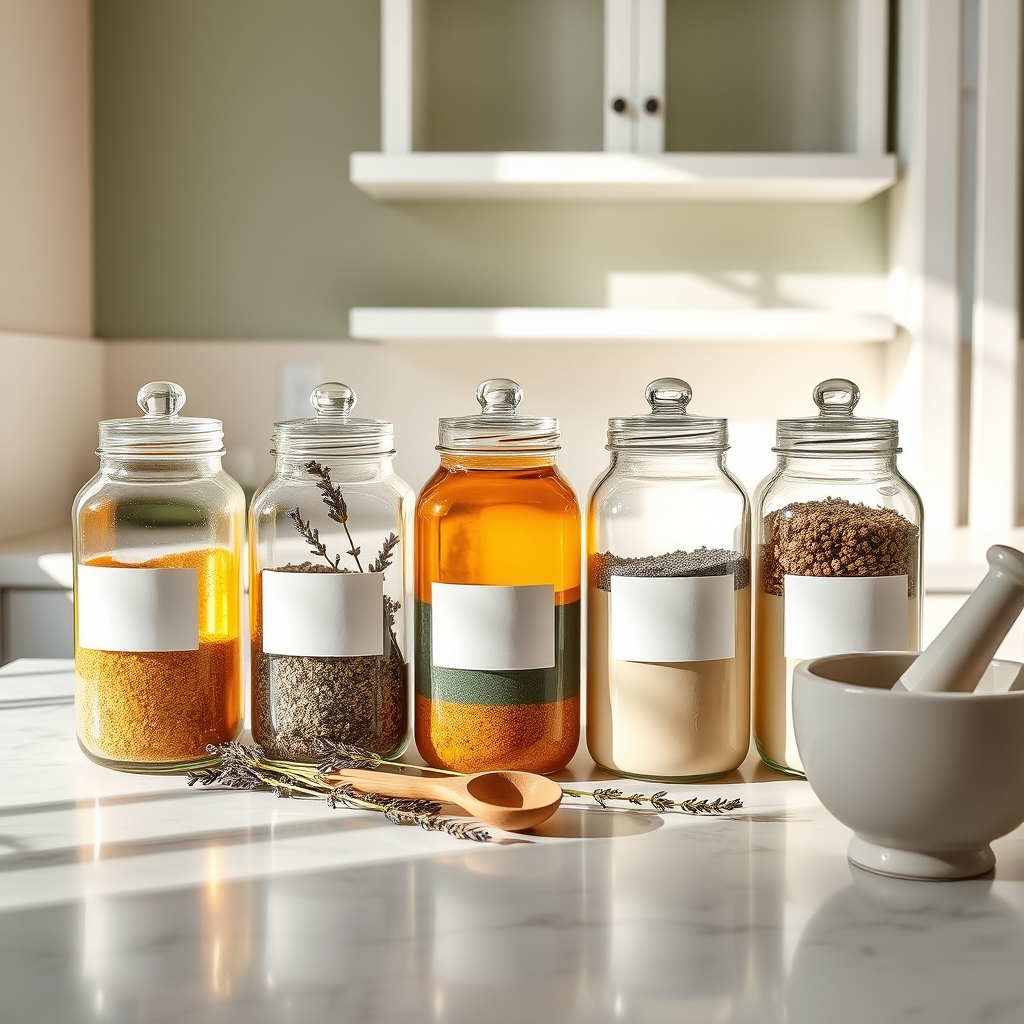
A well-organized glass jar collection is essential for any home apothecary, providing clear visibility of contents while maintaining the integrity and freshness of herbs, tinctures, and medicinal ingredients. Proper labeling ensures safety, prevents confusion, and creates an efficient system for accessing remedies when needed.
The combination of uniform glass containers and customized labels transforms a cluttered collection into an aesthetically pleasing and functional storage system. This organization method not only preserves the quality of natural remedies but also creates an inviting space that encourages regular use and maintenance of your home apothecary.
Required Items:
- Glass jars in various sizes
- Waterproof labels or label maker
- Fine-point permanent marker
- Clear adhesive tape
- Glass cleaner
- Microfiber cloth
- Small funnel
- Measuring spoons
- Storage baskets or trays
- Label removal solution
- Airtight lids or closures
The organization process starts with thoroughly cleaning all glass jars and removing old labels using appropriate solutions. Sort jars by size and intended contents, ensuring each container has a properly fitting lid.
Group similar items together – dried herbs in one section, tinctures in another, and powdered ingredients in their own category. Transfer contents carefully using funnels and measuring spoons to minimize waste and contamination.
Create detailed labels including the ingredient name, date of packaging, and expiration date if applicable. For medicinal preparations, include dosage information and potential contraindications.
Apply labels at consistent heights on all containers, and cover with clear tape for water resistance if needed. Arrange jars by frequency of use, keeping commonly used items at eye level and within easy reach.
Additional Tips:
Store glass jars away from direct sunlight and heat sources to protect contents from degradation. Implement a quarterly review system to check expiration dates and jar integrity.
Consider using color-coded labels or zones for different categories of ingredients, and maintain a master inventory list for easy reference and restocking purposes. Always leave some empty jars on hand for new additions to your collection.
Modern Floating Shelf Displays
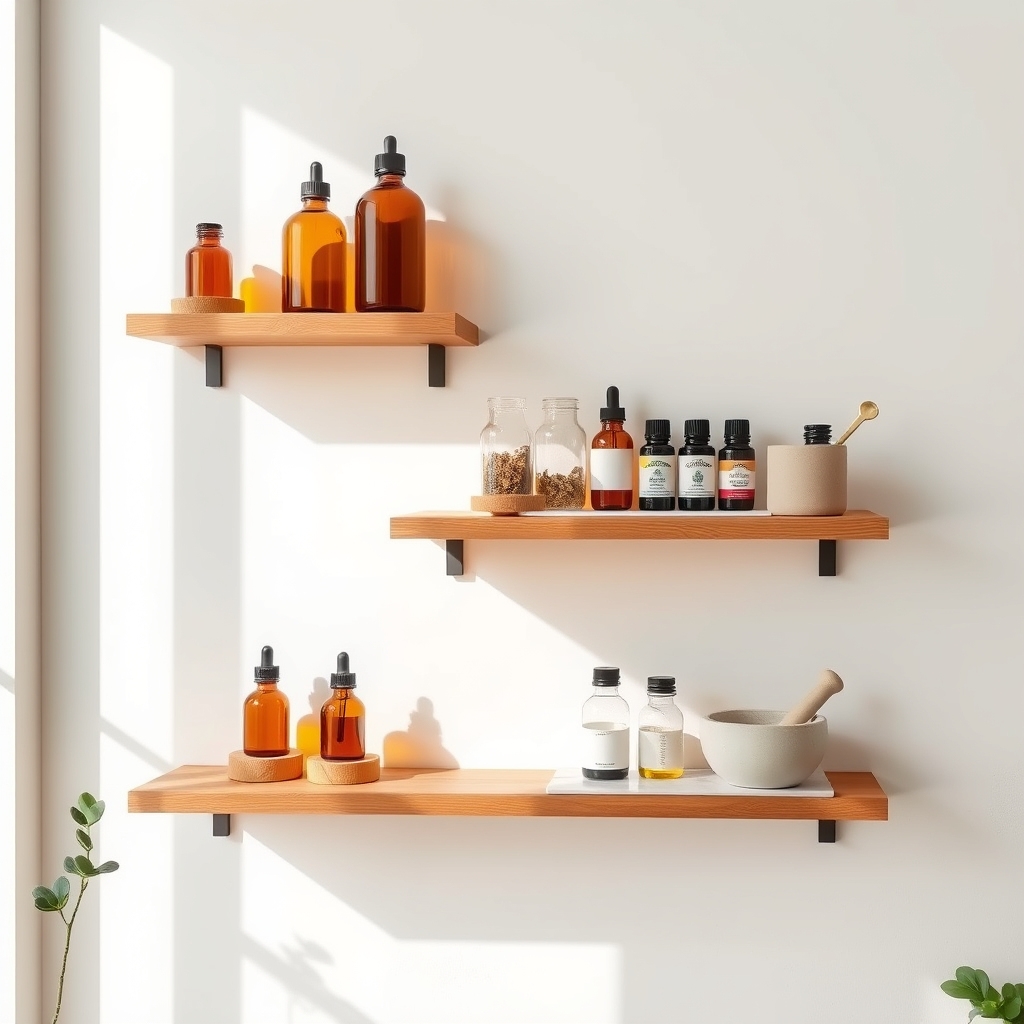
Modern floating shelves have revolutionized the way we store and display home apothecary items, offering a sleek and contemporary solution that combines functionality with aesthetic appeal.
These minimalist storage solutions not only maximize vertical wall space but also create an organized and accessible system for herbs, tinctures, and wellness supplies.
The key to a successful floating shelf display lies in creating a balance between visual appeal and practical organization. When properly arranged, these displays can transform a cluttered collection of wellness items into an artistic installation that enhances your space while keeping essential items within easy reach.
Required Items:
- Floating shelves (various sizes)
- Level
- Drill and mounting hardware
- Clear glass jars with airtight lids
- Labels and label maker
- Small baskets or organizers
- LED strip lighting (optional)
- Shelf risers
- Glass droppers and measuring spoons
- Small trays or catch-all dishes
The organization process begins with mounting the floating shelves at varying heights, ensuring adequate space between each level for different-sized containers.
Arrange larger items and frequently used supplies at eye level, while storing lesser-used items on higher shelves. Group similar items together – keeping dried herbs in one section, tinctures in another, and essential oils in their own designated area.
Create visual harmony by using matching glass containers and consistent labeling systems. Incorporate small risers or tiered organizers to maximize vertical space within each shelf.
Position items with consideration for both accessibility and aesthetic appeal, maintaining clear sight lines to all products while creating a visually pleasing arrangement.
Additional Tips: Incorporate proper lighting to highlight your display and make items easier to locate. Use drawer organizers or small trays to contain similar items and prevent spillage.
Regular maintenance is crucial – review contents monthly, checking expiration dates and refreshing labels as needed. Consider leaving some negative space on shelves to prevent a cluttered appearance and allow for future additions to your collection.
Repurposed Kitchen Hutch Organization
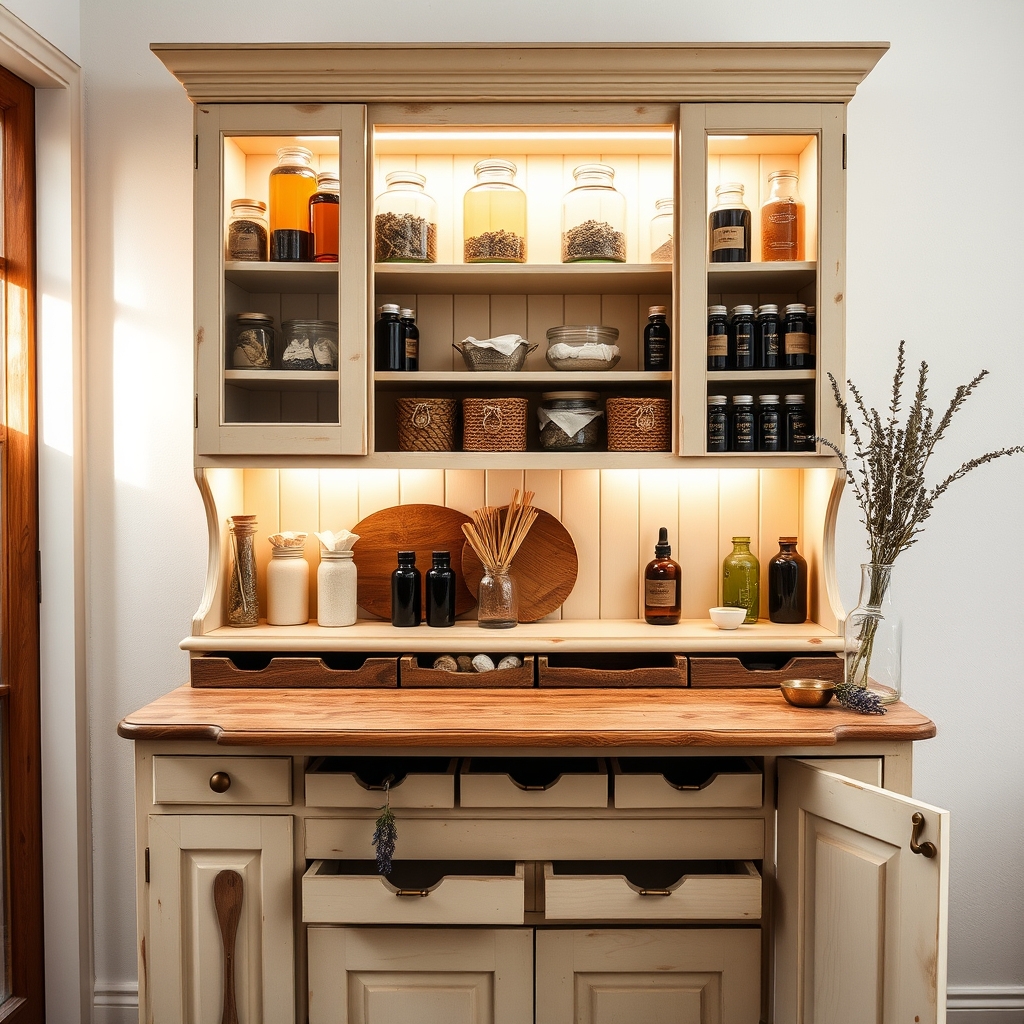
A well-organized kitchen hutch transformed into an apothecary storage system creates a functional and aesthetic space for natural remedies, herbs, tinctures, and wellness supplies. Converting this traditional piece of furniture allows easy access to healing elements while maintaining the charm of vintage furniture in your home.
Proper organization of a repurposed hutch ensures that healing ingredients remain fresh, clearly labeled, and readily available when needed. This systematic approach to storage not only preserves the potency of natural remedies but also creates an efficient workflow for preparing treatments and maintaining inventory.
Required Items:
- Kitchen hutch with shelving and drawers
- Glass storage jars in various sizes
- Labels and marker
- Small baskets or organizers
- Drawer dividers
- LED strip lighting
- Moisture absorbers
- Cleaning supplies
- Clear containers for bulk items
- Small measuring tools
- Storage bins for supplies
The organization process begins with thoroughly cleaning the hutch and assessing the available space. Divide the hutch into distinct zones: upper shelves for frequently used items and clearly labeled jars of dried herbs, middle section for tinctures and essential oils that require minimal light exposure, and lower cabinets for bulk storage and less frequently used supplies.
Install LED strip lighting to illuminate dark corners and ensure proper visibility of labels and contents. The drawers should be fitted with dividers to separate smaller items such as measuring spoons, droppers, and empty bottles. Arrange herbs alphabetically or by category (respiratory, digestive, immune support) to create an intuitive system. Store light-sensitive items in amber glass containers and place them in the darker areas of the hutch.
For maximum organization effectiveness, maintain a detailed inventory list inside one of the cabinet doors, regularly check expiration dates, and rotate stock as needed. Consider installing a small hygrometer to monitor humidity levels and use moisture absorbers in areas storing moisture-sensitive items. Keep frequently used items at eye level and ensure all containers are properly sealed to maintain the quality of their contents.
Wall-Mounted Herb Drying Racks
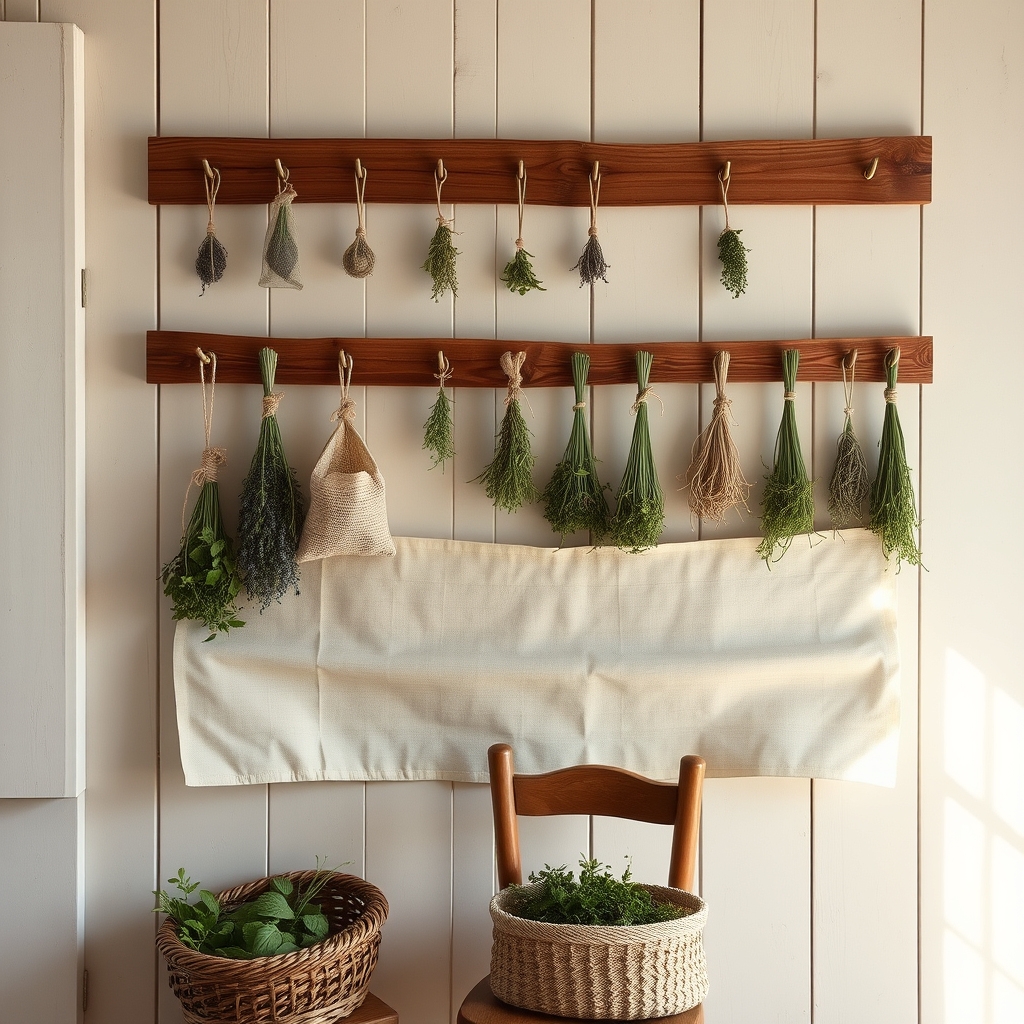
Properly organized herb drying racks are essential for any home herbalist or natural medicine enthusiast. A well-planned wall-mounted system not only preserves herbs effectively but also creates an efficient workspace that allows for proper air circulation and easy access to drying materials.
Wall-mounted herb drying racks transform unused vertical space into a functional drying station while keeping delicate herbs protected from dust, direct sunlight, and moisture. This organization method helps maintain the potency and quality of dried herbs while adding an aesthetic element to your home apothecary.
Required Items:
- Wooden or metal drying racks
- Wall anchors and screws
- Level
- Drill
- Measuring tape
- Paper tags or labels
- Twine or string
- Small hooks or S-hooks
- Mesh screens or cheesecloth
- Clean scissors
Installing and organizing wall-mounted herb drying racks requires careful planning and execution. Begin by selecting a location away from direct sunlight and moisture, ideally in a well-ventilated area. Mount the racks at comfortable reaching height, ensuring they’re properly anchored to support the weight of multiple herb bundles.
Space racks vertically with at least 12 inches between them to allow proper air circulation and easy access to herbs at different drying stages. Create a systematic arrangement by designating specific areas for different herb types or drying stages. Attach small hooks at regular intervals along the racks for hanging herb bundles.
Use breathable mesh screens or cheesecloth on some levels to accommodate loose herbs or flowers that can’t be bundled. Label each section clearly to track drying times and herb varieties.
For optimal results, regularly inspect herbs for proper drying progress and rotate bundles as needed. Install hooks at varying heights to accommodate different bundle sizes and maintain adequate spacing between herbs.
Consider adding a small fan nearby for improved air circulation during humid conditions, and keep a log of drying times for different herbs to refine your process over time.
Antique Medicine Box Storage Solutions

Antique medicine boxes offer a perfect blend of nostalgia and functionality for storing modern wellness supplies. These vintage pieces not only provide practical storage solutions but also add character and charm to any space while keeping remedies organized and easily accessible.
Proper organization of antique medicine boxes requires careful consideration of both preservation and practicality. These historical pieces often feature multiple compartments, drawers, and specialized spaces that can be repurposed for contemporary storage needs while maintaining their original aesthetic appeal.
Required Items:
- Antique medicine box
- Acid-free tissue paper
- Small glass bottles or containers
- Labels and label maker
- Cotton swabs and soft cloths
- Wood polish or preservative
- Dividers or small organizers
- Moisture absorbers
- Small measuring spoons
- Clean dropper bottles
The organization process begins with thoroughly cleaning and preparing the antique medicine box. Remove all drawers and compartments, clean them with appropriate wood-safe products, and line them with acid-free tissue paper to protect both the box and its contents.
Sort items by category, such as tinctures, dried herbs, essential oils, and first aid supplies. Use small glass bottles or original containers that fit within the compartments, ensuring they’re properly labeled with contents and dates.
Create a logical arrangement by placing frequently used items in easily accessible drawers or compartments. Reserve top sections for commonly accessed supplies, middle sections for regularly used items, and bottom drawers for less frequently needed materials.
Consider using small dividers or organizers within larger compartments to maintain order and prevent items from shifting.
Additional Tips: Maintain the integrity of your antique medicine box by keeping it away from direct sunlight and extreme temperature changes. Regularly check for moisture accumulation and rotate stored items to ensure freshness.
Create an inventory system with a small notebook or digital document to track contents and expiration dates, making restocking and maintenance more efficient.
Rotating Carousel Systems for Essential Oils

Proper organization of essential oils is crucial for any home apothecary, as these potent botanical extracts require careful storage and easy accessibility. A rotating carousel system provides an elegant solution to keep oils visible, protected, and readily available while maximizing limited counter or shelf space.
When essential oils are properly organized in a carousel system, you can quickly locate specific oils for blending, aromatherapy, or medicinal purposes. This systematic approach not only preserves the quality of your oils but also helps track inventory and expiration dates while creating an aesthetically pleasing display that enhances your home apothecary’s functionality.
Required Items:
- Rotating carousel organizer (tiered)
- Label maker or waterproof labels
- Small measuring tape
- Oil bottle size guide
- Storage containers for excess stock
- UV-protective bottles (if transferring oils)
- Inventory tracking sheet
- Cleaning cloth
- Essential oil test strips (optional)
Start by measuring your available space and selecting an appropriately sized carousel that accommodates your collection. Sort oils by category (citrus, florals, woods, etc.) or frequency of use. Place frequently used oils on the middle tier for easiest access, with less commonly used oils on upper tiers.
Arrange bottles with labels facing outward, grouping similar heights together for stability. Ensure the carousel rotates smoothly without bottles touching or rattling.
For optimal organization, implement a color-coding system using labels or dots to quickly identify oil categories. Position thicker or heavier bottles toward the center of each tier for better balance. Leave space between bottles for easy removal and replace any damaged or illegible labels. Consider adding a small reference chart listing common oil combinations to the base of the carousel.
Additional Tips: Maintain your carousel system by regularly checking for expired oils and updating your inventory list. Store backup bottles in a separate, dark location to preserve their potency. Clean the carousel monthly with a non-toxic cleaner to prevent oil residue buildup.
Position the carousel away from direct sunlight and heat sources, ideally in a cool, dry area of your apothecary space.
Botanical Print Storage Boxes and Bins
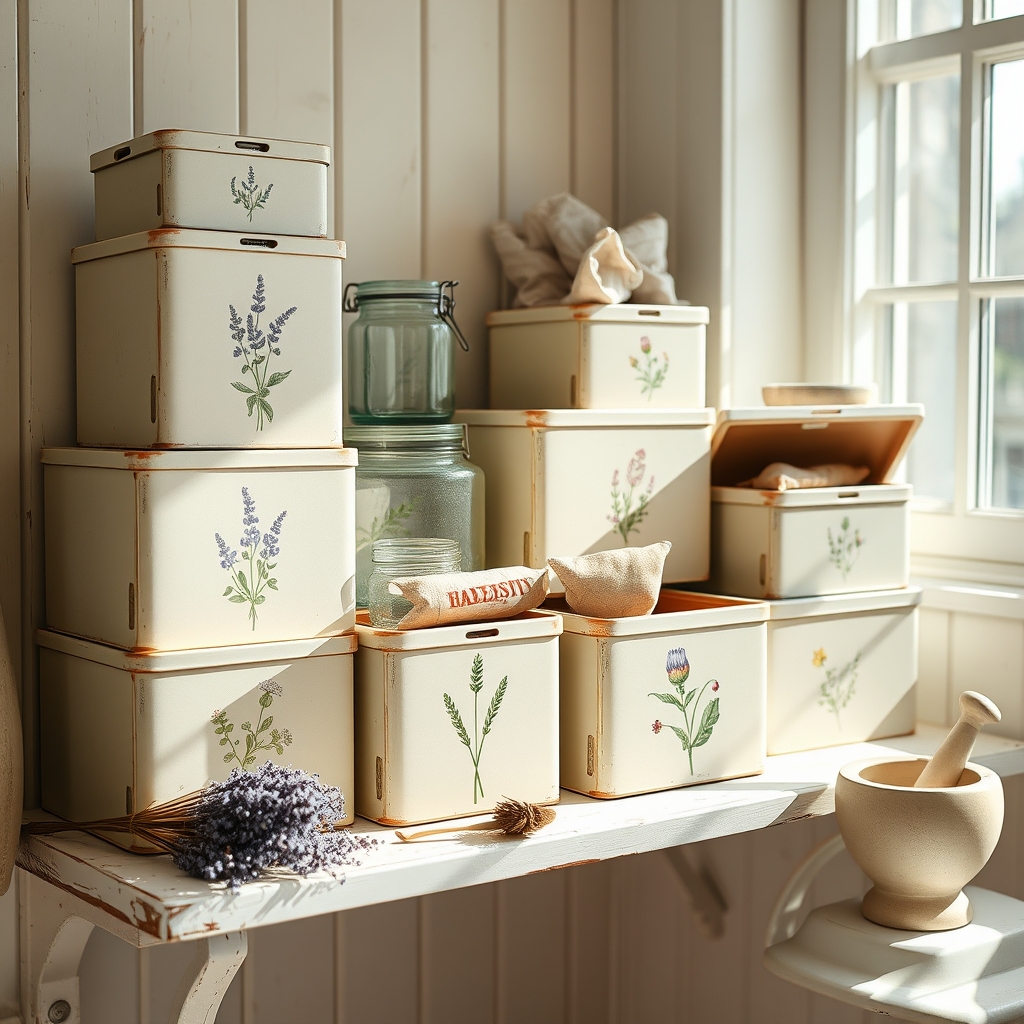
Organizing herbal remedies and natural medicines in botanical print storage boxes and bins creates both a functional and aesthetically pleasing home apothecary system. The combination of beautiful botanical designs with practical storage solutions helps maintain the traditional essence of herbal medicine while ensuring products remain properly organized and easily accessible.
Botanical print storage solutions not only protect delicate herbs, tinctures, and remedies from light and moisture but also create a cohesive visual theme that transforms your storage space into an elegant display. This organized system allows for quick identification of items and helps maintain the integrity of natural products through proper segregation and storage.
Required Items:
- Botanical print storage boxes (various sizes)
- Label maker or decorative labels
- Dividers
- Clear glass jars
- Cotton bags
- Acid-free tissue paper
- Measuring spoons
- Small baskets
- Moisture absorbers
- Temperature gauge
Start by sorting all apothecary items into categories such as dried herbs, tinctures, essential oils, and prepared remedies. Select appropriately sized botanical print boxes for each category, ensuring they provide adequate protection from light and air.
Place larger items in individual boxes and group smaller items together using dividers within larger containers. Line each box with acid-free tissue paper to protect against moisture and dust.
For optimal organization, create a logical arrangement within each box based on frequency of use and related applications. Place frequently used items toward the front of boxes and seasonal items toward the back.
Install clear labels on both the front and top of each box, including contents and expiration dates. Consider using a color-coding system for different categories of remedies.
Additional Tips: Maintain an inventory list for each box and update it regularly. Store boxes away from direct sunlight and heat sources, preferably in a cool, dry location.
Check contents monthly for signs of degradation or moisture damage, and rotate items based on expiration dates. Consider adding lavender sachets or cedar blocks to naturally repel insects and maintain freshness.
Multi-Tiered Rolling Cart Arrangements
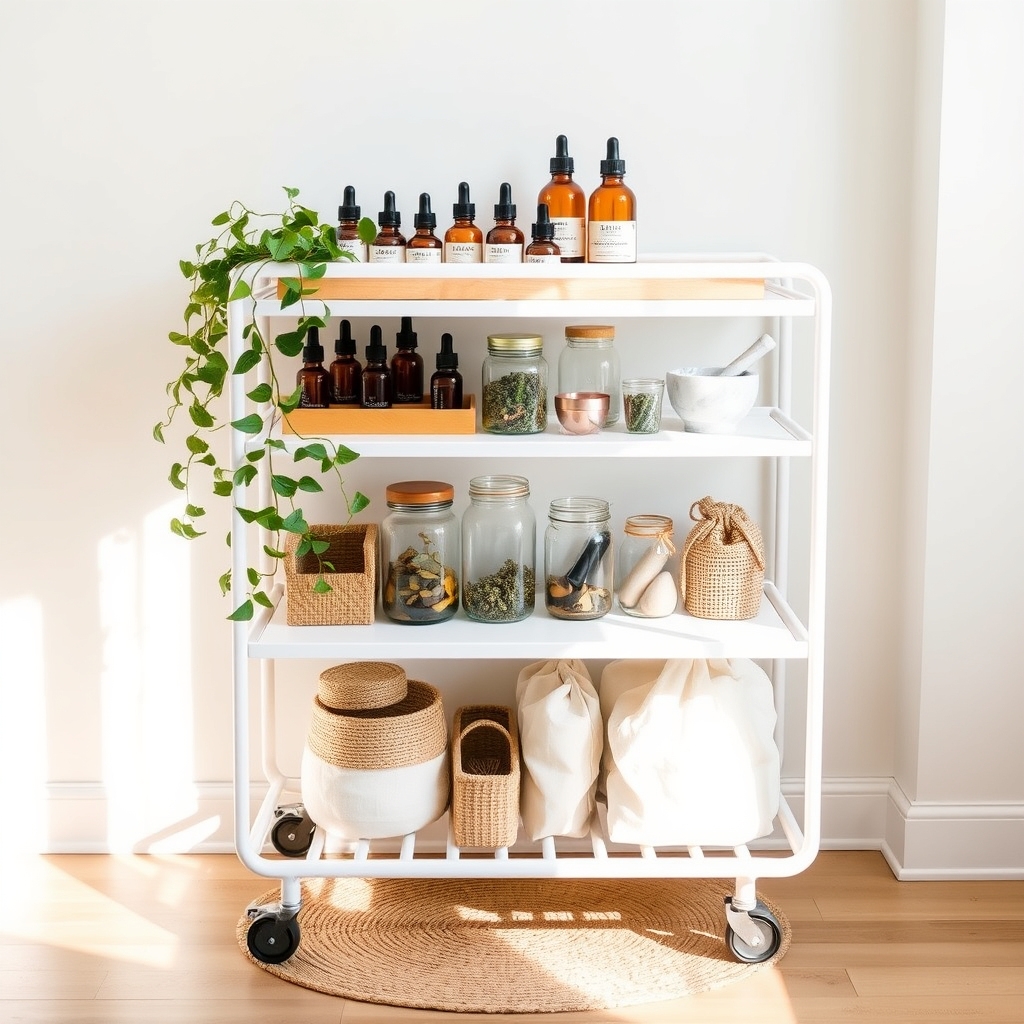
A well-organized multi-tiered rolling cart serves as a mobile command center for home remedies, herbal preparations, and wellness supplies. By strategically arranging items across different levels, you create an efficient system that maximizes space while keeping everything easily accessible and visible.
The mobility of a rolling cart allows you to move your apothecary supplies between preparation areas, storage spaces, and usage locations, making it ideal for both small apartments and larger homes. This versatile storage solution adapts to changing needs while maintaining order among bottles, jars, and preparation tools.
Required Items:
- Multi-tiered rolling cart (3-5 tiers)
- Clear storage containers
- Label maker or waterproof labels
- Small baskets or dividers
- Drawer liners or non-slip mats
- Glass jars or containers
- Measuring tools
- Small bins for categorization
- Protective covers or dust shields
Organize the cart by designating specific functions to each tier, starting from top to bottom. Reserve the top tier for frequently used items and daily preparations. Place regularly accessed herbs, tinctures, and essential oils on the second tier, grouped by purpose or type.
Dedicate the middle tiers to supplies like empty bottles, measuring tools, and preparation equipment. Use the bottom tier for bulk items and less frequently accessed supplies.
Sort items within each tier using small containers or dividers to prevent shifting during movement. Implement a clear labeling system that includes both the contents and expiration dates. Consider using color-coding or symbols to quickly identify different categories of items, such as medicinal herbs versus culinary herbs, or first aid supplies versus daily supplements.
To maintain organization and functionality, conduct monthly assessments of your cart arrangement. Rotate seasonal items to more accessible levels when needed, check expiration dates, and adjust categories based on usage patterns.
Consider installing small hooks on the sides of the cart for hanging tools or storing frequently used reference materials, maximizing every available space while maintaining orderly access to all supplies.

