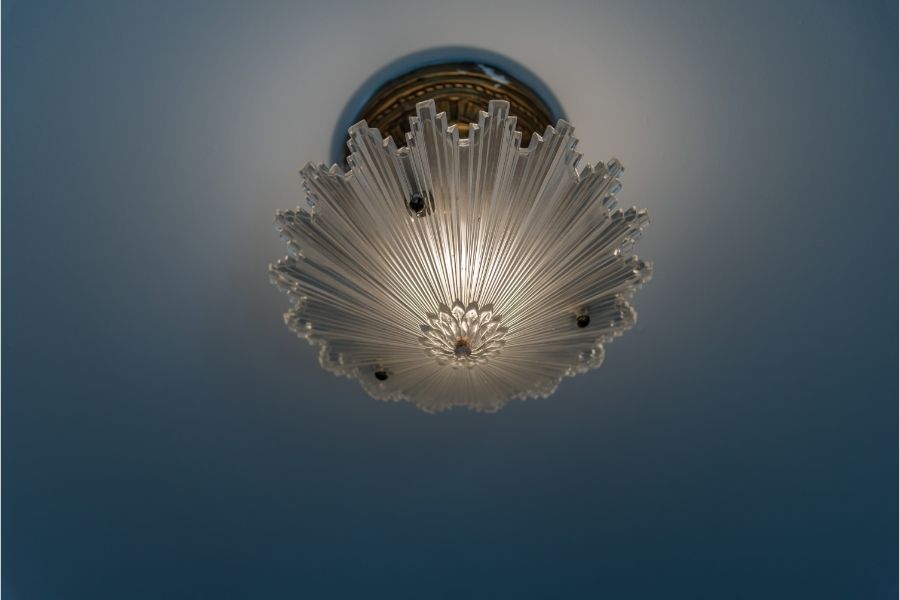
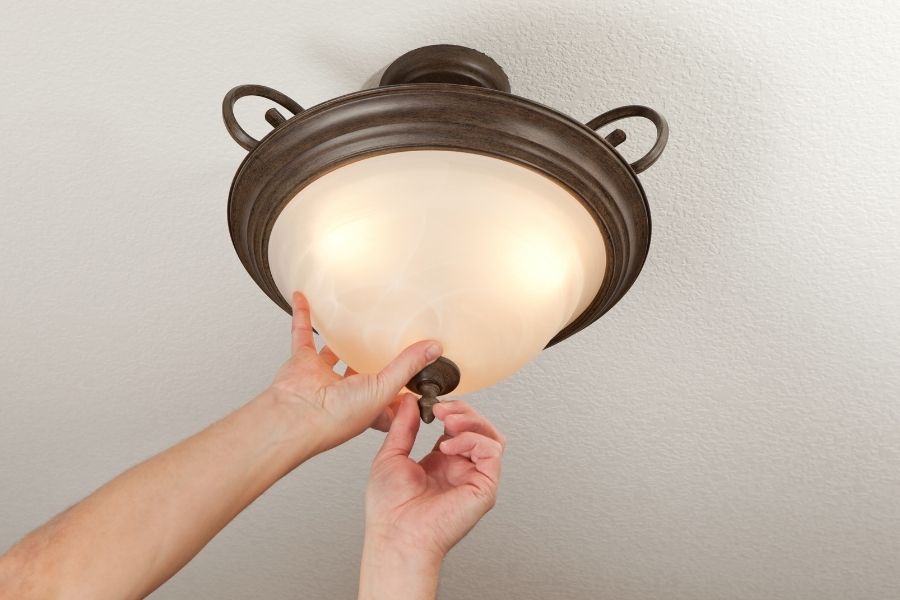
If you need to clean your ceiling light, change the bulb or replace the cover, it is possible to do it only when you take off the light cover.
Removing the cover of the light is a simple task; however, if you don’t know how to remove ceiling light cover with clips, don’t worry. After reading our step-by-step guide, you will soon be doing it like a professional.

Components of a Light Fixture
Before we go ahead with discussing how to remove the ceiling light cover having clips, it is important for you to know the various components of a ceiling light fixture. Typically, a light fixture comprises a body with one or more bulbs and a cover. The cover encloses the light fixture and protects it from getting dirty or damaged.
The ceiling light fixture cover is commonly made from materials like plastic, acrylic, glass, etc., comes in various sizes, designs, shapes and styles and is usually fixed with the help of clips or screws.
When removing the ceiling light cover with clips, the process of removing it is quite different from one that has screws or doesn’t have any. So, you must handle removing the light cover with clips and the ones with screws differently.
Ceiling lights with metal clips usually have a circular metal clip that holds the cover in place. And, by removing the clip, you can take out the cover easily. However, you must be very careful when removing the light fixture cover without damaging it or any other part of the light fixture.
In the section below, we have gone through the process of removing a ceiling light cover step-by-step so that you can do it on your own easily.
How to Remove Ceiling Light Cover With Clips

1. Turn Off the Power and Allow the Light Fixture to Cool
Firstly, switch off the circuit breaker powering the light fixture that you want to remove. This will keep you safe from getting a shock or electrocution in case any of your tools touch the electric socket. If the light was on recently, then the light fixture may be too hot to handle because of the heat of the bulb.
So, it is a good idea to let the light fixture cool down before you touch it, lest you burn your hands. You may have to wait for around 5 to 10 minutes before the fixture cools down fully, depending on the bulb it contains. Once the light fixture has cooled down, you can handle it safely.
2. Setup a Stool or Ladder
You will need a stool or ladder to reach the ceiling light. However, ensure that the stool or ladder is sturdy, firm and does not shake under you. Position the stool or ladder under the light directly or at some distance, depending on your comfort.
You can also place a mat under the ladder to provide some traction and prevent the ladder from sliding. It is a good idea to have a family member or friend near the stool or ladder to hold it in while to get on/off it and also to hold onto the tools so that you’re able to remove the ceiling light cover easily and comfortably.
3. Wear Gloves
Before you get to removing the light cover with clips, make sure to wear gloves. This is because the clips are small and sharp and can cut your fingers when you’re removing the light cover.
So, it is recommended that you use a pair of gardening or mechanic gloves, which are sturdy and will protect your hands from being injured by the clips holding the light cover.
4. Locate and Remove the Clip
To remove the glass of the light fixture, the clips holding it must be loose. Identify which clips are loose and can pull back or be removed. In the case of removable clips, then using a tool, remove the clips without damaging the light. If they can’t be removed, then locate the clips that pull back.
Hold the cover of the light in place, pull the clips back gently. The clip is spring-loaded and will pull back to about ½ an inch allowing you to dip the fixture’s rim under the clip.
Once you do that, allow the clip to slide back into its original place. Next, pull the cover of the light away from the other remaining clips by applying extra pressure.
While removing the clips, make sure to hold onto the cover of the light with one hand otherwise, it can fall to the ground and break. Once the clips are removed, then you can detach the light cover from underneath the clips, which will free it from the mount.
5. Clean the Light Fixture
Now that you have the ceiling light cover off, clean the light or the glass as required. Remove the dirt and debris on the inner part of the light cover and clean it with a damp cloth. Also, clean the other parts of the light fixture such as the light bulb(s), etc.
Wipe the interior portion of the recessed area in the light fixture. If you need to replace any damaged bulbs in the light fixture or if you want to change the light cover with another one because the old one is damaged or you simply want to get a new one, then you can do it.
Once you’re done, you can put back the light cover by simply following the same process that we have discussed in the article, but in reverse.
So, to conclude, removing a ceiling light cover having clips is quite straightforward and not very difficult and you don’t need to hire a professional to do it.
All you need to do is understand the steps and follow them carefully. And, by following the steps sequentially, you can take off the ceiling light cover very easily every time you need to clean it or replace the bulb inside without any hassle.

