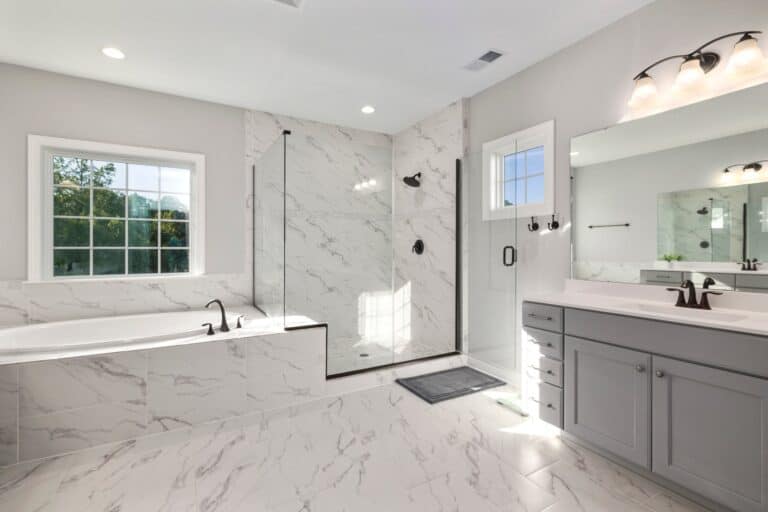
Are you tired of slipping and sliding on your bathroom rug? Don’t worry, we’ve got you covered! In this article, we’ll show you how to make your bathroom rugs non-slip so you can step out of the shower with confidence. By choosing the right rug material, using rug grippers or non-slip rug pads, applying non-slip rug backing, and securing rugs with double-sided tape, you can create a safer environment in your bathroom. Get ready to say goodbye to slips and hello to safety!
Choosing the Right Rug Material
To choose the right rug material, you’ll want to consider its texture and grip. When it comes to bathroom rugs, safety is key. You need a material that provides both comfort and traction. Look for rugs made of rubber or non-slip materials like microfiber or memory foam. These materials have excellent grip and will keep you from slipping on wet floors.
In addition to considering the material, don’t forget about the size of your rug. It should be large enough to cover the area where you step out of the shower or bathtub, providing ample space for your feet to land securely.
Maintaining rug hygiene is also important for a safe bathroom environment. Look for rugs that are easy to clean and can withstand frequent washing. Machine washable rugs are a great option as they can be easily tossed in with your regular laundry.
By choosing the right rug material, size, and maintaining proper hygiene, you can make your bathroom rug non-slip and ensure safety while stepping out of the shower or bath.
Using Rug Grippers or Non-Slip Rug Pads
Use rug grippers or non-slip rug pads to prevent your bathroom rugs from sliding. These simple yet effective solutions will provide the safety you desire in your bathroom. Here are three alternatives to consider:
- Double-sided carpet tape: This adhesive option is easy to apply and provides a strong grip between the rug and the floor.
- Silicone caulk: Apply a thin line of silicone caulk on the underside of your rug, allowing it to dry completely for a secure non-slip surface.
- Non-slip shelf liner: Cut pieces of non-slip shelf liner and place them under your rug for added traction.
By using these DIY non-slip rug solutions, you can ensure that your bathroom rugs stay securely in place, minimizing the risk of slips or falls. Enjoy a safer and more comfortable bathroom experience with these practical alternatives to traditional rug grippers.
Applying Non-Slip Rug Backing
Secure your bathroom rugs by applying non-slip rug backing. To ensure safety in your bathroom, follow these easy steps. Start by cleaning the back of your rug thoroughly to remove any dirt or debris. Next, apply a thin layer of spray adhesive evenly on the backside of the rug. Be sure to cover the entire surface area for maximum grip. Allow the adhesive to dry for a few minutes until it becomes tacky. Then, press a rubberized shelf liner onto the adhesive, making sure it adheres firmly. The rubberized texture will provide excellent traction and prevent slipping on wet floors. Once you’ve applied the non-slip backing, test it out by stepping on the rug and ensuring it stays in place. Now you can enjoy a slip-free experience in your bathroom!
Securing Rugs with Double-Sided Tape
Securing rugs with double-sided tape is a simple and effective way to keep them in place. When it comes to making bathroom rugs non-slip, using double-sided tape offers an alternative method that provides numerous benefits. One of the main advantages of this method is its ease of use. You can simply cut the tape into small pieces and attach them to the corners and edges of your rug. The strong adhesive properties of the tape ensure that your rug stays securely in place, reducing the risk of slips and falls in the bathroom. Additionally, double-sided tape is versatile and can be used on various types of flooring surfaces, including tile, vinyl, and laminate. It leaves no residue or damage behind when removed, making it a convenient solution for keeping your bathroom rugs safe and secure.
Regular Cleaning and Maintenance for Non-Slip Rugs
To keep your non-slip rugs in good condition, it’s important to regularly clean and maintain them. Proper rug drying is crucial to prevent mold growth and maintain a safe bathroom environment. After cleaning your rug, make sure to hang it up or lay it flat in a well-ventilated area until completely dry. Avoid folding the rug while it’s wet, as this can trap moisture and lead to mold formation. If you notice any signs of mold or mildew on your rug, take immediate action by using a mixture of water and vinegar to clean the affected area. Regular vacuuming is also essential to remove dirt and debris that can make the rug slippery. By following these simple steps, you can ensure that your non-slip rugs remain safe and free from mold growth.
Conclusion
In conclusion, making your bathroom rugs non-slip is essential for safety and comfort. By choosing the right rug material and using rug grippers or non-slip rug pads, you can prevent accidents caused by slipping. Applying non-slip rug backing and securing rugs with double-sided tape will further enhance their stability. Remember to regularly clean and maintain your non-slip rugs to ensure their effectiveness. With these simple steps, you can enjoy a slip-free bathroom experience every day.

