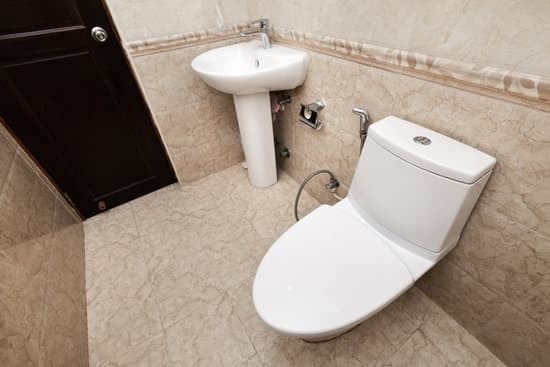
Looking to upgrade your half bathroom with a shower? This step-by-step guide will walk you through the process, ensuring a safe and successful installation. Assess your space and plumbing options, plan and design your shower layout, gather the necessary tools and materials, install the shower base and fixtures, and add those finishing touches. With our helpful tips, you’ll have a functional and stylish shower in no time. Let’s dive in!
Assessing Your Space and Plumbing Options
You’ll need to evaluate your available space and plumbing options when adding a shower to a half bathroom. Start by measuring the dimensions of your bathroom to determine if there is enough room for a shower. Consider the layout and whether you can rearrange fixtures or walls to create more space. Next, assess your plumbing options. Determine if there are existing water lines nearby that can be extended for the shower or if new plumbing will need to be installed. Keep in mind that hiring a professional plumber may be necessary for this step to ensure proper installation and safety. Additionally, consider your budget when planning this project. Research different shower options and their costs to find one that fits within your financial means while still meeting your needs for functionality and safety in the bathroom.
Planning and Designing Your Shower Installation
When planning and designing the installation, it’s important to consider the available space and layout. Here are four key factors to keep in mind to ensure a safe and functional shower addition:
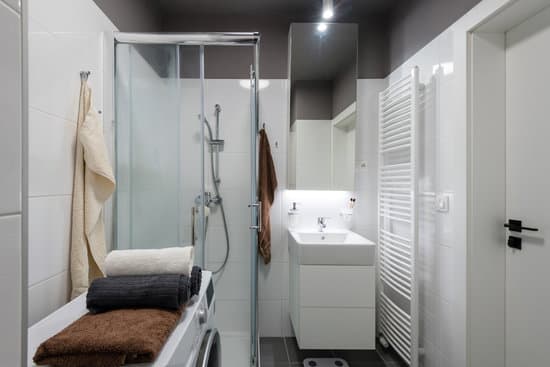
- Optimize shower layout: Choose a layout that maximizes space efficiency while providing adequate room for movement and accessibility. Consider options like corner showers or walk-in showers with minimal barriers.
- Select a suitable shower enclosure: Look for options that offer safety features such as non-slip flooring, grab bars, and adjustable handheld showerheads. Consider installing a sturdy glass enclosure or a waterproof curtain for added convenience.
- Ensure proper ventilation: Adequate ventilation is crucial to prevent moisture buildup and potential mold growth. Install an exhaust fan or window near the shower area to maintain air circulation.
- Waterproofing measures: Implement proper waterproofing techniques during installation to protect your walls and floors from water damage. Use waterproof membranes, sealants, and high-quality grout to create a watertight barrier.
By considering these aspects when planning your shower installation, you can create a safe and comfortable bathing experience in your half bathroom.
Gathering the Necessary Tools and Materials
To gather all the necessary tools and materials for your shower installation, make a list of items like waterproof membranes, sealants, grout, a glass enclosure or waterproof curtain, non-slip flooring, grab bars, adjustable handheld showerheads, an exhaust fan or window for ventilation. Safety should be a priority when planning your shower installation. Start by measuring the space available in your half bathroom to ensure that the shower fits properly. Waterproofing techniques are essential to prevent water damage and mold growth. Consider using waterproof membranes on the walls and floor to create a barrier against moisture. Additionally, choose sealants specifically designed for wet areas to ensure proper sealing around joints and corners. Non-slip flooring is crucial to prevent accidents in the shower area. Finally, install grab bars for added stability and consider an adjustable handheld showerhead for convenience.
Installing the Shower Base and Plumbing Fixtures
Once the shower base and plumbing fixtures are in place, it’s important to ensure proper sealing to prevent water damage. Start by applying a waterproof membrane or sealant around the perimeter of the shower base. This will create a barrier that prevents any water from seeping through and causing damage to your floors or walls. Make sure to follow the manufacturer’s instructions for applying the sealant and allow it to dry completely before moving on.
Next, install the shower drain according to the manufacturer’s guidelines. This involves connecting the drain pipe to the plumbing system and securing it in place with a wrench or pliers. Double-check that all connections are tight and secure.
Finally, attach the showerhead, faucet handles, and any other plumbing fixtures you have chosen for your shower. Use plumber’s tape on all threaded connections to ensure a watertight seal.
Remember, proper installation of both the shower base and plumbing fixtures is crucial for preventing leaks and maintaining a safe bathroom environment. Take your time during this step to ensure everything is installed correctly before moving on to the next phase of your project.
Finishing Touches and Maintenance Tips
To complete your shower installation, don’t forget the finishing touches and maintenance tips! Here are some important things to consider for a safe and well-maintained shower:
- Shower door options: Choose a door that fits your bathroom style and provides proper safety features. Options include sliding doors, pivot doors, or even frameless glass doors for a sleek look.
- Regular cleaning: Prevent mold and mildew buildup by regularly cleaning your shower walls, floor, and fixtures with a non-abrasive cleaner. Don’t forget to clean the shower drain as well.
- Grout maintenance: Keep the grout between tiles in good condition by sealing it periodically to prevent water damage and staining.
- Caulking upkeep: Inspect the caulk around your shower base, corners, and joints regularly. Replace any cracked or deteriorated caulk promptly to prevent water leakage.
By paying attention to these finishing touches and following proper cleaning and maintenance practices, you can ensure a safe and enjoyable bathing experience in your newly added half bathroom shower.
Conclusion
Now that you have successfully installed a shower in your half bathroom, you can enjoy the convenience and functionality it brings. With careful planning and the right tools, adding a shower to your space can be a relatively simple project. Remember to regularly clean and maintain your shower to ensure its longevity. Enjoy the enhanced functionality and comfort of your newly transformed half bathroom!

