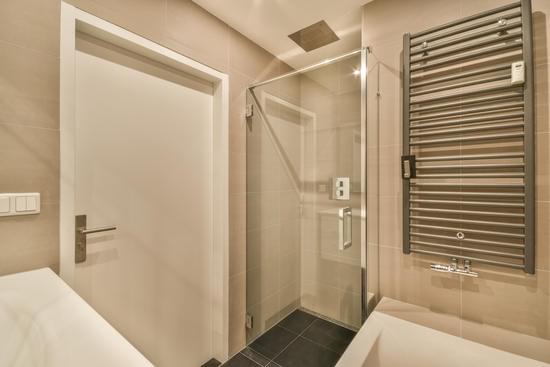
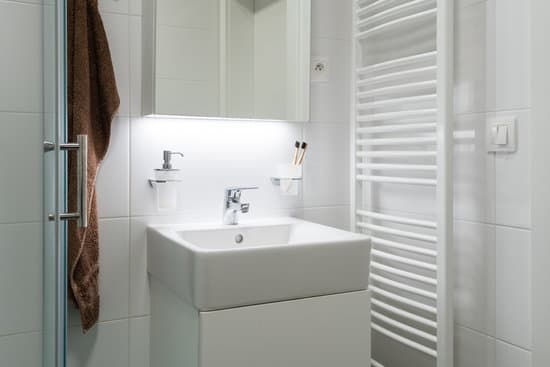
Are you looking to update the look of your bathroom? Installing wall tiles can be a great way to give your space a fresh and modern feel. In this article, we will guide you through the process of installing bathroom wall tiles step by step, ensuring that you have all the necessary tools and materials for a successful project. Follow these instructions carefully to ensure safety and achieve professional-looking results. Let’s get started!
Gathering the Necessary Tools and Materials
You’ll need to gather all the necessary tools and materials for installing bathroom wall tile. Safety should be your top priority, so make sure you have protective gear such as safety glasses and gloves. Start by selecting the right tile design that suits your taste and bathroom decor. Consider factors like color, texture, and size to create a visually appealing space. Next, it’s important to understand tile patterns and layout before installation. Take into account the size of your bathroom walls, any obstructions or fixtures, and how you want the tiles to be arranged. This will help you determine the most suitable pattern for your project. With these key steps in mind, you’re ready to move on to the next phase of installing beautiful bathroom wall tile!
Preparing the Surface for Tile Installation
To properly prepare the surface for tiling, it’s important to ensure that it is clean and free of any debris. Start by choosing the right type of tile for your bathroom walls. Consider factors such as water resistance, durability, and aesthetics. Ceramic or porcelain tiles are popular choices due to their ability to withstand moisture and their wide range of designs.
Next, avoid common mistakes when preparing the surface for tile installation. Make sure to remove any old adhesive or paint from the walls before starting. Use a scraper or sander to smooth out any rough patches and create a level surface. It’s crucial to fill in any cracks or holes with an appropriate filler material to prevent future damage.
Lastly, thoroughly clean the surfaces using a mild detergent and warm water solution. This will remove any dirt, grease, or soap scum that may interfere with proper adhesion of the tile adhesive. Allow ample drying time before proceeding with tile installation for best results. Remember, taking these precautions will ensure a safe and successful bathroom wall tile installation process.
Planning and Layout
When planning and laying out your tile project, it’s important to consider the overall design and placement of the tiles in order to achieve the desired aesthetic. Start by measuring the area where you’ll be installing the tiles, making sure to account for any obstructions like outlets or plumbing fixtures. Once you have your measurements, you can start cutting the tiles to fit. Remember to wear safety goggles and gloves when using a tile cutter or wet saw. When choosing the right tile pattern, think about the size and shape of your bathroom. Smaller bathrooms may benefit from a simple grid pattern, while larger bathrooms can handle more intricate patterns like herringbone or diagonal layouts. Take your time with this step to ensure a beautiful end result that meets both your design preferences and practical needs.
Applying the Adhesive and Setting the Tiles
Once you’ve planned and laid out your tile project, it’s time to apply the adhesive and set the tiles in place. To ensure a successful installation, choosing the right type of adhesive is crucial. Look for adhesives specifically designed for bathroom wall tiles. These adhesives are water-resistant and provide a strong bond that can withstand moisture and humidity. Before applying the adhesive, make sure to prepare your walls properly by cleaning them thoroughly and removing any dirt or debris.
When setting the tiles, it’s important to ensure proper tile placement. Start by spreading a thin layer of adhesive on the wall using a trowel, making sure to cover only a small area at a time. Press each tile firmly into place, using spacers if necessary to maintain consistent spacing between tiles. Check periodically with a level to ensure they are straight and even.
By following these steps and paying attention to detail, you can achieve a beautiful and long-lasting bathroom wall tile installation while ensuring safety throughout the process.
Grouting and Finishing Touches
After applying the adhesive and setting the tiles, it’s time to grout and add the finishing touches. Grouting is an important step that not only adds stability to your tile installation but also enhances its overall appearance. Here are some tips to help you with this process:
- Choosing the right grout color: Selecting a grout color that complements your bathroom decor is essential. Consider lighter shades for a spacious and clean look or darker tones for a dramatic effect.
- Cleaning and sealing the finished tile surface: Once the grout has dried, it’s crucial to clean any excess residue using a damp sponge. Afterward, apply a high-quality sealer to protect the tiles from water damage and stains.
Remember, safety should always be a priority when working with tiles. Wear protective goggles, gloves, and clothing while handling chemicals or tools. By following these guidelines, you’ll achieve beautiful results while ensuring durability and longevity for your bathroom wall tiles.
Conclusion
So there you have it! You now know how to install bathroom wall tile. By gathering your tools and materials, preparing the surface, planning and laying out the tiles, applying adhesive, and finishing with grout, you can transform your bathroom into a beautiful space. Don’t forget to add those finishing touches for a polished look. With a little time and effort, you’ll have a stunning tiled bathroom that you can enjoy for years to come.

