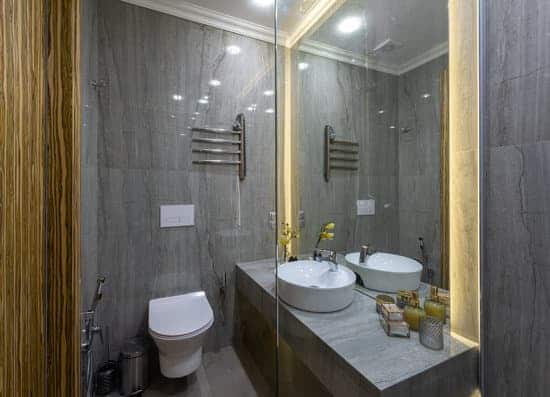
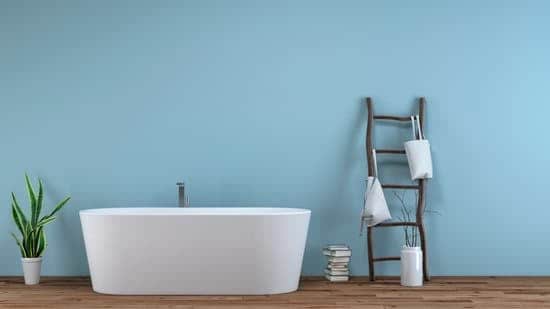
Are you looking to give your bathroom a fresh, stylish makeover? Installing wall paneling can be a great way to achieve the desired look while protecting your walls from moisture and damage. In this step-by-step guide, we will show you how to install wall paneling in your bathroom. From choosing the right materials to adding finishing touches, we’ll provide you with all the information you need for a successful installation. Get ready to transform your bathroom into a functional and beautiful space!
Choosing the Right Wall Paneling Material
You’ll need to choose the right wall paneling material for your bathroom. When it comes to safety, tile is a popular choice for bathroom wall paneling. It is water-resistant, easy to clean, and can withstand high humidity levels. However, there are some cons to consider as well. Tile installation can be time-consuming and costly, especially if you hire a professional. Grout lines can also be difficult to keep clean and may require regular maintenance.
Another option is wood paneling for bathroom walls. There are different types of wood paneling available, such as plywood or solid wood boards. Plywood is more affordable and easier to install than solid wood panels. However, it may not be as durable in wet environments. Solid wood panels offer a more luxurious look but require proper sealing to prevent moisture damage.
Consider the pros and cons of each option before making your decision on the right wall paneling material for your bathroom.
Preparing Your Bathroom Walls for Installation
To get started, make sure your walls are properly prepped for the paneling installation in your bathroom. Safety should be a top priority when working on any home improvement project. Begin by waterproofing the bathroom walls to protect them from moisture and potential damage. This can be done by applying a waterproofing membrane or sealant to create a barrier against water infiltration.
Next, remove any existing wallpaper or paint from the walls. This step is crucial as it ensures a smooth and even surface for the paneling to adhere to. Use a scraper or sandpaper to gently strip off the old covering, being careful not to damage the underlying wall.
Taking these preparation steps will ensure that your bathroom walls are ready for the installation of wall paneling, providing both durability and aesthetic appeal while maintaining safety in your space.
Measuring and Cutting the Wall Panels
Start by measuring and cutting the panels to fit your walls accurately. This step is crucial to ensure a seamless installation of your wall paneling in the bathroom. To achieve measuring accuracy, use a tape measure and make sure to measure each wall individually, accounting for any variations in size. When it comes to cutting techniques, consider using a circular saw or a jigsaw with a fine-tooth blade for precise cuts. Remember to wear safety goggles and gloves while operating power tools. Here are some tips for accurate measurements and cuts:
- Measure twice before cutting once.
- Use clamps or a straight edge as a guide when cutting.
- Take into account any electrical outlets or fixtures on the walls.
By following these steps and taking proper safety precautions, you can ensure that your wall panels will fit perfectly in your bathroom.
Installing the Wall Panels
Once the panels are cut and measured accurately, it’s time to begin installing them in your bathroom. Before you start, it’s important to know the common mistakes to avoid when installing wall panels. First, make sure to properly prepare the surface by removing any old wallpaper or loose paint. This will ensure that the panels adhere well and create a seamless look. Additionally, it’s crucial to use the right adhesive or nails for your specific type of wall paneling. Using the wrong materials can lead to panels falling off or not staying securely in place. When installing the panels, be mindful of their alignment and spacing so that they fit together seamlessly. Take your time and double-check each panel as you go along for a professional-looking installation. By following these tips, you’ll achieve a beautiful and long-lasting result in your bathroom.
Finishing Touches and Maintenance Tips
For a polished look, don’t forget to add the finishing touches and keep up with regular maintenance in your newly paneled space. To ensure safety and longevity of your bathroom wall panels, it is important to follow proper cleaning techniques and prevent moisture damage. Start by regularly wiping down the panels with a mild soap solution and a soft cloth or sponge. Avoid using abrasive cleaners or scrub brushes, as they can damage the surface. Additionally, be sure to clean any spills or splashes immediately to prevent stains. To further protect against moisture damage, apply a waterproof sealant along the edges and seams of the panels. This will help create a barrier against water infiltration and prolong the life of your wall paneling. By following these simple steps, you can maintain a beautiful bathroom space for years to come.
Conclusion
In conclusion, installing wall paneling in your bathroom is a great way to enhance its aesthetic appeal and protect the walls from moisture damage. By choosing the right material, properly preparing the walls, measuring and cutting the panels accurately, and carefully installing them, you can achieve a beautiful and functional bathroom. Don’t forget the finishing touches like trim and caulking for a polished look. Remember to regularly clean and maintain your wall panels to keep them looking their best for years to come. Enjoy your newly transformed bathroom!

