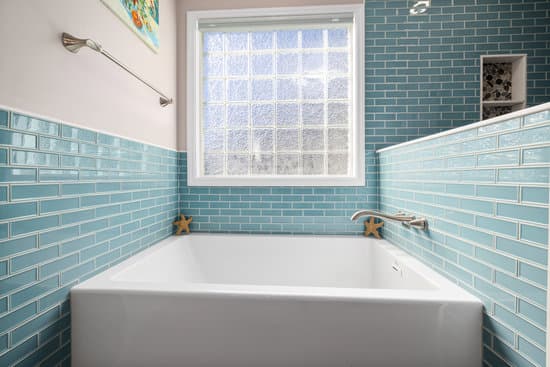
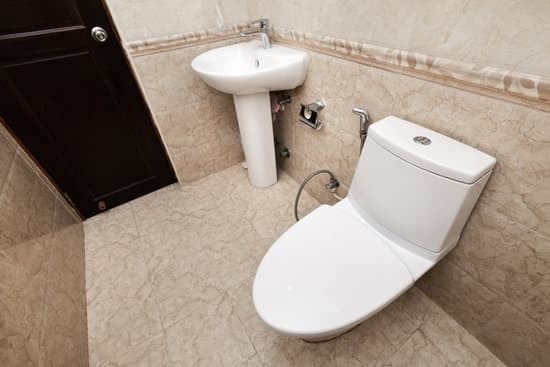
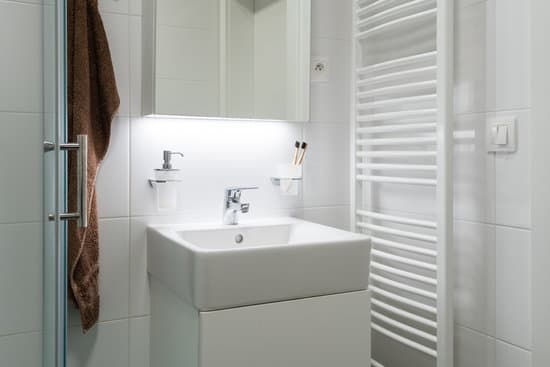
Are you ready to transform your small bathroom into a stylish oasis? In this article, we’ll guide you through the process of laying 12×24 tiles, so you can achieve a professional-looking finish. With the right tools and materials, careful planning, and attention to safety, you’ll be able to tackle this project with confidence. Say goodbye to outdated flooring and hello to a beautiful new tile that will enhance the look and functionality of your bathroom. Let’s get started!
Preparing the Bathroom Surface
Before you can lay the 12×24 tiles in your small bathroom, you’ll need to prepare the surface. Surface preparation is crucial to ensure a smooth and long-lasting tile installation. Start by removing any existing flooring or adhesive residue from the floor. Make sure the subfloor is level and free of cracks or bumps. Fill any holes or gaps with a suitable patching compound and sand down any high spots.
Next, it’s important to waterproof the bathroom surface to protect it from moisture damage. Apply a layer of waterproofing membrane on the floor and walls using a trowel or brush. This will create a barrier that prevents water penetration and keeps your tiles intact for years to come.
Remember, safety should always be a priority when working on any home improvement project. Wear protective gear such as gloves and goggles to avoid injuries from sharp tools or chemicals. Also, make sure the work area is well-ventilated to minimize exposure to fumes.
By properly preparing your bathroom surface and implementing effective waterproofing techniques, you’ll create a solid foundation for your 12×24 tile installation while ensuring safety throughout the process.
Choosing the Right Tools and Materials
When preparing to work in a compact space, make sure you have all the necessary tools and materials ready. This will save you time and make the process more efficient. Here are some essential tools for tile installation:
- Tile cutter: A good quality tile cutter will help you achieve clean and precise cuts.
- Trowel: Use a notched trowel to apply adhesive evenly on the surface.
- Level: Make sure your tiles are level by using a bubble or laser level.
- Grout float: This tool is used to push grout into the spaces between tiles.
- Safety glasses and gloves: Protect yourself from any potential injuries while working.
In addition to tools, selecting appropriate materials is crucial for a successful tile installation. Ensure that you choose tiles suitable for bathroom use and purchase enough adhesive and grout for your project. By having these essential tools and materials, you’ll be well-prepared to lay 12×24 tiles in your small bathroom safely.
Measuring and Planning the Tile Layout
To measure and plan your tile layout, start by assessing the dimensions of your compact space. Measure the length and width of the bathroom floor to determine how many 12×24 tiles you will need. Consider the size of any existing fixtures, such as toilets or vanities, and factor them into your layout. Next, decide on a tile pattern that suits your style and complements the size of the room. Popular options include grid patterns or a staggered brick pattern. Once you have chosen a pattern, use a chalk line to mark out guidelines on the floor for accurate placement. When cutting tiles to fit around edges or odd angles, be sure to wear safety goggles and gloves for protection. Use a wet saw or tile cutter to make precise cuts as needed. Planning ahead and measuring carefully will ensure a professional-looking installation in your small bathroom.
Installing the 12×24 Tiles
Once you’ve measured and planned your tile layout, it’s time to start installing the 12×24 tiles. Before you begin, make sure to wear safety goggles and gloves to protect yourself from any flying debris or sharp edges. Start by cutting the tiles to fit around fixtures or along edges using a wet saw or tile cutter. Measure twice before making any cuts to ensure accuracy. Next, prepare the mortar according to the manufacturer’s instructions and spread it evenly on the floor using a notched trowel. Place each tile firmly into the mortar, making sure they are level and aligned with your layout plan. Use spacers between each tile for consistent spacing. Once all the tiles are laid, allow them to set overnight before grouting. Remember to clean up any excess mortar as you go along for a smooth finish.
Grouting and Sealing the Tile
To complete the installation, you should now grout and seal the tiles for a finished look. Grouting is an important step that not only enhances the appearance of your bathroom but also helps to protect the tiles from moisture and dirt. Here are some helpful grouting techniques for you:
- Start by mixing the grout according to the manufacturer’s instructions.
- Use a rubber float to spread the grout diagonally across the tiles, making sure to fill all the gaps.
- Wipe off any excess grout with a damp sponge before it dries.
- Allow the grout to dry completely, usually for about 24 hours.
- Finally, apply a tile sealer to protect your new tiles from stains and make them easier to clean.
Remember, proper tile maintenance is essential in ensuring their longevity. Regular cleaning with mild soap and water will help keep your tiles looking their best. Avoid using harsh chemicals or abrasive cleaners that can damage the surface of your tiles. With these steps and precautions, you can enjoy your beautifully tiled small bathroom for years to come.
Conclusion
In conclusion, laying 12×24 tiles in a small bathroom can be a challenging but rewarding project. By properly preparing the surface and carefully measuring and planning the layout, you can achieve a beautiful and professional-looking result. It is important to use the right tools and materials for the job, and to take your time during installation to ensure accuracy. Finally, grouting and sealing the tile will help protect it and keep it looking great for years to come. So roll up your sleeves and get ready to transform your small bathroom with stunning 12×24 tile!

