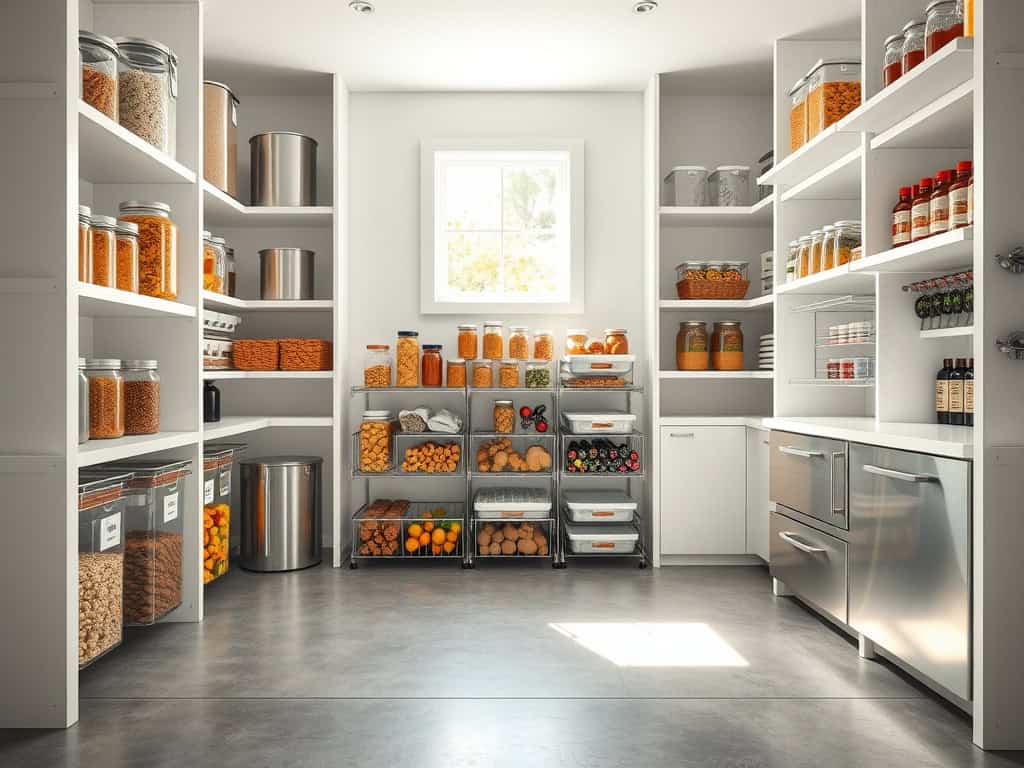
Last month, my neighbor Sarah lost over $500 worth of stored food when her makeshift basement pantry succumbed to moisture and pests. You don’t have to learn storage lessons the hard way! I’ve spent years perfecting my home food storage system, and there are nine essential elements that’ll transform your storage space from a chaotic closet into an organized, efficient food preservation center. Let me share what I’ve learned to help protect your investment and keep your supplies fresh.
Quality Storage Containers and Mason Jars
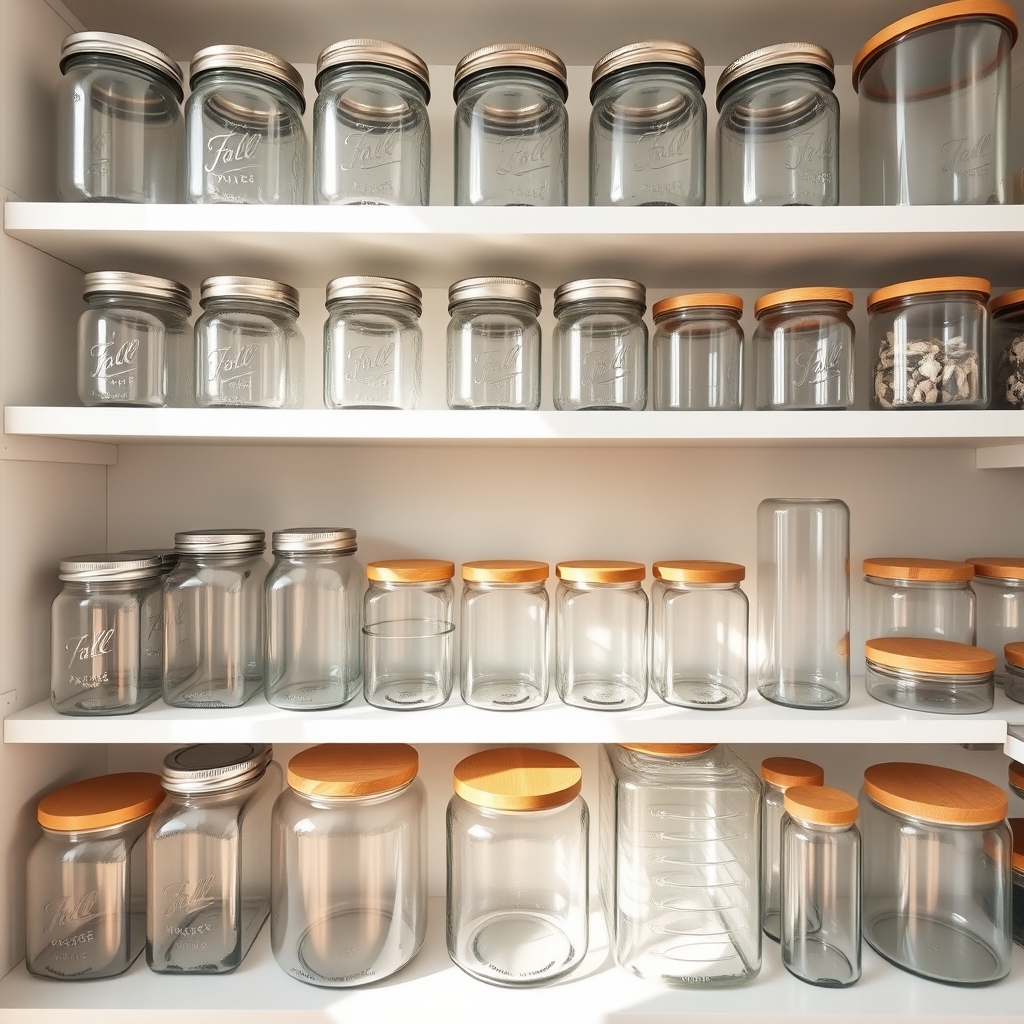
Proper organization of storage containers and mason jars forms the foundation of an efficient home food storage system. When containers are well-organized, you can quickly locate what you need, monitor inventory levels, and ensure food items are stored safely and securely. This organization system also prevents waste by making it easy to see what you have before purchasing more.
Quality storage containers and mason jars represent a significant investment in your food storage setup, and protecting this investment through proper organization is crucial. An organized system helps maintain the integrity of your containers, prevents damage, and ensures that you’re maximizing available space while keeping everything accessible.
Required Items:
- Label maker or waterproof labels
- Measuring tape
- Shelf liner
- Storage bins or drawer organizers
- Clean cloths
- Sanitizing solution
- Permanent markers
- Cabinet organizers or risers
- Size-sorting containers
- Lid organizers
The organization process starts with a complete inventory of your containers and mason jars. Sort all items by size and type, checking for damage or missing components. Create designated zones based on container usage frequency, with frequently used items at eye level or in easily accessible locations.
Install shelf liners to prevent sliding and protect surfaces. Group mason jars by size and purpose, storing them with their corresponding lids nearby but separate to prevent moisture accumulation. Implement a vertical storage system for lids using specialized organizers or repurposed magazine holders. Label shelves and containers clearly to maintain the system long-term.
Additional success tips: Rotate your storage containers seasonally, bringing preservation-related items forward during canning season. Maintain a small “quarantine” area for containers that need cleaning or repair. Consider implementing a one-in-one-out policy when acquiring new containers to prevent overcrowding, and regularly audit your collection to ensure all pieces remain in good condition and are actually being used.
Temperature and Humidity Monitors
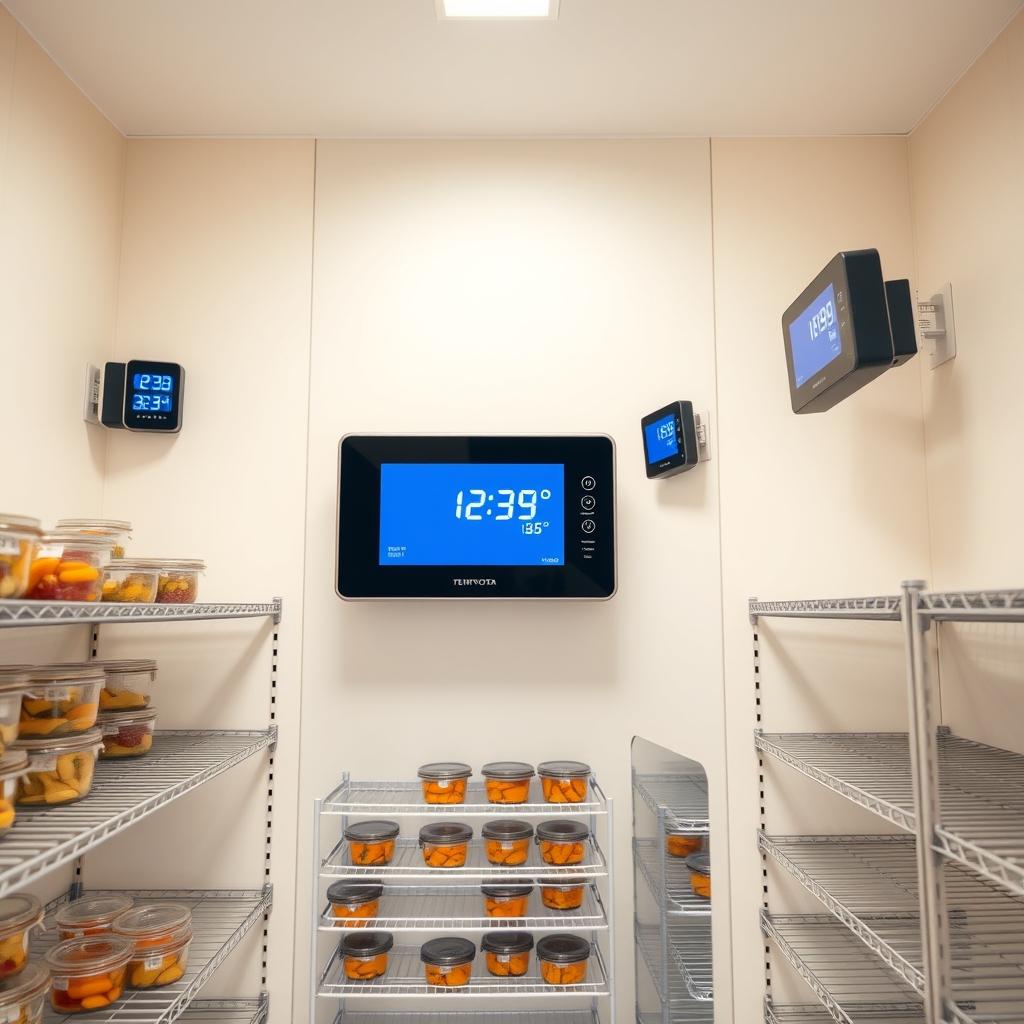
Maintaining proper temperature and humidity levels in food storage areas is crucial for preserving food quality and preventing spoilage. Uncontrolled environmental conditions can lead to mold growth, pest infestations, and premature food deterioration, potentially wasting significant resources and compromising food safety.
Organizing temperature and humidity monitoring systems helps create a reliable early warning system for environmental changes that could affect stored food. A well-organized monitoring setup enables quick responses to fluctuations and provides valuable data for optimizing storage conditions throughout different seasons.
Required Items:
- Digital thermometers
- Hygrometers
- Wireless monitoring systems
- Battery backup units
- Mounting hardware
- Labels and markers
- Storage area map
- Recording log or digital tracking app
- Backup sensors
- Calibration tools
Begin by mapping out your storage areas and identifying critical monitoring points, typically including corners, areas near exterior walls, and spots with potential temperature fluctuations.
Mount primary sensors at chest height in these locations, ensuring they’re easily visible but protected from direct sunlight or air currents. Install backup sensors nearby but at different heights to create redundancy and verify readings.
Create a systematic labeling system for each monitoring point, including location identifiers and acceptable range parameters. Set up a centralized tracking system, whether paper-based or digital, to record daily readings.
For wireless systems, configure alerts for out-of-range conditions and ensure all receivers are within range of sensors. Calibrate all monitors regularly and develop a maintenance schedule for battery replacement and sensor cleaning.
Consider establishing zones within your storage area based on temperature and humidity requirements, using the monitoring data to optimize placement of different food types. Keep detailed records of environmental patterns to anticipate seasonal changes and adjust storage arrangements accordingly.
Additional Tips: Implement a color-coding system for different zones and their corresponding acceptable ranges. Position monitors away from heat-generating appliances or lighting to ensure accurate readings.
Consider investing in automated data logging systems for larger storage areas, and maintain a supply of pre-calibrated backup monitors for immediate replacement when needed.
Heavy-Duty Storage Shelving Units
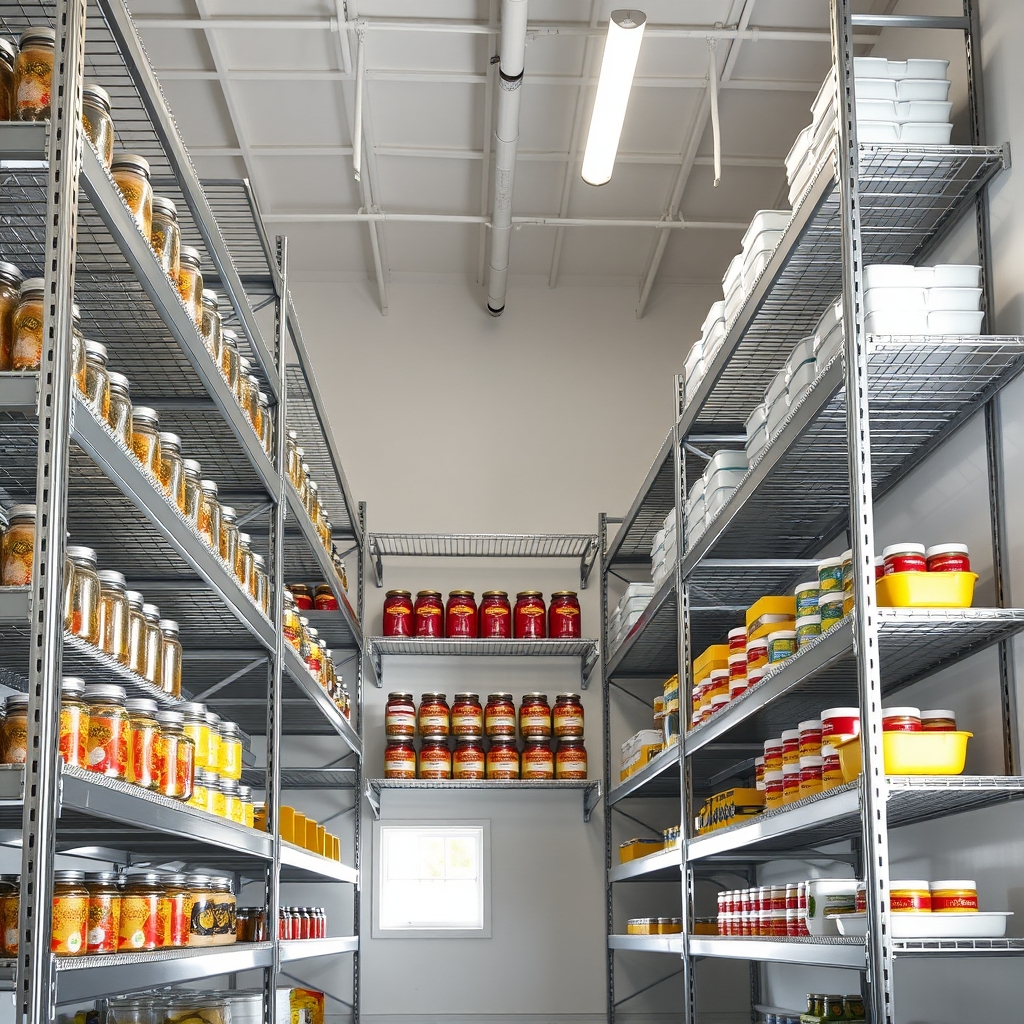
Proper organization of heavy-duty storage shelving units is crucial for maintaining an efficient and accessible food storage system. Well-organized shelving not only maximizes available space but also helps protect your food investment by ensuring proper rotation and preventing items from getting lost or expired.
Strategic shelf organization creates clear visibility of inventory, enables easy access to frequently used items, and provides a systematic approach to food storage that can be particularly valuable during emergencies. A well-planned shelving system also helps distribute weight properly and maintains the structural integrity of both the shelves and stored items.
Required Items:
- Heavy-duty adjustable shelving units
- Level
- Measuring tape
- Safety gloves
- Marking pen
- Labels
- Cleaning supplies
- Wire shelf liners (optional)
- Assembly tools (wrench, screwdriver)
- Corner braces
- Wall anchors
Start by assembling the shelving units according to manufacturer specifications, ensuring all posts are perfectly vertical using a level. Position the heaviest items on bottom shelves, maintaining a weight distribution that decreases as you move upward.
Adjust shelf heights to accommodate different container sizes and create designated zones for various food categories: canned goods, dry goods, and bulk items. Install wall anchors for stability if the units will be heavily loaded.
Organize items by type, size, and frequency of use. Create a logical flow by placing frequently accessed items at eye level and storing similar items together. Implement a “first-in, first-out” (FIFO) rotation system by placing newer items behind older ones. Leave adequate space between shelving units for easy access and air circulation.
Additional Tips: Consider adding shelf liners to prevent small items from falling through wire shelving. Label each shelf section clearly to maintain organization over time. Leave some empty space for future expansion and avoid overloading shelves beyond their rated capacity.
Conduct quarterly inspections of the shelving units to check for any signs of wear or needed adjustments, and clean shelves regularly to prevent dust accumulation and maintain food safety standards.
Vacuum Sealer System
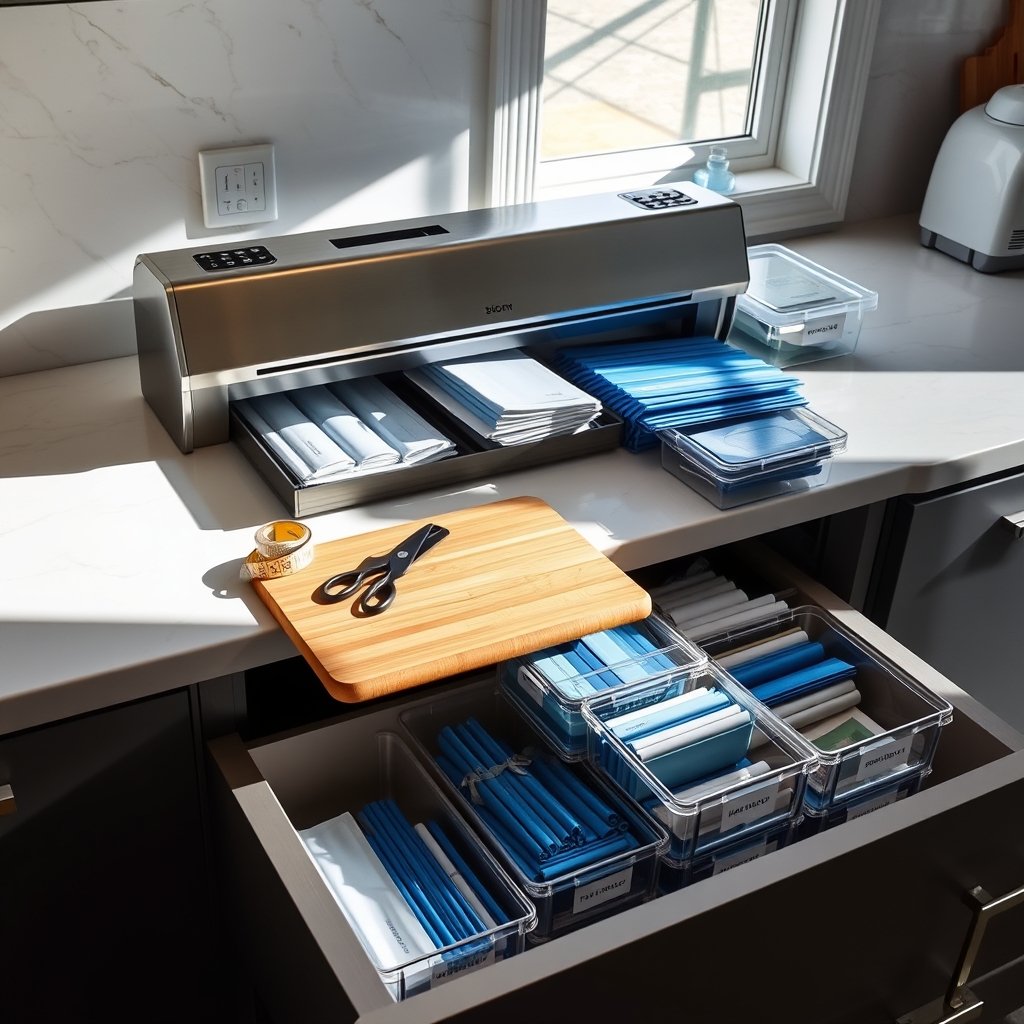
A well-organized vacuum sealer system is crucial for maximizing food preservation efforts and maintaining an efficient food storage system. When properly arranged, it allows for quick access to necessary supplies and ensures that food sealing operations can be performed smoothly and effectively, ultimately saving both time and money on food preservation.
Creating a dedicated storage and workspace for your vacuum sealer system not only protects your investment in the equipment but also encourages more frequent use of the system. An organized setup helps maintain cleanliness, prevents cross-contamination, and enables you to monitor your supply levels of bags and rolls effectively.
Required Items:
- Vacuum sealer machine
- Storage containers or bins
- Label maker
- Scissors
- Shelf or cabinet space
- Storage bags in various sizes
- Vacuum sealer rolls
- Cleaning supplies
- Storage rack or drawer organizer
- Measuring tape
Begin by selecting a clean, dry location with adequate counter space and electrical outlets for your vacuum sealer station. Install shelving or designate cabinet space above or below the work area to store supplies.
Sort vacuum sealer bags by size and type, placing them in clearly labeled containers or drawers. Position the vacuum sealer machine in an easily accessible spot, ensuring the cord can reach the outlet without creating a hazard. Store cleaning supplies and maintenance items in a separate container within reach.
Keep your most frequently used bag sizes at the front of storage areas, with specialty sizes and rolls stored behind them. Create a designated cutting station nearby for custom-sized bags, complete with scissors and measuring tape.
Implement a rotation system for supplies, placing newer materials behind older ones to ensure proper usage order.
Additional Tips: Maintain an inventory list of supplies and establish minimum quantity thresholds for reordering. Clean the sealer and workspace after each use to prevent residue buildup and extend equipment life.
Consider keeping a small container of cut bags in common sizes ready for immediate use, and regularly inspect stored supplies for damage or degradation. This proactive approach will help maintain an efficient and reliable vacuum sealing system.
Label Maker and Organization Tools
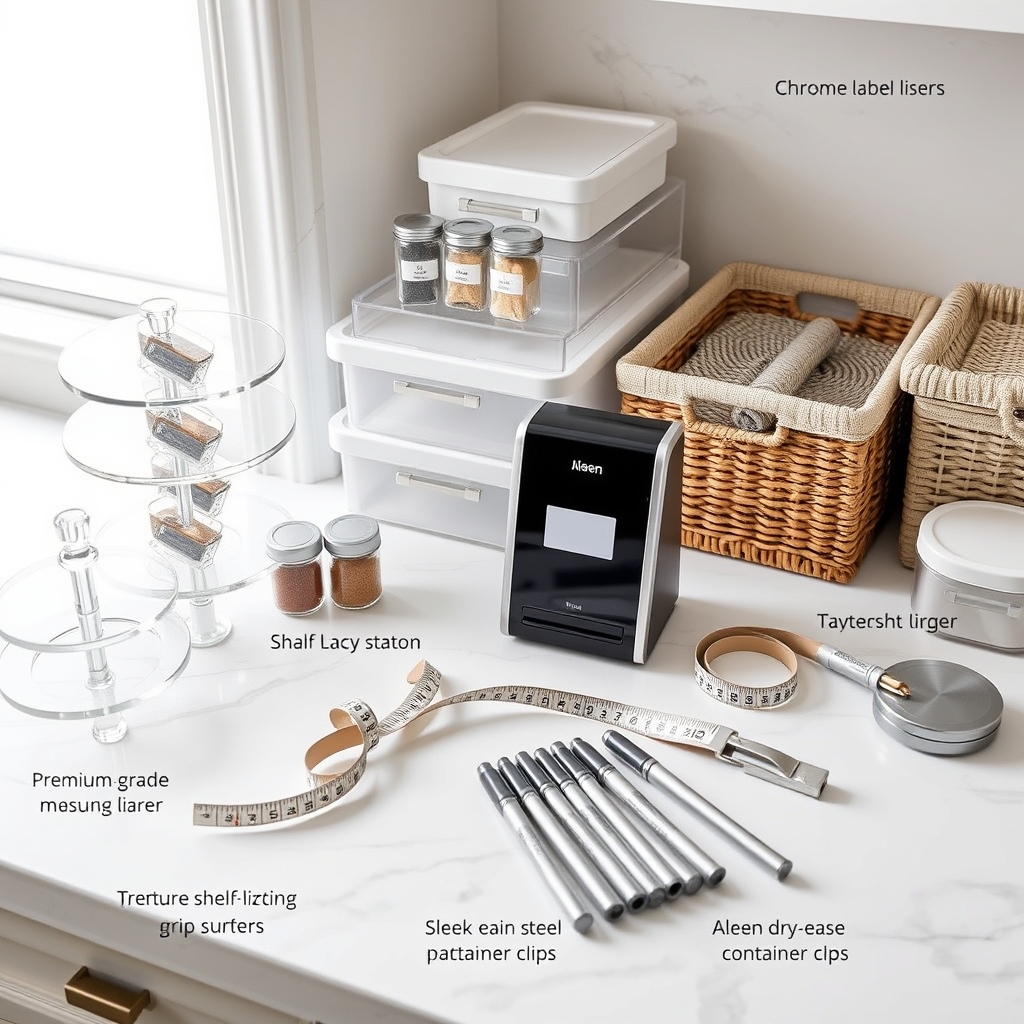
Proper organization of food storage spaces is crucial for maintaining an efficient and functional kitchen. Well-labeled containers and organized storage areas help prevent food waste, make inventory management easier, and ensure you can quickly locate items when needed. A systematic approach to storage organization can save time, money, and reduce stress during meal preparation.
Label makers and organizational tools form the foundation of an effective food storage system. These tools allow you to create clear, consistent labeling systems, establish zones for different food categories, and maintain order in pantries, cabinets, and storage areas. When properly implemented, these organizational systems make it simple to rotate stock and maintain freshness dates.
Essential Tools:
- Label maker
- Clear storage containers
- Shelf risers
- Rotating turntables (lazy susans)
- Bins and baskets
- Measuring tape
- Shelf liner
- Dry erase markers
- Inventory sheets
- Container clips
- Food grade storage bags
- Airtight containers
Start by removing all items from your storage area and grouping similar items together. Use your label maker to create clear, waterproof labels for each container, including contents and expiration dates. Choose consistent fonts and label placement for visual harmony.
Install shelf risers and turntables to maximize vertical space and accessibility. Group items by category, placing frequently used items at eye level and storing heavier items on lower shelves. Use clear containers whenever possible to easily identify contents.
For enhanced organization, create zones within your storage space based on food types (grains, canned goods, baking supplies) and use specific containers designed for each category. Implement a first-in-first-out (FIFO) rotation system by placing newer items behind older ones. Maintain an inventory list and update it regularly as items are used or replaced.
Consider implementing a color-coding system for different food categories or storage zones to make identification even easier. Regularly review and update your organizational system, checking for expired items and ensuring labels remain legible and properly attached.
Keep extra label maker supplies on hand for quick updates, and consider taking photos of your organized spaces to use as reference when maintaining the system over time.
Pest Prevention and Control Solutions
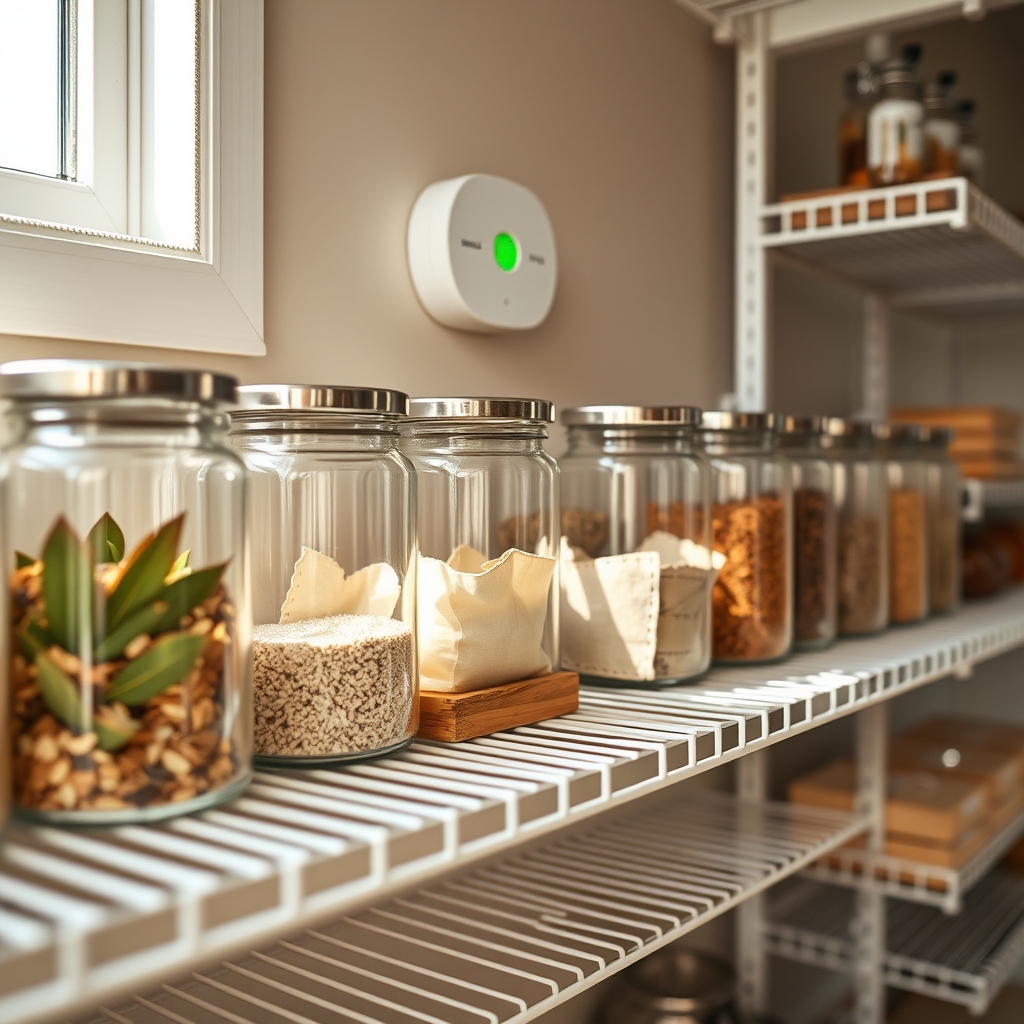
Protecting stored food from pests is crucial for maintaining a healthy and safe food supply. Even small pest infestations can lead to significant food waste and contamination, potentially compromising months of careful food storage efforts and creating health risks for household members.
Effective pest prevention and control requires a systematic approach that combines proper storage methods, regular monitoring, and quick response to any signs of infestation. Creating an organized system for pest management ensures that food remains safe and usable throughout its intended storage period.
Essential Items:
- Airtight storage containers
- Silica gel packets
- Bay leaves
- Diatomaceous earth
- Sticky traps
- Ultrasonic pest repellers
- Food-grade buckets with gamma seal lids
- Moisture absorbers
- Storage rack systems
- Inspection flashlight
- Pest monitoring journal
- Food-safe pest deterrent sprays
Start by inspecting all current storage areas and sealing potential entry points using appropriate materials. Transfer dry goods into airtight containers immediately after purchase, adding moisture absorbers and natural deterrents like bay leaves to each container.
Establish a regular inspection schedule, checking dark corners and behind storage units for signs of pest activity. Create designated zones for different types of food storage, maintaining clear spacing between containers to allow for easy inspection and cleaning.
Implement a rotation system that ensures older items are used first, reducing the chance of forgotten items becoming pest attractions. Place monitoring devices strategically throughout the storage area and maintain a log of inspections and any pest activity observed.
For maximum effectiveness, combine multiple prevention methods and maintain consistent monitoring practices. Regularly clean storage areas, checking for spills or crumbs that might attract pests.
Consider seasonal changes in pest patterns and adjust prevention strategies accordingly. Always address any signs of infestation immediately to prevent escalation and protect the entire food storage system.
Emergency Backup Power System
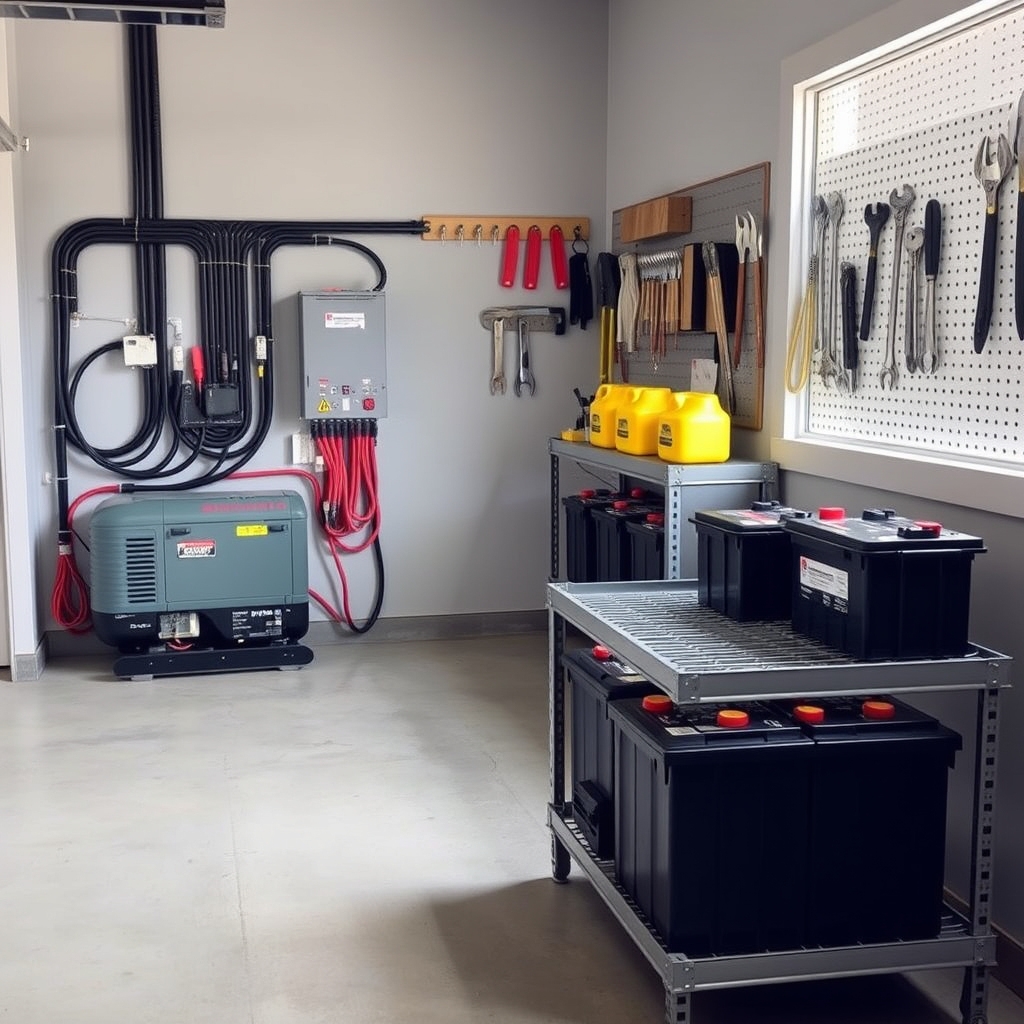
A reliable emergency backup power system is crucial for maintaining food safety and essential appliances during power outages. Without proper power backup, refrigerated and frozen foods can spoil quickly, leading to significant food waste and potential health risks during emergencies.
Creating an organized and efficient backup power system ensures that critical food storage equipment continues running when regular power fails. A well-planned system also helps maintain lighting, communication devices, and other essential electronics that support food preservation and preparation during emergencies.
Required Items:
- Generator (portable or standby)
- Fuel storage containers
- Extension cords
- Power strips
- Battery backup systems
- Deep cycle batteries
- Inverters
- Transfer switch
- Maintenance tools
- Fuel stabilizer
- Safety equipment (gloves, goggles)
- Storage containers for components
- Labels and markers
- Documentation supplies
Organizing an emergency backup power system starts with designating a dry, well-ventilated area for equipment storage. Install the transfer switch near your main electrical panel and create a dedicated space for the generator that’s easily accessible but protected from the elements.
Arrange fuel storage in a separate, secure location following local safety codes. Set up a battery bank station with proper ventilation and establish a clear cable management system to prevent tangles and ensure quick deployment during emergencies.
Sort backup power components into clearly labeled, waterproof containers. Keep essential tools and spare parts in a dedicated toolkit nearby. Create a detailed map of power connections and load calculations, storing it with equipment manuals in a waterproof document holder.
Implement a rotation system for fuel supplies and establish a maintenance schedule for all components.
Additional Tips: Develop and post step-by-step activation procedures in multiple locations, including laminated copies with the equipment. Create a maintenance log to track service dates, fuel rotations, and battery replacements.
Test the system monthly, rotating stored fuel every six months. Consider installing an automatic transfer switch for seamless power transition and organize power distribution based on priority needs, ensuring critical food storage equipment receives primary backup power.
First-In-First-Out (FIFO) Rotation Racks
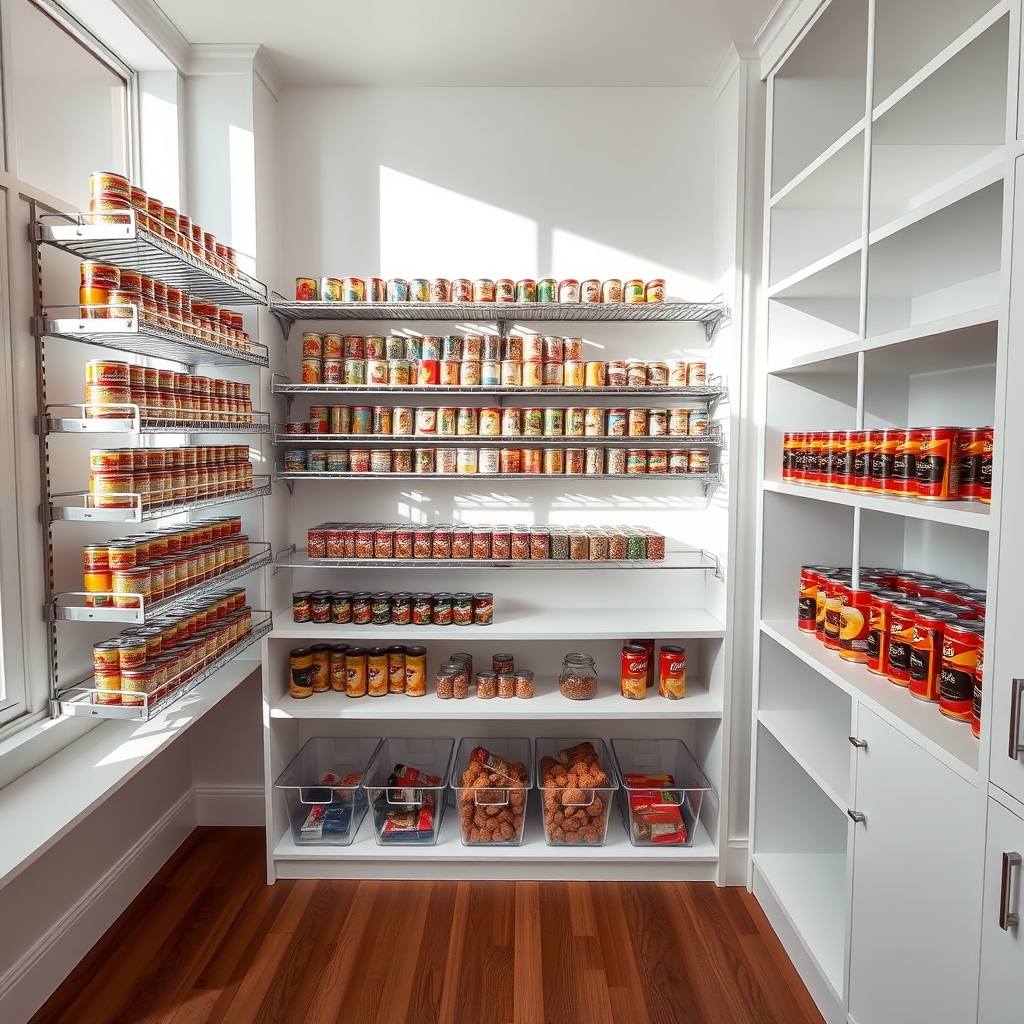
Proper organization of FIFO rotation racks is crucial for maintaining an efficient and waste-reducing food storage system. These specialized storage solutions ensure older products are used before newer ones, preventing expired items from getting pushed to the back and forgotten.
FIFO rotation racks transform ordinary pantry space into a streamlined inventory management system, similar to those used in professional kitchens. When properly implemented, these racks can save money, reduce food waste, and simplify your grocery shopping by providing clear visibility of stock levels.
Required Items:
- FIFO can rack organizers
- Label maker or labels
- Measuring tape
- Level
- Screwdriver
- Wall anchors (if mounting)
- Storage bins (optional)
- Clipboard for inventory tracking
- Shelf liner (optional)
Start by measuring your available space and selecting appropriately sized FIFO racks. Install the racks following manufacturer guidelines, ensuring they’re level and securely mounted. Organize products by category, with frequently used items in easily accessible locations.
Load new products from the back of the rack, allowing older items to naturally move forward as they’re removed from the front. Create clear zones for different food types: canned goods, boxed items, and dry goods. Implement a consistent labeling system that includes both the product name and ideal stock levels.
Always load new items from the back, and maintain a small gap between products to ensure smooth sliding action.
Success Tips: Conduct weekly checks of your FIFO system to ensure proper rotation. Keep an inventory list posted nearby and mark minimum stock levels to simplify shopping. Clean racks monthly to prevent sticking, and adjust organization as needed based on your family’s changing needs and usage patterns.
Consider using clear storage bins for smaller items that mightn’t work well directly on the racks.
Climate Control and Ventilation Equipment

Proper organization of climate control and ventilation equipment is crucial for maintaining optimal food storage conditions. Temperature fluctuations and poor air circulation can significantly reduce the shelf life of stored foods and potentially lead to spoilage, making efficient management of these systems essential for any home food storage setup.
Creating a systematic approach to organizing climate control and ventilation equipment not only ensures consistent performance but also allows for quick troubleshooting and maintenance. A well-organized system helps maintain proper temperature zones, manages humidity levels, and facilitates regular equipment checks, ultimately protecting your food investment.
Required Items:
- Thermometers (digital and analog)
- Hygrometers
- Fans (portable and mounted)
- Dehumidifiers
- Air circulators
- Power strips
- Extension cords
- Backup batteries
- Temperature controllers
- Ventilation ducting
- Air filters
- Maintenance tools
- Labels and markers
- Storage bins for equipment
Position primary climate control equipment along walls to maximize air circulation. Install thermometers and hygrometers at different heights and locations to monitor temperature and humidity variations effectively. Group ventilation equipment based on function, keeping intake and exhaust systems clearly separated.
Create a dedicated space for backup equipment and spare parts, organizing them by type and frequency of use. Mount temperature controllers at eye level for easy monitoring and adjustment. Set up a maintenance station with necessary tools and replacement parts within reach. Label all equipment with their designated zones and optimal settings for quick reference.
Establish clear pathways for airflow, ensuring no equipment blocks critical ventilation points.
Additional Tips: Develop a maintenance schedule and keep it visible near the equipment. Create a map of your climate control zones and equipment placement for quick reference. Store manuals and warranty information in a waterproof container nearby, and maintain a log of equipment performance and maintenance activities.
Consider installing a backup power system to maintain climate control during outages.

