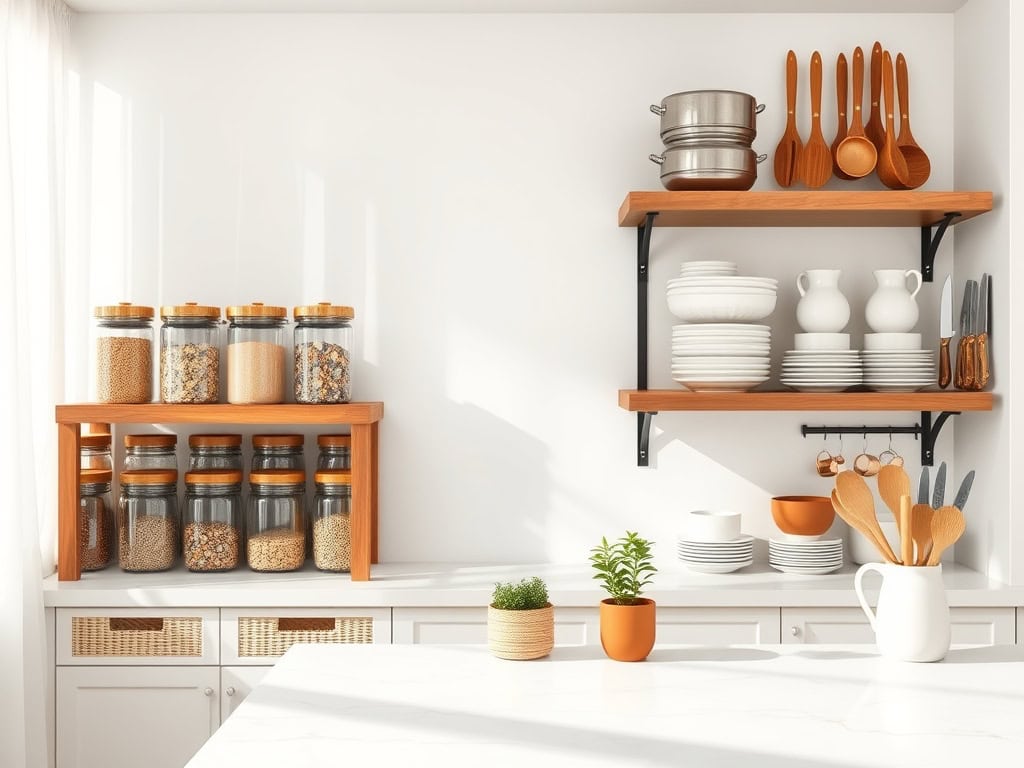
Did you know that the average person spends over 400 hours per year in their kitchen? That’s why transforming this space into an organized, Instagram-worthy haven isn’t just about aesthetics – it’s about making your daily life easier and more enjoyable. If you’ve been dreaming of those picture-perfect pantries and stunning storage solutions you’ve seen online, you’re in luck! I’ll show you how to achieve that coveted Pinterest look while maximizing every inch of your kitchen’s potential.
Clear Glass Storage Solutions for a Minimalist Look
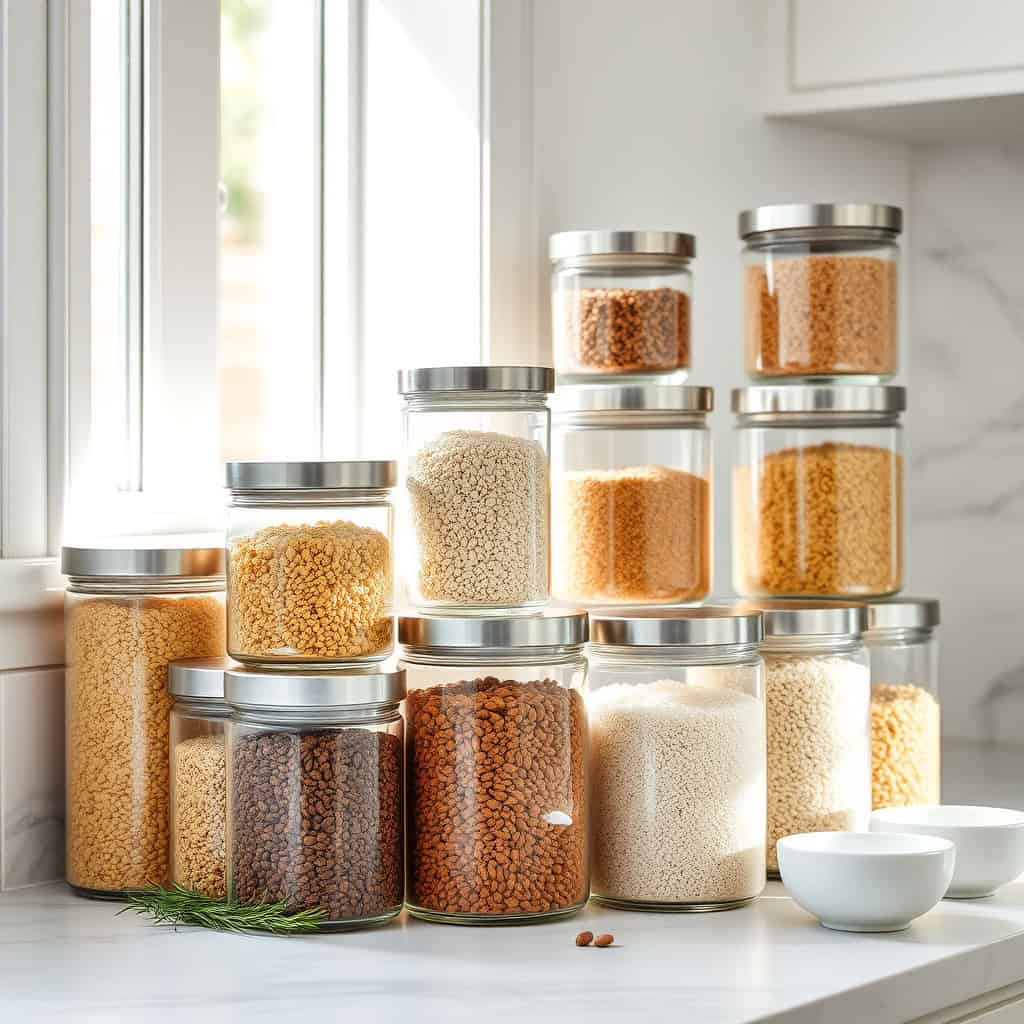
Glass storage containers have become increasingly popular in modern kitchens, not just for their aesthetic appeal but also for their practical benefits. The transparency allows for immediate identification of contents, reducing time spent searching through cabinets and preventing food waste by keeping items visible and top of mind.
A well-organized system of clear glass containers creates a cohesive, minimalist look while simultaneously promoting better food preservation and kitchen efficiency. Glass containers are also environmentally friendly, chemical-free, and maintain the freshness of dry goods longer than plastic alternatives.
Required Items:
- Various sizes of glass storage jars with airtight lids
- Labels or label maker
- Measuring cups and funnels
- Clean, dry cloth
- Storage jar cleaning brush
- Pantry shelf liner
- Clear glass canisters
- Glass spray bottles
- Small glass spice jars
- Container markers or tags
Begin by thoroughly cleaning and drying all glass containers. Sort dry goods by category (grains, nuts, baking supplies, etc.) and assess the appropriate container sizes needed for each item. Transfer contents using a funnel to prevent spills, filling containers to about 80% capacity to allow for easy pouring.
Label each container clearly with the item name and expiration date. Arrange containers by frequency of use and size, placing frequently used items at eye level and heavier containers on lower shelves. Group similar items together to create a logical flow in your storage space.
Consider using stackable square or rectangular containers to maximize space efficiency while maintaining the clean aesthetic. For optimal results, store glass containers away from direct sunlight to prevent content degradation.
Regular maintenance includes wiping containers with a dry cloth to remove fingerprints and dust, checking seals monthly, and updating labels as needed. Consider implementing a rotation system where newly purchased items are stored behind older ones to maintain freshness and prevent waste.
Color-Coordinated Open Shelving Displays
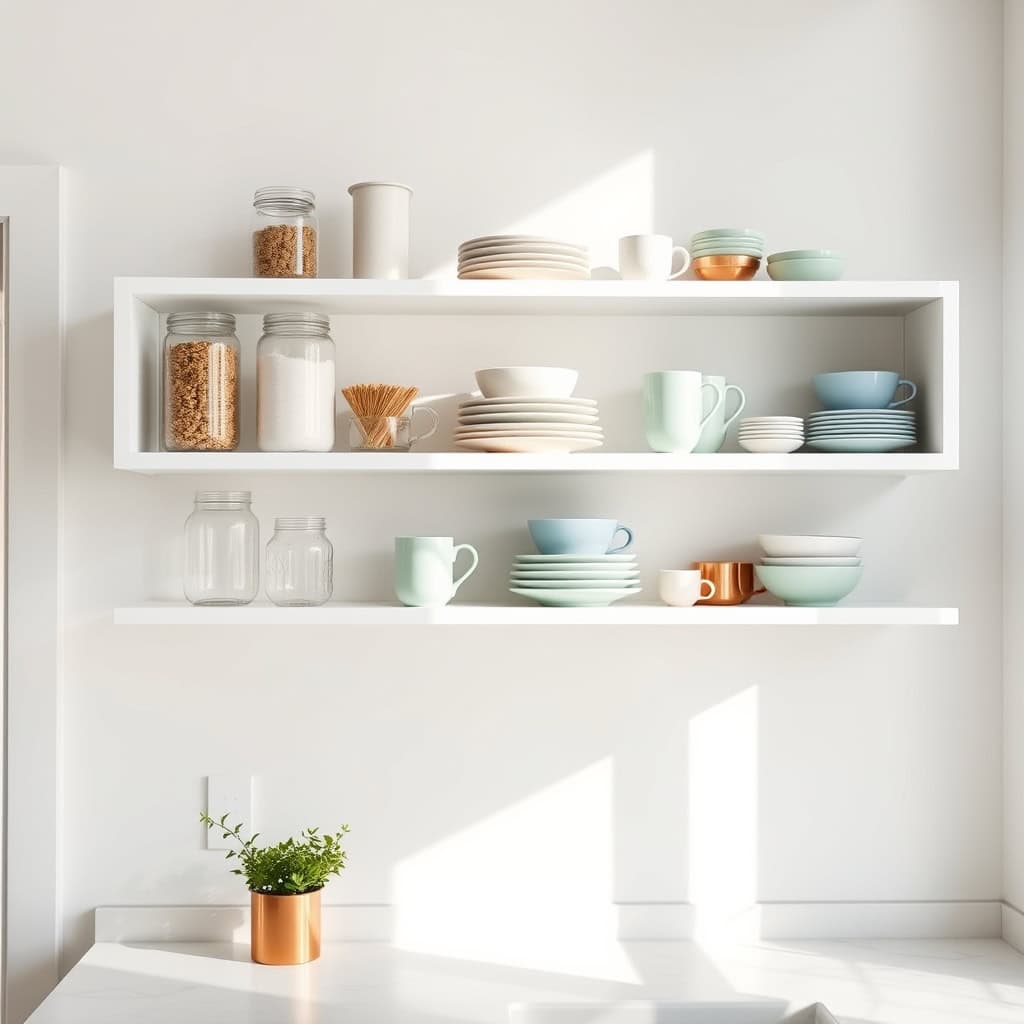
The visual impact of color-coordinated open shelving can transform an ordinary kitchen into a stunning showcase while maintaining functionality. When items are thoughtfully arranged by color, they create a harmonious display that’s both practical and aesthetically pleasing, turning everyday kitchen items into decorative elements.
Open shelving requires careful curation and maintenance to avoid looking cluttered or chaotic. Color coordination provides a systematic approach to organization, making it easier to maintain order while creating an intentional design statement that can complement or enhance your kitchen’s overall aesthetic.
Required Items:
- Open shelves (mounted securely)
- Storage containers in coordinating colors
- Matching dish sets
- Uniform glasses and cups
- Decorative bowls
- Clear containers for dry goods
- Label maker
- Cleaning supplies
- Measuring tape
- Level
Start by removing everything from your shelves and grouping items by both function and color family. Create distinct zones for frequently used items at eye level, placing less-used pieces higher up. Arrange items in graduated heights, with taller pieces at the back and shorter ones in front. Position similar items together, such as stacking plates of the same color or grouping coordinating glassware.
When implementing the color scheme, choose a dominant color story that complements your kitchen’s design. Create visual flow by arranging items in color gradients, moving from light to dark or working with complementary color pairs. Maintain breathing space between groupings and avoid overcrowding by leaving at least 20% of shelf space empty.
For optimal results, regularly dust and rotate items to prevent unused pieces from collecting debris. Consider seasonal adjustments to your display, switching out colors and items to reflect changing needs or aesthetic preferences. Always keep frequently used items within easy reach, and resist the temptation to display items solely for decoration if they serve no practical purpose in your kitchen routine.
Matching Label Systems and Typography
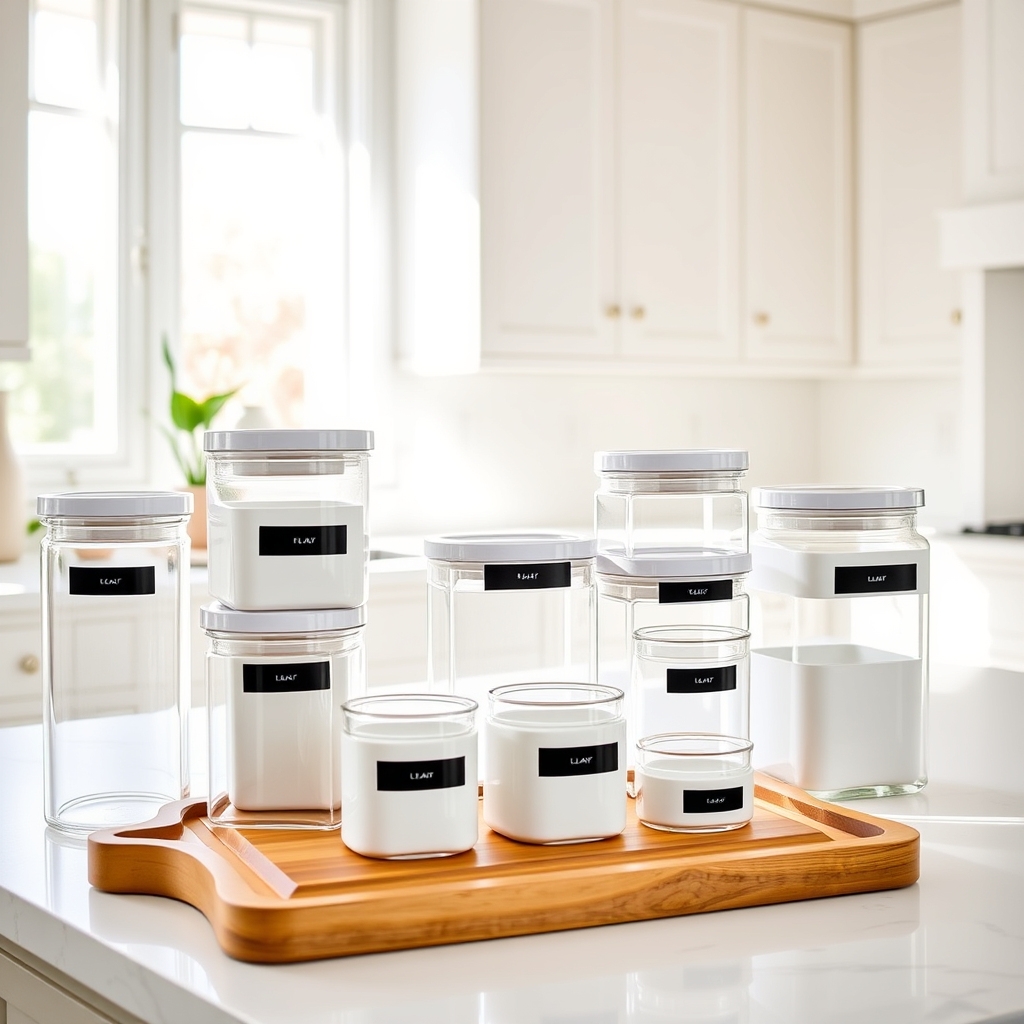
A cohesive label system transforms a kitchen from functional to both practical and visually appealing. When containers, jars, and storage spaces share a unified typographic style, they create a sense of order and intentional design that elevates the entire kitchen aesthetic. This visual harmony not only makes items easier to locate but also contributes to a more peaceful and organized environment.
Creating a matching label system using consistent typography helps maintain long-term organization while adding a designer touch to your space. Whether you prefer minimalist sans-serif fonts or elegant script styles, maintaining consistency throughout your kitchen storage solutions helps create a professional, curated look that inspires you to keep spaces tidy and well-maintained.
Required Items:
- Label maker or printer
- Clear adhesive labels
- Waterproof label paper
- Storage containers
- Measuring tape
- Scissors
- Ruler
- Fine-tip marker
- Cleaning supplies
- Template software or app
- Clear protective label covers
Start by selecting a typography style that matches your kitchen’s aesthetic and remains legible at various sizes. Create a template using your chosen font, ensuring consistent spacing and sizing across all labels. Clean all surfaces thoroughly before applying labels, and measure each container to determine appropriate label dimensions.
For pantry items, create categories and subcategories using a hierarchy of font sizes to distinguish between different storage zones. When implementing your label system, begin with larger storage containers and work your way down to smaller items. Position labels at consistent heights on containers and ensure they face the same direction for a polished look.
For clear containers, place labels where they won’t interfere with viewing contents while maintaining visual flow. To ensure longevity and professional results, invest in high-quality, waterproof labels that can withstand kitchen moisture and frequent handling. Consider creating backup labels and storing them digitally for easy replacement when needed.
Test label placement before permanent application, and use clear protective covers in high-traffic areas or zones prone to splashes and spills.
Designer Baskets and Natural Storage Elements
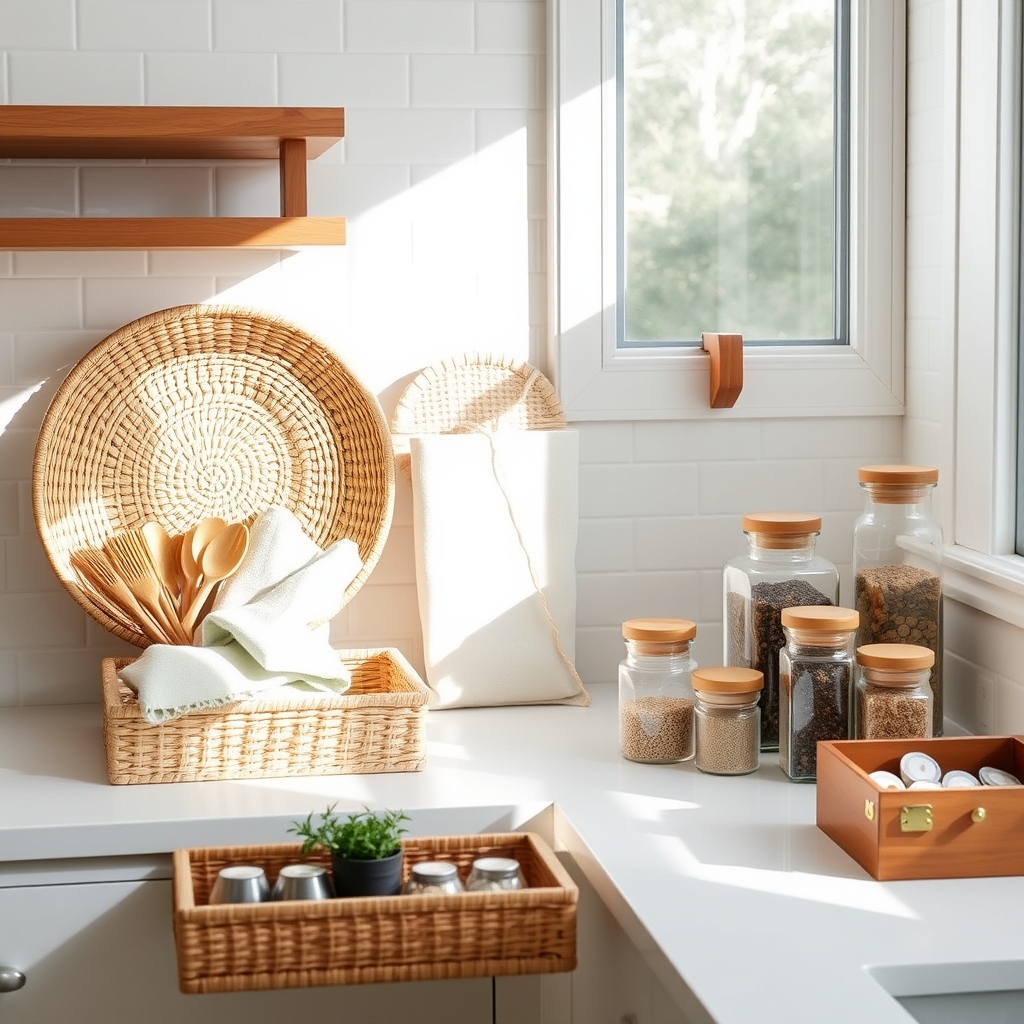
The integration of designer baskets and natural storage elements in kitchen organization has become increasingly popular as homeowners seek to combine functionality with visual appeal.
These elements not only provide practical storage solutions but also add warmth, texture, and organic beauty to what can otherwise be a stark, utilitarian space.
Natural storage solutions offer a sustainable and stylish alternative to plastic containers while creating a cohesive, sophisticated look that enhances the overall kitchen aesthetic.
From handwoven baskets to wooden crates and bamboo organizers, these elements can transform cluttered countertops and cabinets into Instagram-worthy displays that maintain order and accessibility.
Required Items:
- Woven seagrass or rattan baskets
- Wooden crates or boxes
- Bamboo drawer organizers
- Natural fiber bins
- Label maker or tags
- Clear glass jars
- Wooden risers
- Natural twine
- Cotton or linen liners
- Measuring tape
Begin by assessing your kitchen storage needs and measuring available spaces in cabinets, pantry, and countertops.
Sort items into categories based on frequency of use and type of storage required.
Select appropriately sized baskets and natural containers that fit your designated spaces while maintaining visual harmony.
For pantry items, transfer dry goods into clear glass jars with wooden lids, and organize them on wooden risers for better visibility.
Position larger woven baskets in lower cabinets or on open shelving to store bulkier items like potatoes, onions, or kitchen linens.
Utilize smaller designer baskets with handles for frequently accessed items on countertops, ensuring they complement your kitchen’s color scheme and style.
Install bamboo drawer organizers for utensils and cooking tools, maintaining the natural theme throughout the space.
Additional Tips:
Line baskets with washable natural fiber liners to protect them from spills and make cleaning easier.
Rotate stored items seasonally to prevent natural materials from excessive wear, and keep baskets away from direct sunlight to prevent fading.
Consider treating wooden elements with food-safe mineral oil every few months to maintain their appearance and durability.
Label containers clearly but elegantly using natural materials like wooden tags or kraft paper labels to maintain the aesthetic while ensuring practical organization.
Stylish Counter-Top Organization Stations
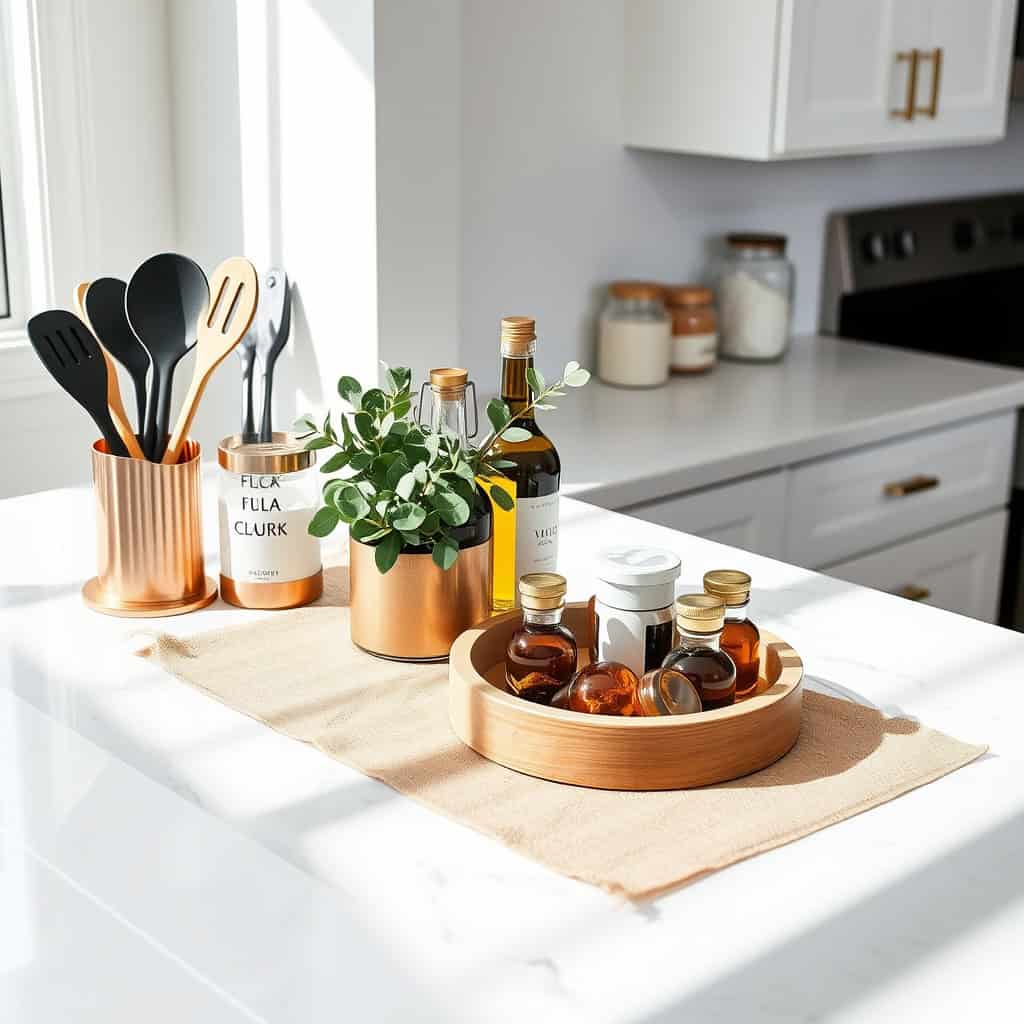
A well-organized kitchen counter is the cornerstone of a functional and visually appealing kitchen space. Counter-top organization stations not only streamline daily cooking activities but also transform cluttered surfaces into sophisticated, purposeful areas that enhance the overall aesthetic of your kitchen.
Creating designated zones for frequently used items ensures easy access while maintaining a clean, minimalist appearance. Strategic organization stations prevent counter-top chaos, reduce cleaning time, and make food preparation more efficient while adding a designer touch to your kitchen’s appearance.
Required Items:
- Decorative trays or wooden boards
- Glass or ceramic canisters
- Utensil holders
- Small lazy Susan
- Drawer organizers or dividers
- Clear acrylic containers
- Label maker
- Matching storage containers
- Shelf risers
- Decorative baskets
Start by clearing the entire counter-top and grouping items by frequency of use and function. Create distinct zones: a cooking station near the stove with essential utensils and spices, a coffee or beverage station, and a food prep area.
Use attractive containers and organizers that complement your kitchen’s style while maintaining functionality. Position frequently used items at the front of each station, with less-used items toward the back.
Place cooking utensils in stylish holders, transfer dry goods into matching containers, and arrange small appliances on decorative trays to create visual boundaries. Implement vertical storage solutions using shelf risers to maximize space while maintaining an organized appearance.
Group similar items together and ensure each item has a designated spot within its zone.
Additional Tips: Rotate items seasonally to keep stations relevant and functional. Choose organization tools in a cohesive color scheme or material theme to maintain visual harmony.
Regular maintenance of these stations is crucial – schedule weekly quick resets to ensure items return to their designated spots and adjust the layout as needed based on changing kitchen habits and needs.
Aesthetic Drawer Dividers and Inserts
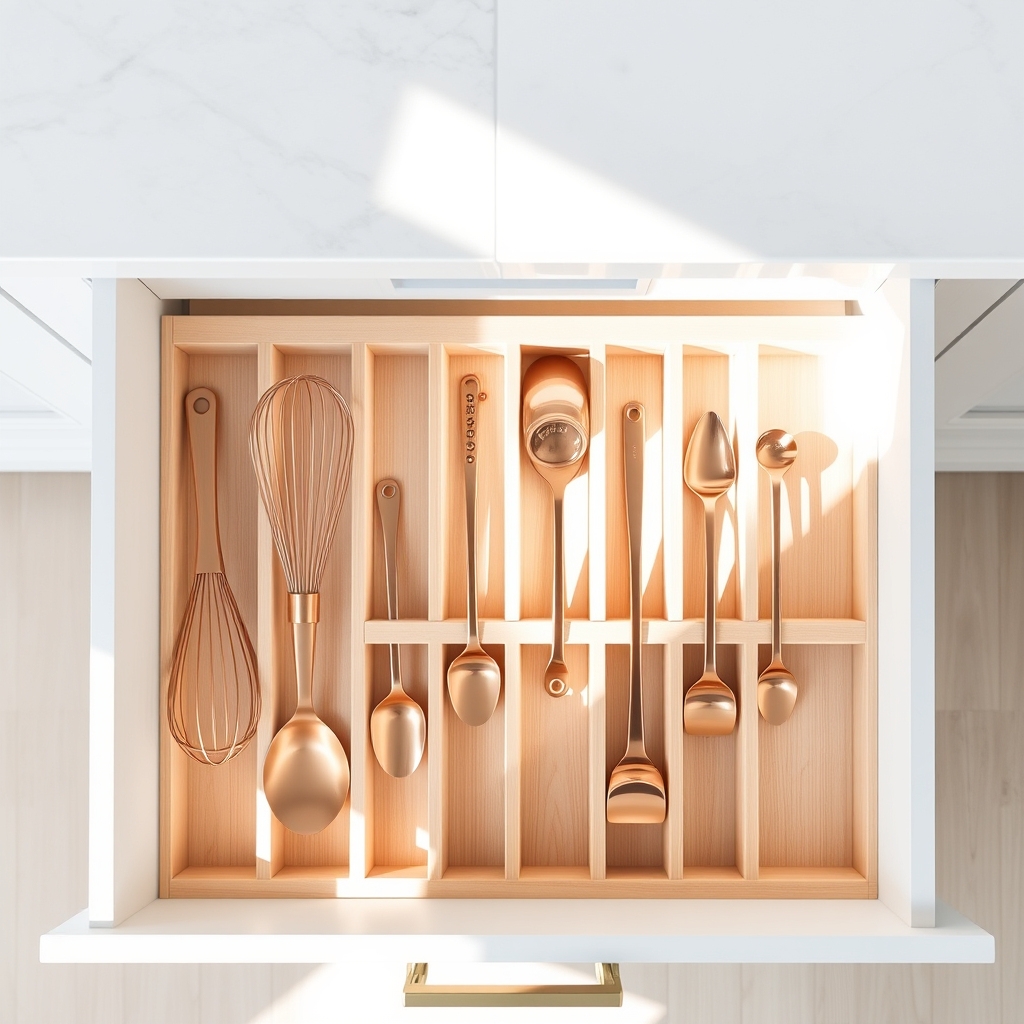
Well-organized kitchen drawers are essential for maintaining an efficient and stress-free cooking environment. When utensils, gadgets, and tools are properly separated and arranged, you can easily locate what you need without wasting time rummaging through cluttered spaces.
Drawer dividers and inserts not only create designated spaces for specific items but also protect your drawer interiors and prevent items from sliding around when opening and closing. A thoughtfully organized drawer system can maximize storage space while maintaining a visually pleasing aesthetic that makes your kitchen more enjoyable to use.
Required Items:
- Drawer dividers (adjustable or fixed)
- Drawer inserts or organizers
- Measuring tape
- Clean cloth
- Labels (optional)
- Drawer liner (optional)
- Container for items to donate/discard
- Cleaning supplies
Start by removing everything from the drawers and thoroughly cleaning the interior surfaces. Measure each drawer’s dimensions, accounting for both width and depth, to ensure proper fit of dividers and inserts.
Sort items into categories based on function and frequency of use, discarding damaged items and duplicates. Install drawer liners if desired, then place your chosen dividers or inserts into the drawers.
Position frequently used items in the most accessible areas. Arrange utensils and tools with handles facing the same direction for visual consistency. For deep drawers, consider using stacking organizers to maximize vertical space.
Group similar items together: cooking utensils in one section, measuring tools in another, and specialty items in their own designated spaces. Ensure that items fit comfortably within their assigned spaces without overcrowding, allowing for easy removal and replacement.
Additional Tips:
Reassess your drawer organization every few months to maintain effectiveness. Consider using clear dividers for a seamless look, or opt for bamboo or wooden organizers for a warm, natural aesthetic.
Place small rubber grip pads under dividers to prevent shifting, and use drawer stops to protect organizers from sliding when drawers are opened and closed quickly. Label sections if needed, using discrete labels on the dividers themselves rather than the drawer fronts to maintain a clean appearance.
Coordinated Pantry Container Sets
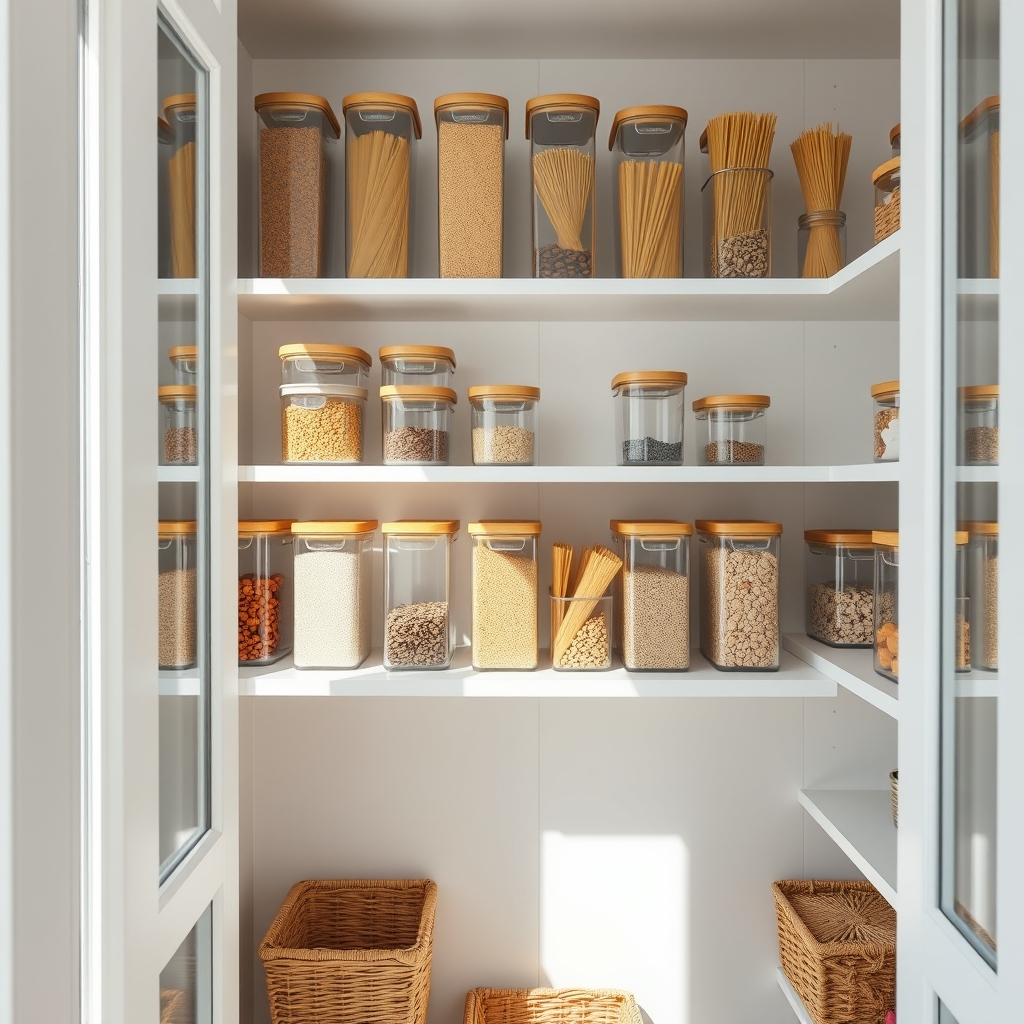
A well-organized pantry with coordinated container sets transforms both the functionality and visual appeal of your kitchen storage. When dry goods are stored in matching containers, it becomes easier to identify ingredients at a glance, monitor inventory levels, and maintain freshness while creating a cohesive, professional look.
Coordinated container sets eliminate the visual chaos of mismatched packaging and create a streamlined system that maximizes space utilization. This organization method not only enhances the aesthetic appeal of your pantry but also reduces food waste by keeping items visible and properly sealed, ultimately saving money and reducing environmental impact.
Required Items:
- Airtight storage containers in various sizes
- Label maker or waterproof labels
- Measuring cups
- Funnel
- Container cleaning brush
- Food storage guide
- Clear bins or baskets
- Shelf liner
- Microfiber cleaning cloth
- Storage container inventory list
Start by removing all items from your pantry and grouping similar products together. Clean and dry each container thoroughly before use. Select appropriately sized containers for different ingredients, considering factors like volume, usage frequency, and shelf height.
Transfer dry goods into containers, using a funnel to prevent spills. Create detailed labels including the item name and expiration date.
Arrange containers by category, placing frequently used items at eye level and heavier containers on lower shelves. Group similar items together – baking supplies in one section, breakfast items in another, and so on. Use clear bins to corral smaller containers or create zones for specific meal types.
For optimal long-term maintenance, keep a small inventory list noting container sizes and contents. Clean containers thoroughly before refilling, and always transfer new products into containers immediately after shopping.
Consider keeping a few extra containers on hand for new purchases or seasonal items, and regularly check seals to ensure they remain airtight and effective.
Modern Spice and Herb Organization Methods
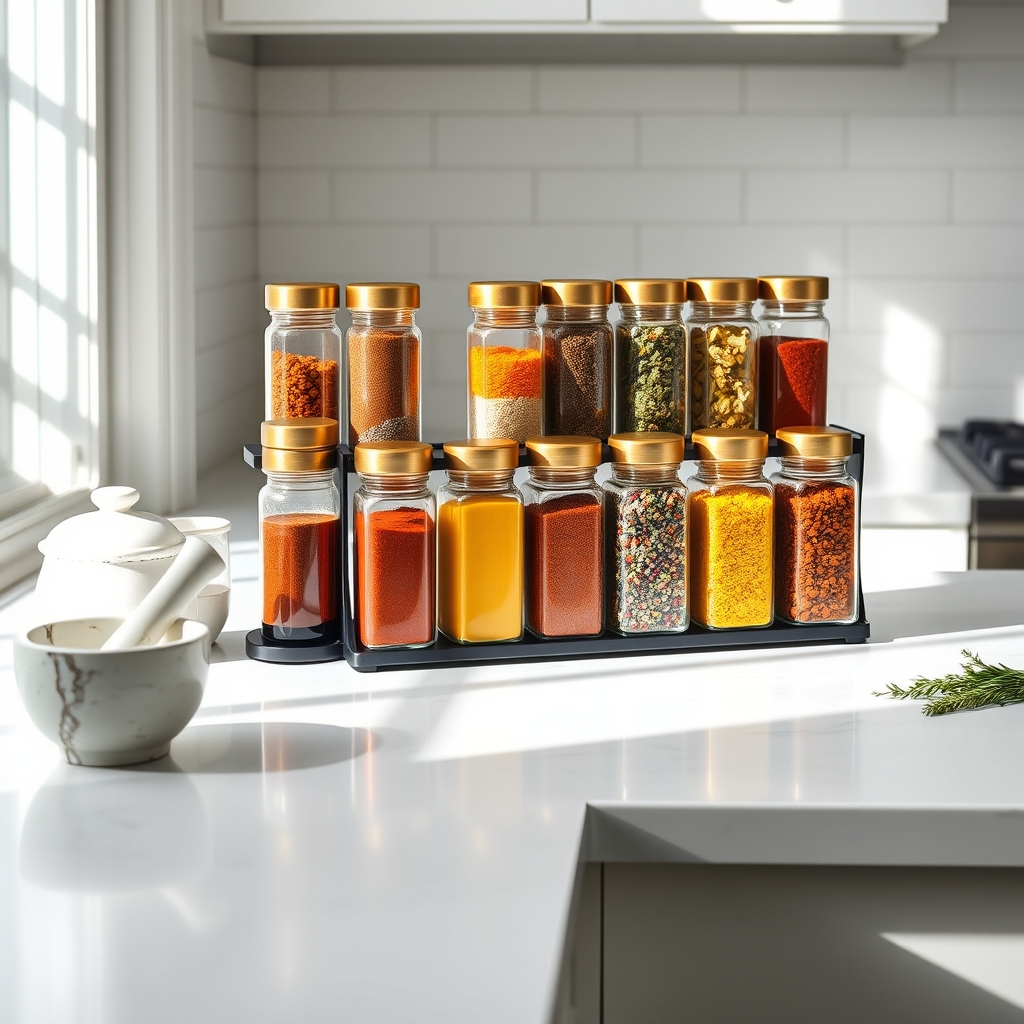
A well-organized spice and herb collection serves as both a functional cooking station and an appealing visual element in any modern kitchen. When ingredients are properly sorted and displayed, cooking becomes more efficient, ingredients stay fresher longer, and the overall kitchen aesthetic improves dramatically.
The key to successful spice organization lies in creating a system that works with your cooking style while maintaining visual harmony. Modern organization methods emphasize clean lines, uniform containers, and accessible placement, transforming cluttered cabinets into Instagram-worthy displays that make meal preparation a joy.
Required Items:
- Matching spice jars with airtight lids
- Labels or label maker
- Drawer dividers or tiered shelving
- Measuring spoons
- Funnel for transfer
- Clear containers for bulk spices
- Drawer liner or shelf liner
- Small scoop or spoon
- Cleaning cloths
- Storage basket for extras
To begin organizing, empty all spices and herbs onto a clean workspace. Sort through them, checking expiration dates and discarding old or stale items. Transfer remaining spices into uniform containers, using a funnel to prevent waste. Label each jar clearly with both the spice name and purchase date.
When selecting permanent locations, consider frequency of use – everyday spices should be most accessible. Group spices by category (baking spices, Mediterranean herbs, Asian spices, etc.) or alphabetically, depending on your cooking style. Install tiered shelving in cabinets or use drawer organizers to maximize visibility.
For frequently used items, consider magnetic solutions on the side of the refrigerator or a dedicated countertop carousel, ensuring easy access during meal preparation. For optimal organization maintenance, schedule quarterly reviews of your spice collection. Store spices away from heat sources and direct sunlight to preserve freshness.
Consider buying smaller quantities of rarely used spices and maintaining a backup inventory list for frequently used items. Regular cleaning of containers and storage areas will keep your modern spice organization system looking pristine and functioning efficiently.

