Are you looking to give your bathroom a fresh, new look? Framing your bathroom can be a great way to add style and structure to the space. In this article, we will guide you through the process of framing a bathroom step-by-step. From planning and measuring to choosing the right materials and tools, we’ve got you covered. So grab your safety gear and let’s get started on transforming your bathroom into a beautifully framed oasis!
Planning and Measuring for Framing
You’ll need to start by measuring the dimensions of your bathroom before you begin framing. It’s important to have an accurate understanding of the space you’re working with in order to plan your framing properly. Take note of where your plumbing fixtures are located and any obstacles that may affect your framing, such as windows or doors. Consider the layout of your bathroom and how you want it to function. This will help you determine where walls should be placed and what type of framing materials you’ll need. Plumbing considerations are also crucial when framing a bathroom. Make sure to leave enough space for pipes, vents, and drains so they can be properly installed without any obstructions. Safety is paramount when working on a construction project, so always follow proper procedures and guidelines when measuring and planning for framing your bathroom.
Choosing the Right Materials and Tools
When remodeling, it’s important to select the appropriate materials and tools for your bathroom framing project. Material selection is crucial for ensuring a sturdy and long-lasting frame. Opt for pressure-treated lumber or moisture-resistant materials like steel studs or cement board to prevent damage from humidity and water exposure. Additionally, consider using mold-resistant drywall or greenboard to protect against mold growth in damp environments.
In terms of tool organization, keeping your tools in order is not only convenient but also promotes safety during the framing process. Invest in a toolbox or tool belt to keep all your essential tools within easy reach. This will save you time searching for tools and prevent accidents caused by cluttered work areas. Remember to wear protective gear such as gloves, safety goggles, and a dust mask when working with power tools or handling construction materials.
By selecting the right materials and organizing your tools properly, you can ensure a successful bathroom framing project that prioritizes both durability and safety.
Preparing the Bathroom for Framing
Before starting the framing process, it’s important to prepare the area by removing any existing fixtures or obstructions. Here are four important steps to take when preparing your bathroom for framing:
- Turn off the water supply: Locate the main water shut-off valve and turn it off to prevent any potential leaks or accidents while working on the plumbing.
- Remove old fixtures: Take out any existing bathroom fixtures such as sinks, toilets, and showers. This will give you a clear view of the layout and help you plan your framing accordingly.
- Inspect plumbing lines: Check the condition of your plumbing lines to ensure they are in good shape and properly functioning. Replace or repair any damaged pipes before proceeding with framing.
- Mark plumbing locations: Use masking tape or chalk to mark the exact location of your plumbing lines on the floor and walls. This will help you avoid accidentally nailing or cutting into them during the framing process.
By following these steps, you can ensure a safe and efficient framing process while considering your bathroom layout and addressing any necessary plumbing considerations.
Building the Frame Structure
To build the frame structure, start by measuring and cutting the necessary lumber according to your desired dimensions. Make sure to use a tape measure and a circular saw for precise cuts. When assembling the frame, it’s important to use framing techniques that ensure stability and durability. Secure the pieces together using screws or nails, making sure everything is level and square. Remember to wear safety goggles and gloves while working with power tools to protect yourself from any potential accidents.
Framing challenges may arise during this process, such as dealing with uneven walls or plumbing obstacles. If you encounter any of these issues, take your time to find solutions that maintain the integrity of the frame while accommodating these challenges. It’s crucial to address these problems early on to avoid future complications when installing fixtures or finishing touches in your bathroom project. Stay focused and follow proper safety protocols throughout this step of building your bathroom frame structure.
Finishing and Decorating the Framed Bathroom
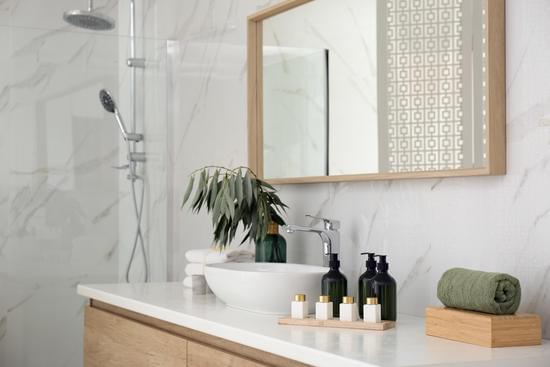
Once you have completed the frame structure, it’s time to add the finishing touches and decorate your newly framed bathroom. Safety should always be a priority when selecting the perfect paint color for your space. Opt for low VOC (volatile organic compound) paints to minimize exposure to harmful chemicals. Choose light colors that create an airy and spacious feel while reflecting natural light. To enhance the overall look of your bathroom, consider adding stylish accessories such as towel racks, soap dispensers, and mirrors that complement your chosen color scheme. Remember to secure these items properly to prevent accidents or injuries. Additionally, install non-slip mats or rugs near the bathtub or shower area to reduce the risk of slipping on wet surfaces. With careful consideration and attention to safety details, you can create a beautiful and functional bathroom space.
Conclusion
Now that you have finished framing your bathroom, it’s time to step back and admire your hard work. By following the steps outlined in this article, you were able to successfully plan and measure for framing, choose the right materials and tools, prepare the bathroom for framing, build the frame structure, and finish and decorate the framed bathroom. Take pride in knowing that you have created a beautiful and functional space that will be enjoyed for years to come.

