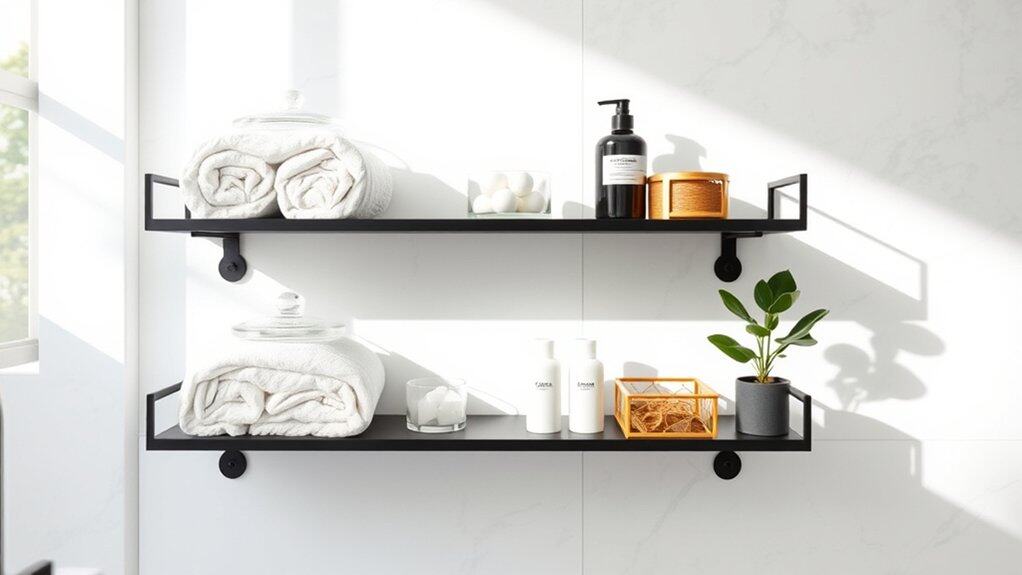
If you’re tired of your cluttered bathroom shelves, you’re not alone! I spent years struggling with disorganized toiletries and towels until I discovered some game-changing storage solutions. Whether you’re working with a tiny powder room or a spacious master bath, these nine clever upgrades will transform your space from chaotic to calm. From sleek acrylic dividers to smart vertical storage, you’ll find options that fit your style and budget – and trust me, the results are worth every minute of effort.
Install Clear Acrylic Dividers
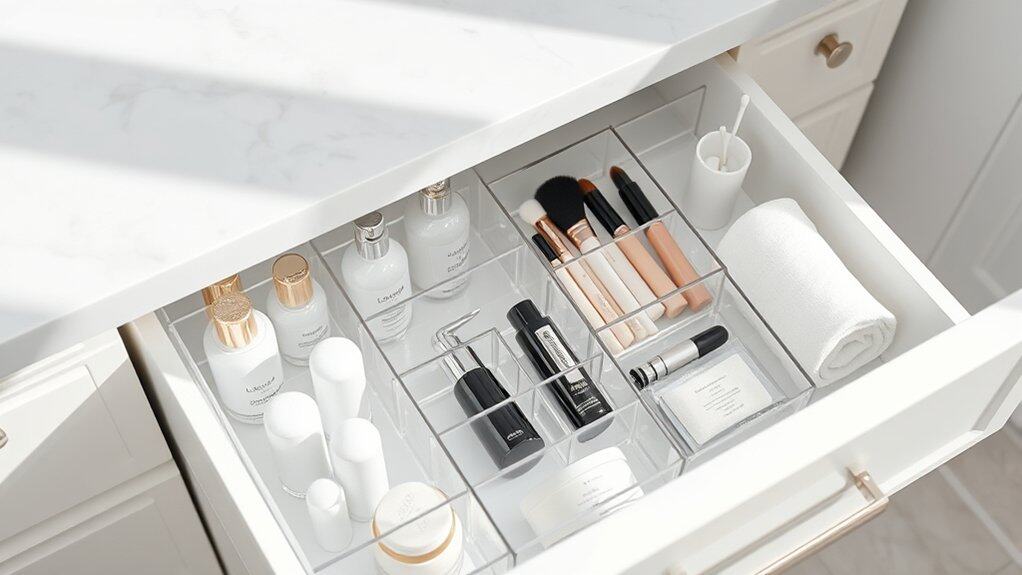
Clear acrylic dividers represent a game-changing solution for bathroom organization, offering a sleek and modern approach to managing drawer and cabinet clutter. These transparent organizers allow you to see all your items at a glance while maintaining clear boundaries between different categories of products, making your daily routine more efficient and stress-free.
The versatility of acrylic dividers makes them particularly valuable in bathroom spaces, where various items of different sizes need to coexist in limited space. From makeup and skincare products to hair accessories and dental care items, these dividers create designated spaces that prevent items from mixing and sliding around, ultimately maintaining order long-term.
Required Items:
- Clear acrylic drawer dividers
- Measuring tape
- Drawer liner (non-slip)
- Pencil
- Paper for planning layout
- Cleaning supplies
- Labels (optional)
- Scissors
- Double-sided tape (if needed)
Start by removing everything from your drawers or cabinets and thoroughly cleaning the surfaces. Measure the interior dimensions of your storage spaces, accounting for both depth and width. Sketch a rough layout plan for your dividers, considering the sizes of items you’ll be storing and natural groupings of products.
Place the non-slip liner in your drawer or cabinet, cutting it to fit precisely. Position your acrylic dividers according to your plan, ensuring they fit snugly against each other and the drawer walls. If needed, secure them with small pieces of double-sided tape to prevent shifting.
Additional Tips: Consider leaving some breathing room in each compartment to accommodate new products or seasonal changes in your routine. Label the sections if you share the bathroom with family members to maintain organization. Periodically reassess your divider layout as your storage needs change, and clean the acrylic regularly with a gentle, non-abrasive cleaner to maintain visibility and hygiene.
Add Pull-Out Drawer Systems
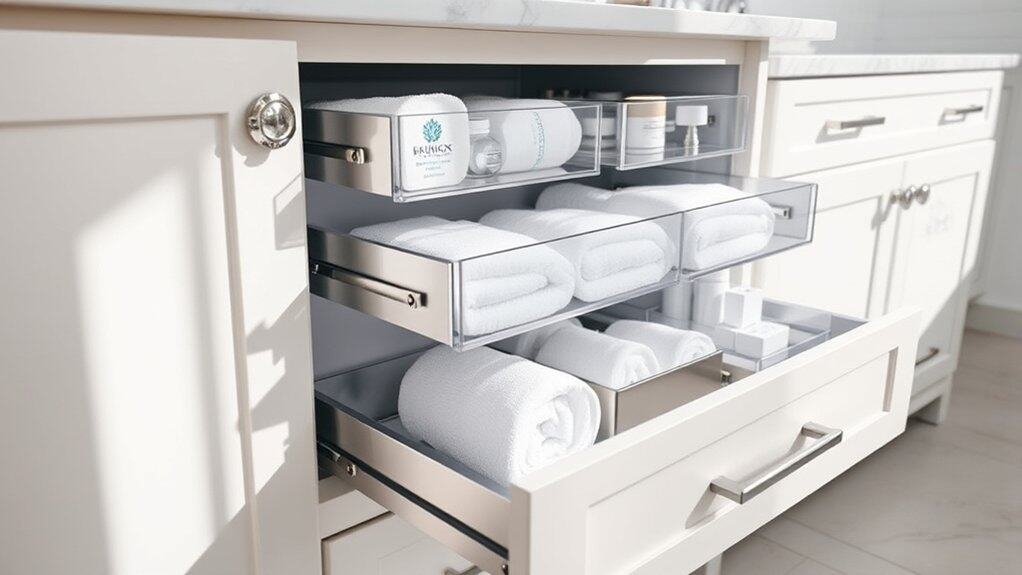
Pull-out drawer systems represent a game-changing solution for maximizing bathroom storage space, particularly in cabinets that traditionally waste vertical space with fixed shelving.
These sliding systems transform hard-to-reach areas into easily accessible storage, eliminating the need to dig through cluttered cabinets or strain to access items in the back.
Installing pull-out drawer systems can double or triple your usable storage space while keeping items organized and visible at a glance. This organization method is especially valuable for storing cleaning supplies, toiletries, and other bathroom essentials that tend to get lost in deep cabinets or under-sink spaces.
Required Items:
- Pull-out drawer systems (sized to fit your cabinets)
- Screwdriver
- Drill and drill bits
- Measuring tape
- Pencil
- Level
- Mounting screws
- Cabinet liner (optional)
- Drawer organizers or bins
- Installation manual
Begin by measuring your cabinet interior dimensions carefully, including width, depth, and height. Remove existing shelves if necessary.
Install the mounting brackets according to the manufacturer’s instructions, ensuring they’re level and securely attached to the cabinet walls. Slide the drawer mechanism onto the brackets, testing for smooth operation before securing completely.
Once mounted, insert the drawer bins or trays, making sure they lock into place properly. For optimal organization, categorize items by frequency of use and type. Place frequently used items in upper drawers and less-used items in lower ones.
Consider using drawer organizers or small bins within the pull-out system to further compartmentalize items and prevent them from sliding around.
Final optimization tip: Label each drawer’s contents and maintain zones for specific categories (hygiene products, cleaning supplies, first aid, etc.). Regularly assess the arrangement and adjust as needed based on your usage patterns.
Consider installing drawer dampeners to prevent slamming and extend the life of your new organization system. Clean the tracks periodically to ensure smooth operation and prevent debris buildup that could affect the sliding mechanism.
Incorporate Vertical Storage Solutions
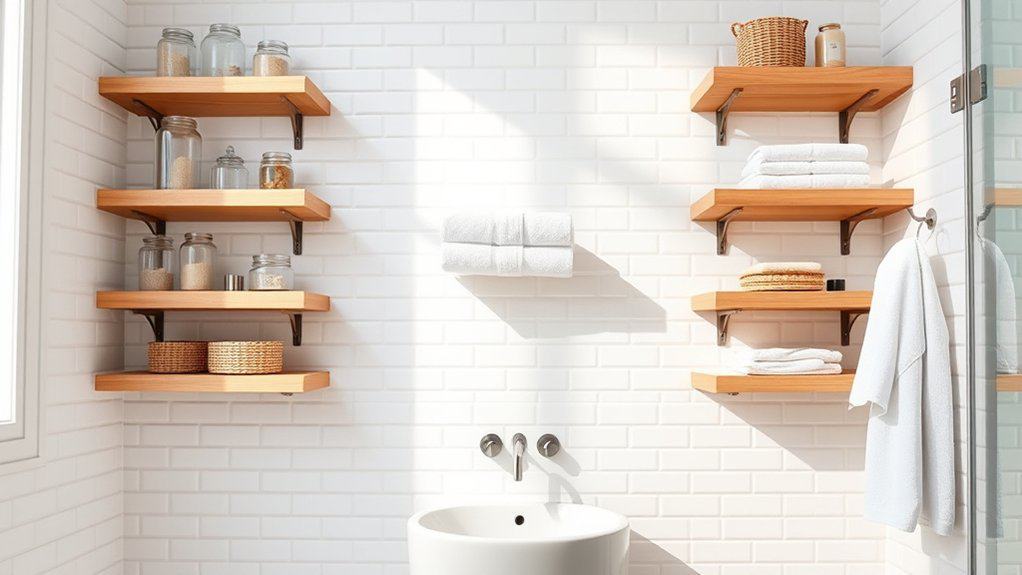
Making the most of vertical space in your bathroom is crucial for maximizing storage potential in what’s typically one of the smallest rooms in the home. By thinking upward instead of outward, you can effectively double or triple your storage capacity without sacrificing valuable floor space or creating a cluttered environment.
Vertical storage solutions transform unused wall space into functional storage areas, creating designated spots for toiletries, towels, and bathroom essentials. This organization method not only improves accessibility but also helps maintain a clean, spa-like atmosphere by keeping items off countertops and other horizontal surfaces.
Required Items:
- Over-the-toilet shelving unit
- Adhesive wall hooks
- Tension rods
- Floating shelves
- Wall-mounted baskets
- Command strips or mounting hardware
- Storage containers or bins
- Door-hanging organizers
- Shower caddies
- Wall-mounted towel racks
Start by assessing your wall space and identifying prime locations for vertical storage. Install an over-the-toilet shelving unit as your primary vertical storage hub, ensuring it’s properly secured to the wall.
Mount floating shelves at varying heights, keeping frequently used items at eye level and less-used items higher up. Utilize tension rods inside cabinets to create additional levels for cleaning supplies or hair products. Install wall-mounted baskets or caddies near the shower or sink for easy access to daily essentials.
For towel storage, install multiple towel bars at different heights, or consider using hooks instead of bars to maximize space. Door-hanging organizers can be added to cabinet doors and the main bathroom door for additional storage of smaller items.
Remember to use proper anchors and mounting hardware to ensure all installations are secure and can bear the intended weight. To maintain your vertical organization system, regularly assess the functionality of each storage solution and adjust as needed.
Label containers and designate specific zones for different categories of items. Consider using clear containers for easy visibility and rotate items seasonally to ensure frequently used products remain easily accessible. Remember to leave some empty space for future additions and avoid overcrowding, which can make the bathroom feel cramped and defeat the purpose of vertical organization.
Mount Under-Shelf Baskets
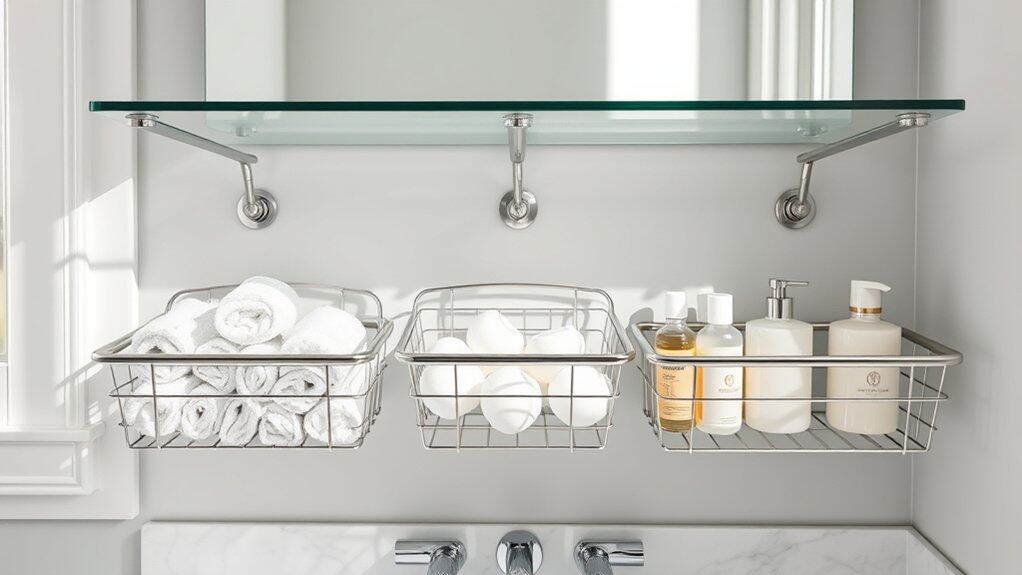
Making the most of vertical space in your bathroom is crucial for maximizing storage capacity, especially in smaller spaces. Under-shelf baskets are an innovative solution that transforms unused space beneath existing shelves or cabinets into valuable storage areas, effectively doubling your storage potential.
These hanging baskets provide easy access to frequently used items while keeping them organized and out of sight. This organization method is particularly beneficial for storing toiletries, cleaning supplies, or extra towels without taking up precious counter or cabinet space.
Required Items:
- Under-shelf baskets
- Measuring tape
- Pencil
- Level
- Screwdriver
- Wall anchors (if needed)
- Screws
- Cleaning cloth
- Labels (optional)
Select appropriate locations for your under-shelf baskets by measuring the available space beneath existing shelves or cabinets. Ensure there’s adequate clearance for the items you plan to store.
Clean the mounting surface thoroughly and mark the installation points using your level to ensure straight alignment. Attach the baskets according to the manufacturer’s instructions, typically using screws or the provided mounting hardware. Test the stability of each basket before loading items.
For optimal organization, group similar items together in each basket. Place frequently used items in easily accessible baskets and reserve higher or deeper baskets for less-used supplies. Consider using clear bins or adding labels to quickly identify contents.
Additional Tip: Maximize the effectiveness of your under-shelf baskets by implementing a regular maintenance schedule. Every three months, remove items, clean the baskets, assess their contents, and reorganize as needed. This prevents the accumulation of expired products and maintains an efficient storage system.
Consider using basket liners to protect against moisture and make cleaning easier.
Use Decorative Storage Containers
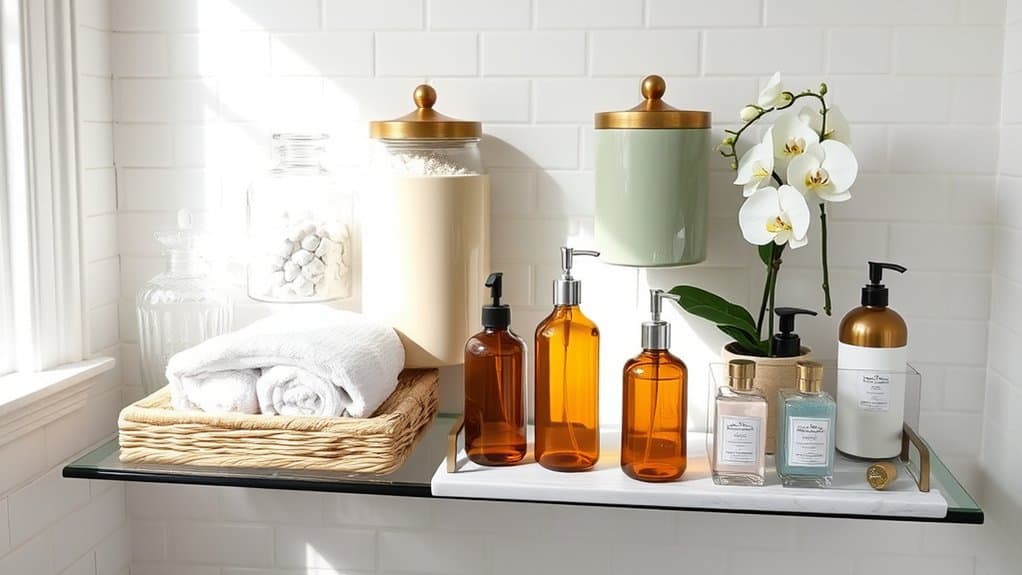
Transforming bathroom clutter into an organized and visually appealing space starts with selecting the right decorative storage containers. These containers not only keep toiletries, cosmetics, and personal care items neatly arranged but also contribute to the overall aesthetic of your bathroom, making it feel more like a spa retreat than a cluttered space.
Strategic use of decorative containers creates a cohesive look while maximizing storage potential in typically limited bathroom space. Whether you opt for matching sets or curated pieces that complement your existing décor, these containers can turn everyday items into stylish displays while keeping them easily accessible and protected from moisture.
Required Items:
- Glass apothecary jars
- Ceramic canisters
- Woven baskets
- Clear acrylic containers
- Decorative trays
- Labels or label maker
- Small drawer organizers
- Mason jars
- Matching pump dispensers
- Lidded boxes
Select containers based on the items you need to store and your bathroom’s style. Place frequently used items in easily accessible containers on countertops or shelves. Use clear containers for items you need to monitor, such as cotton balls or q-tips. Group similar items together in appropriately sized containers, ensuring lids fit securely to protect against humidity.
Label each container clearly, particularly if contents aren’t visible through the container. Consider using tiered organizers or stackable containers to maximize vertical space.
For optimal organization and maintenance, regularly assess container contents and clean them thoroughly every few months. Choose containers with moisture-resistant materials for items stored near the shower or sink. Consider designating specific containers for each family member using color coding or personalized labels.
Remember to leave some empty space in each container for easy access and future additions to your collection.
Create Custom Corner Shelving
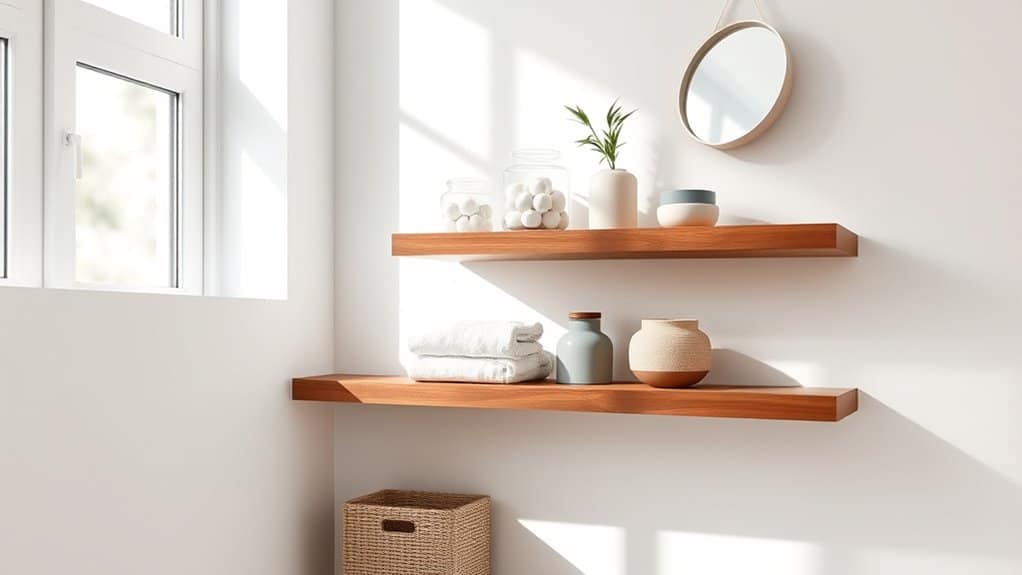
Making the most of corner spaces in your bathroom is essential for maximizing storage potential in what’s often a limited area. Corner shelving provides a practical solution for utilizing otherwise wasted space while adding a stylish architectural element to your bathroom design. Custom corner shelving can accommodate items of various sizes and create an organized display for your toiletries, decorative items, and daily essentials.
Corner shelves are particularly valuable in smaller bathrooms where traditional cabinets or standard shelving units might be too bulky or impractical. By installing custom corner shelving, you can create vertical storage that draws the eye upward, making your bathroom appear larger while providing functional storage space that keeps necessities within easy reach.
Required Materials:
- Corner shelf brackets
- Wood or glass shelving pieces cut to size
- Level
- Drill
- Wall anchors
- Screws
- Measuring tape
- Pencil
- Stud finder
- Safety goggles
- Dust mask
- Sandpaper (if using wood shelves)
Begin by measuring your corner space and determining the desired height and depth of each shelf. Use a stud finder to locate wall studs and mark their positions. Install the first bracket by drilling pilot holes, inserting wall anchors if necessary, and securing the bracket with screws.
Repeat this process for all brackets, ensuring they’re level and properly spaced for your planned shelf arrangement. Once brackets are secure, place your pre-cut shelving material onto the brackets, ensuring each shelf is level and stable.
For a professional finish, consider the weight capacity of your chosen materials and ensure adequate support for items you plan to store. If using wood shelves, sand the edges and apply appropriate finish or paint to protect against moisture. Space shelves at practical intervals, keeping frequently used items at easy-to-reach heights and decorative pieces at eye level.
Additional Tips: Consider installing small ledges or guards on the edges of your shelves to prevent items from sliding off, especially in shower areas. Use clear containers or coordinated baskets to group similar items together on the shelves, maintaining a clean, organized appearance.
Apply silicone caulk around wall joints for moisture protection, and periodically check brackets for tightness, particularly in high-humidity environments.
Implement Cabinet Door Organizers
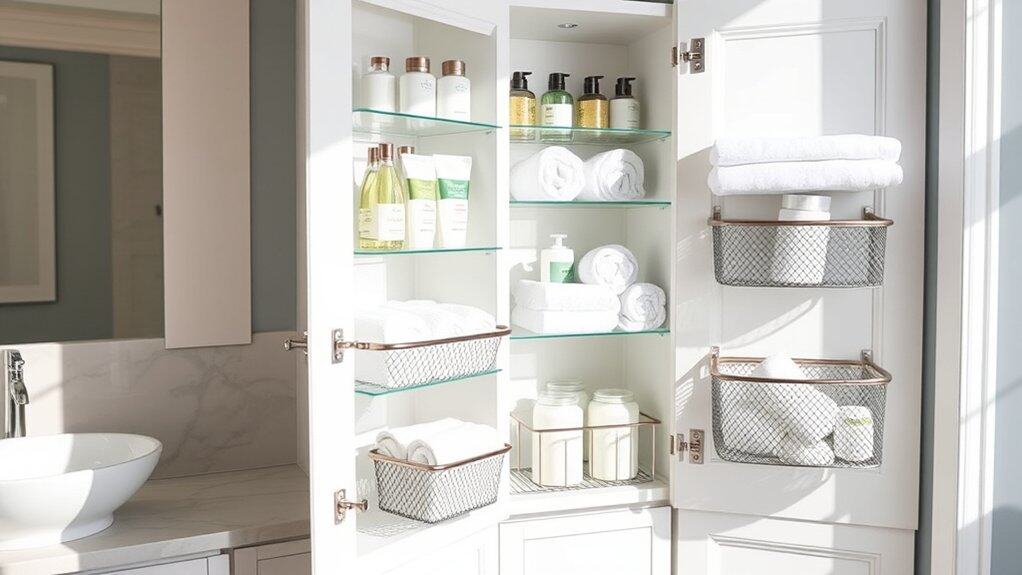
Cabinet doors offer valuable but often overlooked storage space in bathrooms. When properly utilized, these vertical surfaces can drastically increase storage capacity while keeping frequently used items within easy reach. This organization method is particularly beneficial in small bathrooms where every inch of space counts.
Installing cabinet door organizers transforms dead space into functional storage, reducing counter clutter and making daily routines more efficient. These systems can accommodate everything from hair tools and cleaning supplies to toiletries and cosmetics, keeping them organized and readily accessible.
Required Items:
- Over-the-door hanging organizers
- Adhesive hooks
- Command strips
- Tension rods
- Wire baskets
- Clear storage containers
- Measuring tape
- Screwdriver
- Level
- Marking pencil
Begin by measuring both the interior and exterior of your cabinet doors, noting width, height, and any hardware that might interfere with organizers. Clean the surfaces thoroughly with rubbing alcohol to ensure proper adhesion of any mounting hardware.
Select organizers that fit within these measurements, leaving enough clearance for the door to close properly. Install your chosen organizing solutions, whether they’re over-the-door hangers, adhesive-mounted baskets, or hook systems, following manufacturer guidelines for weight limits and mounting instructions.
Test the door’s movement several times to ensure nothing catches or scratches adjacent surfaces. For optimal organization, categorize items by frequency of use and type before placing them in the new storage systems. Position frequently used items at eye level and heavier items toward the bottom of the door to maintain stability.
Consider using clear containers or labels to maintain organization long-term, and ensure all items are securely stored to prevent shifting when opening and closing the door.
Additional Tips: Regularly inspect mounting hardware and adhesive strips for secure attachment, especially in humid bathroom environments. Install rubber bumpers where necessary to prevent metal-on-metal contact that could damage cabinet surfaces.
Consider using waterproof containers or bags for items that might be exposed to moisture, and periodically rotate items to prevent unused products from becoming permanently stored and forgotten.
Maximize Space With Magnetic Storage
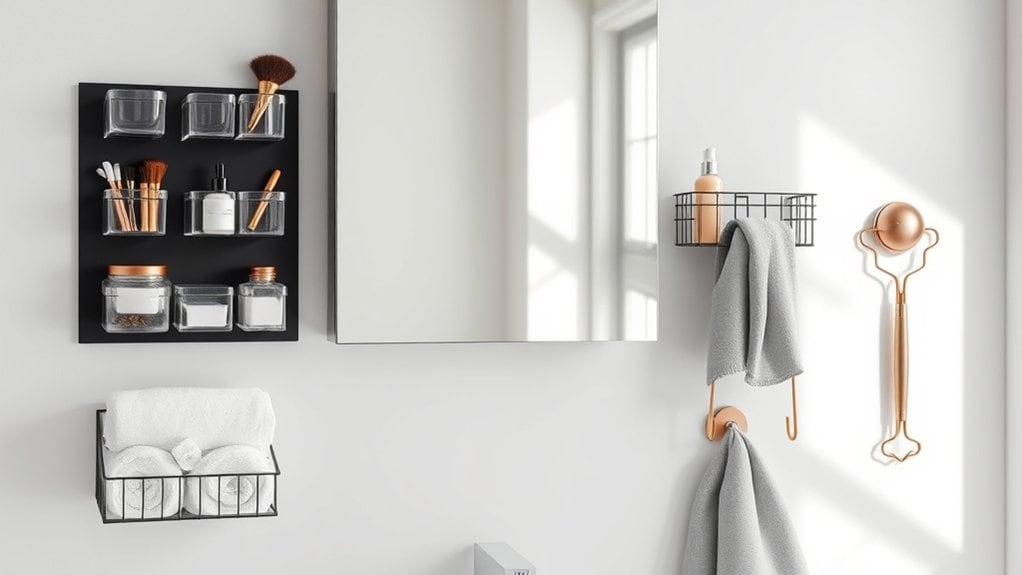
Magnetic storage solutions have revolutionized bathroom organization, especially in small spaces where vertical storage is essential. By utilizing the metal surfaces in your bathroom, from medicine cabinets to the sides of storage units, you can create additional storage space without drilling holes or taking up precious counter real estate.
The beauty of magnetic storage lies in its versatility and ease of modification. As your storage needs change, magnetic organizers can be quickly repositioned without causing damage to surfaces. This approach is particularly valuable for renters or those who prefer flexible storage solutions that can evolve with their needs.
Required Items:
- Magnetic strips or sheets
- Magnetic containers
- Small magnetic hooks
- Metal bathroom accessories
- Double-sided adhesive tape
- Scissors
- Measuring tape
- Cleaning supplies
- Small magnetic baskets
- Label maker (optional)
Start by thoroughly cleaning all metal surfaces where magnetic storage will be implemented. Measure these areas to determine the size and number of magnetic organizers needed. For non-magnetic surfaces, apply magnetic strips or sheets using double-sided adhesive tape, ensuring they’re level and secure.
Position magnetic containers at eye level for frequently used items, and place less-used items higher or lower. Arrange magnetic hooks in a pattern that maximizes vertical space while maintaining easy access. Small items like bobby pins, tweezers, and nail clippers can be stored in magnetic containers, while larger items like hairspray or styling tools can be secured using magnetic baskets.
Group similar items together and consider using clear containers to easily identify contents. For optimal organization success, regularly assess and adjust your magnetic storage system. Remove items that haven’t been used in three months, and clean magnetic surfaces monthly to maintain strong magnetic connections.
Consider implementing a rotation system for seasonal items, and always ensure heavy items are secured with appropriately rated magnetic holders to prevent accidents.
Integrate LED Strip Lighting
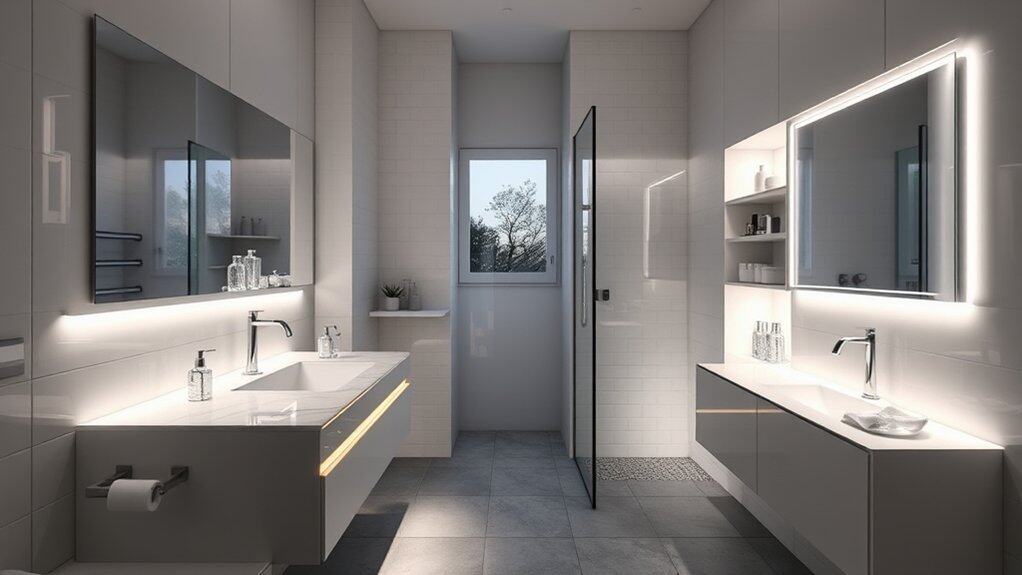
Strategic lighting can transform your bathroom from a purely functional space into a well-organized, spa-like retreat. LED strip lighting not only enhances visibility in critical areas but also creates ambiance while helping you better organize your daily routines. Proper lighting placement can highlight storage areas, illuminate dark corners, and create designated zones for different activities.
Installing LED strip lighting in your bathroom serves multiple organizational purposes, from brightening shadowy cabinet interiors to creating clear visibility under floating vanities. This modern lighting solution is energy-efficient, long-lasting, and can be customized to your specific organizational needs, making it easier to maintain an orderly bathroom space.
Required Items:
- LED strip lights
- Power adapter
- Wire clips or mounting brackets
- Silicon sealant (waterproof)
- Wire connectors
- Cable concealer
- Measuring tape
- Scissors
- Cleaning supplies
- Double-sided mounting tape
- Voltage tester
The installation process begins with thoroughly cleaning all surfaces where LED strips will be mounted. Measure each installation area carefully and cut the LED strips to size at the marked cutting points.
Install the power adapter in a safe, dry location, ensuring it meets bathroom electrical codes. Mount the LED strips using the appropriate mounting method – either clips or double-sided tape – working systematically around the bathroom. Focus on key areas such as under-cabinet spaces, medicine cabinet interiors, and vanity areas.
For optimal organization, create designated lighting zones that correspond to different storage areas. Install strips inside drawers and cabinets to illuminate storage spaces, under floating vanities to eliminate shadows, and around mirrors to enhance visibility during grooming routines.
Connect all strips to the power source, ensuring connections are properly sealed against moisture. Test each section before finalizing the installation.
To maximize the effectiveness of your LED strip lighting organization system, consider installing a dimmer switch or smart controller to adjust brightness levels throughout the day. Label different zones clearly and maintain regular cleaning of the strips to ensure optimal brightness.
Remember to periodically check all connections and seals to maintain water resistance and safe operation in the bathroom environment.

