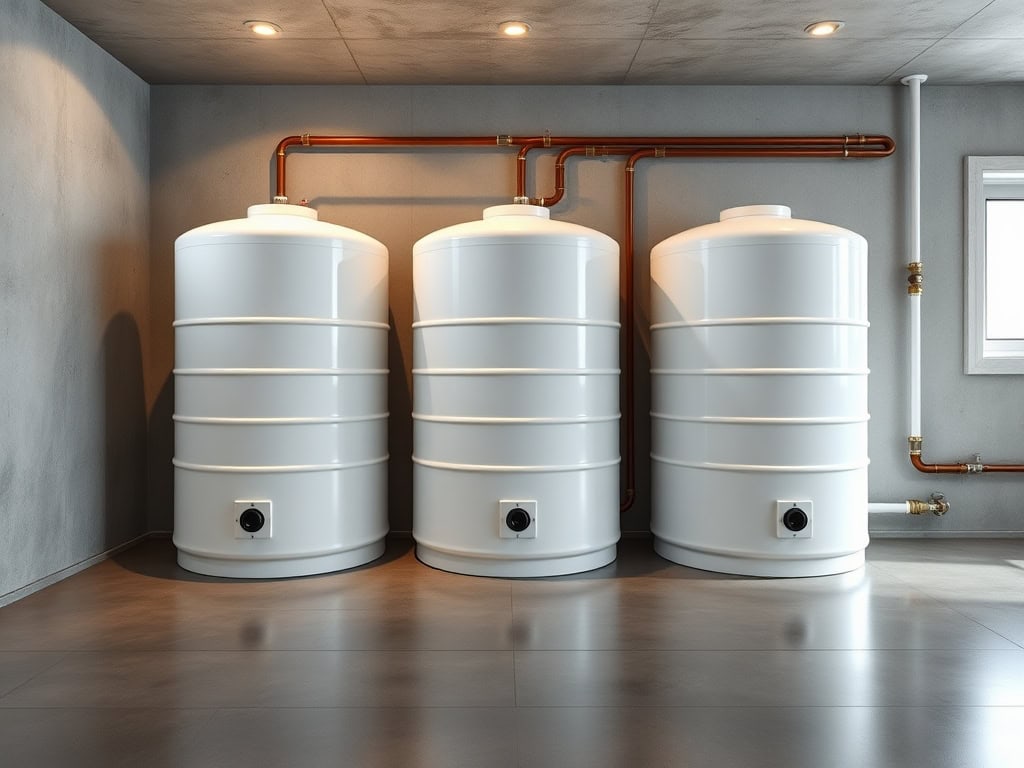
You’ve probably noticed that storing water at home isn’t as simple as filling up a few bottles anymore. As climate changes and emergency preparedness becomes more critical, you’ll want to explore smarter storage solutions that fit your space and lifestyle. I’ve tested various water tank options over the years, from sleek rooftop systems to decorative garden barrels, and I can tell you there’s more to consider than just capacity. Let’s explore the top 10 solutions that could transform how you think about water storage.
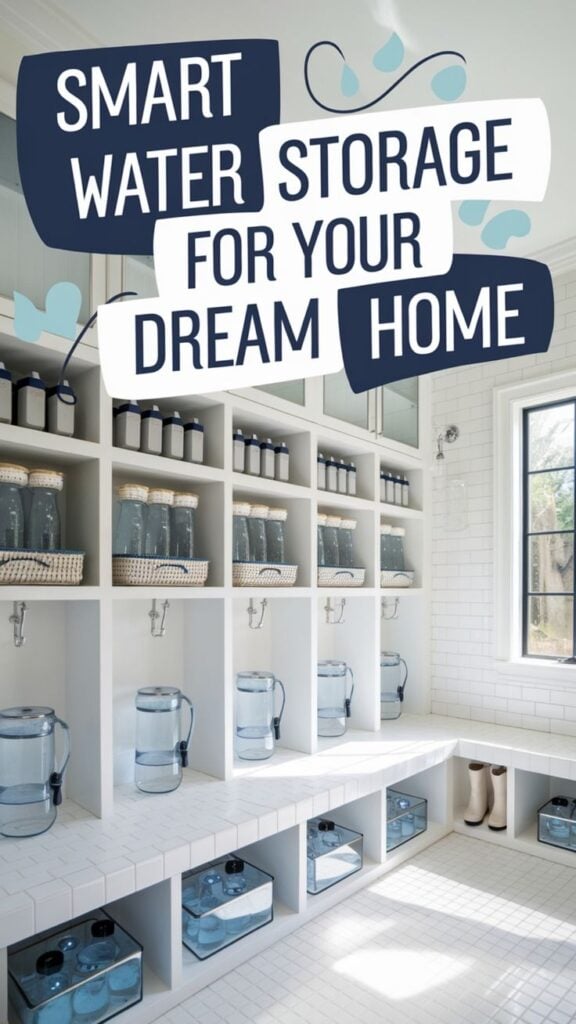
Polyethylene Above-Ground Storage Tanks
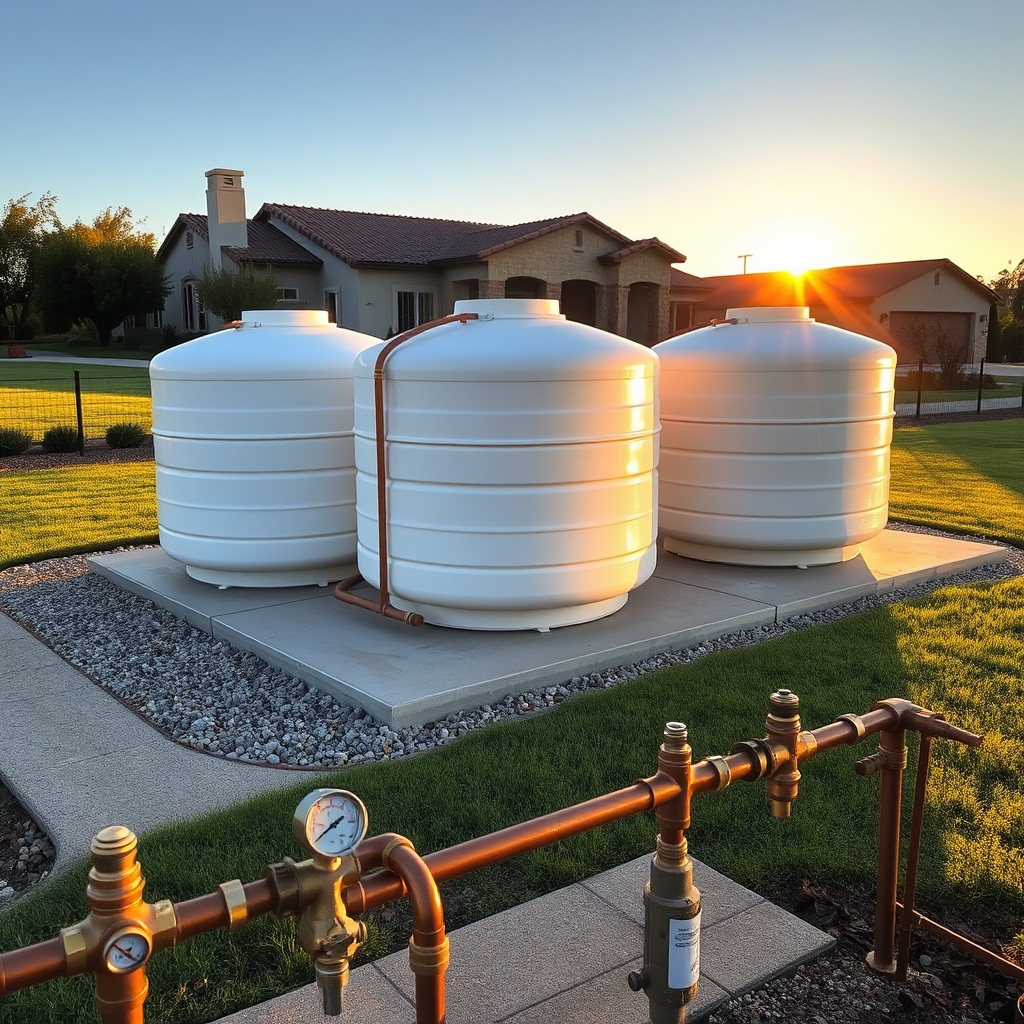
Organizing polyethylene above-ground storage tanks is crucial for maintaining a reliable water supply system while maximizing available space and ensuring proper functionality. A well-organized tank setup not only improves accessibility for maintenance but also helps prevent potential issues like leaks, contamination, or structural problems.
Proper organization of these storage tanks involves strategic placement, appropriate spacing, and systematic arrangement of supporting components. When done correctly, this organization enhances the overall efficiency of your water storage system while maintaining compliance with local regulations and safety standards.
Required Items:
- Measuring tape
- Level tool
- Tank foundation materials (concrete pad or gravel bed)
- Pipe fittings and connectors
- Isolation valves
- Tank straps or anchoring system
- Safety barriers or fencing
- Labels and identification markers
- Maintenance checklist
- Cleaning supplies
Start by selecting an appropriate location for your polyethylene tanks, ensuring the area is level and can support the weight of filled tanks. Install a proper foundation using either a concrete pad or compacted gravel bed, maintaining at least 6 inches of clearance around each tank.
Position tanks with adequate spacing between them (minimum 2-3 feet) to allow for maintenance access and proper ventilation. Configure the plumbing system by installing main supply lines, overflow pipes, and drainage systems in an organized manner.
Label all pipes, valves, and connection points clearly for easy identification. Set up a systematic arrangement of shutoff valves and filtering systems, ensuring they’re easily accessible for regular maintenance and emergency situations.
Create a maintenance zone around each tank, marking clear pathways for access. Install safety barriers or fencing as required by local regulations, and establish a clear organization system for monitoring equipment and testing supplies.
Additional Tips:
Implement a color-coding system for different pipe functions, maintain an updated diagram of the tank system layout, and create a regular maintenance schedule.
Consider installing monitoring systems for water levels and quality, and keep all relevant documentation, including warranty information and maintenance records, in a designated location near the tank system.
Underground Concrete Cisterns
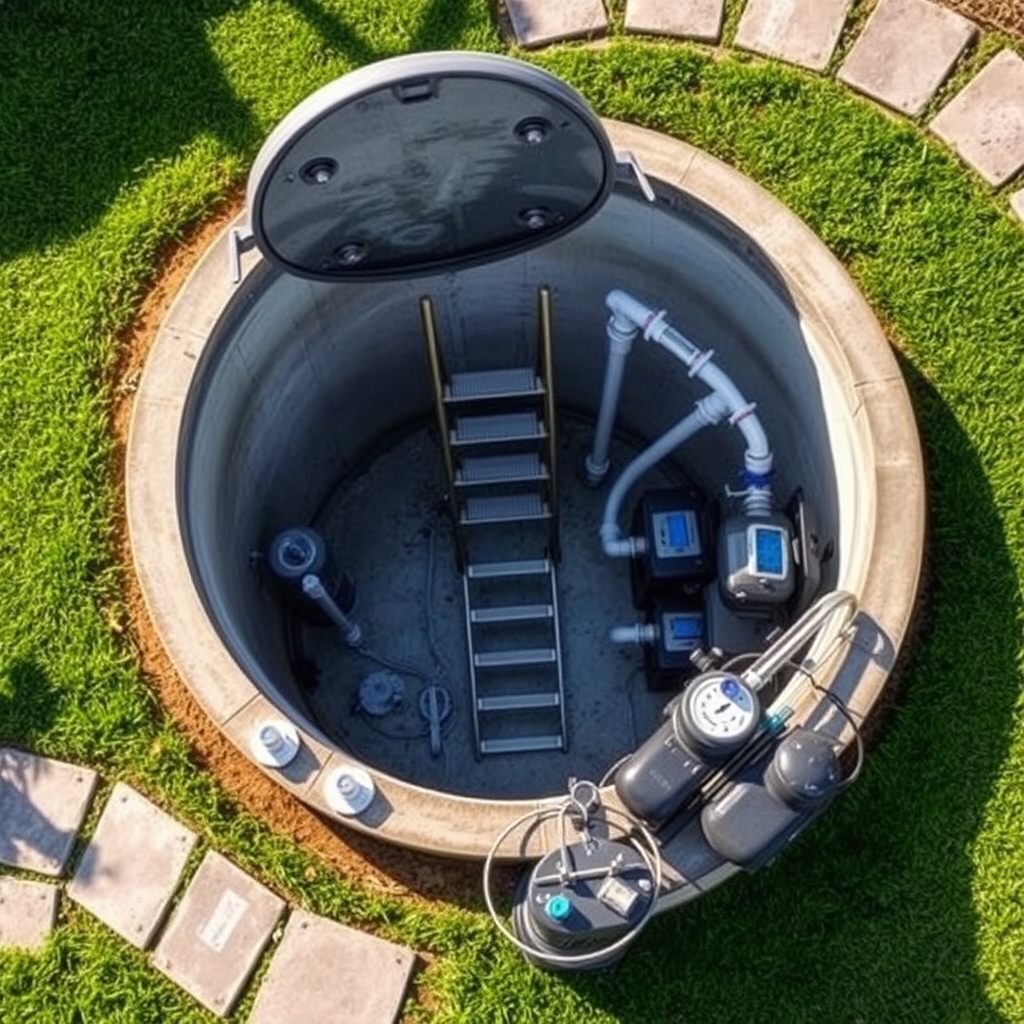
Organizing an underground concrete cistern system is crucial for maintaining a reliable and efficient water storage solution for your home. Proper organization ensures easy maintenance, optimal water quality, and extended system longevity while providing peace of mind during water shortages or emergencies.
A well-organized concrete cistern setup allows for straightforward monitoring, simplified maintenance schedules, and quick access to essential components. When systematic organization is in place, homeowners can easily track water levels, perform regular maintenance, and quickly address any issues that may arise.
Required Items:
- System layout diagrams
- Access hatch labels
- Water level monitoring equipment
- Maintenance checklist
- Filter inspection tools
- Water testing kit
- Cleaning supplies
- Safety equipment
- Documentation folder
- Emergency contact list
The organization process begins with creating a detailed system layout that clearly marks all access points, piping routes, and key components. Install a robust labeling system for all access hatches, control valves, and monitoring points.
Establish a designated storage area near the main access point for essential maintenance tools and testing equipment. Create a maintenance schedule board or log book that tracks all system checks, cleaning dates, and water quality tests.
The physical organization should include installing proper drainage around access points, establishing clear pathways to all maintenance areas, and setting up a dedicated storage space for maintenance equipment. Group similar tools and supplies together, and store them in waterproof containers to prevent degradation.
To maximize organizational effectiveness, implement a digital tracking system to complement physical organization. Maintain digital copies of all maintenance records, water quality reports, and system specifications. Schedule automatic reminders for routine maintenance tasks, and keep an updated list of qualified contractors for repairs.
Consider installing smart monitoring systems that can provide real-time data about water levels and quality, making it easier to maintain optimal system performance.
Slim-Line Designer Water Tanks

Slim-line designer water tanks represent a modern solution for residential water storage, combining functionality with aesthetic appeal. Proper organization of these systems ensures efficient water collection, optimal space utilization, and seamless integration with your home’s design elements.
Strategic placement and organization of slim-line tanks maximize their effectiveness while maintaining the visual appeal of your property. A well-organized tank system not only ensures reliable water supply but also enhances property value and contributes to sustainable living practices.
Required Items:
- Measuring tape
- Level tool
- Garden hose
- Tank connectors
- Pipe fittings
- Mounting brackets
- Overflow outlets
- First-flush diverters
- Water filter system
- Installation manual
- Safety equipment
- Basic tools (wrench, screwdriver)
The organization process begins with selecting an appropriate location along your house wall, ensuring adequate support and proximity to downpipes. Install the tank base first, ensuring it’s perfectly level and stable.
Position the slim-line tank against the wall, maintaining sufficient space for maintenance access. Connect the tank to your home’s gutter system using appropriate piping and ensure proper alignment of all components.
Configure the filtration system and first-flush diverter before the main tank inlet to maintain water quality. Install overflow outlets at the correct height and direct them to appropriate drainage areas.
Organize any interconnected tanks in series or parallel configuration, depending on your water requirements and available space.
Additional Organization Tips:
Label all valves and connection points for easy identification during maintenance. Create a maintenance schedule and keep it visible near the tank system.
Consider installing a water level indicator for better monitoring and organize your garden equipment nearby for efficient water usage. Regular cleaning of gutters and first-flush systems will maintain optimal performance of your organized tank system.
Stainless Steel Rooftop Reservoirs

Proper organization of stainless steel rooftop reservoirs is crucial for maintaining clean, safe water storage and ensuring optimal system performance. A well-organized rooftop reservoir system not only maximizes water storage capacity but also simplifies maintenance procedures and extends the lifespan of the equipment.
Strategic organization of rooftop reservoirs requires careful planning of placement, access points, and supporting infrastructure. When properly arranged, these systems can efficiently distribute water throughout the home while minimizing structural stress on the building and allowing for easy inspection and cleaning.
Required Items:
- Measuring tape
- Level tool
- Safety harness and equipment
- Mounting brackets
- Support beams
- Plumbing fittings
- Tank connectors
- Waterproof sealant
- Basic tool kit
- Safety markers
- Documentation materials
The organization process begins with a thorough assessment of the roof structure and optimal tank placement. Install support beams in a grid pattern, ensuring even weight distribution across the roof surface. Position the main tank centrally, with smaller auxiliary tanks arranged in a circular or linear pattern depending on roof space and load-bearing capacity.
Create clear access paths between tanks, maintaining at minimum 24 inches of clearance for maintenance work. Connect tanks using a systematic plumbing arrangement, organizing supply lines in parallel configurations for efficient water flow. Label all valves, pipes, and access points clearly, and create a detailed map of the system layout.
Install monitoring equipment in easily accessible locations, ensuring all gauges and control panels can be reached without compromising safety.
Additional Tips: Implement a color-coding system for different components of the reservoir system, and maintain a detailed maintenance log accessible to all authorized personnel. Consider installing a small storage cabinet on the roof for commonly needed tools and emergency supplies, and create laminated instruction cards for routine maintenance procedures that can be stored with the equipment.
Collapsible Emergency Water Containers
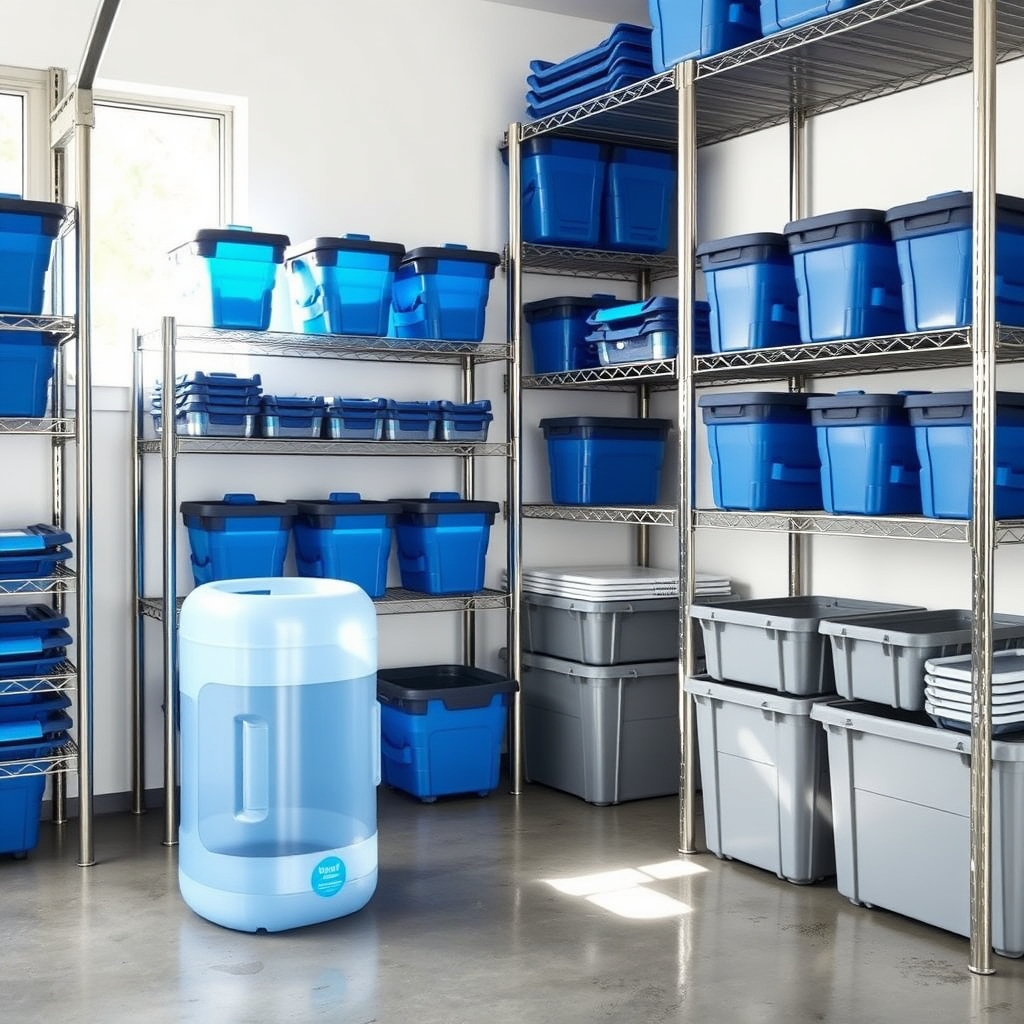
Organizing collapsible emergency water containers is a critical aspect of household emergency preparedness. Proper storage and arrangement of these containers ensure quick access during emergencies while maximizing available space when not in use. Having an organized system also helps maintain the containers’ integrity and makes it easier to rotate water supplies regularly.
Strategic organization of collapsible water containers allows families to store more water in less space compared to rigid containers, while keeping them protected from damage and contamination. A well-organized storage system also enables proper inventory management and helps track expiration dates for stored water.
Required Items:
- Collapsible water containers
- Storage shelves or racks
- Labels and marking pens
- Cleaning supplies
- Storage bins or boxes
- Moisture-absorbing packets
- Container inspection checklist
- Inventory tracking sheet
- Protective covers or bags
- Measuring tools
Start by designating a cool, dark storage area away from direct sunlight and heat sources. Clean and sanitize the storage space thoroughly, then install sturdy shelving units that can support the weight of filled containers.
Group containers by size and capacity, placing newer containers toward the back and older ones in front for proper rotation. Create an organized labeling system that includes purchase dates, fill dates, and scheduled replacement dates for each container.
Use storage bins to keep empty containers neatly folded and protected when not in use. Implement a color-coding system to distinguish containers designated for different purposes (drinking water, sanitation, etc.).
Maintain clear access paths to all containers and ensure proper ventilation in the storage area.
Additional Organization Tips:
Keep a detailed inventory log and regularly inspect containers for damage or deterioration. Store container accessories (spigots, caps, and cleaning supplies) in clearly labeled bins nearby.
Consider creating a map or diagram of your storage layout to help family members locate specific containers quickly during emergencies. Schedule quarterly maintenance checks to verify organization system effectiveness and make necessary adjustments to improve accessibility and efficiency.
Modular Rainwater Collection Systems
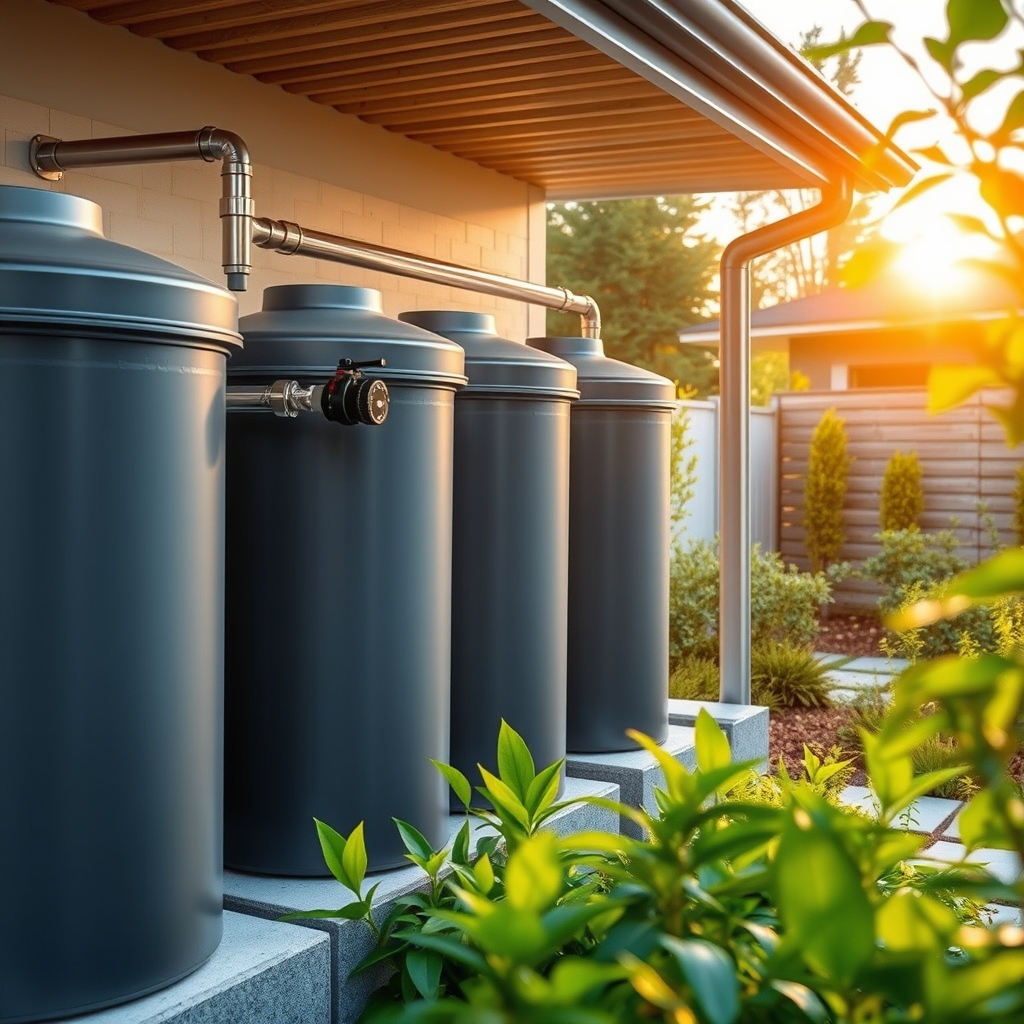
Organizing a modular rainwater collection system is crucial for maximizing water harvesting potential and ensuring a reliable supplementary water source for your home. A well-organized system not only increases collection efficiency but also makes maintenance and monitoring more manageable while reducing the risk of overflow or contamination.
Proper organization of modular components allows for future expansion and creates a streamlined flow from collection to storage to distribution. This systematic approach helps homeowners maintain water quality, reduce waste, and ensure consistent access to stored rainwater for various household needs.
Required Items:
- Roof gutters and downspouts
- First-flush diverters
- Debris filters
- Collection tanks
- Connecting pipes and fittings
- Tank overflow outlets
- Distribution pumps
- Level measuring tools
- Maintenance tools
- Labels and markers
- Storage tank platforms
- Water testing kits
Start by establishing a clear collection path from your roof to your storage tanks. Position tanks on level, stable platforms near downspouts, ensuring adequate height for gravity feed systems. Connect multiple tanks in series using appropriate fittings and ensure each has its own overflow outlet.
Install first-flush diverters and debris filters at key collection points to maintain water quality. Configure the distribution system by installing pumps and pressure tanks as needed, creating designated zones for different water uses such as irrigation or household grey water.
Implement a labeling system for all components, including flow direction indicators and maintenance schedules. Establish clear access points for cleaning and maintenance of all system components.
For optimal results, regularly inspect and clean filters, check tank levels, and test water quality. Consider installing automated monitoring systems to track water levels and quality parameters. Always maintain detailed records of system maintenance and water usage patterns to help identify potential issues before they become problems.
Fiberglass Below-Ground Storage Units
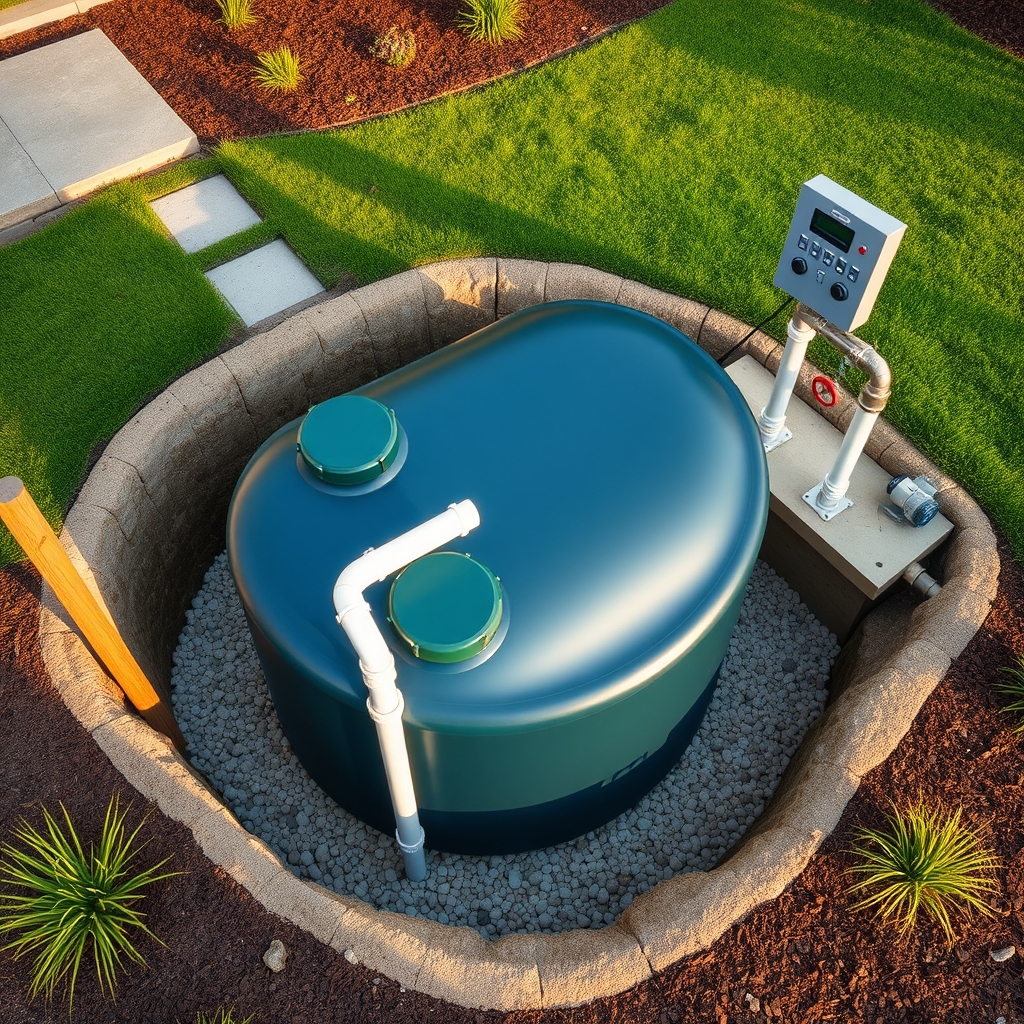
Proper organization of fiberglass below-ground storage units is crucial for maintaining a reliable water supply system while ensuring easy access for maintenance and monitoring. A well-organized underground storage setup can prevent costly repairs, extend the tank’s lifespan, and provide efficient water management during emergencies or daily use.
Strategic placement and systematic arrangement of components not only maximize the available space but also facilitate regular inspections and maintenance procedures. Organized storage systems help homeowners maintain proper water quality, monitor water levels effectively, and ensure all essential parts are readily accessible when needed.
Required Items:
- Tank placement diagram
- Access hatch markers
- Plumbing system map
- Control valve tags
- Maintenance checklist
- Tank monitoring equipment
- Safety equipment
- Emergency shut-off tools
- Water testing kit
- Documentation folder
The organization process begins with creating a detailed layout map showing the exact location of the tank, access points, and connection systems. Install clearly marked access hatches and ensure they’re easily visible from ground level.
Arrange the plumbing connections in a logical sequence, with main supply lines and overflow pipes clearly labeled. Set up a designated control station where all monitoring equipment, shut-off valves, and filtration systems are centrally located.
Implementation of a color-coding system for different pipes and valves helps identify various components quickly. Install water level indicators and monitoring systems in an easily accessible location, preferably near the main access point.
Create dedicated spaces for maintenance equipment and testing supplies, keeping them protected but readily available.
Additional Tips: Maintain a detailed maintenance log near the control station and create laminated emergency procedure cards for quick reference. Consider installing motion-sensitive lighting around access points for nighttime maintenance, and establish a regular schedule for system checks and water quality testing.
Keep digital copies of all documentation and system layouts in addition to physical copies for backup purposes.
Decorative Garden Water Barrels
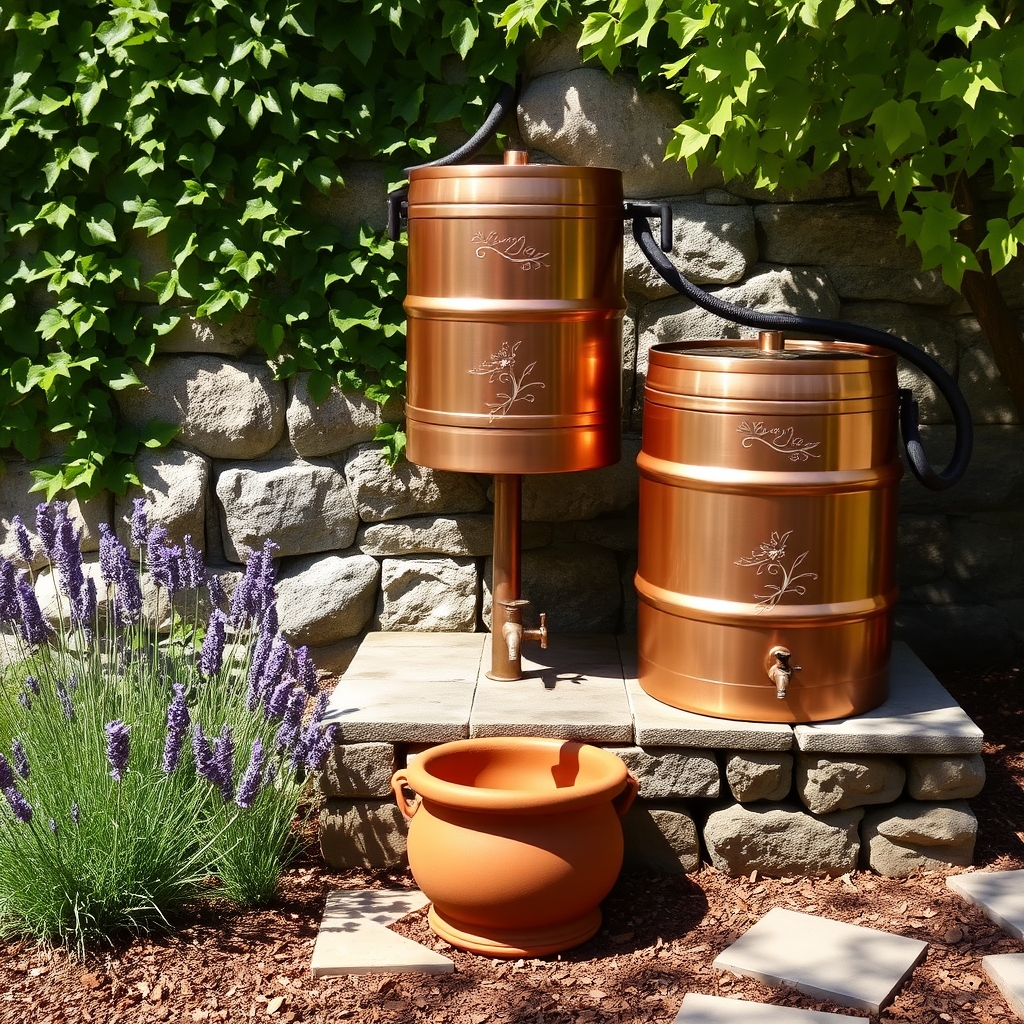
Decorative garden water barrels combine functionality with aesthetic appeal, making them an essential element of sustainable garden design. Proper organization of these water collection systems not only ensures efficient water conservation but also enhances the visual appeal of your outdoor space.
Strategic placement and thoughtful arrangement of decorative water barrels can transform them from mere utility items into artistic focal points while maximizing their rainwater harvesting potential. Well-organized water barrel systems also facilitate easier maintenance, better water access, and seamless integration with existing garden features.
Required Items:
- Decorative water barrels
- Level measuring tool
- Gravel or concrete pavers
- Downspout diverters
- Connecting hoses
- Overflow valves
- Spigot attachments
- Weather-resistant paint or finishes
- Mounting brackets
- Basic tools (wrench, screwdriver, drill)
Position water barrels on level, stable surfaces using gravel or pavers as a foundation. Install downspout diverters to direct rainwater into the barrels, ensuring proper alignment with your home’s guttering system. Connect multiple barrels in series using appropriate hoses and overflow valves, maintaining adequate spacing for easy access and maintenance.
Consider the visual flow of your garden when arranging barrels, using them to create natural transitions between different areas. Paint or finish the barrels to complement your home’s exterior and garden design, ensuring all connections are properly sealed and secure. Install spigots at appropriate heights for convenient water access, and position overflow outlets to direct excess water away from building foundations.
Additional Tips: Group barrels according to zones based on water usage patterns in different garden areas. Incorporate climbing plants or trellises around the barrels to enhance their decorative appeal while maintaining accessibility. Regular inspection of connections, cleaning of screens, and seasonal maintenance will extend the life of your decorative water barrel system while preserving its aesthetic value.
Compact Urban Water Storage Solutions

Water Storage Tank Solutions for Homes
Compact Urban Water Storage Solutions
Urban living often presents unique challenges when it comes to water storage, with limited space being the primary concern. Proper organization of compact water storage solutions is crucial for maintaining emergency preparedness while maximizing the efficient use of available space in urban homes, apartments, or condominiums.
Strategic placement and organization of water storage systems in urban settings not only ensures a reliable water supply during emergencies but also helps maintain the aesthetic appeal of living spaces. Well-organized water storage solutions can seamlessly integrate into urban homes without compromising functionality or creating cluttered environments.
Required Items:
- Stackable water containers
- Space-saving water tanks
- Wall-mounted brackets
- Storage rack systems
- Measuring tape
- Level tool
- Labels and markers
- Maintenance checklist
- Water treatment supplies
- Rotation schedule
The organization process begins with assessing available spaces, including areas under sinks, in closets, or along narrow walls. Measure these spaces precisely and select appropriately sized containers that can be stacked or mounted.
Install wall-mounted brackets in areas where floor space is limited, ensuring they’re securely fastened and level. Arrange stackable containers in accessible locations, with the most frequently used containers placed at easily reachable heights.
Create a systematic layout that allows for proper water rotation and easy access during emergencies. Label all containers with purchase dates and treatment information, and establish a clear rotation schedule to maintain water freshness. Implement a vertical storage system where possible, utilizing height rather than floor space for maximum efficiency.
Additional Tips: Incorporate a regular maintenance schedule to check for leaks, clean containers, and verify structural integrity of mounting systems. Consider using transparent containers for easy visual monitoring of water levels, and establish a clear inventory system to track water usage and replacement needs. Keep essential water treatment supplies organized in a nearby location for convenient access during water rotation or emergency situations.
Heavy-Duty Agricultural Storage Tanks
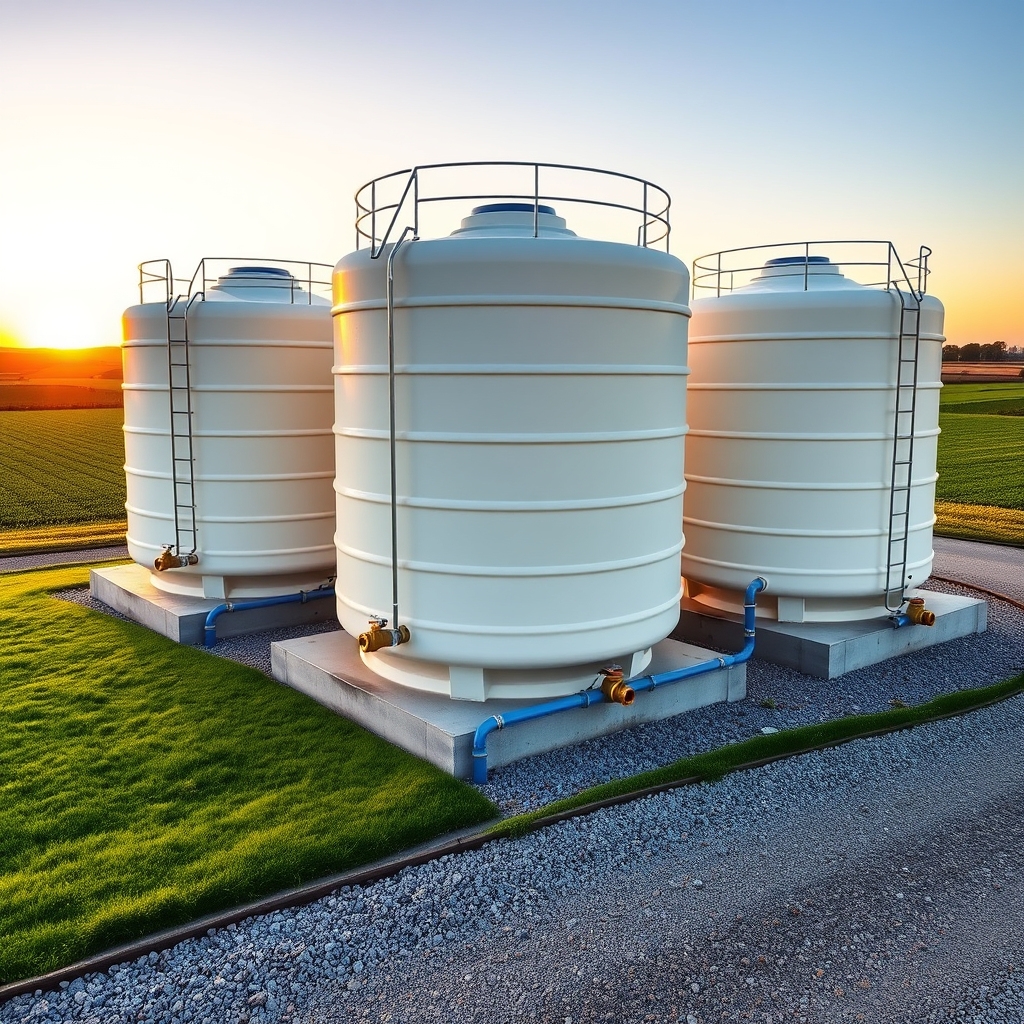
Organizing heavy-duty agricultural storage tanks is crucial for maintaining an efficient and reliable water supply system on your property. Proper organization ensures easy access for maintenance, optimizes space utilization, and helps monitor water levels effectively across multiple tanks.
A well-organized agricultural tank system not only improves water management but also extends the lifespan of your equipment and reduces the risk of contamination. Strategic placement and systematic arrangement of tanks can significantly impact their performance and your ability to maintain them properly.
Required Items:
- Measuring tape
- Level tool
- Tank mounting brackets
- PVC pipes and fittings
- Pump system components
- Labeling materials
- Safety equipment
- Maintenance log book
- Water testing kit
- Basic tools (wrench set, screwdrivers)
Start by assessing your property’s layout and identifying optimal locations for tank placement. Consider factors such as ground stability, proximity to water sources, and accessibility for maintenance.
Install tanks on level, reinforced surfaces, maintaining proper spacing between units to allow for inspection and repairs. Connect tanks using appropriate plumbing configurations, ensuring proper flow between units and installing shut-off valves at key points.
Implement a clear labeling system to identify tank contents, capacity, and maintenance schedules. Create dedicated zones for different water uses (irrigation, livestock, emergency storage) and establish a systematic maintenance routine.
Document all connections and valve locations in a detailed site plan, and maintain updated records of water quality tests and system modifications.
Additional Tips: Establish a regular inspection schedule for early detection of potential issues. Install monitoring systems to track water levels and quality automatically.
Consider implementing a color-coding system for different water sources or uses, and maintain an emergency response plan for potential system failures. Regular staff training on system operation and maintenance procedures will ensure consistent and proper management of your agricultural water storage setup.

