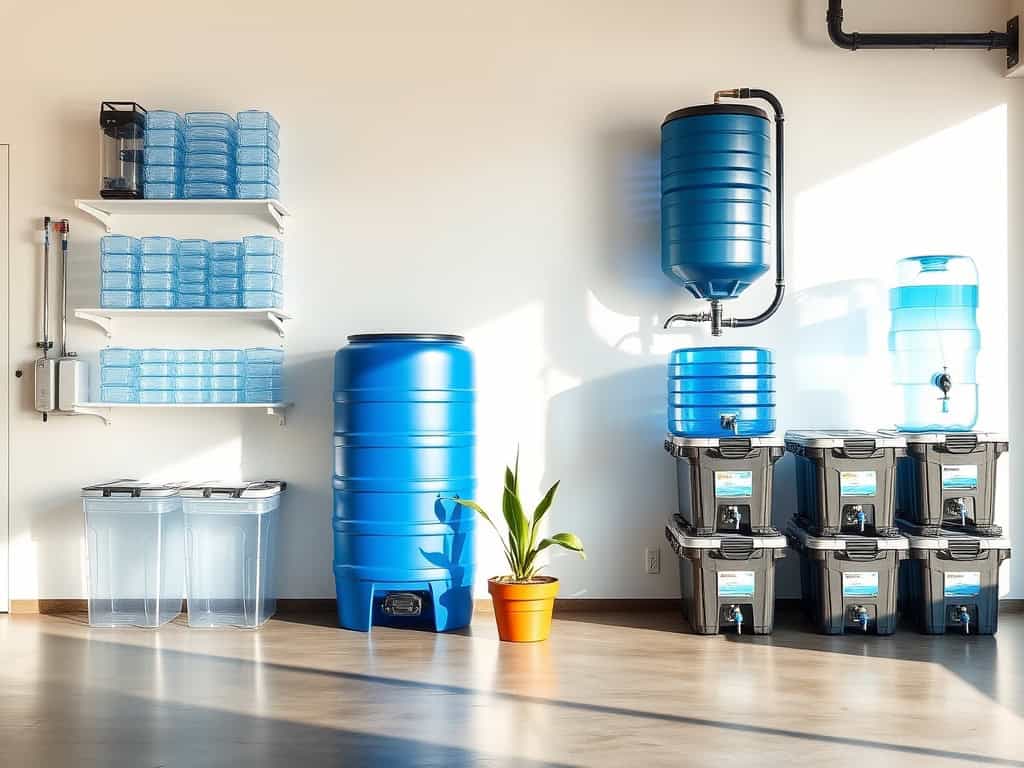
Did you know that the average American household wastes nearly 10,000 gallons of water each year due to inefficient storage and usage? As someone who’s learned the hard way during unexpected outages, I can tell you that proper water storage isn’t just about emergency preparedness – it’s about smart resource management. You’ll be amazed at how the right storage solutions can save you money, protect your family, and help the environment. Let me share some game-changing options I’ve discovered!
Countertop Water Storage Containers for Small Spaces
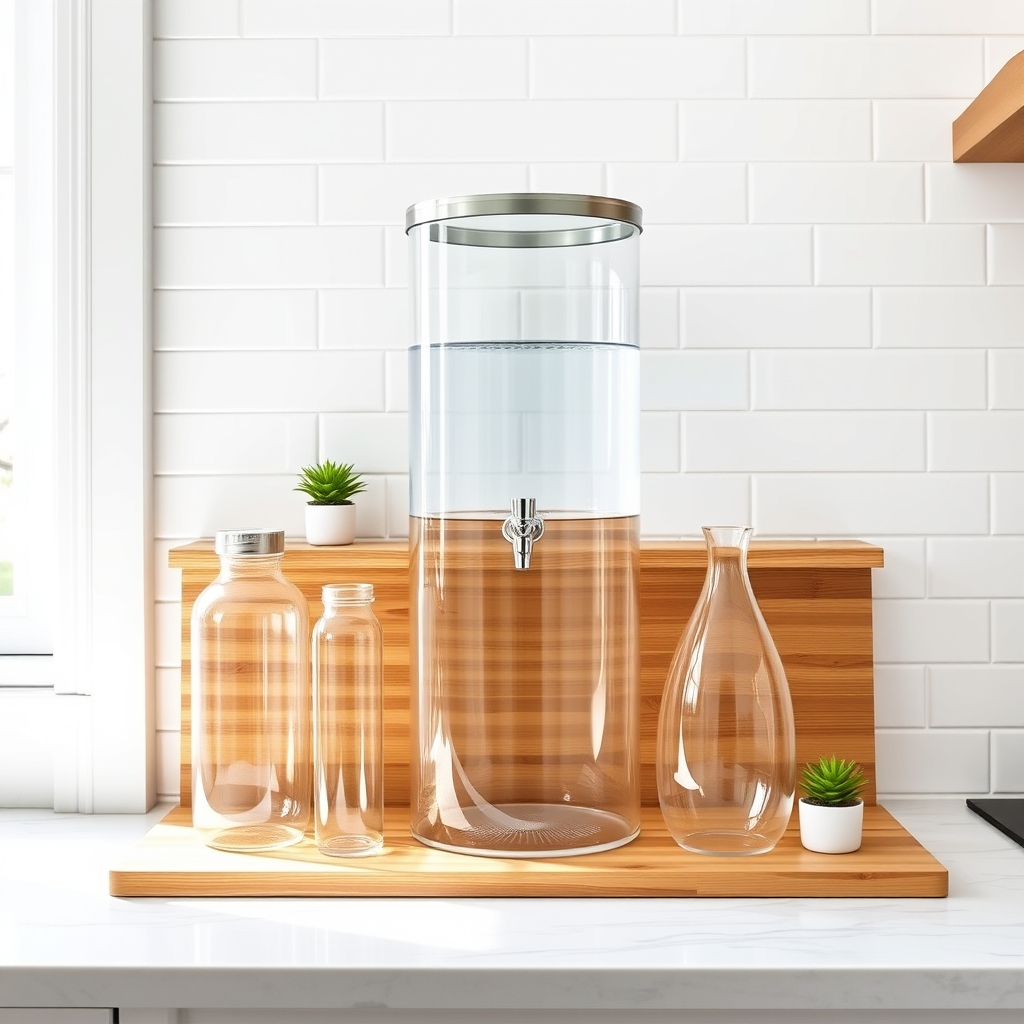
Proper organization of countertop water storage is crucial for households with limited space, ensuring easy access to clean drinking water while maintaining an uncluttered kitchen environment. Strategic placement and selection of containers can maximize the functionality of small areas without compromising on water storage capacity.
Efficient countertop water storage organization not only enhances the aesthetic appeal of your kitchen but also promotes better water consumption habits by keeping water readily accessible. A well-organized system can help maintain water freshness and make the most of available counter space while accommodating daily household needs.
Required Items:
- Water storage containers (various sizes)
- Container labels
- Measuring tape
- Non-slip shelf liner
- Cleaning supplies
- Storage rack or tiered shelf
- Water filtration system (optional)
- Container cleaning brush
- Maintenance calendar
- Water testing kit
Begin by measuring your available counter space and selecting appropriately sized containers that fit within these dimensions. Position larger containers toward the back of the counter, with smaller ones in front for easy access. Install a tiered shelf or rack system if vertical space allows, creating multiple levels for storage while maintaining a small footprint.
Clean and sanitize all containers before use, applying clear labels indicating fill dates and capacity. Consider implementing a rotation system where older water is used first, marking containers with dates to ensure freshness. Group containers by size or purpose, such as drinking water versus cooking water, to create an intuitive organization system.
Leave adequate space between containers for air circulation and easy cleaning, using non-slip liner underneath to prevent movement. To maintain organization long-term, establish a weekly cleaning schedule, regularly inspect containers for damage, and replace water every 3-6 months.
Consider installing a small filtration system nearby for convenient refills, and keep a maintenance log to track cleaning dates and water quality tests. Store cleaning supplies in a nearby location for quick access during regular maintenance.
Under-Sink Storage Systems and Filters
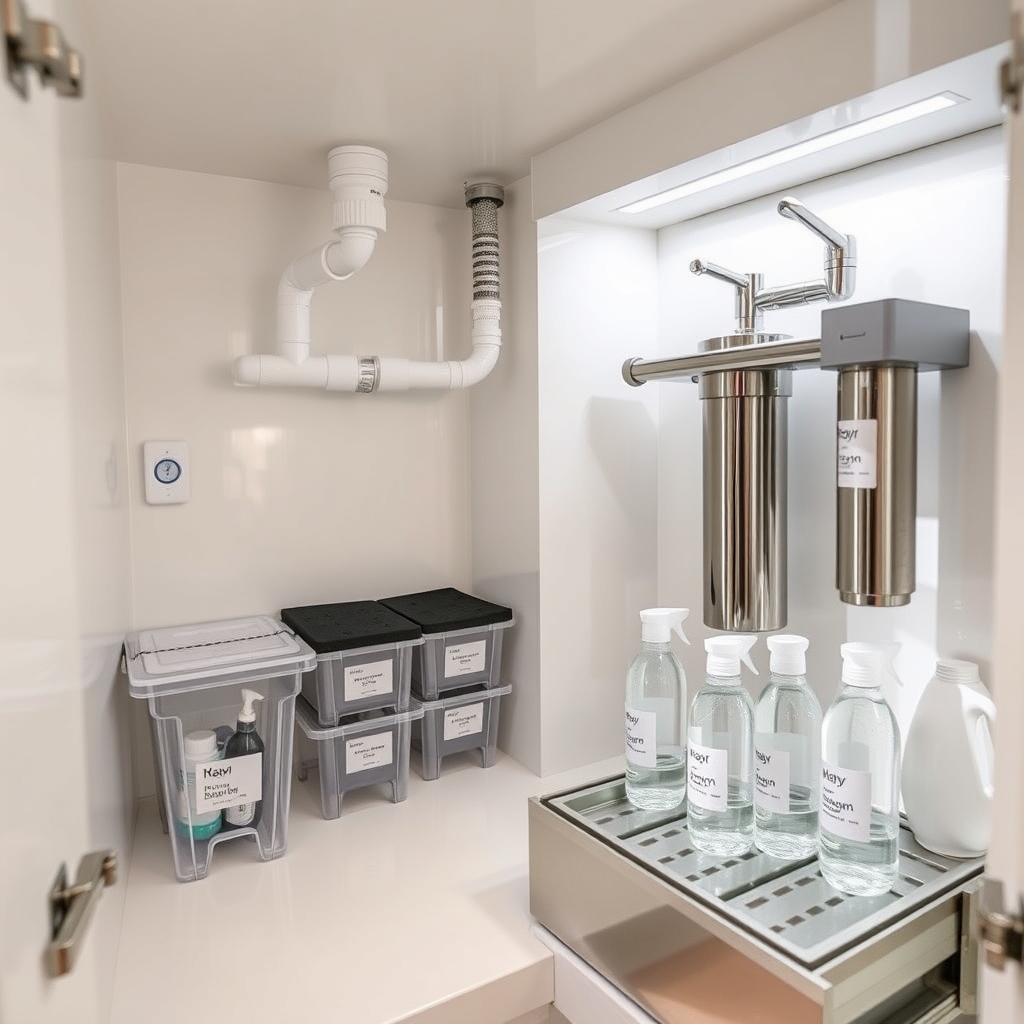
Organizing the space under your kitchen sink is crucial for maintaining an efficient water storage and filtration system. This often-overlooked area can become a powerhouse of water management, providing easy access to filtered water while maximizing storage capacity for water-related supplies and backup containers.
A well-organized under-sink system not only ensures clean drinking water but also helps during emergencies when municipal water supplies may be compromised. Proper organization of filters and storage containers allows for quick filter changes, efficient water collection, and better maintenance of the entire system.
Required Items:
- Sliding drawer organizers
- Tension rods
- Plastic bins
- Label maker
- Water filter system
- Filter replacement cartridges
- Storage containers
- Leak detector
- Pipe insulation
- Mounting brackets
- Cleaning supplies caddy
- Measuring tape
The organization process starts with removing everything from under the sink and thoroughly cleaning the area. Install the water filtration system according to manufacturer specifications, ensuring proper clearance for filter changes.
Mount a sliding drawer system on the cabinet floor, designating specific areas for backup filters, cleaning supplies, and water containers. Position tension rods to hang spray bottles, and use plastic bins to categorize smaller items.
Create zones within the space: filtration zone (closest to the filter system), storage zone (for water containers and backup supplies), and maintenance zone (for replacement parts and tools).
Install a leak detector on the cabinet floor and wrap pipes with insulation to prevent condensation from damaging stored items.
To maintain optimal organization, implement a regular maintenance schedule for filter changes, label all containers with contents and expiration dates, and keep a log of filter replacement dates.
Consider installing motion-sensor lights for better visibility and maintain a small inventory list inside the cabinet door for easy reference when supplies need replenishing.
Rainwater Collection Barrels and Tanks
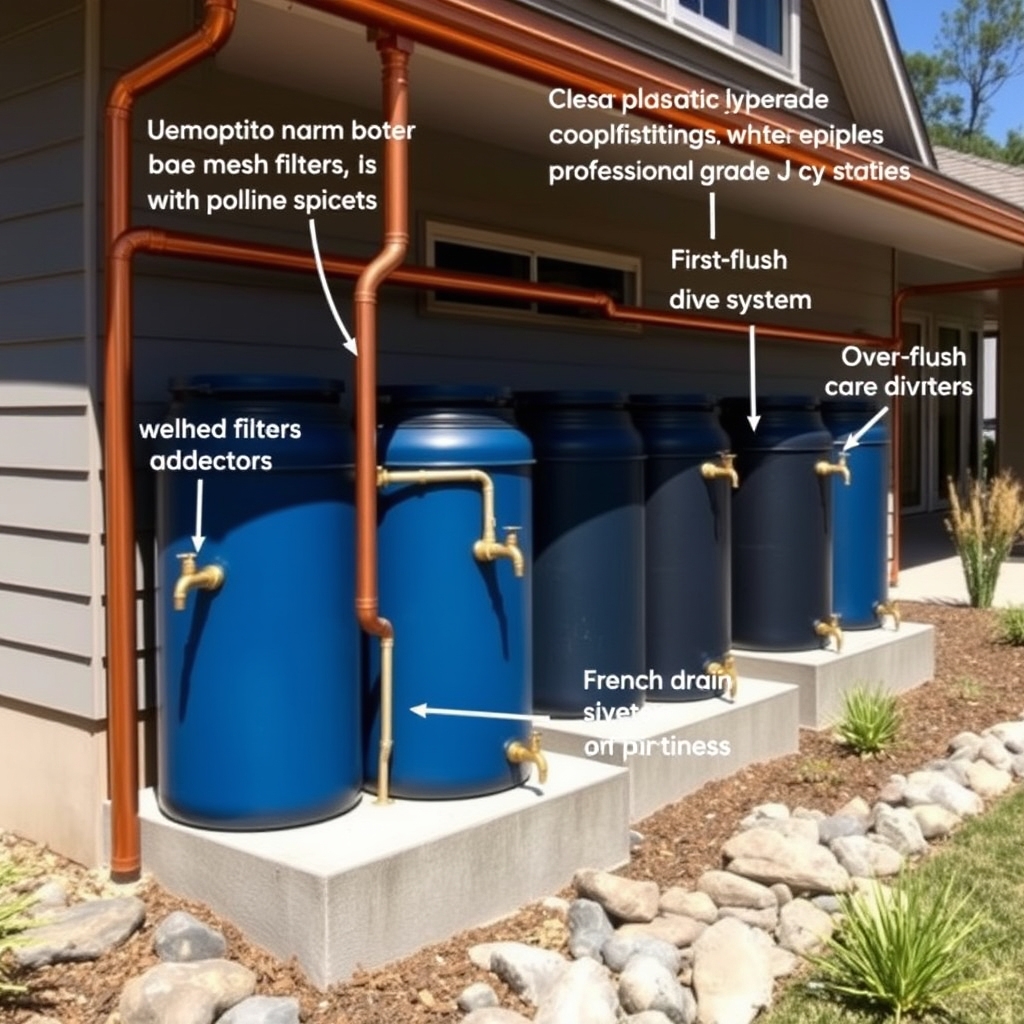
Organizing rainwater collection systems is crucial for maximizing water conservation efforts and ensuring a reliable backup water supply for your home. A well-organized rainwater collection setup not only increases efficiency but also helps maintain water quality and prevents potential issues like overflow or contamination.
Proper organization of rainwater collection systems allows for easier maintenance, more effective water distribution, and better integration with your home’s existing landscape. Strategic placement and systematic arrangement of components ensure optimal water capture during rainfall events while maintaining aesthetic appeal and accessibility.
Required Items:
- Rainwater collection barrels or tanks
- Gutter downspout diverters
- Mosquito screens or barrel covers
- First-flush diverters
- Filter baskets
- Overflow pipes
- Water level indicators
- Connecting hoses or pipes
- Mounting blocks or concrete pad
- Labels and marking tools
- Maintenance checklist
Start by selecting an ideal location for your collection system, ensuring it’s close to downspouts and slightly elevated. Install a solid, level foundation using mounting blocks or a concrete pad. Position the primary collection barrel or tank, then install gutter diverters and first-flush systems. Connect additional barrels in series if using multiple units, ensuring proper overflow mechanisms between containers.
Install filtration systems at key points and secure all connections to prevent leaks. Establish a clear labeling system for all components, including flow direction indicators and maintenance dates. Create zones if using multiple collection points, and implement a systematic way to track water levels and usage. Remember to include access points for cleaning and maintenance while keeping safety features like covers and screens in place.
Additional Tips: Implement a regular maintenance schedule, checking for debris accumulation monthly and conducting thorough cleaning quarterly. Consider installing automated distribution systems for larger setups, and keep detailed records of water usage patterns to optimize your collection strategy. Use dark-colored or opaque containers to prevent algae growth, and ensure all overflow routes direct water away from your home’s foundation.
Underground Cistern Systems
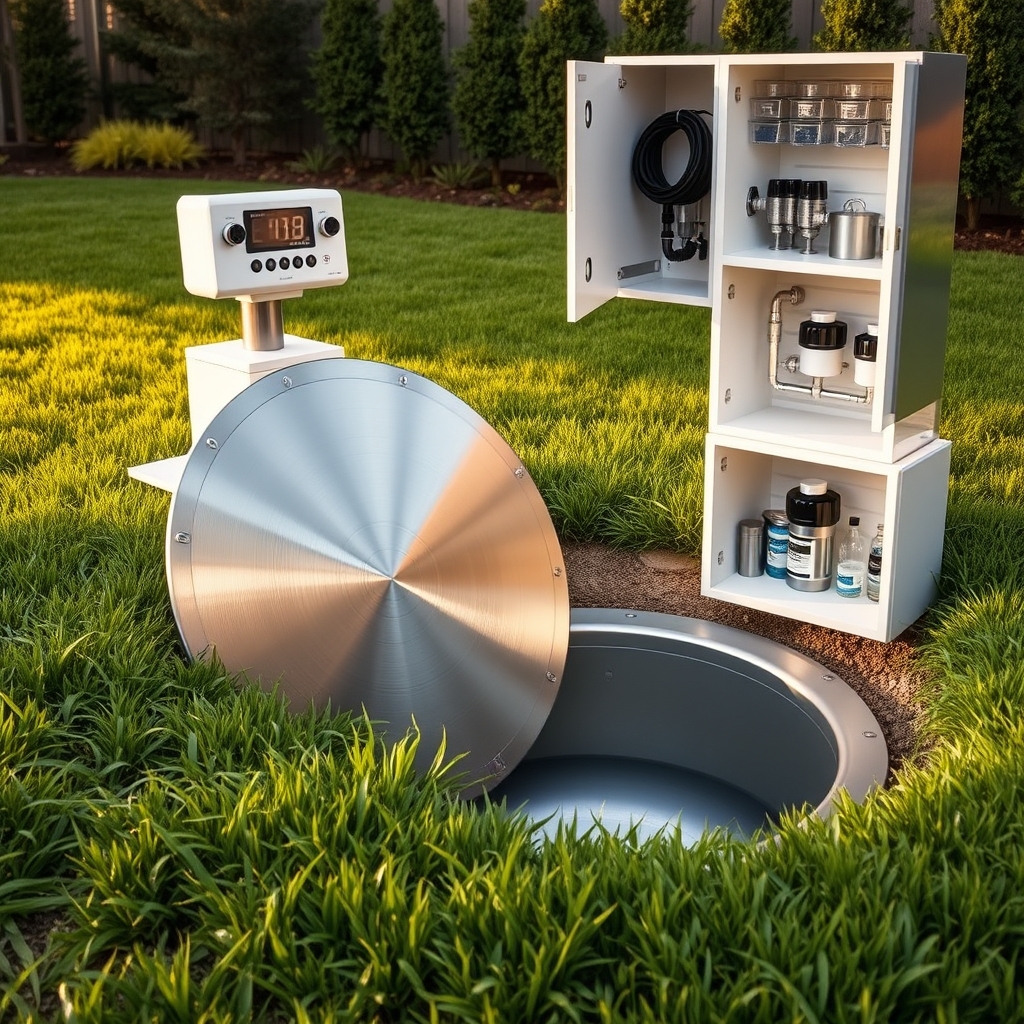
Underground cistern systems represent a critical component of sustainable water management for homeowners. These systems can significantly reduce dependence on municipal water supplies while providing a reliable source of water for irrigation, household use, and emergency situations. Proper organization and maintenance of an underground cistern system ensures optimal performance and longevity.
A well-organized cistern system not only maximizes water collection efficiency but also simplifies maintenance procedures and monitoring. Strategic placement and systematic arrangement of components allow for easier access during inspections and repairs while ensuring proper water flow and filtration.
Required Items:
- Detailed system blueprints
- Water level monitoring equipment
- Filtration components
- Pump system
- Maintenance tools
- Inspection checklist
- Water testing kit
- Safety equipment
- Labels and markers
- Documentation folder
The organization of an underground cistern system begins with creating a detailed map of all components, including intake pipes, filters, pumps, and overflow systems. Install clear labeling on all access points and control valves, ensuring they’re easily identifiable.
Set up a designated storage area for maintenance tools and testing equipment near the main access point. Establish a systematic arrangement of filtration components in order of operation, with primary filters accessible for routine cleaning.
Regular maintenance procedures should be documented and scheduled in a logbook, with specific sections for water quality tests, filter changes, and system inspections. Install water level indicators in easily visible locations and ensure monitoring equipment is properly calibrated and functioning.
Organization should include a clear emergency shutdown procedure posted near main control points.
Additional Tips: Implement a color-coding system for different components to simplify identification during maintenance. Create a digital backup of all system documentation and maintain updated contact information for professional service providers.
Consider installing remote monitoring capabilities to track system performance and water levels from inside your home. Keep spare parts organized in a weatherproof container near the system for quick access during emergencies.
Portable Water Storage Bladders
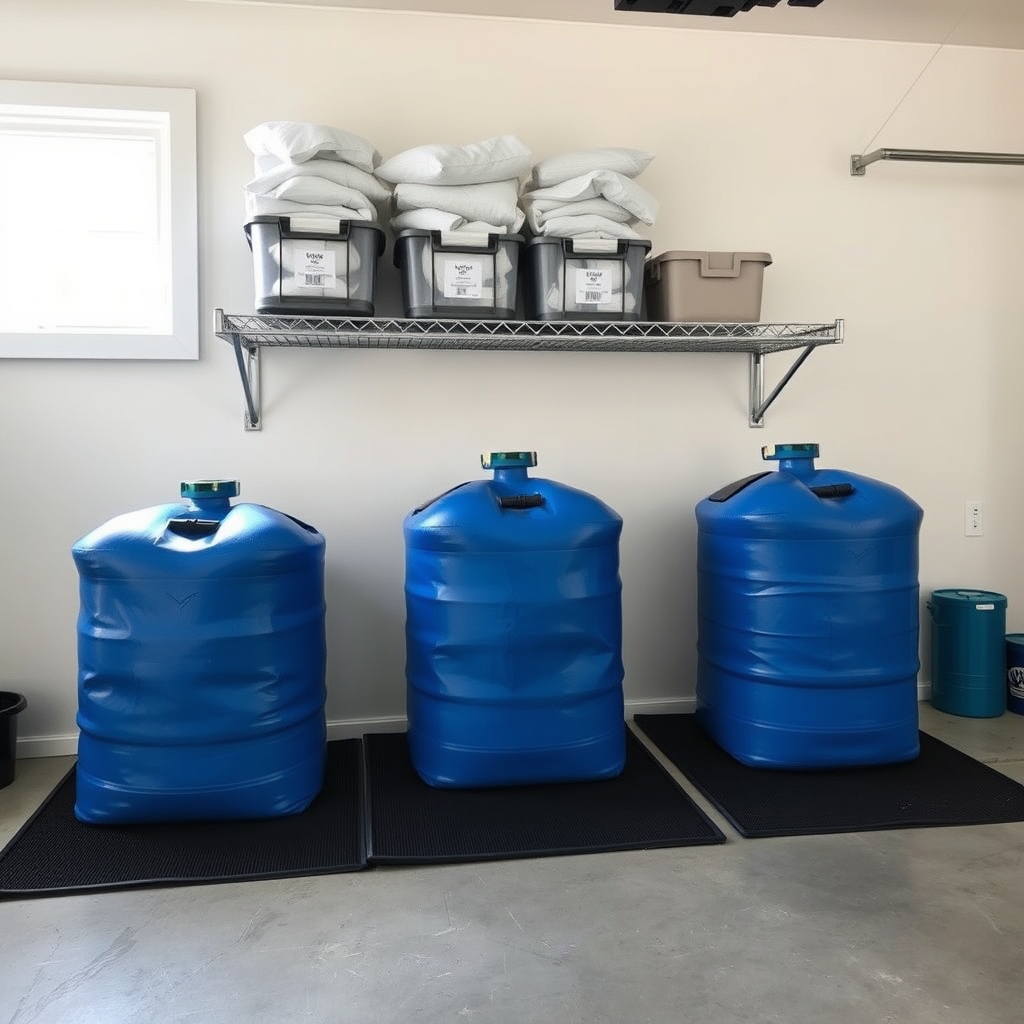
Portable water storage bladders represent a flexible and efficient solution for homeowners looking to maintain emergency water supplies without dedicating permanent space to rigid containers.
These collapsible storage solutions can be particularly valuable during natural disasters, extended power outages, or situations requiring temporary water storage.
Proper organization of water storage bladders is crucial for maximizing their effectiveness and ensuring quick deployment when needed. A well-organized storage system not only extends the life of these valuable resources but also enables faster access during emergencies while minimizing the risk of damage to both the bladders and surrounding items.
Required Items:
- Water storage bladders of desired capacity
- Storage shelf or dedicated floor space
- Heavy-duty storage bins
- Labels and marking pen
- Moisture-absorbent pads
- Cleaning supplies
- Inspection checklist
- Storage straps or bungee cords
- Protective covers
- Basic repair kit
Store water bladders by first cleaning and thoroughly drying the storage area.
Fold empty bladders according to manufacturer specifications, keeping them flat to prevent creasing and potential weak points.
Sort bladders by size and capacity, placing them in protective bins or on shelves with moisture-absorbent pads underneath.
Secure each bladder with straps to prevent shifting and label clearly with capacity, purchase date, and last inspection date.
For bladders currently in use, establish a designated area away from sharp objects and direct sunlight.
Place them on level surfaces with proper support underneath to distribute weight evenly.
Maintain clear access paths around filled bladders and ensure proper ventilation to prevent moisture accumulation.
Additional Organization Tips: Implement a rotation schedule for inspection and cleaning of stored bladders every six months.
Create an inventory system tracking the location, condition, and maintenance history of each bladder.
Keep repair kits and cleaning supplies in a clearly marked container nearby, and maintain a list of emergency deployment procedures posted in the storage area.
Above-Ground Storage Tanks
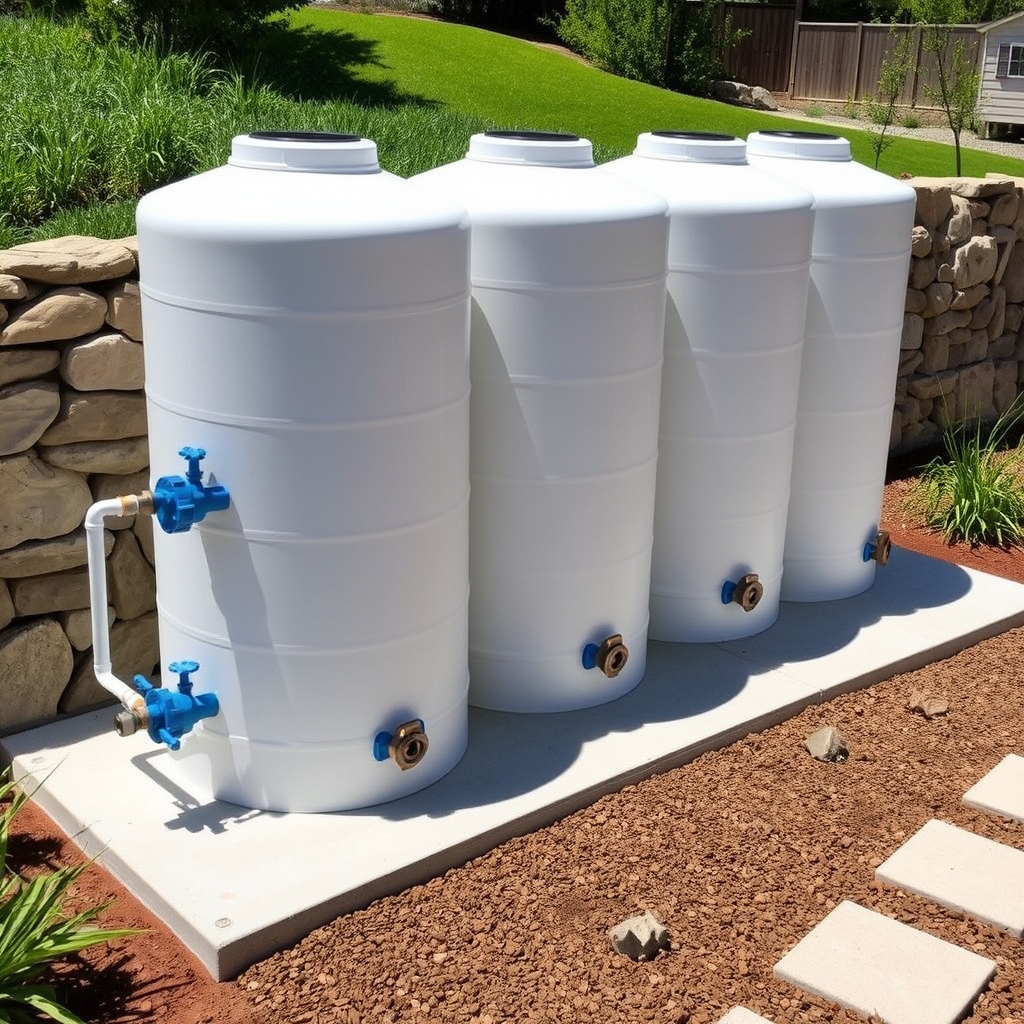
Proper organization of above-ground storage tanks is crucial for maintaining a reliable emergency water supply while maximizing available space and ensuring safe water storage practices. A well-organized tank system not only provides peace of mind during emergencies but also facilitates regular maintenance and monitoring of water quality.
Strategic placement and systematic arrangement of above-ground storage tanks can significantly impact their functionality and longevity. Proper organization helps prevent contamination, simplifies maintenance procedures, and ensures efficient water distribution when needed, while maintaining compliance with local regulations and safety standards.
Required Items:
- Level concrete or gravel pad
- Tank stabilization straps
- Inlet and outlet valves
- Water pressure gauge
- Filtration system
- Tank covers or shields
- Labels and marking tools
- Maintenance log book
- Cleaning supplies
- Measuring tape
- Safety equipment
- Basic plumbing tools
Begin by selecting a stable, level location that can support the full weight of your water tanks, ensuring proper drainage around the area. Install tanks on prepared surfaces, maintaining adequate spacing between multiple units for easy access and maintenance. Connect tanks using appropriate plumbing configurations, establishing a primary tank for initial filling and subsequent tanks for overflow, creating an organized flow system.
Install filtration systems and treatment equipment in a logical sequence, positioning them for easy access during maintenance. Label all components clearly, including flow direction, tank capacity, and installation date. Create a maintenance zone around each tank, keeping essential tools and supplies nearby in a weatherproof storage container.
Additional Organization Tips:
Maintain a detailed log of water testing, maintenance schedules, and tank cleaning dates. Create a color-coding system for different water sources or uses, and establish a regular inspection routine for all components. Consider installing a basic monitoring system to track water levels and quality, ensuring optimal organization and management of your water storage system.
Water Storage Wells and Reservoirs
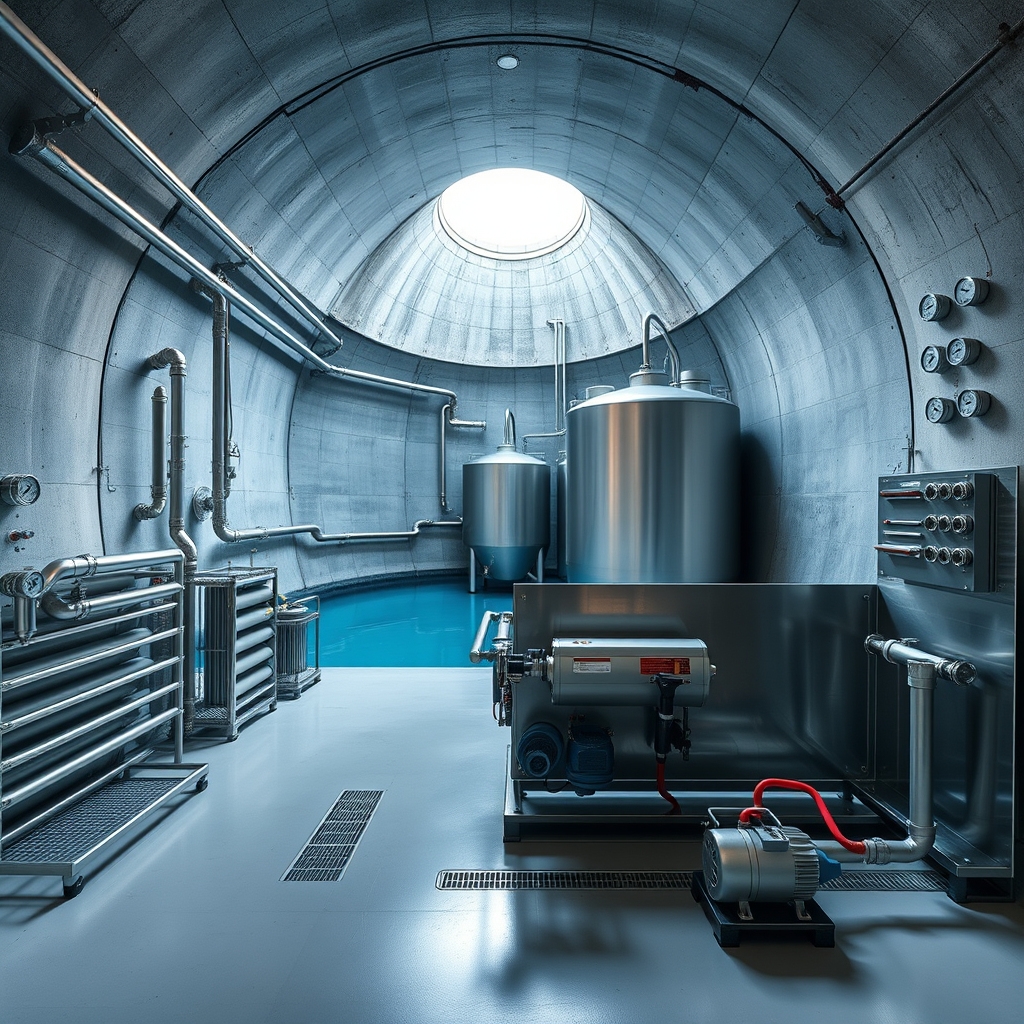
Proper organization of water storage wells and reservoirs is crucial for maintaining a reliable emergency water supply and ensuring efficient access during times of need. A well-planned water storage system can mean the difference between having sufficient water during emergencies and facing critical shortages when municipal systems fail.
Organizing your water storage wells and reservoirs requires careful consideration of space utilization, accessibility, and maintenance protocols. A systematic approach not only extends the life of your storage systems but also makes routine inspections and water rotation much more manageable.
Required Items:
- Storage tank inspection tools
- Water testing kits
- Labeling system
- Maintenance log book
- Water treatment supplies
- Filtration equipment
- Pump system components
- Pressure gauges
- Safety equipment
- Cleaning supplies
The organization process begins with mapping out your storage layout, clearly marking primary and backup wells, and establishing designated areas for different types of reservoirs.
Install proper labeling systems that indicate water source, storage date, and treatment status. Create a maintenance schedule that includes regular testing, cleaning, and treatment protocols. Set up a dedicated area for storing maintenance equipment and treatment supplies, keeping them easily accessible but secure from unauthorized access.
Position monitoring equipment strategically to allow quick assessment of water levels and quality. Implement a rotation system for stored water, ensuring older supplies are used first while maintaining minimum emergency quantities. Document all procedures, maintenance activities, and water quality tests in a centralized log book.
For optimal organization success, consider implementing a digital tracking system alongside physical documentation. Regular training sessions for family members on system operation and maintenance procedures ensure everyone can access and maintain the storage system effectively.
Always maintain duplicate copies of important documentation and store them in a water-resistant container near your main storage area.
Emergency Water Storage Solutions and Rotation Plans
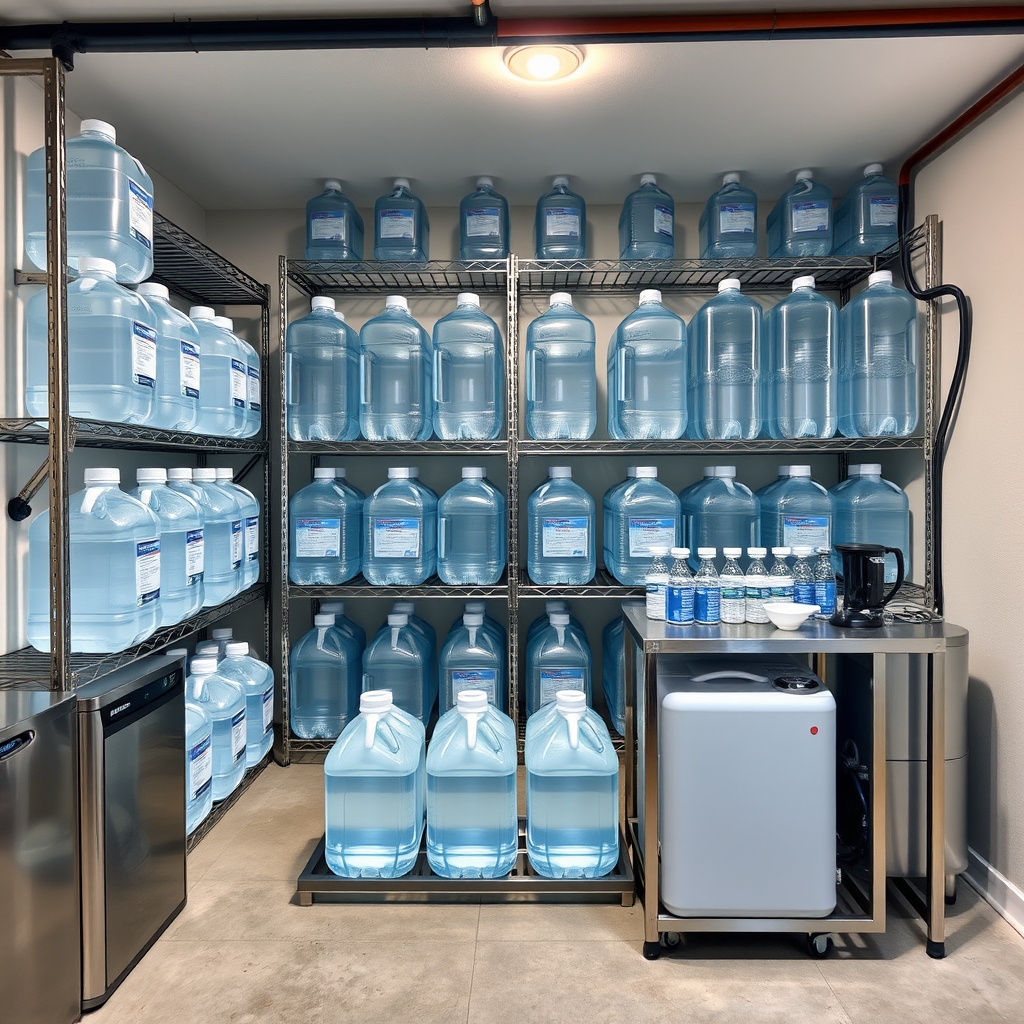
Maintaining an adequate emergency water supply is crucial for every household’s disaster preparedness plan. Proper storage and regular rotation of water ensure that families have access to safe drinking water during emergencies, natural disasters, or unexpected supply disruptions.
Organizing emergency water storage requires careful planning and systematic management to maintain water quality and accessibility. A well-structured rotation plan prevents water from becoming stagnant or contaminated while ensuring a reliable supply is always available when needed.
Required Items:
- Food-grade water containers
- Storage-safe water treatment solutions
- Labels and permanent markers
- Calendar or tracking system
- Clean storage area
- Measuring cup
- Funnel
- Cleaning supplies
- Water test strips
- Storage shelving
The organization process begins with designating a cool, dark storage area away from direct sunlight and chemical products. Label each container with the fill date and rotation date (typically 6-12 months from filling).
Arrange containers in a first-in-first-out (FIFO) system, placing newer containers behind older ones. Create a rotation schedule in your calendar, setting reminders for quarterly checks of container integrity and water quality.
When rotating water, thoroughly clean containers with food-grade sanitizer before refilling. Add appropriate water treatment solutions according to container size. Document each rotation in a logbook, noting dates, quantities, and any observations about water quality or container condition.
For optimal results, maintain a minimum of one gallon per person per day for at least three days, though a two-week supply is ideal. Store containers elevated off concrete floors using pallets or shelving to prevent chemical leaching.
Consider splitting storage between multiple locations in your home to reduce risk of total loss and improve accessibility. Regular inspection of storage areas for leaks, damage, or pest problems will help ensure your emergency water supply remains safe and reliable.

