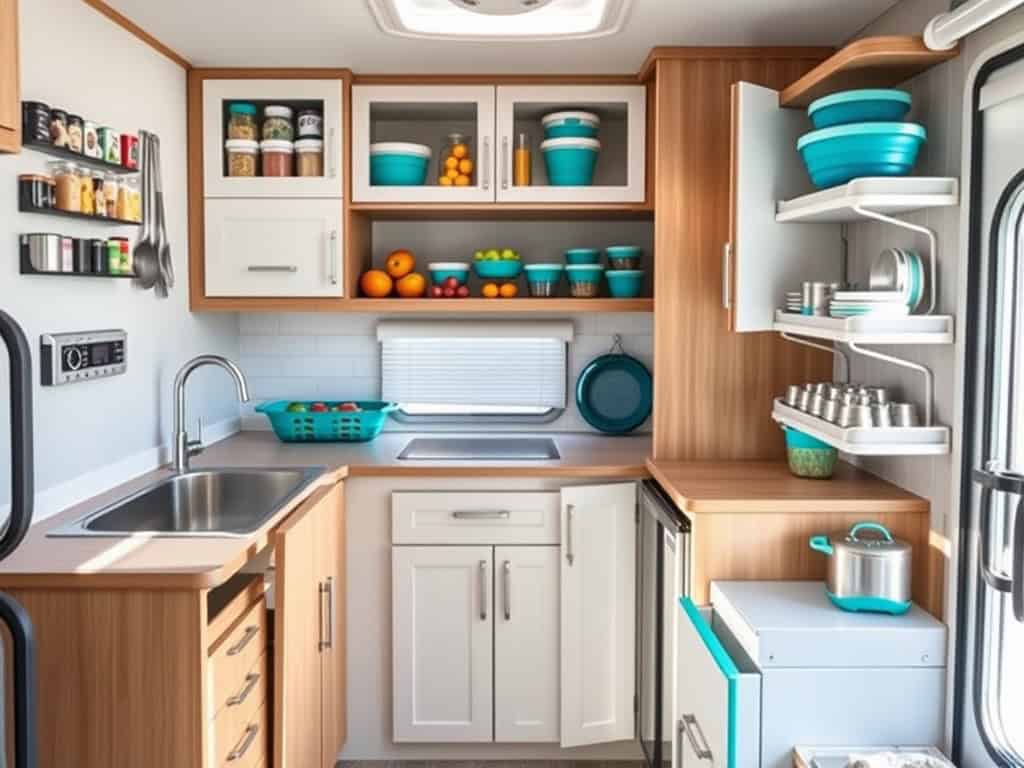
When you’re living the RV life, every inch of kitchen space counts! You’ve got to get creative with storage solutions if you want to maintain your sanity while cooking in a compact area. As someone who’s spent countless hours organizing my own tiny mobile kitchen, I’ve discovered some game-changing hacks that’ll transform your cramped quarters into an efficient cooking space. Ready to turn your RV kitchen from chaotic to completely organized? These nine clever tricks will revolutionize how you store and access everything from spices to pots and pans.
Maximize Vertical Space With Magnetic Storage Solutions
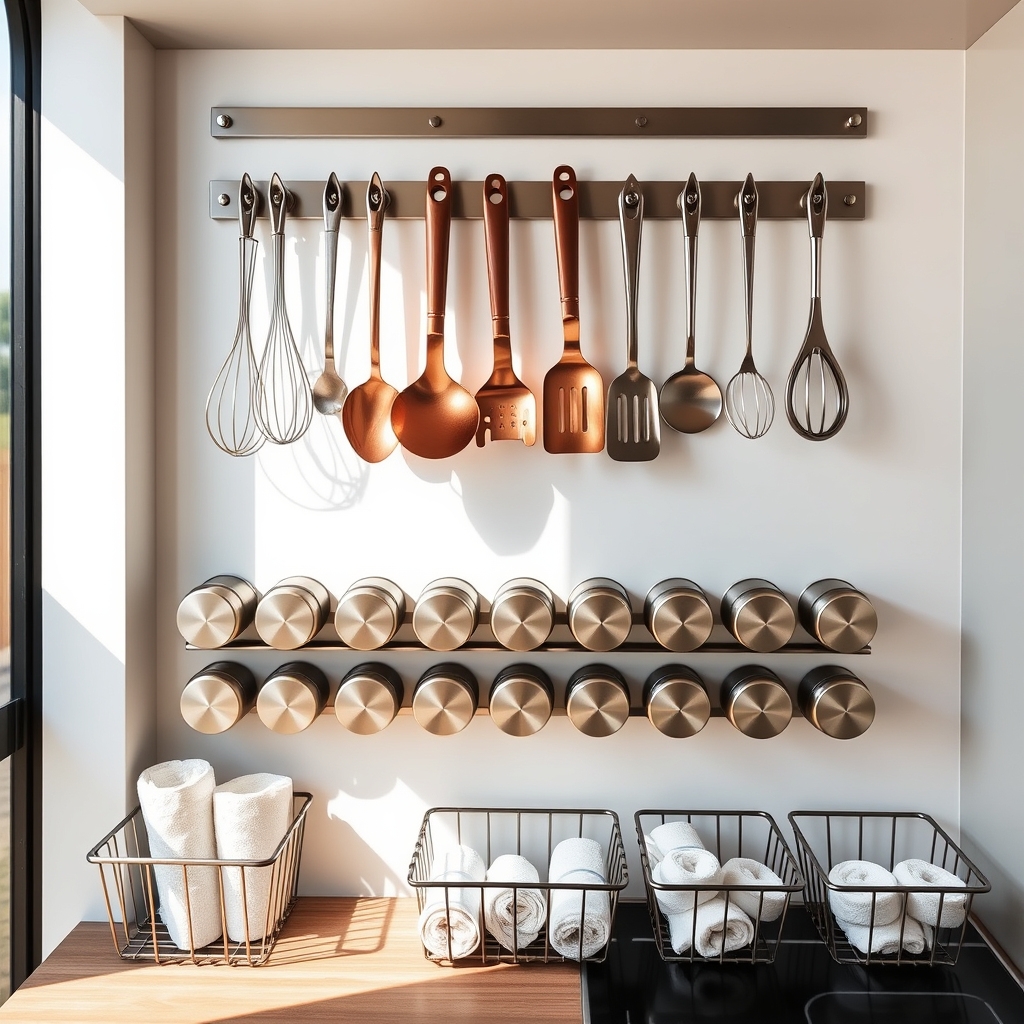
Living in an RV means making the most of every square inch of space, and the kitchen area presents unique challenges for storage and organization. Vertical space often goes underutilized, yet it offers tremendous potential for expanding storage capacity without consuming precious counter or floor space.
Magnetic storage solutions provide a versatile and secure way to transform blank wall spaces into functional storage areas. These systems can hold everything from spice containers to kitchen utensils, keeping items easily accessible while preventing them from shifting during travel. The beauty of magnetic storage lies in its adaptability – configurations can be changed instantly to accommodate different needs.
Required Items:
- Magnetic strips or boards
- Heavy-duty mounting adhesive
- Magnetic containers
- Metal-backed spice tins
- Magnetic hooks
- Magnetic knife holders
- Small magnetic baskets
- Screwdriver and screws
- Level
- Measuring tape
- Pencil
Start by identifying suitable wall spaces for magnetic storage installation. Focus on areas above countertops, beside cabinets, or on the sides of appliances. Clean these surfaces thoroughly and ensure they’re completely dry.
Mount magnetic strips or boards using heavy-duty adhesive or screws, depending on your RV’s wall material and weight requirements. Always use a level to ensure straight installation.
For optimal organization, group similar items together on your magnetic surfaces. Install magnetic knife holders at eye level for easy access. Place frequently used utensils within arm’s reach of your primary cooking area.
Position magnetic spice tins in a grid pattern for a clean look and easy identification. Use magnetic baskets for storing smaller items like packet seasonings or tea bags.
To maintain the effectiveness of your magnetic storage system, regularly check that all mounted items remain secure, especially before travel. Consider adding small rubber bumpers to magnetic containers to prevent scratching wall surfaces.
Keep heavier items stored in lower positions and distribute weight evenly across magnetic surfaces to ensure long-term stability.
Create Custom Drawer Dividers for Utensils and Tools
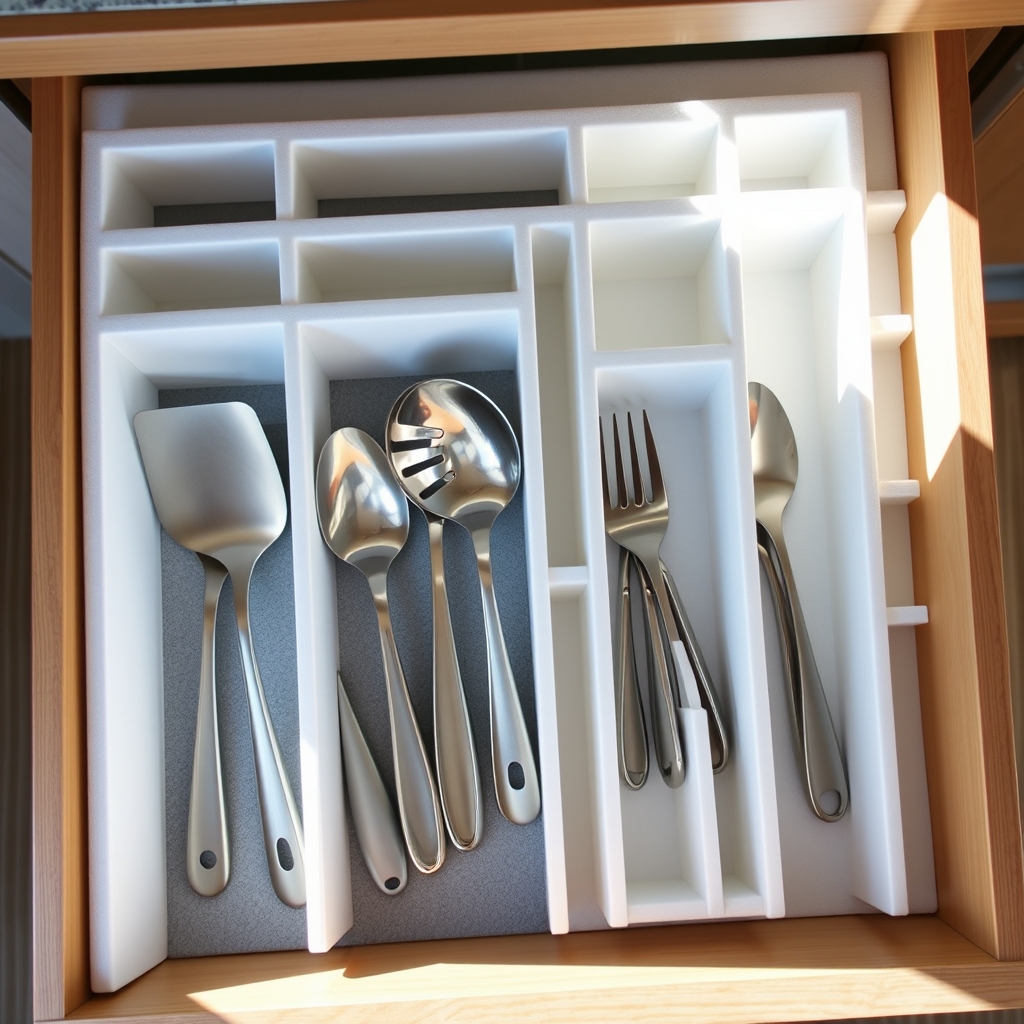
In the confined space of an RV kitchen, every inch of drawer space must be maximized for efficiency and functionality. Proper organization of utensils and tools not only prevents frustrating searches for items while cooking but also eliminates the annoying rattling and shifting of contents during travel.
Custom drawer dividers transform chaotic drawers into well-ordered spaces that keep essential items secure and easily accessible. Unlike generic organizers, custom dividers can be precisely measured and crafted to fit RV drawer dimensions, ensuring no valuable space is wasted and everything stays exactly where it belongs during transit.
Required Items:
- Measuring tape
- Foam board or thin plywood
- Utility knife or saw
- Pencil
- Ruler
- Non-slip drawer liner
- Strong adhesive (optional)
- Scissors
- Cardboard for templates
Start by emptying the drawer completely and measuring its interior dimensions. Create a rough sketch of your ideal compartment layout based on the sizes of your utensils and tools. Cut cardboard templates to test different configurations before cutting permanent materials.
Once satisfied with the layout, transfer measurements to your chosen material. For foam board dividers, score deeply on one side and make a clean cut. For plywood, use appropriate cutting tools to achieve straight edges. Create interlocking slots in pieces that need to intersect by cutting halfway through each piece at the intersection points. Test-fit all pieces before final installation.
Line the drawer bottom with non-slip material before installing dividers. Position dividers according to your plan, ensuring they fit snugly against drawer sides. If using adhesive, apply it sparingly to prevent permanent attachment, allowing for future reorganization if needed.
Additional Tips:
Position frequently used items toward the front of the drawer and arrange similar items together. Consider vertical storage for longer utensils and tools to maximize space. Leave slight gaps between compartments to accommodate minor size variations in stored items and to make cleaning easier.
Review and adjust the organization system after a few trips to optimize based on real-world usage patterns.
Install Pull-Out Pantry Shelves for Easy Access
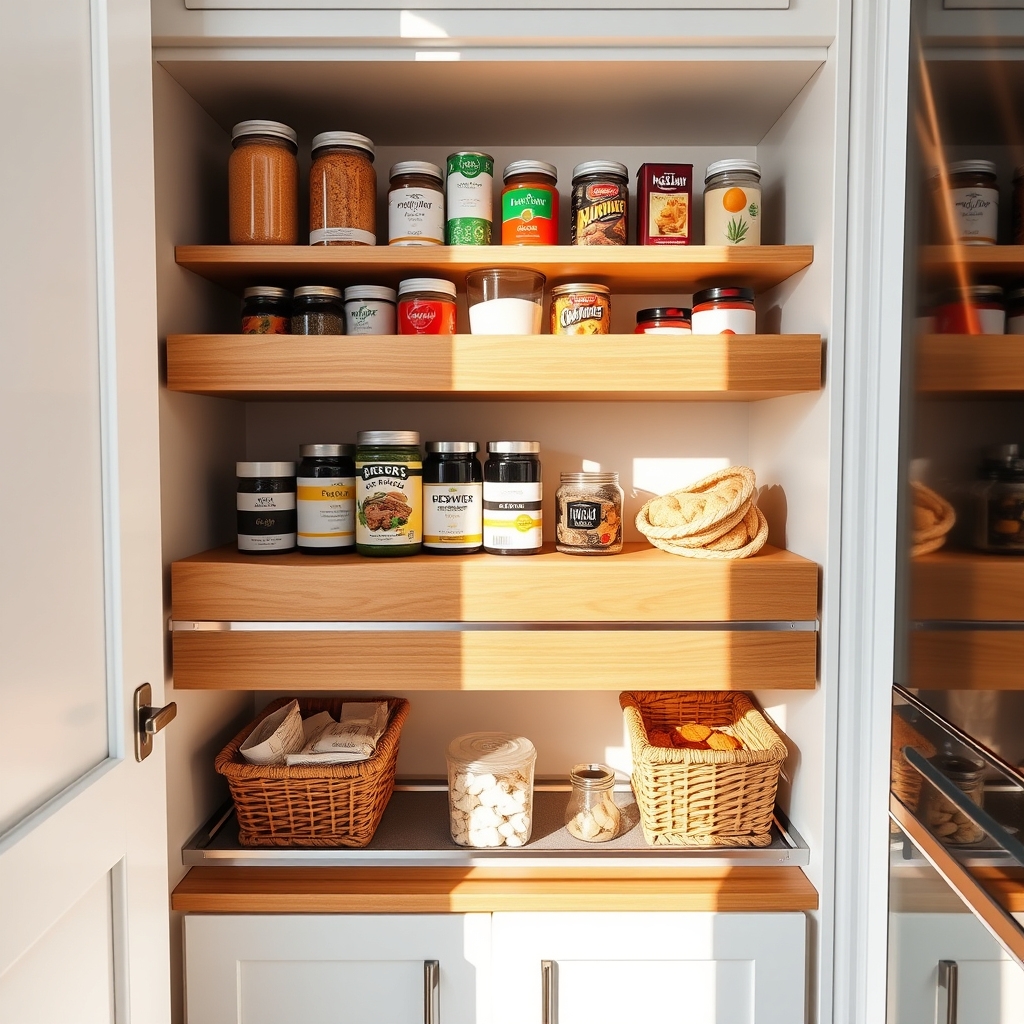
Maximizing storage space in an RV kitchen is crucial for comfortable living on the road. Traditional fixed shelves often result in wasted space and make it difficult to access items stored in the back, leading to forgotten supplies and unnecessary duplicates.
Pull-out pantry shelves transform cramped RV storage into an efficient, accessible system that allows full visibility and easy reach of all stored items. This modification can significantly improve your cooking experience and make meal preparation more enjoyable while saving valuable time during food preparation.
Required Items:
- Heavy-duty drawer slides
- Plywood or solid wood panels
- Measuring tape
- Pencil
- Power drill
- Screwdriver
- Level
- Wood screws
- Cabinet hardware
- Non-slip shelf liner
- Safety goggles
- Wood glue (optional)
- Sandpaper
Start by measuring your existing pantry space carefully, accounting for both width and depth. Cut plywood panels to create shelves that will fit within your cabinet, leaving appropriate clearance for the drawer slides.
Install the drawer slides according to manufacturer specifications, ensuring they’re level and can support the weight of your stored items. Mount the custom-cut shelves onto the slides, testing each for smooth movement and stability before proceeding to the next.
Once the sliding mechanisms are secured, add non-slip liner to each shelf to prevent items from shifting during travel. Consider installing additional features such as guardrails or dividers to keep items contained.
Test the weight capacity of each shelf by gradually adding items, ensuring the slides can handle the load without straining.
Additional Tip: Label the front edge of each pull-out shelf with categories (canned goods, dry goods, snacks) to maintain organization long-term.
Consider installing motion-activated LED strips under each shelf for improved visibility, and implement a regular maintenance schedule to check and tighten hardware, ensuring your pull-out shelves continue to function smoothly over time.
Use Stackable Containers for Dry Goods Storage
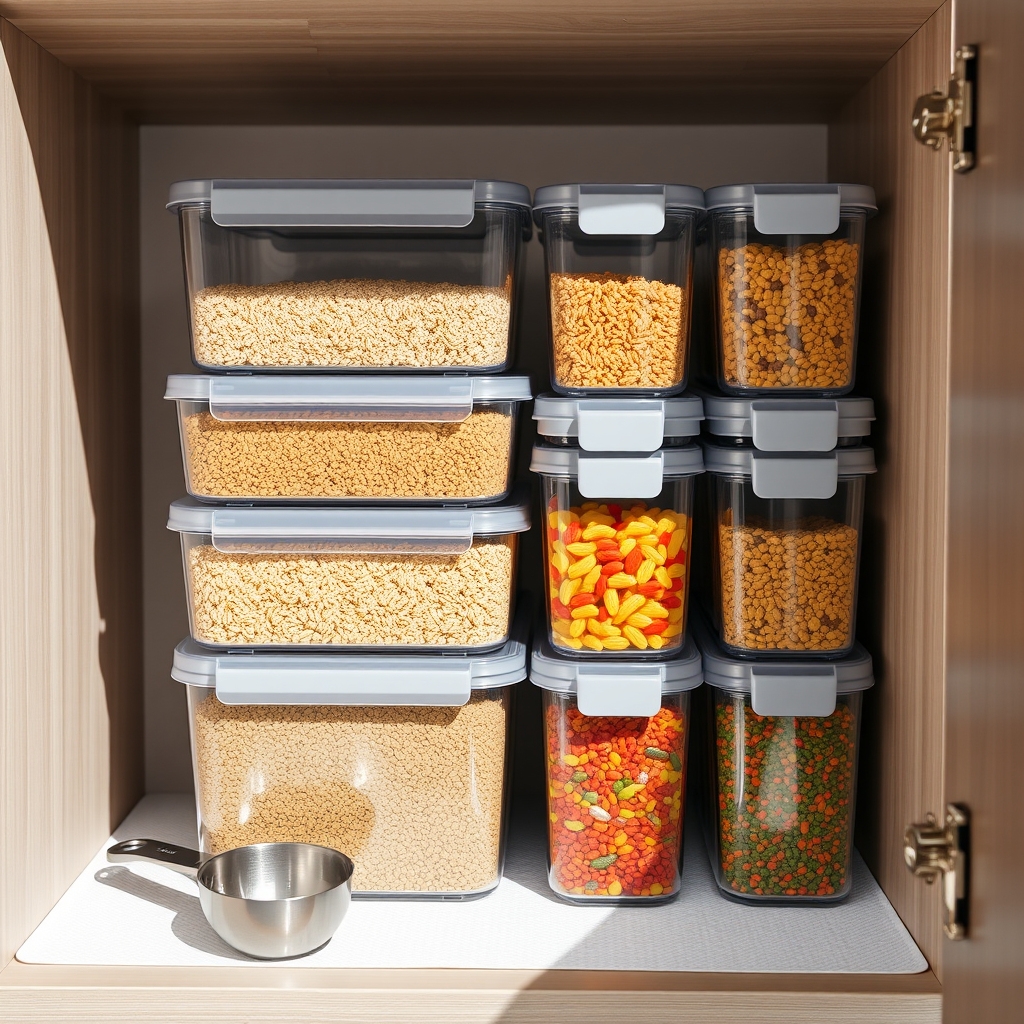
Organizing dry goods in an RV kitchen presents unique challenges due to limited space and the need to secure items during travel. Proper storage not only maximizes the available space but also helps prevent spills and waste while keeping essentials easily accessible.
Stackable containers create a systematic approach to storage that transforms cluttered cabinets into efficient, usable spaces. These containers eliminate the chaos of half-opened bags and boxes while protecting dry goods from moisture and pests, which is especially important in the varying conditions RVs encounter.
Required Items:
- Clear stackable containers in various sizes
- Label maker or waterproof labels
- Measuring cups/scoops
- Silicone moisture absorbers
- Non-slip shelf liner
- Food funnel
- Inventory list template
- Storage basket for loose items
Start by emptying all dry goods cabinets and sorting items by category (baking supplies, grains, snacks, etc.). Transfer contents into appropriately sized stackable containers, ensuring each container has an airtight seal. Choose container sizes that maximize vertical space while fitting comfortably within cabinet dimensions.
Arrange containers with frequently used items at the front and heavier items on bottom shelves. Label each container clearly with contents and expiration dates. Create a standardized system where containers of the same size stack perfectly together.
Install non-slip liner on shelves to prevent shifting during travel, and place silicone moisture absorbers in cabinets to maintain freshness.
Additional Tips: Maintain an inventory list of contained items and their locations to streamline meal planning and shopping. Consider using square or rectangular containers rather than round ones to maximize space efficiency. Keep a few empty containers on hand for bulk purchases or repackaging oddly shaped boxes.
Remove original packaging before storing to eliminate extra bulk, but take photos of cooking instructions if needed.
Add Command Hooks and Rails for Hanging Storage
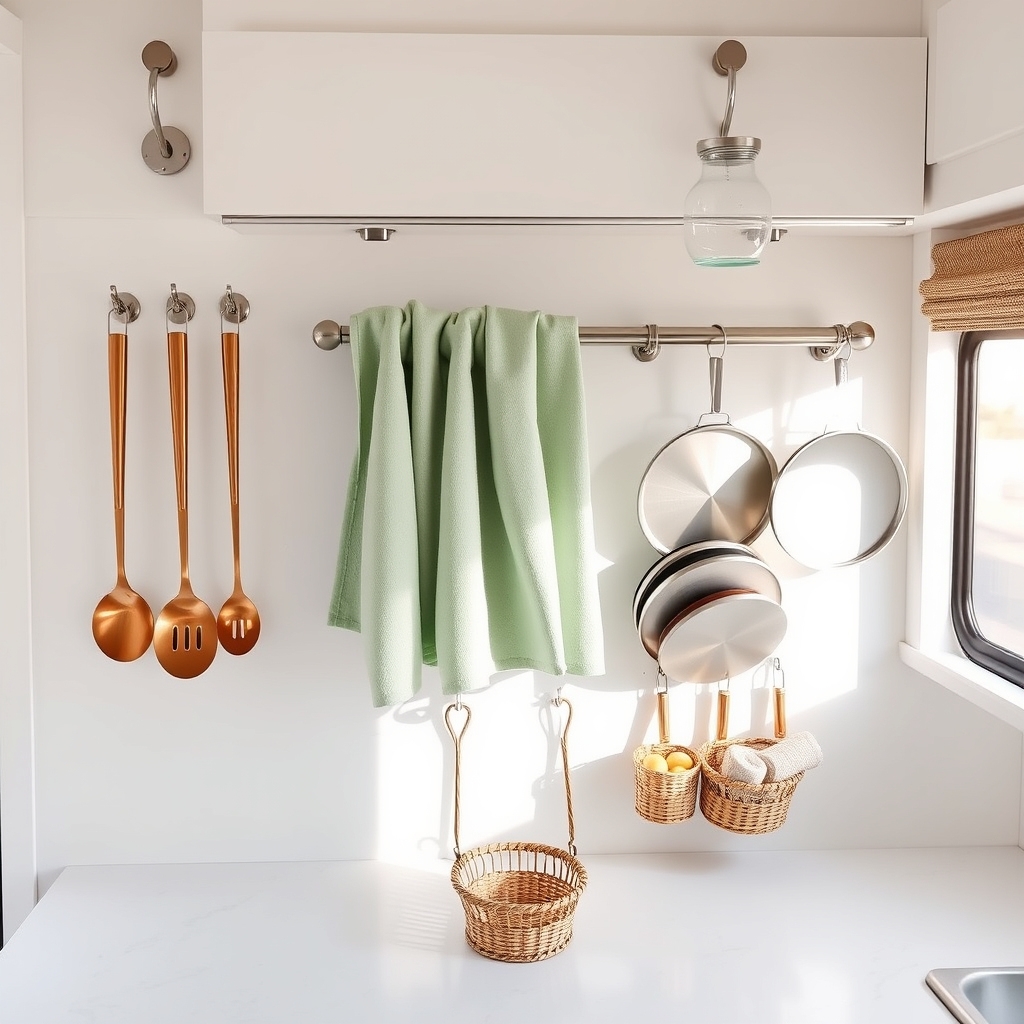
Making the most of vertical space is crucial in an RV kitchen where every square inch counts. Command hooks and rails offer versatile storage solutions that don’t require permanent modifications to your RV’s walls or cabinets, making them ideal for both renters and owners.
Hanging storage solutions transform unused wall space into functional storage areas, keeping frequently used items easily accessible while freeing up valuable counter and cabinet space. This organization method also helps prevent items from shifting during travel, reducing clutter and potential damage.
Required Items:
- Command hooks (various sizes)
- Tension rods or rails
- S-hooks
- Measuring tape
- Level
- Cleaning supplies
- Kitchen utensils with hanging holes
- Storage baskets with handles
- Paper towel holder
- Pot lid organizer
- Small bins or containers
Begin by thoroughly cleaning the surfaces where you’ll install hooks and rails using appropriate cleaning solutions to ensure proper adhesion. Measure and mark installation points, using a level to ensure straight placement.
Install command hooks at strategic locations – near the cooking area for utensils, beside the sink for dish towels, and under cabinets for hanging baskets. For rail installation, choose areas that won’t interfere with cabinet doors or walking spaces.
Install tension rods inside cabinets to create additional hanging storage for spray bottles or paper towels. Use S-hooks on rails to hang frequently used items, ensuring they’re secure enough to stay in place during travel.
To maximize this organization system, rotate items seasonally and regularly test the security of command hooks and rails. Consider using clear command hooks for a more discrete appearance, and always check weight limits before hanging items.
Implement a “one in, one out” rule when adding new items to prevent overcrowding and maintain the functionality of your hanging storage system.
Implement a Collapsible Dish Drying System
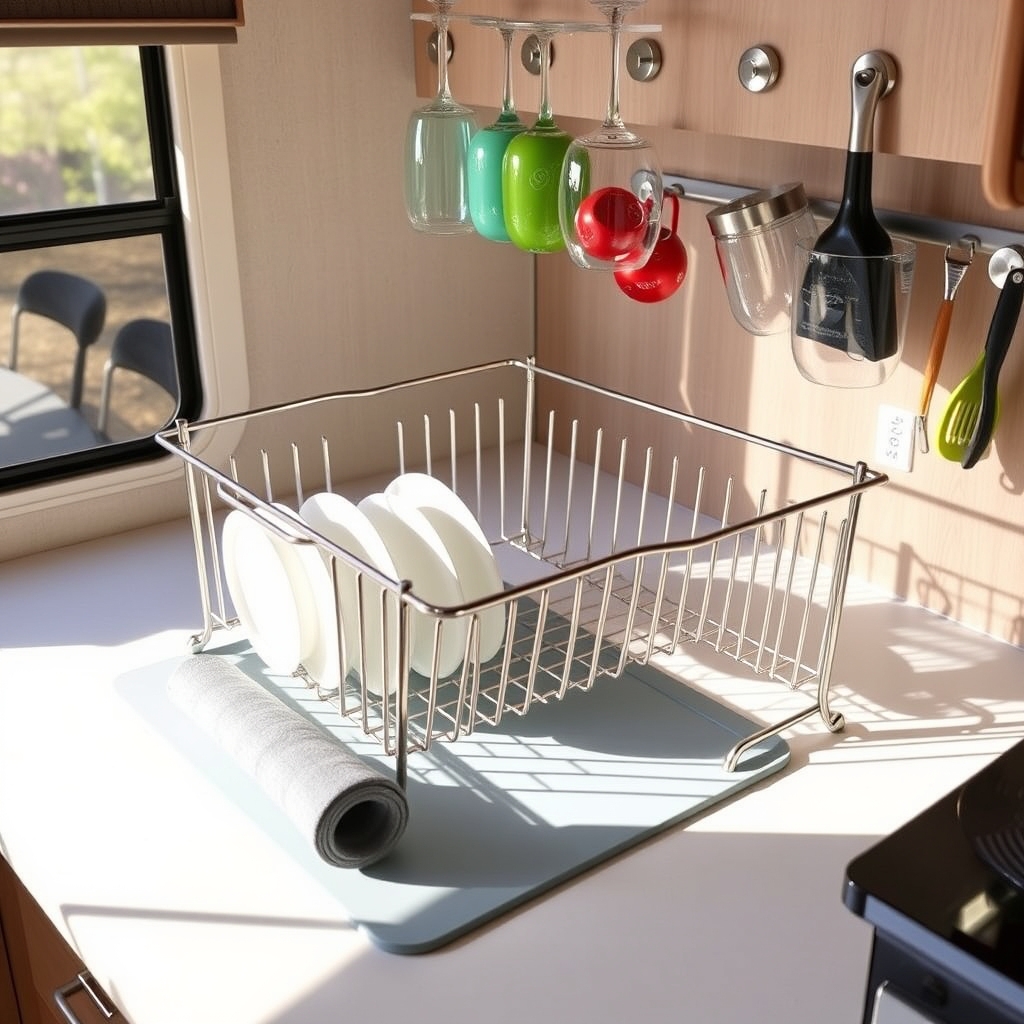
Space management in an RV kitchen is crucial for maintaining functionality and comfort while traveling. A well-designed dish drying system not only saves valuable counter space but also ensures proper sanitation and prevents water damage to surrounding surfaces. The ability to collapse and store the system when not in use makes it an essential feature for any RV kitchen setup.
Implementing a collapsible dish drying system transforms the way you handle post-meal cleanup in your RV. Rather than letting dishes pile up or struggling with limited drying space, a properly organized system allows for efficient drying while maintaining the compact nature of your mobile living space.
Required Items:
- Over-the-sink collapsible dish rack
- Silicone drying mat
- Microfiber dish mat
- Removable drain tray
- Tension rods
- Suction cup hooks
- Mesh storage bags
- Rubber grip liner
- Bungee cords or straps
Start by measuring your sink area and counter space to determine the best placement for your collapsible system. Install the over-the-sink dish rack, ensuring it’s properly secured and level. Place the silicone drying mat underneath to catch water drips and protect your counter surface. Position the removable drain tray at a slight angle to direct water flow back into the sink.
For additional drying space, install tension rods above the sink area to hang lightweight items like cups and utensils. Attach suction cup hooks on nearby walls or windows for additional hanging storage. When the system isn’t in use, collapse the rack, roll up the mats, and store them in mesh bags to prevent mildew.
To maximize the effectiveness of your collapsible dish drying system, rotate items frequently to ensure proper airflow and faster drying times. Consider using quick-dry microfiber towels for immediate drying when necessary, and always secure loose components before traveling.
During transit, store the collapsed system in a designated spot with rubber grip liner to prevent shifting or damage.
Organize Cabinet Space With Tension Rods
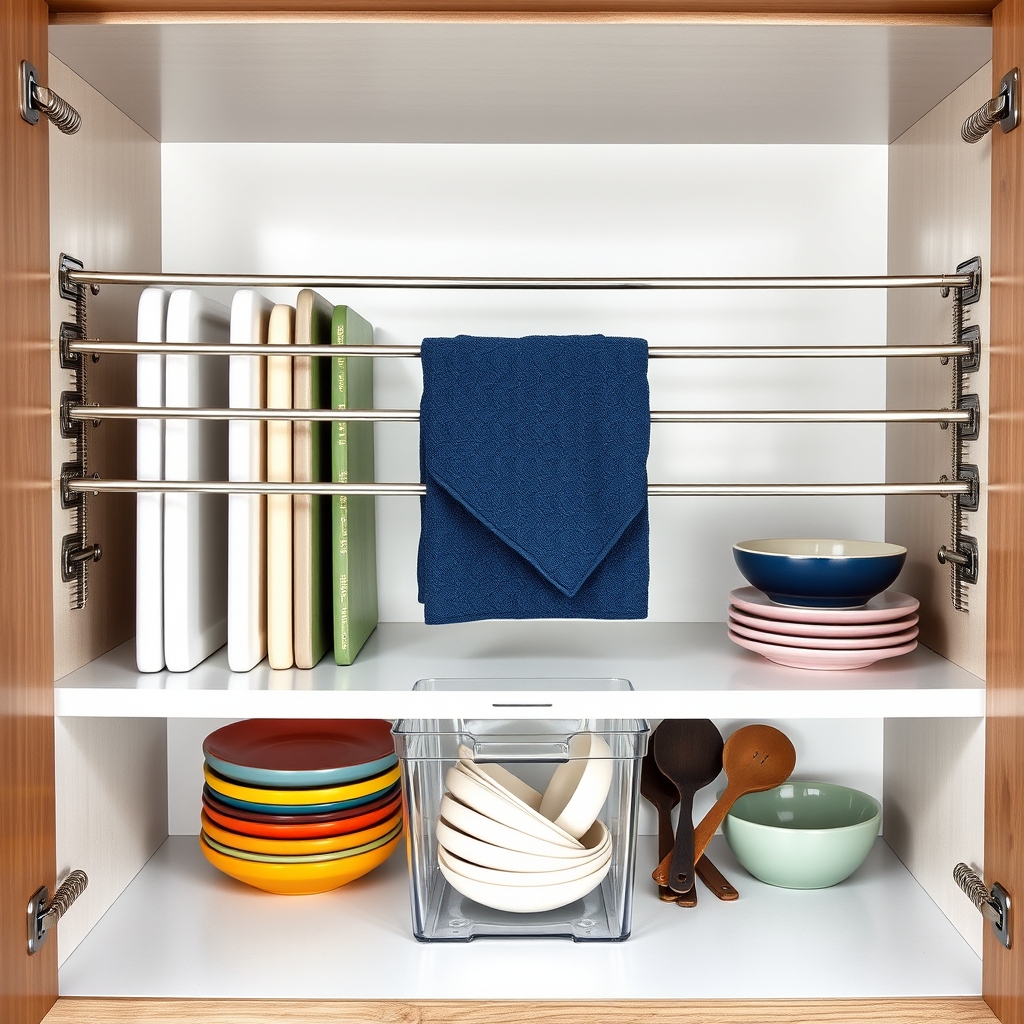
Making the most of limited cabinet space in an RV kitchen is crucial for comfortable travel and efficient meal preparation. Proper organization can mean the difference between a cluttered, frustrating experience and a smooth, enjoyable cooking environment.
Tension rods offer a versatile and secure solution for maximizing vertical space in RV cabinets. These adjustable tools can create multiple storage levels, prevent items from shifting during travel, and help maintain organized sections for different kitchen supplies – all without permanent modifications to your RV’s structure.
Required Items:
- Spring-loaded tension rods (various sizes)
- Measuring tape
- Non-slip shelf liner
- Cabinet organizer bins (optional)
- Label maker (optional)
- Cleaning supplies
- Step stool (if needed)
Start by measuring the interior width and height of your cabinets to determine appropriate tension rod sizes. Clean the cabinet thoroughly and install non-slip liner on the bottom. Position the first tension rod approximately 6-8 inches from the cabinet’s back wall, ensuring it’s level and secure.
Add additional rods parallel to the first, spacing them according to the height of items you plan to store. For maximum stability, test each rod by applying gentle pressure before storing items.
Create designated zones using the tension rods: use the space between rods to store cutting boards and baking sheets vertically, position cleaning supplies upright between rods, or create a second tier for stacking plates and bowls. The rods can also serve as support bars for hanging lightweight items like dish towels or paper towel rolls.
Additional Tips: Regularly check the tension of the rods, especially after traveling on rough roads, and adjust as needed. Consider using rubber tips on the ends of the rods to prevent cabinet damage.
When storing items between rods, place heavier objects toward the bottom of the cabinet to maintain stability. During travel, secure items with additional support if necessary, such as bundling them with velcro straps or placing them in organizer bins between the rods.
Set Up a Multi-Purpose Food Prep Station
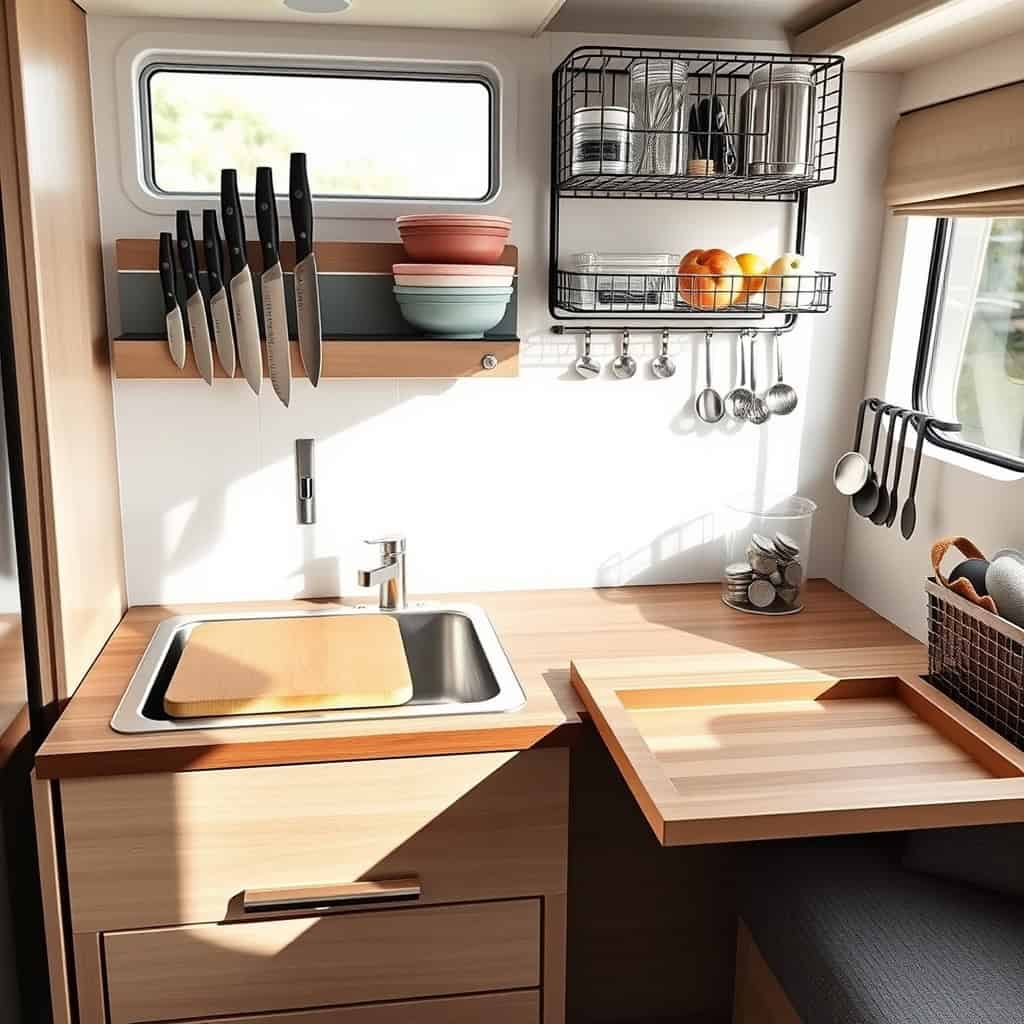
Efficient food preparation in an RV requires careful planning and organization due to limited counter space. A well-designed multi-purpose food prep station serves as the heart of your RV kitchen, allowing you to maximize functionality while minimizing clutter.
Creating a dedicated prep station that can transform to serve multiple purposes throughout the day helps maintain an organized workflow and keeps essential items within easy reach. This approach not only saves time but also makes the most of your compact kitchen space, enabling you to prepare meals as comfortably as you’d in a traditional kitchen.
Required Items:
- Cutting board with built-in storage
- Pull-out counter extension
- Magnetic knife strip
- Small container organizers
- Non-slip shelf liner
- Command hooks
- Collapsible bowls and colanders
- Multi-tiered basket system
- Over-sink cutting board
- Stackable storage containers
Start by selecting a primary work area, ideally near the sink and stove. Install a pull-out counter extension if possible, or utilize an over-sink cutting board for additional workspace.
Mount a magnetic knife strip at eye level for easy access to frequently used utensils. Below the prep area, organize stackable containers and collapsible tools in multi-tiered baskets.
Create zones within your prep station: one for cutting and chopping, another for mixing and measuring, and a third for temporary storage of prepped ingredients. Use non-slip shelf liner to prevent items from sliding during travel, and install command hooks on nearby walls or cabinet doors for hanging commonly used tools.
Ensure all storage solutions are secure and can withstand movement while the RV is in motion. Maximize your prep station’s efficiency by following the “clean as you go” principle. Keep a small waste bin nearby, store cleaning supplies under the sink for quick access, and develop a system of breaking down the station into its various configurations based on your needs throughout the day.
Consider investing in multi-functional tools that can collapse or nest together to save space when not in use.
Mount Spice Racks and Organizers to Cabinet Doors
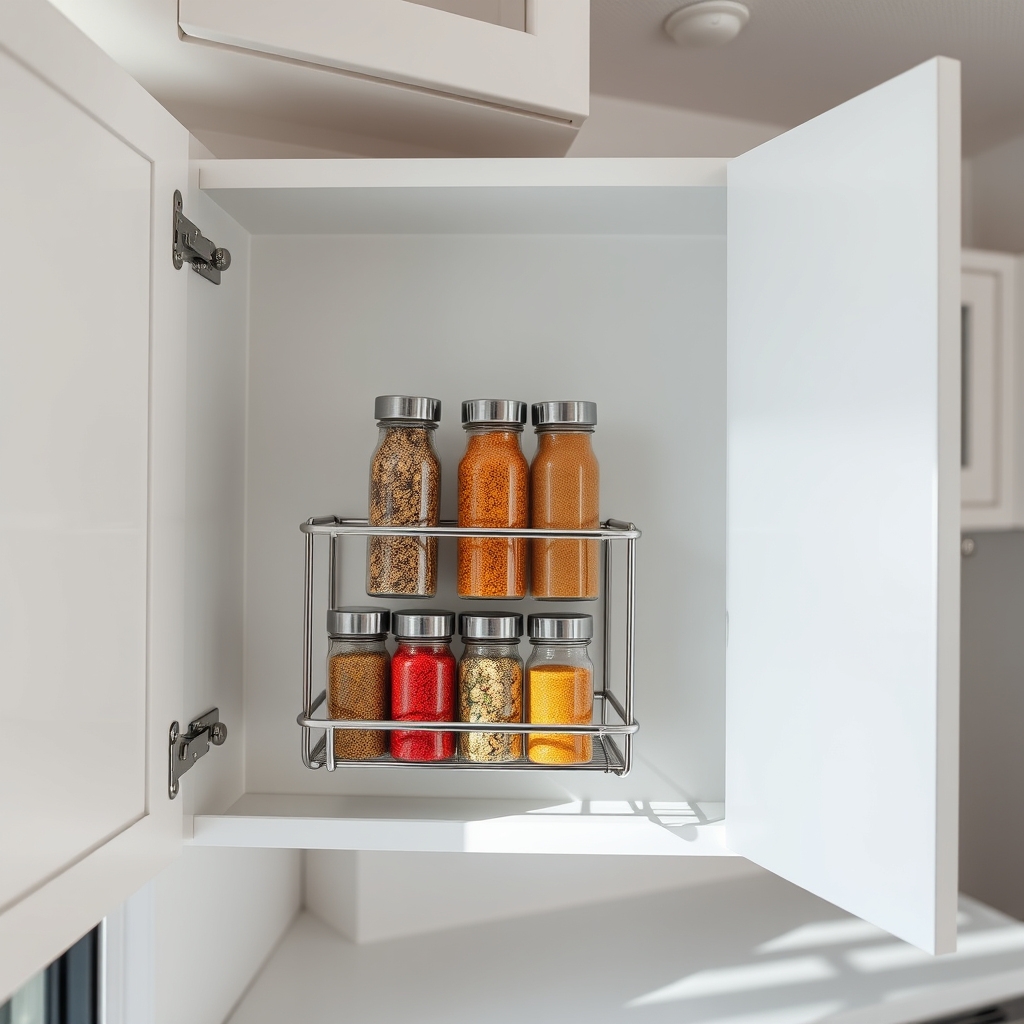
Making efficient use of cabinet door space in an RV kitchen is crucial given the limited storage areas available. Cabinet doors offer valuable real estate that often goes unused, but with proper mounting solutions, they can become ideal locations for storing spices, small containers, and frequently used items.
Mounting organizers to cabinet doors not only maximizes space but also keeps essential items readily accessible while cooking. This organization method prevents spices and small items from getting lost in deep cabinets and eliminates the need to shuffle through multiple containers to find what you need.
Required Items:
- Command strips or mounting brackets
- Measuring tape
- Pencil
- Level
- Screwdriver
- Cabinet door-mounted spice racks
- Small organizers or baskets
- Non-slip liner
- Screws (if using mounting brackets)
Begin by measuring the interior dimensions of your cabinet doors, accounting for any hinges or existing hardware. Select spice racks or organizers that fit within these measurements while allowing the door to close completely.
Clean the mounting surface thoroughly with alcohol to ensure proper adhesion. If using Command strips, apply them according to package instructions, typically placing them at the corners and center of the organizer. For mounting brackets, mark screw locations carefully and pre-drill holes if necessary to prevent wood splitting.
Position the organizer on the door, ensuring it’s level and properly aligned. Press firmly if using adhesive strips, or secure with screws if using brackets. Test the door’s movement to confirm the organizer doesn’t interfere with closing or hit interior shelves.
Add non-slip liner to the bottom of each rack or shelf to prevent items from shifting during travel.
Additional Tips: Organize spices alphabetically or by frequency of use, and consider using magnetic spice containers for metal surfaces. Double-check weight limits for adhesive mounting solutions, and periodically inspect mounting hardware for security, especially after traveling on rough roads. Keep heavier items in lower positions to maintain door balance and prevent strain on hinges.

