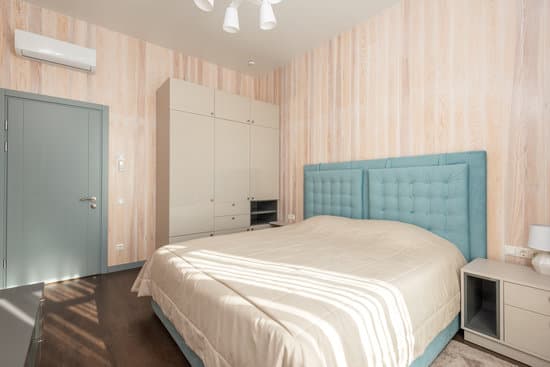
Are you looking for ways to create a private and secure retreat in your loft bedroom? Look no further! In this article, we will guide you through practical steps to ensure your comfort and safety. From utilizing room dividers and soundproofing materials to adding curtains or blinds, we have got you covered. Get ready to transform your loft into a cozy oasis where you can enjoy the peace and tranquility you deserve. Let’s get started!
Utilizing Room Dividers for Privacy
If you’re looking to make your loft bedroom more private, try utilizing room dividers. These dividers can create a sense of separation and solitude in your space, giving you the privacy you desire. One way to use room dividers effectively is by strategically arranging your furniture. By placing larger pieces like bookshelves or dressers as barriers, you can create distinct areas within your loft bedroom, making it feel more enclosed and secluded. Another aspect to consider is lighting options. Soft ambient lighting can help create a cozy and intimate atmosphere while also adding an extra layer of privacy by dimming the visibility from outside. So if safety and privacy are important to you, give room dividers a try in your loft bedroom!
Installing Soundproofing Materials
When installing soundproofing materials, it’s important to consider the type of insulation and acoustic panels you choose. To make your loft bedroom more private and secure, here are some key considerations:
- Choosing appropriate insulation: Opt for high-density insulation materials like mineral wool or cellulose, as they provide excellent sound absorption properties.
- Exploring alternative construction methods: Consider using double-layered drywall with a layer of Green Glue damping compound in between. This method can significantly reduce noise transmission through walls.
- Installing acoustic panels: Place acoustic panels strategically on the walls and ceiling to absorb sound waves and minimize echoes.
By selecting the right insulation, exploring alternative construction methods, and incorporating acoustic panels into your loft bedroom design, you can create a private oasis where outside noise is minimized. Don’t compromise on safety when it comes to enjoying a peaceful night’s sleep in your loft bedroom.
Adding Curtains or Blinds for Privacy
To enhance the privacy of your loft space, consider adding curtains or blinds. Installing frosted glass for privacy is another option to create a secluded atmosphere in your loft bedroom. Frosted glass allows natural light to enter while obscuring the view from outside, ensuring your personal space remains private. Another way to add an extra layer of privacy is by using decorative screens. These screens not only serve as a stylish addition to your room decor but also provide a physical barrier that separates your sleeping area from the rest of the loft. You can choose from various designs and materials that suit your taste and complement the overall aesthetic of your loft bedroom. By incorporating these elements, you can transform your loft into a truly private sanctuary where you can relax and unwind without any disturbances.
Creating a Cozy Sleeping Nook
Creating a cozy sleeping nook can enhance the comfort and relaxation of your loft space. To maximize storage in a loft bedroom, consider incorporating built-in shelves or under-bed storage solutions to keep your belongings organized and out of sight. Choosing the right lighting is crucial for creating a warm and inviting atmosphere. Opt for soft, ambient lighting such as fairy lights or dimmable lamps that can be adjusted to suit your mood. Additionally, adding blackout curtains or blinds will not only provide privacy but also block out any unwanted light from outside sources, ensuring a peaceful night’s sleep. By creating a cozy sleeping nook with ample storage and the perfect lighting, you can transform your loft into a safe and comforting sanctuary.
Incorporating Personal Touches for Privacy and Comfort
Adding personal touches like decorative screens or hanging tapestries can help you create a private and comfortable space in your loft. To further enhance the privacy and comfort, consider customizing lighting options. Install dimmer switches or use soft, warm lights that create a cozy atmosphere. This will allow you to adjust the brightness according to your preference and create a sense of tranquility. Another way to incorporate personal touches is by incorporating natural elements into your loft bedroom. Use plants, such as bamboo or palm trees, to add a touch of nature and create a calming environment. Additionally, consider adding natural materials like wood accents or stone features to bring warmth and earthy vibes into the space. By incorporating these elements, you can transform your loft bedroom into a private sanctuary where you feel safe and surrounded by nature’s beauty.
Conclusion
So there you have it! By utilizing room dividers, installing soundproofing materials, adding curtains or blinds, creating a cozy sleeping nook, and incorporating personal touches, you can easily make your loft bedroom private and comfortable. Remember to consider your own preferences and needs when implementing these tips. With a little creativity and resourcefulness, you can transform your loft into a private sanctuary that feels like a true bedroom retreat. Sweet dreams!

