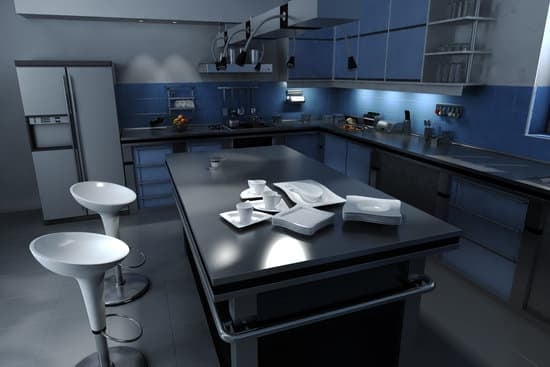
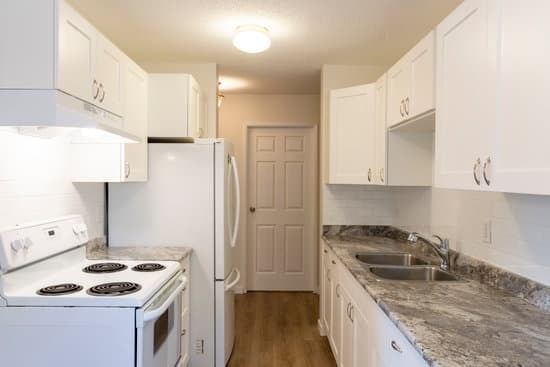
Are you ready to transform your kitchen with a stylish and functional backsplash? Learn how to install kitchen backsplash tile in this step-by-step guide. By following these instructions, you’ll not only enhance the aesthetics of your space but also ensure a safe and durable installation. From choosing the perfect tile to applying adhesive and placing the tiles, we’ve got you covered. Get ready to create a stunning backsplash that will make your kitchen shine!
Choosing the Perfect Backsplash Tile
When choosing the perfect backsplash tile, it’s important to consider the overall style and color scheme of your kitchen. Start by deciding on the type of material you want for your tile, such as ceramic, glass, or natural stone. Ceramic tiles are durable and easy to clean, while glass tiles add a modern touch. Natural stone tiles provide a more rustic look. Next, think about the pattern you want for your backsplash tile. Subway tiles are a popular choice that never goes out of style, while mosaic tiles can add a unique and artistic flair to your kitchen. Remember to choose a pattern that complements the rest of your kitchen design. By carefully choosing tile materials and backsplash tile patterns, you will create an elegant and functional focal point in your kitchen that suits your personal style and ensures safety for years to come.
Preparing the Surface for Installation
Before starting, ensure the surface is properly prepared for installation of the backsplash tile. Safety is key when it comes to any home improvement project. Firstly, you need to clean and prime the surface. Make sure there are no dirt, grease, or loose materials on the wall. Use a mild detergent and water solution to thoroughly clean the area and allow it to dry completely before proceeding. Next, take accurate measurements of your kitchen backsplash area and mark them on the wall using a level and pencil. This will help guide you when cutting the tile to fit perfectly into each space. It’s important to use proper safety equipment like goggles and gloves when handling tools such as a wet saw or tile cutter during this step.
Applying the Adhesive
To apply the adhesive, make sure you have prepared the surface and have all your safety equipment ready. Safety should always be your top priority when working with adhesives. Start by choosing the right adhesive for your backsplash tile. There are different types available, so read the instructions carefully to ensure proper application. When applying the adhesive, use a notched trowel to create even ridges on the surface. This will help ensure a strong bond between the tile and the wall. Avoid common mistakes such as using too much or too little adhesive. Too much can cause excess oozing and make it difficult to position the tiles correctly, while too little may lead to weak adhesion. Take your time and follow the manufacturer’s guidelines for best results.
Placing and Installing the Tiles
Now it’s time to place and install the tiles on the wall. Before you begin, make sure to wear safety goggles and gloves to protect yourself from any potential injuries. Start by applying tile adhesive onto the wall using a notched trowel, ensuring you have an even layer. Carefully press each tile onto the adhesive, making sure they are aligned properly. Use spacers in between each tile for consistent spacing. If you need to cut tiles to fit around outlets or corners, use a wet saw or tile cutter following the manufacturer’s instructions. Once all the tiles are in place, allow them to dry completely before moving on to grouting. Grouting techniques may vary depending on your chosen grout type, so make sure to follow the instructions carefully for best results.
Finishing Touches and Maintenance Tips
Once the tiles are in place and the grouting is complete, it’s important to apply a sealant to protect the finished surface. This will help prevent stains and moisture from seeping into the tiles and causing damage. To ensure safety, make sure to choose a sealant that is non-toxic and specifically designed for kitchen backsplashes. Before applying the sealant, thoroughly clean the tiles using mild soap and water or a gentle tile cleaner. Allow them to dry completely before proceeding. When applying the sealant, use a small brush or sponge applicator to evenly distribute it over the tiles and grout lines. Follow the manufacturer’s instructions for drying time, as this can vary depending on the product used. Regularly clean your sealed backsplash with mild soap and water or a recommended tile cleaner to maintain its appearance and longevity.
Conclusion
Now that you have learned how to install kitchen backsplash tile, you are ready to transform your kitchen into a stylish and functional space. By selecting the perfect tile and properly preparing the surface, you can ensure a successful installation. Remember to use the appropriate adhesive and carefully place each tile in position. Once installed, enjoy your beautiful new backsplash and follow maintenance tips to keep it looking its best for years to come.


