Are you looking to create a laundry room that is not only functional but also safe? In this article, we will guide you through the process of designing a laundry room layout that maximizes space, enhances workflow, and ensures safety. From assessing your space and needs to choosing the right appliances and maximizing storage options, we have got you covered. Get ready to transform your laundry room into a well-organized and secure space for all your washing needs.
Assessing Your Space and Needs
You’ll need to assess your space and needs when designing a laundry room layout. Safety is important, so make sure to take measurements of your available space before selecting materials for your laundry room. Start by measuring the dimensions of the room, including height, width, and length. This will help you determine what types of appliances and storage solutions will fit comfortably in the space. Consider your specific needs as well – do you have a large family with lots of laundry or just a few loads per week? This will affect the size and number of appliances you choose. When selecting materials, opt for durable options that can withstand heavy use and moisture. Look for easy-to-clean surfaces that won’t trap dirt or mold. By carefully assessing your space and needs, you can create a safe and functional laundry room layout that meets all your requirements.
Choosing the Right Appliances
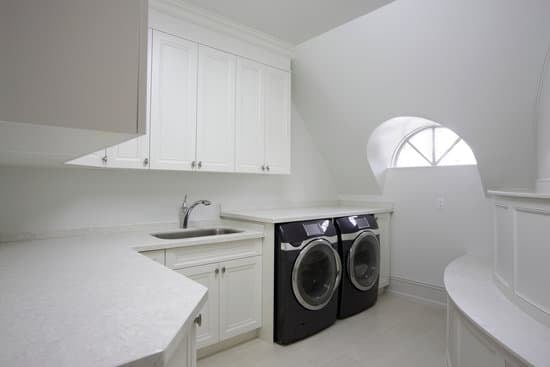
When choosing the appliances for your laundry space, it’s important to consider their size and energy efficiency. Start by measuring your available space to ensure that the appliances will fit comfortably. Consider the placement of each appliance to maximize convenience and functionality. For example, placing your washer and dryer side by side allows for easy transfer of clothes between them. Additionally, make sure to choose appliances that are energy-efficient. Look for models with high Energy Star ratings, as these will help you save on electricity costs while reducing your carbon footprint. Energy-efficient appliances not only benefit the environment but also provide a safer laundry experience by minimizing the risk of overheating or electrical malfunctions. By carefully selecting the right appliances and considering their placement and energy efficiency, you can create a well-designed and safe laundry room layout.
Maximizing Storage Options
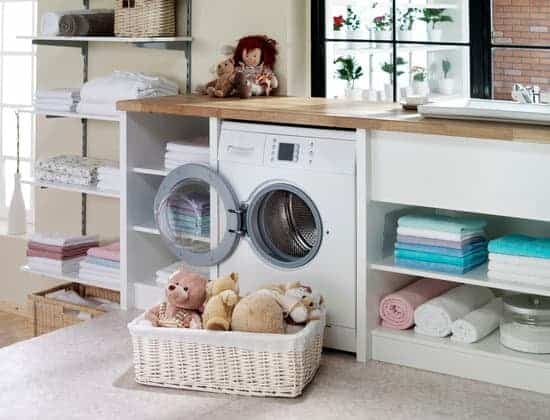
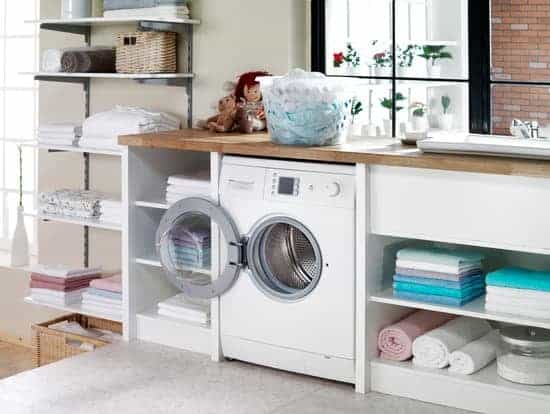
To make the most of your storage options, consider utilizing shelves and cabinets in your laundry space. By using vertical space effectively, you can maximize the amount of storage available. Install wall-mounted shelves above your appliances to store detergent, fabric softener, and other laundry essentials. These shelves will keep everything organized and within easy reach while also keeping them out of the way. Additionally, incorporate cabinets with doors to hide away cleaning supplies or other items that may not be aesthetically pleasing. Another great idea is to incorporate folding stations into your laundry room layout. A countertop or table dedicated to folding clothes will make this task much easier and more efficient. Remember to prioritize safety by ensuring that all shelves and cabinets are securely mounted to the wall to prevent accidents.
Creating a Functional Workflow
Creating a functional workflow in your laundry space is essential for maximizing efficiency and productivity. To optimize space utilization, start by arranging your appliances in a way that allows for smooth movement between them. Keep frequently used items within easy reach and designate specific areas for sorting, washing, drying, and folding. Incorporating ergonomic design is crucial to ensure safety during tasks involving heavy lifting or repetitive movements. Install countertops at a comfortable height to reduce strain on your back and consider adding cabinets or shelves above the appliances to maximize vertical storage. Additionally, invest in quality lighting to prevent accidents and make it easier to see stains or damaged fabric. By implementing these strategies, you can create a well-organized laundry room that promotes a seamless workflow while prioritizing safety.
Adding Aesthetic Touches
Spruce up your laundry space with some aesthetic touches to make it a more pleasant and inviting environment. Decorating ideas can help transform your laundry room into a functional yet stylish space. Here are three key ideas to consider:
- Color schemes: Choose calming colors like light blues or soft grays for a soothing atmosphere. Avoid bright, bold colors that may create distractions and affect your focus while working.
- Wall décor: Hang up artwork or inspirational quotes to add personality to the room. Opt for framed prints or vinyl decals that are easy to clean and won’t interfere with the functionality of the space.
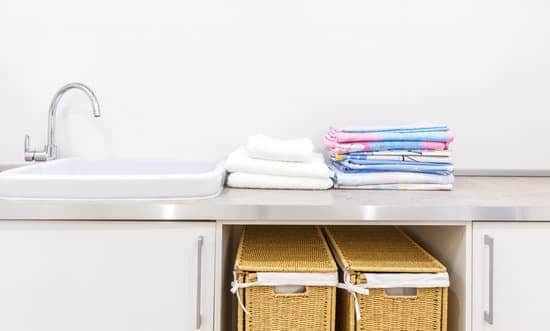
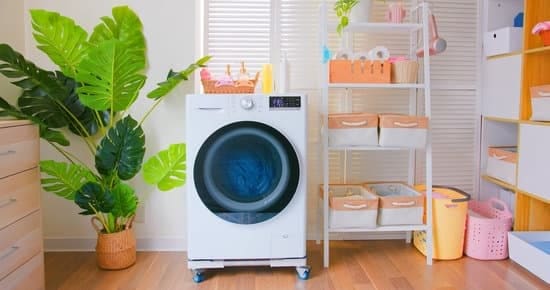
- Storage solutions: Incorporate decorative baskets or bins to keep your laundry supplies organized and easily accessible. Look for options that blend well with the overall design of the room while providing ample storage capacity.
By implementing these decorating ideas and carefully choosing color schemes, you can create a visually appealing laundry room without compromising safety or functionality.
Conclusion
So there you have it, designing a laundry room layout doesn’t have to be overwhelming. By assessing your space and needs, choosing the right appliances, maximizing storage options, creating a functional workflow, and adding aesthetic touches, you can create a laundry room that is both practical and visually appealing. With these tips in mind, you’ll be well on your way to designing the perfect laundry room that will make doing laundry a breeze.

