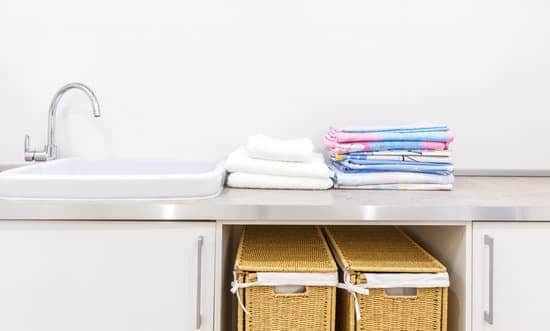
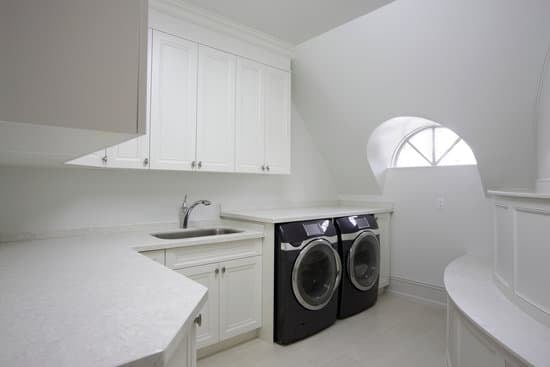
Are you tired of clutter in your laundry room? Want to create more storage space for your detergent, cleaning supplies, and other essentials? Look no further! In this article, we will guide you through the process of building laundry room shelves that are not only practical but also safe. By following our step-by-step instructions and using the right materials and tools, you’ll have organized shelves in no time. Let’s get started on transforming your laundry room into a tidy and efficient space!
Assessing Your Storage Needs
You’ll need to determine how much storage space you require for your laundry room shelves. Start by evaluating the available space in your laundry room. Take measurements of the walls and floor to get an accurate idea of how much area you have to work with. Consider any obstructions such as plumbing or electrical outlets that may limit where you can place shelves.
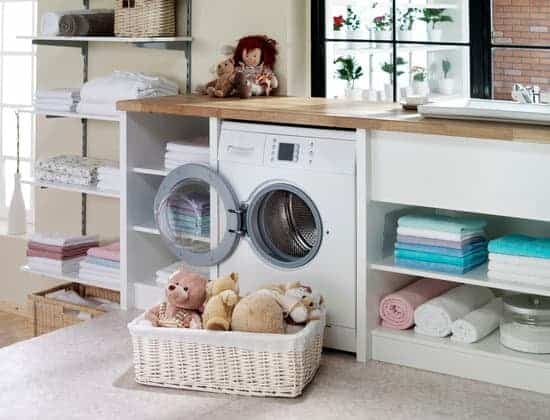
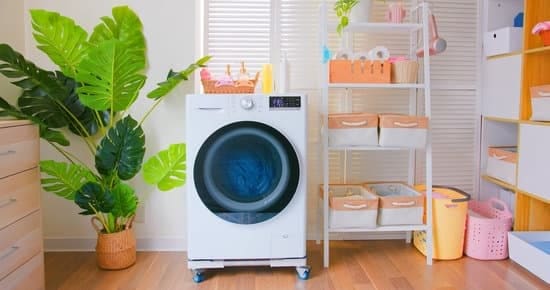
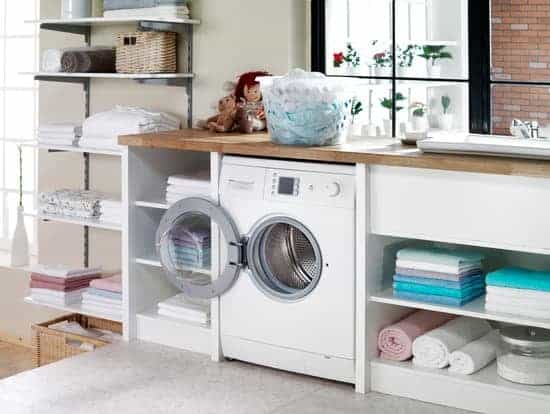
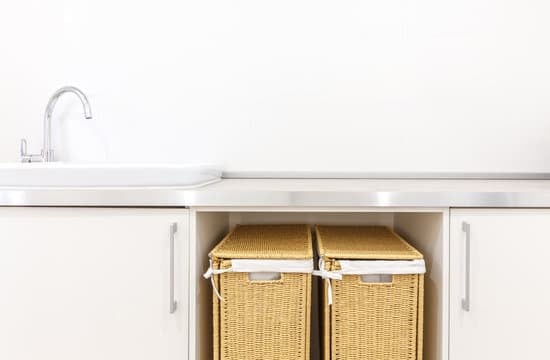
Once you have assessed the space, think about how you can maximize storage. Look for ways to utilize vertical space by installing shelves from floor to ceiling. Use bins or baskets to organize smaller items and keep them tidy. Consider adding hooks or pegboards on the walls for hanging tools or cleaning supplies.
Safety is important when designing your laundry room shelves. Make sure they are securely mounted to the wall studs and can support the weight of your items without sagging or collapsing. Avoid placing heavy items on higher shelves where they could fall and cause injury.
By carefully evaluating your space and maximizing storage options, you can create efficient and safe laundry room shelves that meet all of your needs.
Gathering the Necessary Materials and Tools
To start, gather all the required materials and tools. When it comes to choosing the right materials for your laundry room shelves, opt for sturdy and durable options such as plywood or melamine boards. These materials are known for their strength and ability to withstand heavy loads. Additionally, make sure to choose screws that are appropriate for your chosen material to ensure a secure hold. As for the essential tools required, you will need a tape measure to accurately measure the dimensions of your laundry room space. A circular saw or a jigsaw can be used to cut the boards to size. Don’t forget about safety goggles and gloves to protect yourself during the construction process. Having these necessary materials and tools on hand will make building your laundry room shelves much easier and safer.
Planning and Measuring for the Shelves
Before starting, it’s important to plan and measure the space for your shelves accurately. This will ensure that your shelves fit perfectly and maximize the available space in your laundry room. When measuring, use proper techniques to get precise measurements. Start by measuring the width, height, and depth of the area where you want to install the shelves. Take multiple measurements to double-check accuracy. Consider any obstacles or obstructions that might affect shelf placement, such as electrical outlets or vents. Additionally, think about how high you want your shelves to be and leave enough clearance for tall items like detergent bottles. By carefully planning and measuring before building your laundry room shelves, you can create a functional and safe storage solution that optimizes space utilization.
Building the Shelves Step by Step
Once you’ve planned and measured the space, begin by gathering the necessary materials for building your shelves step by step. Safety should be your top priority throughout the construction process. First, make sure to wear proper protective gear such as safety glasses and work gloves. Start by cutting the wood to the desired size using a saw, ensuring each piece is straight and even. Next, assemble the frame of the shelves using screws or nails, making sure everything is securely fastened. Attach support brackets underneath each shelf for added stability. Once the frame is complete, sand down any rough edges and apply a coat of paint or stain for a finished look. Finally, carefully mount the shelves onto the wall using sturdy anchors or brackets. Remember to double-check that they are level before placing any items on them. By following these step-by-step instructions and construction tips, you’ll have sturdy laundry room shelves in no time!
Adding Finishing Touches and Organization Tips
After completing the construction process, you can add finishing touches and implement organization tips to enhance the functionality of your shelves. When organizing supplies in your laundry room shelves, it’s important to prioritize safety. Make sure heavy items are placed on lower shelves to prevent them from falling and causing injuries. Utilize storage bins or baskets to categorize smaller items such as detergent pods, fabric softener sheets, and stain removers. Labeling these containers will make it easier for you to find what you need quickly. Maximize space by installing hooks or racks on the sides of the shelves to hang ironing boards, brooms, or mops. Additionally, consider adding a fold-out drying rack that can be easily tucked away when not in use. By following these organization tips, you’ll create a functional and safe laundry room space while maximizing every inch of your shelves.
Conclusion
Now that you have completed building your laundry room shelves, it’s time to step back and admire your handiwork. With these new shelves, you’ll have plenty of storage space for all your laundry essentials. Remember to keep things organized by categorizing items on each shelf and using bins or baskets for smaller items. By following the steps outlined in this article, you’ve created a functional and stylish addition to your laundry room that will make doing laundry a breeze. Enjoy your newly organized space!

