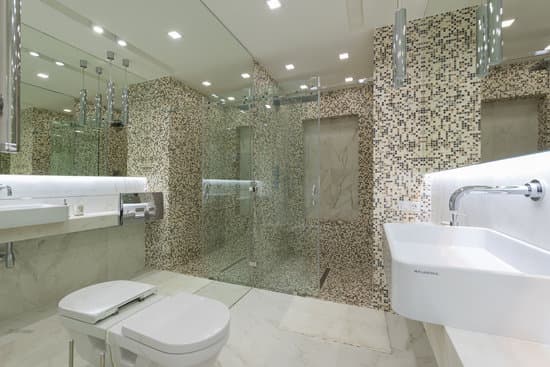
Are you tired of your old, outdated bathroom? It’s time to give it a fresh new look and create a space that you’ll love. In this article, we will show you how to decorate an old bathroom in a safe and stylish way. From assessing your bathroom’s needs to updating fixtures and adding finishing touches, we’ve got you covered. So roll up your sleeves and get ready to transform your old bathroom into a beautiful oasis.
Assessing Your Bathroom’s Needs
You should start by assessing what your bathroom needs in order to determine how to decorate it. Safety is a top priority, so make sure to consider that when planning. Think about adding bathroom storage options to keep things organized and reduce clutter. Install shelves or cabinets that can hold towels, toiletries, and other essentials. This will not only create a neat and tidy space but also prevent accidents caused by items left lying around. Another important aspect is lighting. Adequate lighting is essential for a safe bathroom environment. Consider installing bright overhead lights or wall sconces to ensure good visibility, especially in areas like the shower or near the mirror where you need clear visibility for grooming tasks. By addressing these needs first, you can lay the foundation for a beautifully decorated and safe bathroom space.
Creating a Design Plan
To start creating a design plan for your outdated bathroom, consider incorporating modern fixtures and neutral color schemes. Choosing the right color scheme is essential to give your old bathroom a fresh and updated look. Opt for neutral tones like whites, grays, or beige that can create a calming and timeless atmosphere. Selecting appropriate lighting is another crucial aspect of your design plan. Make sure to choose fixtures that provide ample light while also being energy-efficient and safe. Install task lighting around the vanity area for better visibility during grooming activities. Additionally, consider adding ambient lighting options such as dimmers or sconces to create a relaxing ambiance in the space. By carefully choosing your color scheme and selecting appropriate lighting, you can transform your old bathroom into a welcoming and stylish oasis.
Updating Fixtures and Hardware
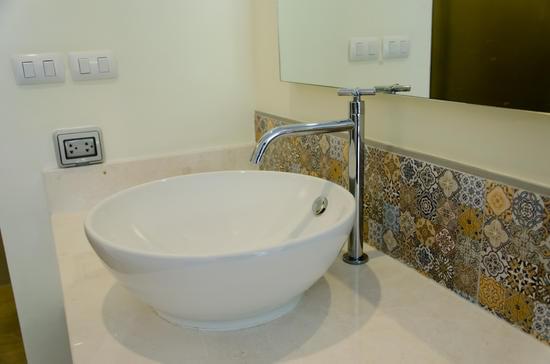
Updating fixtures and hardware can instantly give your outdated bathroom a modern and refreshed feel. By choosing appropriate lighting, you can create a brighter and safer space. Opt for LED lights that provide ample illumination while consuming less energy. This will not only save you money but also reduce the risk of overheating or electrical hazards. Additionally, selecting new faucets can enhance both the functionality and aesthetics of your bathroom. Look for water-saving options that have adjustable settings to control water flow and temperature easily. Consider installing motion sensor faucets to promote hygiene and prevent the spread of germs. Upgrading fixtures and hardware is an effective way to transform your old bathroom into a stylish sanctuary while prioritizing safety at the same time.
Refreshing Walls and Flooring
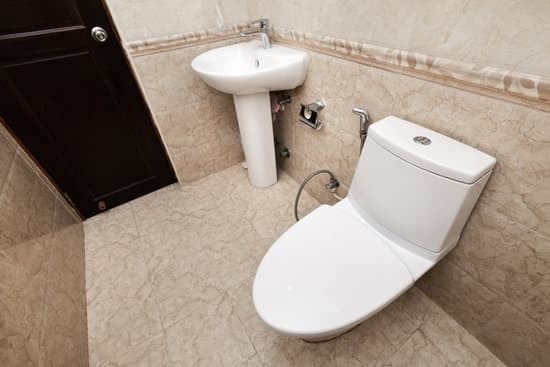
By refreshing the walls and flooring, you can give your outdated bathroom a fresh and modern look. Start by updating the paint on the walls with a color that complements your desired aesthetic. Choose a high-quality paint that is specifically designed for bathrooms to ensure durability and resistance to moisture. When it comes to flooring, consider installing new tiles. Not only will this instantly update the look of your bathroom, but it will also provide better protection against water damage. Look for non-slip tiles that are easy to clean and maintain. Additionally, make sure the installation process is done correctly to prevent any safety hazards such as loose or uneven tiles. With these simple changes, you can transform your old bathroom into a safe and stylish space.
Adding Finishing Touches and Accessories
Now, let’s put the final touches on your renovated bathroom by adding accessories that enhance its overall look and functionality. Here are three key items to consider when adding finishing touches and accessories:
- Choosing the right storage solutions: Opt for storage options that are not only stylish but also practical. Install shelves or cabinets that can hold towels, toiletries, and other essentials while keeping them easily accessible.
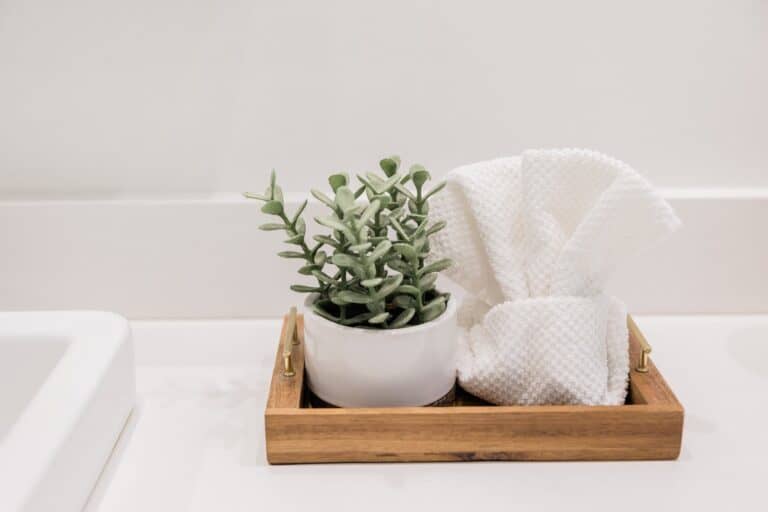
- Incorporating plants and greenery: Adding a touch of nature can bring life to your bathroom. Choose low-maintenance plants like bamboo or succulents that thrive in humid environments. Not only do they add aesthetic appeal, but they also improve air quality.
- Ensuring safety: When selecting accessories, prioritize safety features. Install non-slip mats near the shower or bathtub to prevent accidents. Consider placing grab bars near the toilet and bathing areas for added support and stability.
By considering these tips, you can transform your old bathroom into a functional and visually appealing space while prioritizing safety at the same time.
Conclusion
So there you have it – a complete guide on how to decorate your old bathroom! By assessing its needs, creating a design plan, updating fixtures and hardware, refreshing walls and flooring, and adding finishing touches and accessories, you can transform your outdated space into a stylish oasis. Don’t be afraid to get creative and think outside the box when it comes to decorating your bathroom. With a little time and effort, you can turn an old bathroom into a beautiful retreat that you’ll love spending time in. So go ahead, start planning and get ready to enjoy your newly decorated bathroom!

