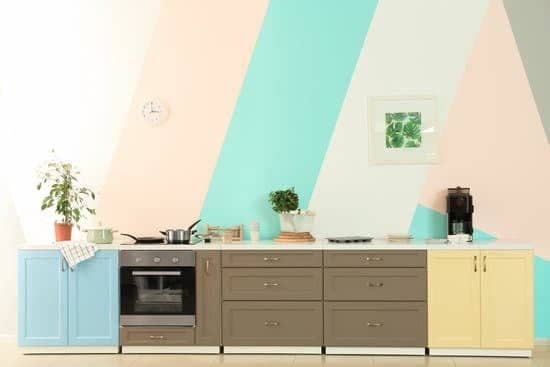
Are you tired of your outdated kitchen cabinets? It’s time to take matters into your own hands and build new cabinet boxes from scratch. In this step-by-step guide, we will show you how to transform your kitchen with custom-made cabinets. By following these instructions, you can save money and create a safer space for cooking and storage. Get ready to gather your tools, measure and cut the wood, assemble the boxes, install them in your kitchen, and add those finishing touches!
Gathering the Necessary Tools and Materials
You’ll need to gather all the necessary tools and materials for building kitchen cabinet boxes. Safety should be your top priority, so make sure you have protective eyewear, gloves, and a dust mask. When choosing the right type of wood for cabinet boxes, opt for sturdy options like birch or oak that can withstand the weight of dishes and utensils. Additionally, consider using plywood for added strength and durability. To ensure efficient and accurate measuring and cutting, invest in a tape measure with clear markings and a sharp pencil for marking your measurements. Double-check your measurements before cutting to avoid wasting materials. A miter saw or circular saw will come in handy for making precise cuts. Remember to always follow proper safety procedures when using power tools.
Measuring and Cutting the Wood
To begin, measure and cut the wood according to your desired dimensions. Accuracy is key when measuring, so make sure to use a reliable tape measure and double-check your measurements before cutting. Safety should always be a priority, so wear protective goggles and gloves while working with power tools. When choosing the right saw for the job, consider the type of wood you are using and the cuts you need to make. A circular saw is great for straight cuts, while a jigsaw can handle curved or detailed cuts. Lastly, remember to take your time and go slow when cutting the wood to ensure precision and prevent accidents.
Assembling the Cabinet Boxes
Once the wood is cut to the desired dimensions, it’s time to start putting together the cabinet boxes. Safety should always be a top priority when assembling your kitchen cabinets. To ensure a strong and durable construction, it is crucial to use proper joinery techniques. This involves using methods such as butt joints or dado joints, which provide stability and support for the cabinet structure. Additionally, choosing the right hardware is essential for securing the cabinet box together. High-quality screws or nails specifically designed for woodworking are recommended. It’s important to select hardware that will withstand daily use and provide long-lasting durability. By employing these joinery techniques and selecting reliable hardware, you can assemble sturdy kitchen cabinet boxes that will stand the test of time while keeping safety in mind throughout the process.
Installing the Cabinet Boxes
When installing the cabinet boxes, it’s important to carefully measure and align them for a professional and polished look. Properly aligning and leveling the cabinet boxes during installation is crucial to ensure that they are straight and secure. Start by using a level to make sure the cabinets are straight horizontally and vertically. Adjust them as needed until they are perfectly aligned. Next, choose the right hardware for securing the cabinet boxes to the wall. This will depend on the type of wall you have, but options may include screws, brackets, or anchors. Make sure to follow the manufacturer’s instructions for proper installation of the chosen hardware. By taking these steps, you can ensure that your cabinet boxes are securely installed and provide a safe and aesthetically pleasing addition to your kitchen.
Adding Finishing Touches
Now, you can add the finishing touches to complete the installation of your cabinets. Here are four important steps to consider:
- Choosing the right hardware: Select hardware that not only complements the style of your kitchen but also ensures functionality and durability. Look for handles, knobs, and hinges that are sturdy and easy to grip.
- Selecting the perfect paint or stain color: This is where you can let your creativity shine! Consider the overall theme of your kitchen and choose a paint or stain color that enhances it. Make sure to use products specifically designed for cabinets to ensure a long-lasting finish.
- Applying protective coatings: After painting or staining, it’s crucial to apply a protective coating like polyurethane or lacquer. These coatings safeguard against scratches, moisture damage, and general wear and tear.
- Installing soft-close mechanisms: For added safety, consider installing soft-close mechanisms on your cabinet doors and drawers. These prevent slamming and reduce the risk of pinching fingers.
By following these steps, you’ll give your kitchen cabinets a professional-looking finish while ensuring they’re safe for daily use.
Conclusion
So there you have it, building kitchen cabinet boxes is a project that can be done with the right tools and materials. By measuring and cutting the wood accurately, assembling the cabinet boxes properly, and installing them securely, you can create functional and stylish cabinets for your kitchen. Don’t forget to add those finishing touches like paint or stain to complete the look. With a little bit of time and effort, you’ll have beautiful cabinets that will enhance your kitchen space.

