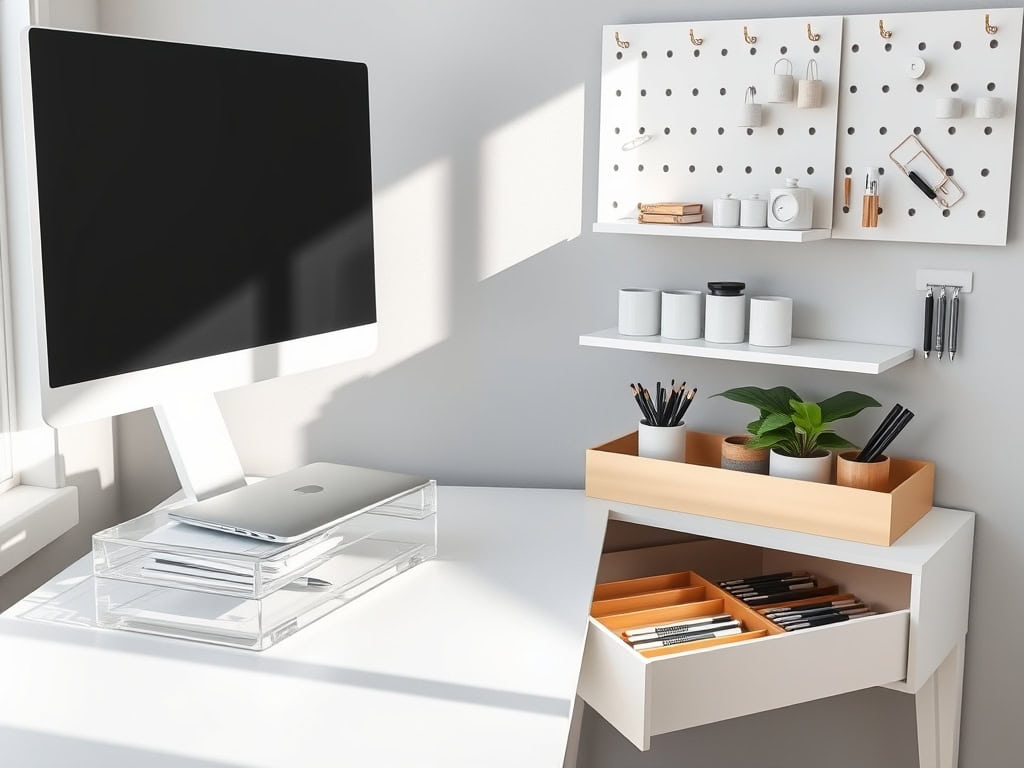
You’re about to discover clever desk storage solutions that’ll transform your chaotic home office into an organized sanctuary. As someone who spent years battling the endless maze of papers, cables, and office supplies on my desk, I’ve learned that smart storage isn’t just about hiding clutter—it’s about creating a system that works for you. Let me share these game-changing ideas that’ll help you reclaim your workspace and boost your productivity.
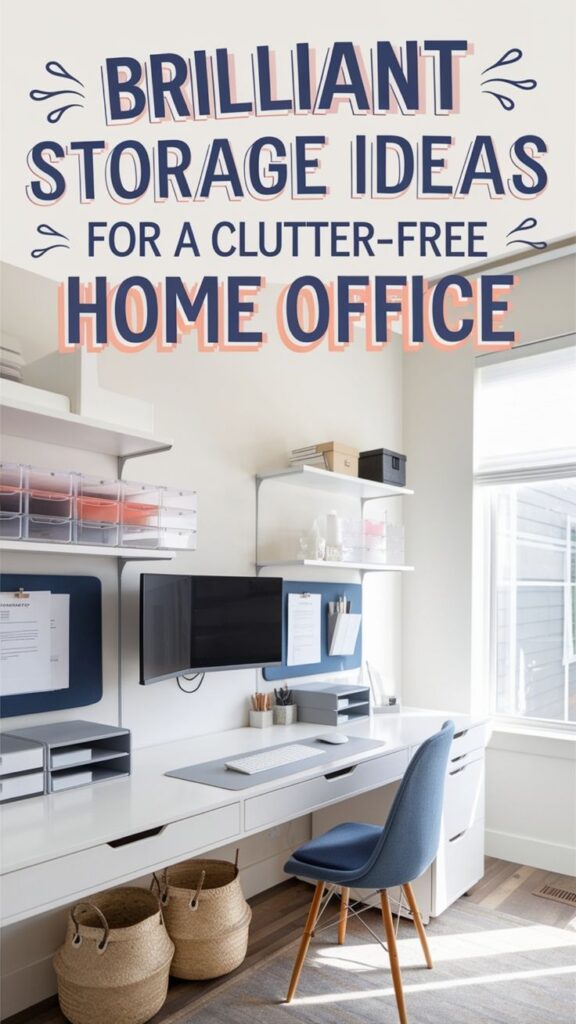
Vertical File Organizers: Maximize Limited Desk Space
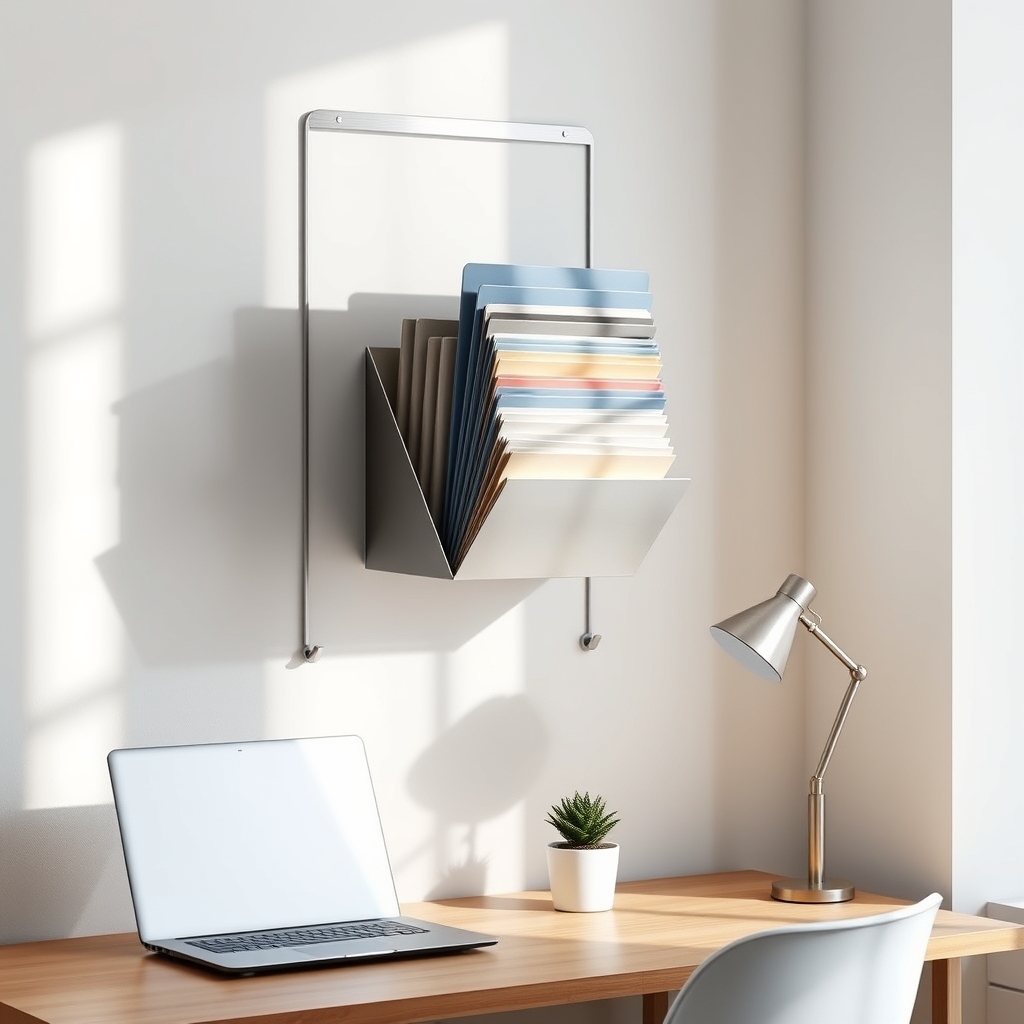
Vertical file organizers represent a game-changing solution for home office workers dealing with limited desk space. These space-efficient tools transform unused vertical space into productive storage areas, keeping important documents accessible while maintaining a clutter-free workspace.
By implementing vertical storage systems, you can triple your available desk space while creating a systematic approach to document management. This organization method not only improves productivity but also reduces stress by eliminating the visual chaos of scattered papers and files across your desk surface.
Required Items:
- Vertical file organizer (wall-mounted or desktop)
- File folders or hanging folders
- Label maker or labels
- Mounting hardware (if wall-mounting)
- Measuring tape
- Level
- Document sorting trays
- Paper clips or binder clips
Position your vertical file organizer in an easily accessible location, either mounted on the wall or placed at the back of your desk. Sort documents into clear categories such as “Action Items,” “To File,” “Reference,” and “Archive.”
Create a color-coding system for different project types or priorities, using corresponding folders or labels. Arrange the most frequently accessed files at eye level or within immediate reach, while storing less-used documents in lower or higher sections.
Additional Tips:
Maintain your vertical filing system by dedicating 5 minutes daily to sorting incoming papers. Review and purge files monthly to prevent overcrowding.
Consider using clear folders for frequently referenced documents, making them instantly identifiable. Install small hooks or clips on the sides of wall-mounted organizers for temporary notes or frequently used items, maximizing every inch of vertical space.
Under-Desk Drawer Systems That Transform Your Workspace
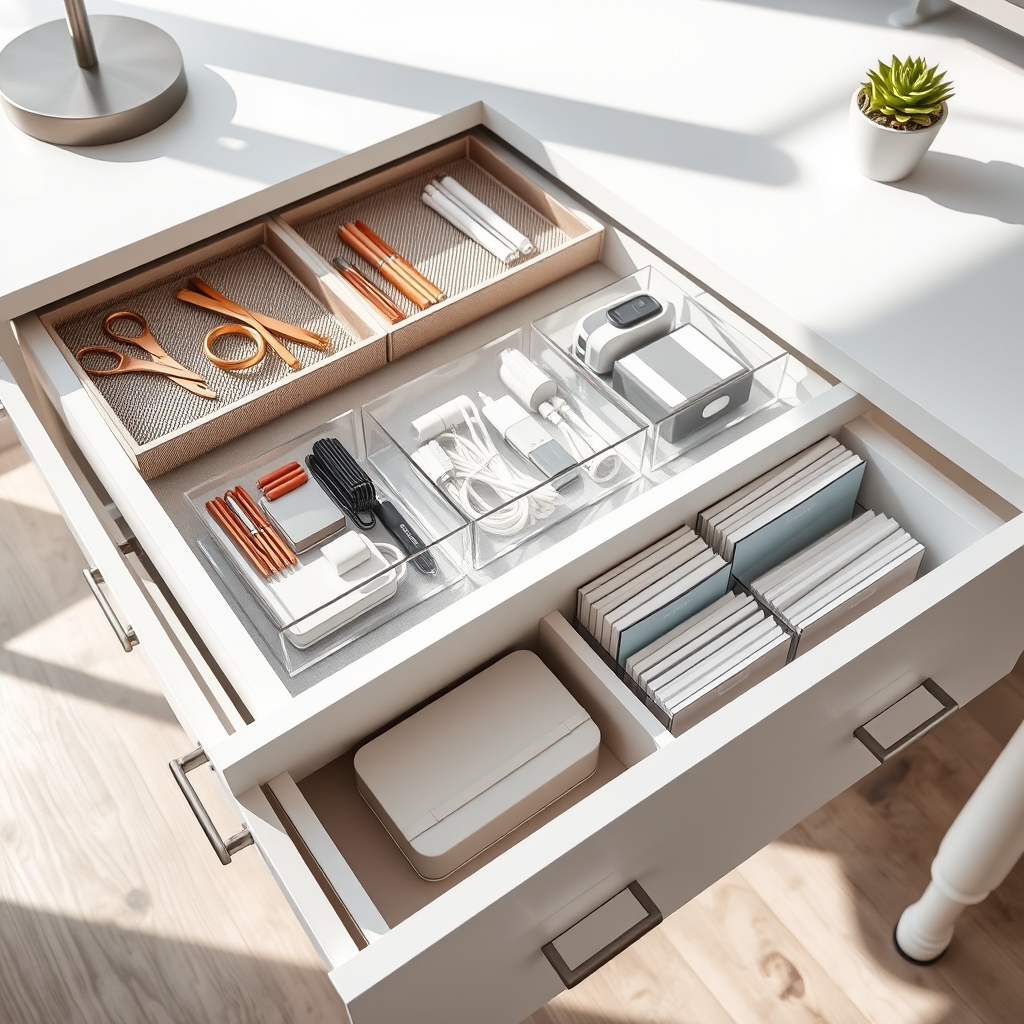
Maximizing the space beneath your desk is a crucial yet often overlooked aspect of home office organization. An efficiently organized under-desk drawer system can dramatically increase your workspace’s functionality while keeping essential items within arm’s reach, reducing the time spent searching for supplies and maintaining a clutter-free desktop.
Under-desk storage solutions serve as a foundation for maintaining a productive work environment, especially in compact home offices where space is at a premium. By implementing a well-planned drawer system, you can create designated zones for different categories of items, ensuring that everything from technology accessories to daily office supplies has a proper home.
Required Items:
- Under-desk drawer unit
- Drawer dividers
- Label maker
- Measuring tape
- Cable management clips
- Drawer liner material
- Small containers or organizer boxes
- Clear storage bags
- Anti-slip drawer mats
- Cable ties
Begin by measuring the available space under your desk, accounting for leg room and chair movement. Install the drawer unit, ensuring it’s securely mounted and doesn’t interfere with your sitting position.
Before placing items in the drawers, create a categorization system that aligns with your work habits – frequently used items should go in top drawers, while less-accessed materials can be stored in lower compartments.
Line each drawer with non-slip material and install dividers to create distinct sections. Organize items by category: technology accessories in one section, writing implements in another, and paper supplies in a separate area. Use small containers within drawers to prevent items from shifting and maintain organization.
Label each section clearly to establish a system that’s easy to maintain. For optimal results, conduct a monthly review of your drawer contents, removing unnecessary items and adjusting the organization system as your needs change.
Consider using clear containers to easily identify contents, and maintain a small amount of empty space in each drawer to accommodate future additions without disrupting the existing organization.
Cable Management Solutions for a Clutter-Free Setup
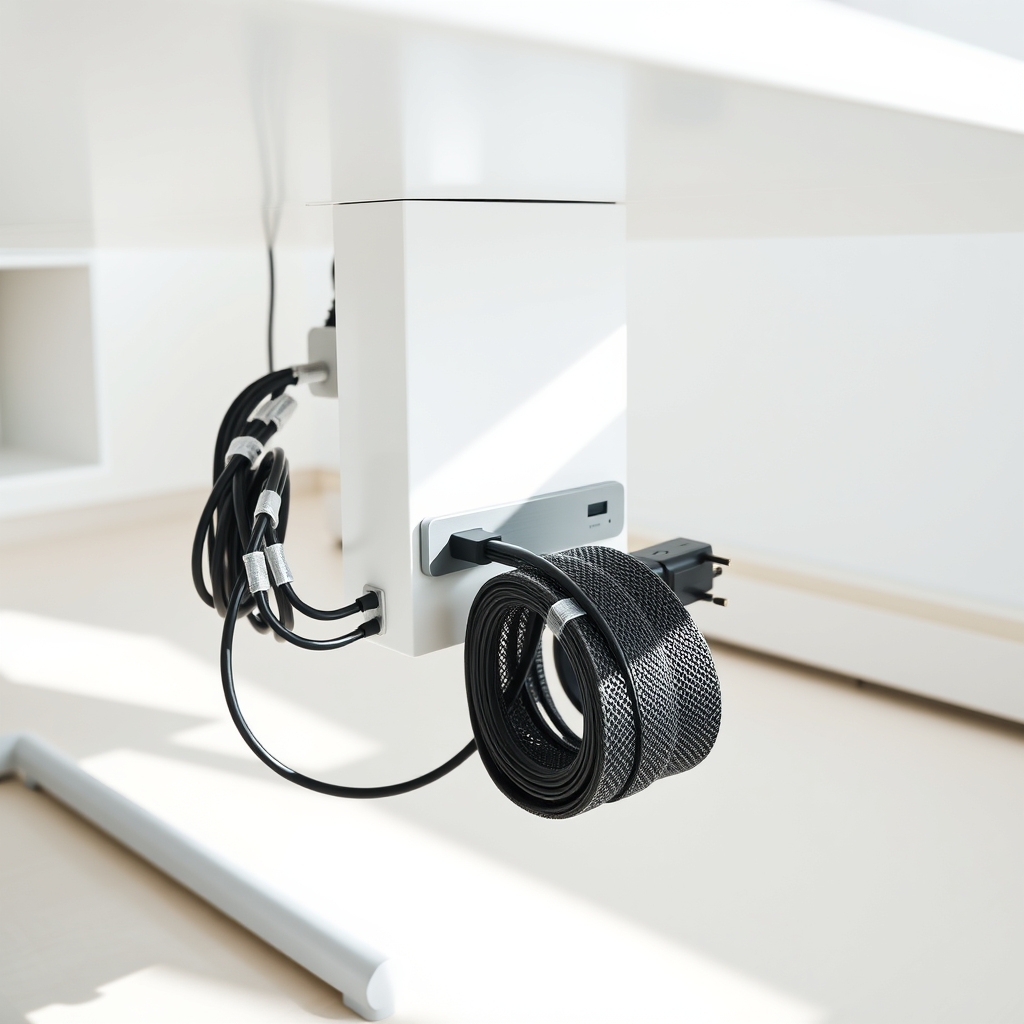
A tangled mess of cables under a desk creates both visual and functional chaos in any home office setup. These cable clusters not only collect dust and make cleaning difficult but also create unnecessary stress when trying to identify specific cords or troubleshoot connection issues.
Proper cable management is essential for maintaining a professional, organized workspace that promotes productivity and peace of mind.
Implementing an effective cable management system transforms your workspace into a streamlined environment where every cable has its place and purpose. This organization not only improves the aesthetic appeal of your office but also ensures better airflow around electronic devices, reduces fire hazards, and makes it easier to swap out or upgrade equipment when needed.
Required Items:
- Cable ties or velcro straps
- Cable management tray or rack
- Cable clips or adhesive cable holders
- Label maker or cable identification tags
- Cord covers or wire looms
- Power strip or surge protector
- Cable sleeve or wire wrap
- Desk grommets
- Wire cutting tools
Start by unplugging all devices and laying out cables to identify their purpose and optimal routing paths. Group cables by function (power, data, peripherals) and determine the shortest possible route from source to destination.
Install a cable management tray under your desk to house excess cable length and power strips. Use adhesive cable clips along the desk’s edge or legs to guide cables in neat vertical lines.
Once the main cable routes are established, bundle related cables together using velcro straps or cable sleeves, leaving enough slack for necessary movement but eliminating excess length. Install desk grommets where cables need to pass through the desktop surface, creating clean entry and exit points.
Position your power strip in the cable management tray, ensuring it’s easily accessible but hidden from view.
Label each cable at both ends to eliminate future confusion during maintenance or reorganization. Consider color-coding different cable types for quick identification.
For optimal organization, maintain a minimum 6-inch separation between power cables and data cables to prevent signal interference, and always leave some slack in the cables to prevent strain on connectors and allow for future adjustments.
Desktop Organizers With Multiple Compartments
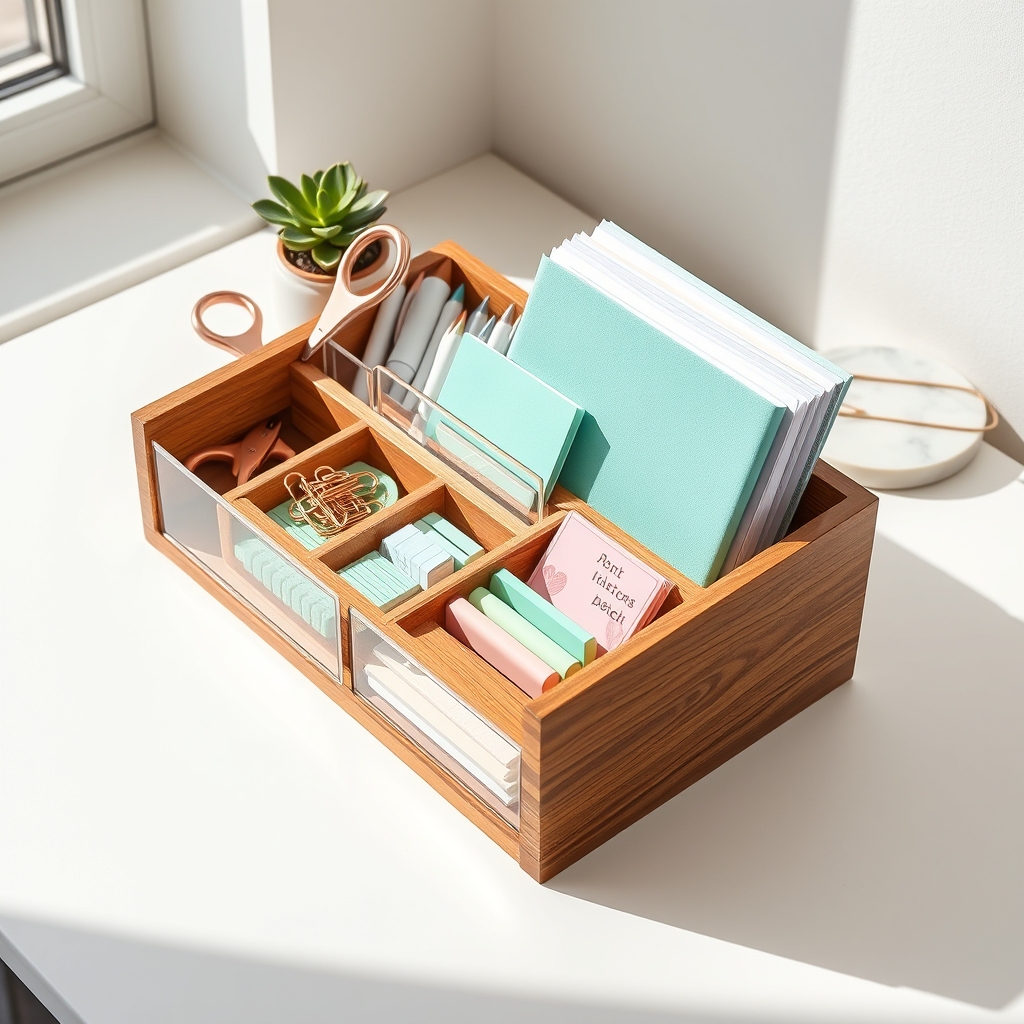
A well-organized desktop is fundamental to maintaining productivity and mental clarity in your home office. When papers, writing implements, and office supplies are scattered across your workspace, it becomes difficult to focus and wastes valuable time searching for essential items.
Desktop organizers with multiple compartments serve as the cornerstone of an efficient workspace, creating designated spaces for different categories of items while keeping them within arm’s reach. These organizational tools not only streamline your workflow but also contribute to a more professional and aesthetically pleasing work environment.
Required Items:
- Multi-compartment desktop organizer
- Label maker or adhesive labels
- Small containers or dividers
- Drawer liner or non-slip mat
- Basic office supplies to organize
- Measuring tape
- Cleaning supplies
Start by clearing your desktop completely and cleaning the surface. Measure your available space and position your multi-compartment organizer in an accessible location that doesn’t interfere with your primary work area.
Sort your office supplies into categories: writing tools, paper clips and small hardware, sticky notes and flags, and frequently used items like scissors and tape. Assign specific compartments to each category, placing the most frequently used items in easily accessible sections.
Consider the natural flow of your work and arrange items accordingly. For deeper compartments, use small containers or dividers to create sub-sections, preventing items from becoming jumbled together. Label each section clearly to maintain the system.
Additional Tips:
Review and adjust your organizational system every few weeks during the first months of implementation. Remove items that haven’t been used, and reorganize compartments based on your actual usage patterns.
Consider adding a second tier or stackable organizer if needed, and maintain the system by returning items to their designated spots immediately after use. Clean the organizer regularly to prevent dust accumulation and keep your workspace looking professional.
Floating Shelves and Wall-Mounted Storage Options
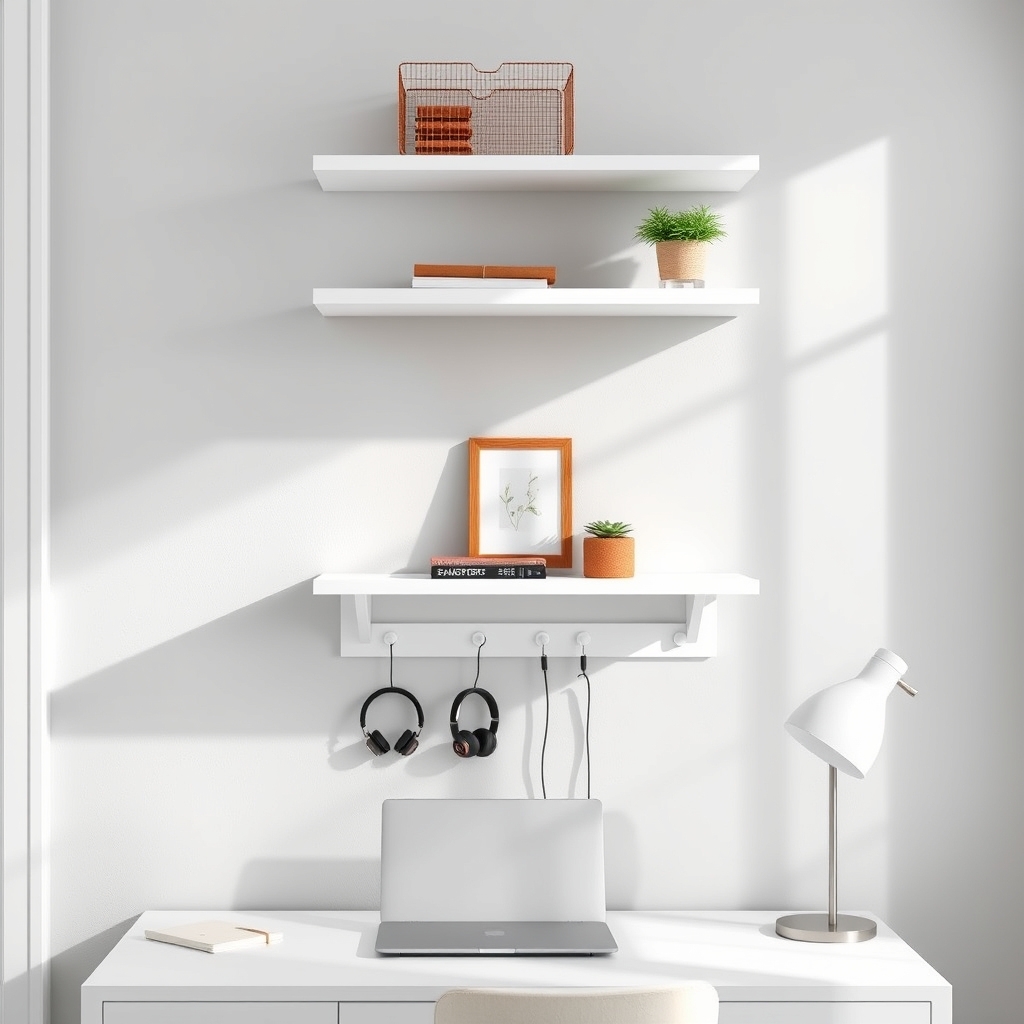
Maximizing vertical space in a home office through floating shelves and wall-mounted storage solutions is crucial for maintaining an organized and efficient workspace. When desk surface area is limited, moving storage upward creates additional space while keeping essential items within arm’s reach.
Wall-mounted storage options not only provide practical organization but also contribute to a cleaner aesthetic by eliminating bulky furniture pieces. These solutions can transform dead wall space into functional storage areas, allowing for customization based on specific needs while maintaining a professional appearance.
Required Items:
- Floating shelves
- Wall brackets
- Stud finder
- Level
- Drill and drill bits
- Screwdriver
- Wall anchors
- Measuring tape
- Pencil
- Wire baskets or organizers
- Cable management solutions
- Command hooks or small hooks
Start by using a stud finder to locate wall studs and mark potential mounting locations. Measure and mark shelf placements, ensuring they’re level and appropriately spaced for your needs. Install wall brackets securely into studs or use appropriate wall anchors for drywall.
Mount shelves at varying heights to accommodate different items, keeping frequently used supplies at eye level and arm’s reach. Consider creating zones on your floating shelves: dedicate upper shelves to long-term storage or reference materials, middle shelves for current projects and frequently accessed items, and lower shelves for daily essentials.
Incorporate wire baskets or organizational containers to maximize shelf space and keep smaller items contained. Install small hooks beneath shelves for hanging lightweight items like headphones or cables.
Additional Tips: Paint shelves to match your wall color for a seamless look, or choose contrasting colors for visual interest. Use bookends to keep materials upright and organized. Consider installing LED strip lighting under shelves for improved visibility and ambiance.
Regularly assess shelf contents to prevent clutter accumulation and maintain organization.
Hidden Desk Compartments and Secret Storage Areas
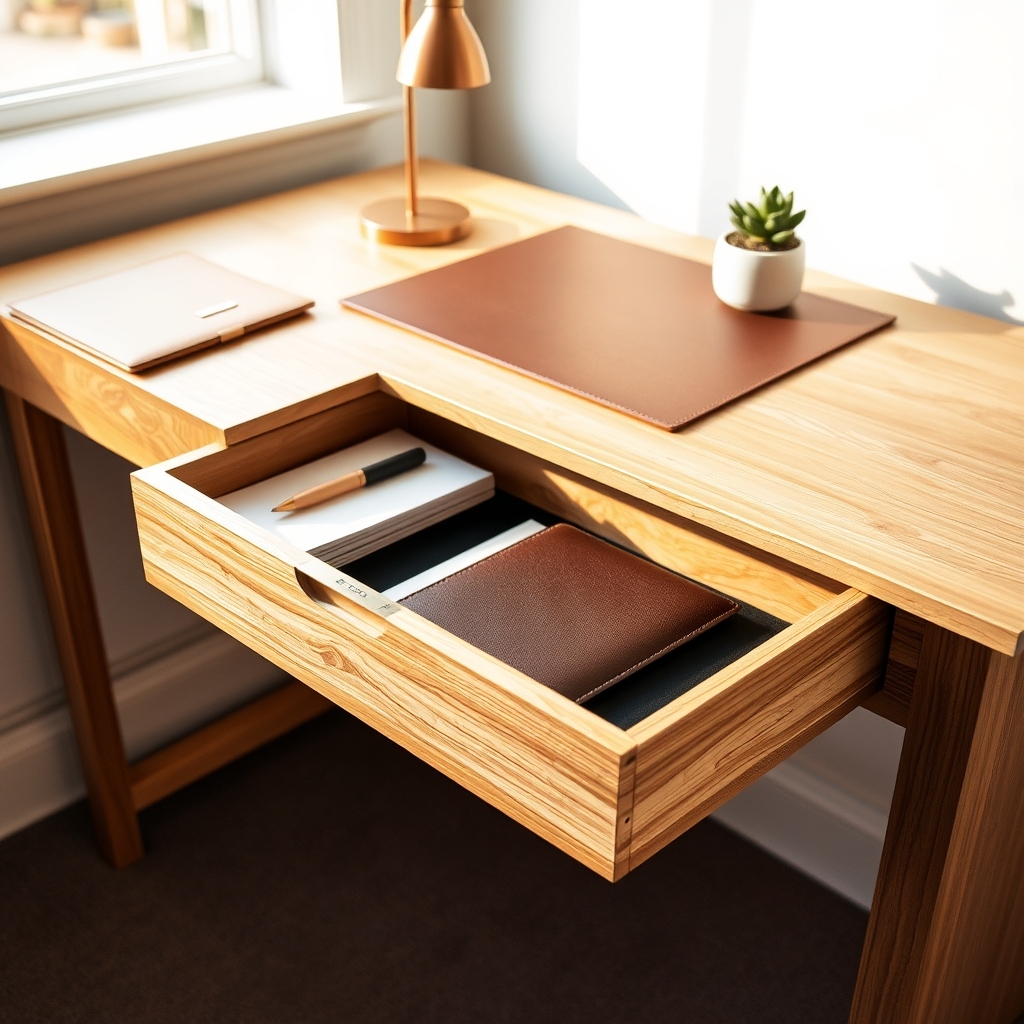
A well-organized desk with concealed storage solutions not only creates a clutter-free workspace but also adds an element of security for sensitive documents and valuable items.
Hidden compartments maximize available space while maintaining a clean, professional appearance that can help boost productivity and reduce visual distractions.
Secret storage areas in your desk serve multiple purposes, from protecting confidential materials to storing everyday items you want quick access to without compromising your desk’s aesthetic appeal.
These clever storage solutions can transform an ordinary workspace into a highly functional command center while maintaining a minimalist appearance.
Required Items:
- Drawer organizers
- False-bottom containers
- Adhesive hooks
- Magnetic strips
- Cable management clips
- Desk pad with hidden compartment
- Under-desk mounting brackets
- Small lockable boxes
- Velcro strips
- Basic tools (screwdriver, drill, measuring tape)
Start by identifying potential hidden storage areas in your existing desk setup.
Install false bottoms in desk drawers using thin plywood cut to size, creating a discrete space underneath for valuable items.
Mount magnetic strips under the desk’s edge to hold small metal objects.
Utilize the space between the desk and wall by installing narrow shelving units that remain hidden from view but are easily accessible from your seated position.
For electronics and cables, create a hidden charging station by cutting a small opening in the desk surface and installing a grommet.
Use adhesive cable management clips to route wires underneath the desk, keeping them organized and out of sight.
Install under-desk mounting brackets to attach small lockable boxes or document holders that remain concealed but within arm’s reach.
Additional Tips:
Regularly assess and rotate items stored in hidden compartments to ensure frequently used items remain accessible.
Label hidden storage areas discretely to avoid forgetting what’s stored where.
Consider using RFID-blocking materials in compartments storing electronic devices or sensitive documents.
Implement a regular cleaning schedule for hidden areas to prevent dust accumulation and maintain organization.
Magnetic Board and Wall Grid Systems
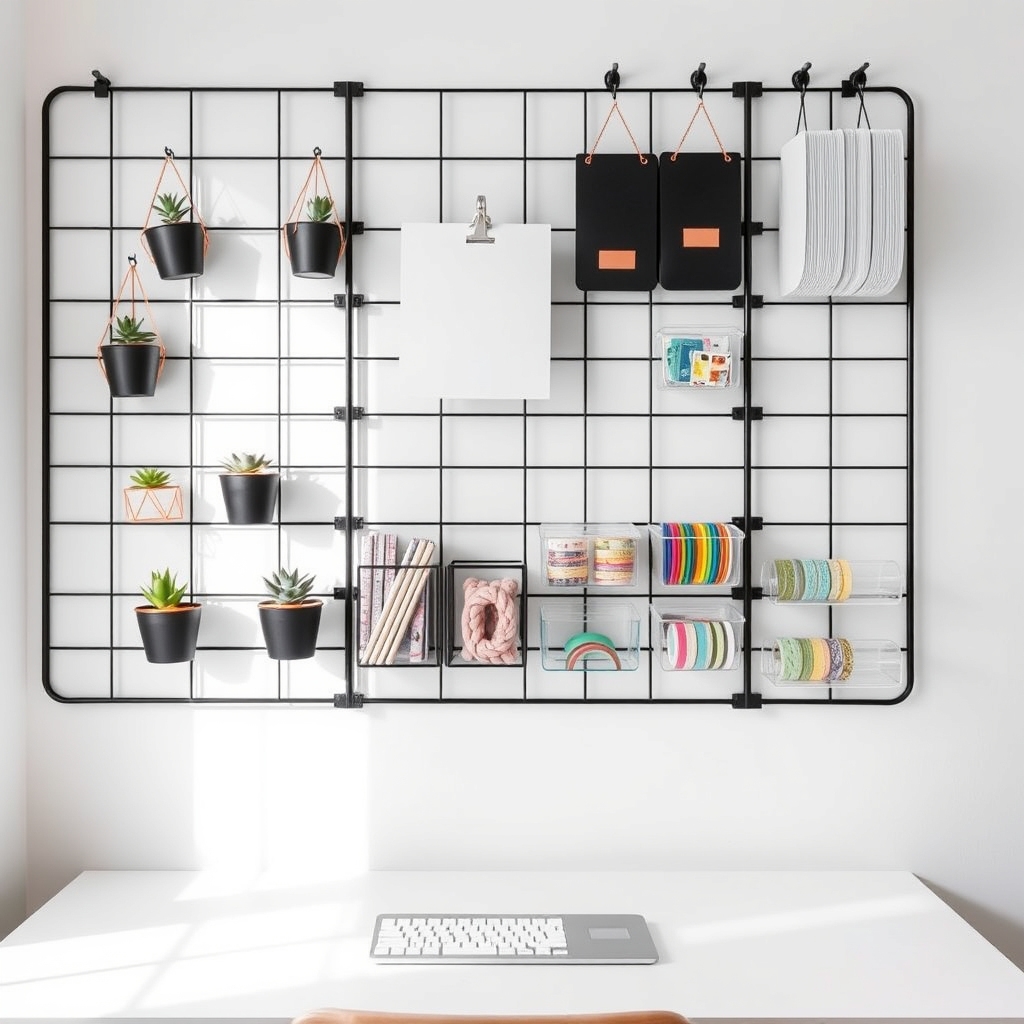
A well-organized magnetic board and wall grid system transforms a home office from chaotic to streamlined by creating vertical storage solutions that keep essential items visible yet off the desk surface.
These versatile systems serve as both functional organizers and dynamic visual displays, allowing for quick access to important documents, notes, and frequently used supplies.
The combination of magnetic boards and wall grid systems provides adaptable storage that can evolve with changing needs. By utilizing wall space effectively, these systems free up valuable desk real estate while keeping important items within arm’s reach, ultimately improving workflow and reducing time spent searching for materials.
Required Items:
- Magnetic board or metal grid system
- Wall mounting hardware
- Grid hooks and clips
- Magnetic containers
- Document holders
- Small bins or baskets
- Cable ties or organizers
- Labels
- Level
- Screwdriver
- Wall anchors
- Measuring tape
Start by selecting an accessible wall space near your desk and mount the magnetic board or grid system at eye level, ensuring it’s properly secured with appropriate anchors.
For magnetic boards, create designated zones for different categories such as “urgent tasks,” “reference materials,” and “inspiration.”
When installing a grid system, attach various hooks, bins, and document holders at strategic heights and positions that align with your natural reach and workflow patterns.
Organize items by frequency of use, placing the most-needed supplies at eye level and less-used items toward the periphery.
Use magnetic containers for small items like paper clips and push pins, while utilizing hanging folders or document holders for papers and files.
Implement a color-coding system with labels to maintain organization and make items easily identifiable at a glance.
To maximize the effectiveness of your wall storage system, regularly review and adjust the layout based on changing needs.
Consider implementing a rotation system for frequently referenced materials, and maintain clear zones to prevent overcrowding.
Schedule weekly quick cleanups to ensure the system remains organized and continues to serve its purpose efficiently.
Drawer Dividers and Custom Storage Inserts
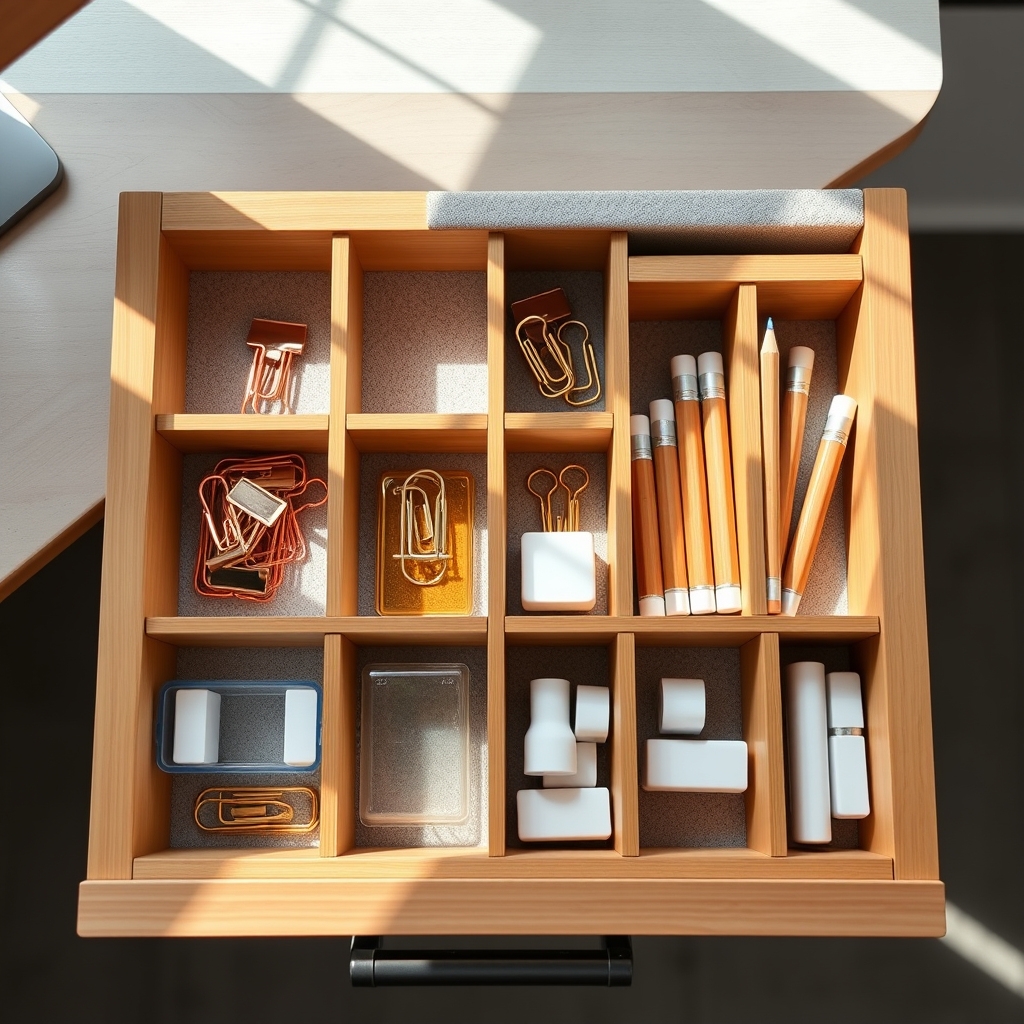
An organized desk drawer system serves as the foundation for a productive home office environment. When everything has its designated space, you spend less time searching for supplies and more time focusing on important tasks. Well-planned drawer organization can transform cluttered, chaotic spaces into efficient storage solutions that streamline your workflow.
Custom drawer dividers and storage inserts create a tailored organization system that maximizes every inch of drawer space while keeping items easily accessible. This personalized approach ensures that your specific work tools and supplies are arranged in a way that matches your daily needs and habits, ultimately boosting productivity and reducing desk surface clutter.
Required Items:
- Drawer dividers (adjustable or fixed)
- Drawer liner material
- Measuring tape
- Scissors
- Small containers or bins
- Label maker
- Drawer organizer trays
- Double-sided tape
- Clear adhesive hooks
- Custom-fit drawer inserts
Start by emptying the drawer completely and measuring its dimensions, including depth. Group similar items together and assess which supplies need to be stored in the drawer. Select appropriate dividers or custom inserts that fit your drawer measurements, ensuring they accommodate your grouped items efficiently.
Install a non-slip drawer liner as your base layer to prevent items from sliding around. Position larger dividers first to create main sections, then add smaller compartments for detailed organization. Use adjustable dividers for flexibility or install custom-fit inserts for a more permanent solution. Place frequently used items toward the front of the drawer and less-used items toward the back.
Implement a system of small containers or trays within the divided spaces to further organize tiny items like paper clips, thumbtacks, or rubber bands. For maximum organizational success, review and adjust your drawer system every few months to ensure it continues to meet your needs.
Consider using clear containers to easily identify contents, and always label sections clearly. Keep a small amount of empty space in each compartment to accommodate new items and maintain the system’s flexibility. Regular maintenance of your drawer organization will prevent the return of clutter and preserve the efficiency of your home office storage solution.
Monitor Stands With Built-In Storage Features
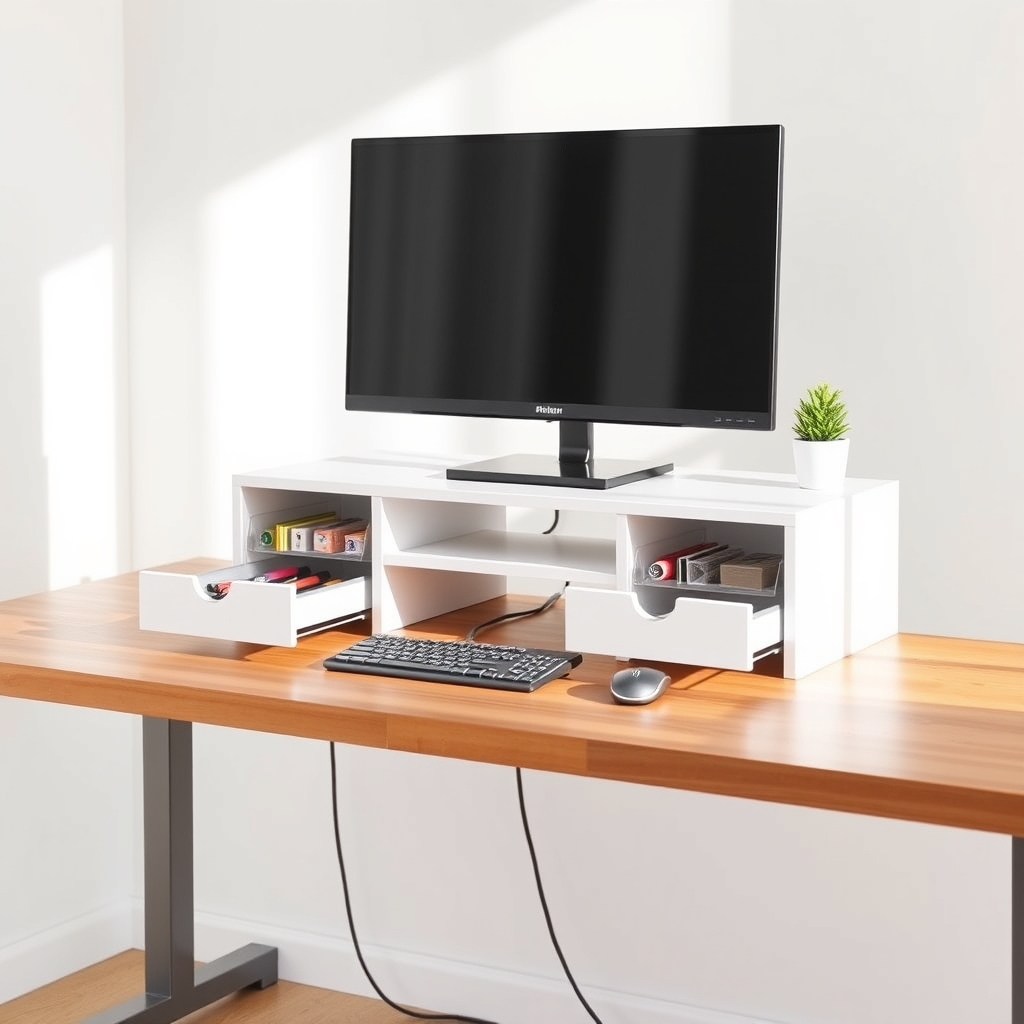
A well-organized monitor stand with storage features serves as the cornerstone of an efficient home office setup. By elevating your screen to an ergonomic height while providing additional storage space, these stands help maintain a clutter-free workspace while keeping essential items within arm’s reach.
Monitor stands with built-in storage compartments offer a dual-purpose solution that maximizes desk real estate. These organizational tools not only improve posture and reduce neck strain but also create designated spaces for office supplies, reducing the time spent searching for frequently used items.
Required Items:
- Monitor stand with storage compartments
- Desk supplies organizer inserts
- Cable management clips
- Anti-slip drawer liners
- Small containers or dividers
- Label maker
- Cleaning cloth
- Measuring tape
Begin by measuring your monitor’s base and weight to ensure compatibility with your chosen stand. Place the stand in a position that allows for optimal viewing angle and arm reach. Install cable management clips along the back of the stand to keep wires neat and accessible.
Sort desk supplies into categories based on frequency of use and size. Utilize the storage compartments by placing frequently accessed items in easily reachable drawers or slots. For deeper drawers, implement small containers or dividers to prevent items from sliding around.
Additional organization can be achieved by using anti-slip liner in drawers to keep items in place, and labeling compartments for quick identification. Consider designating specific areas for different types of supplies – for example, keep writing tools in the front compartment and technology accessories in side slots.
For optimal organization maintenance, establish a weekly routine to review and reorganize the contents of your monitor stand storage. Remove items that are no longer needed, wipe down surfaces regularly, and adjust the organization system as your needs change.
Consider implementing a one-in-one-out rule to prevent accumulation of unnecessary items in the storage compartments.
Mobile Storage Carts and Rolling File Cabinets
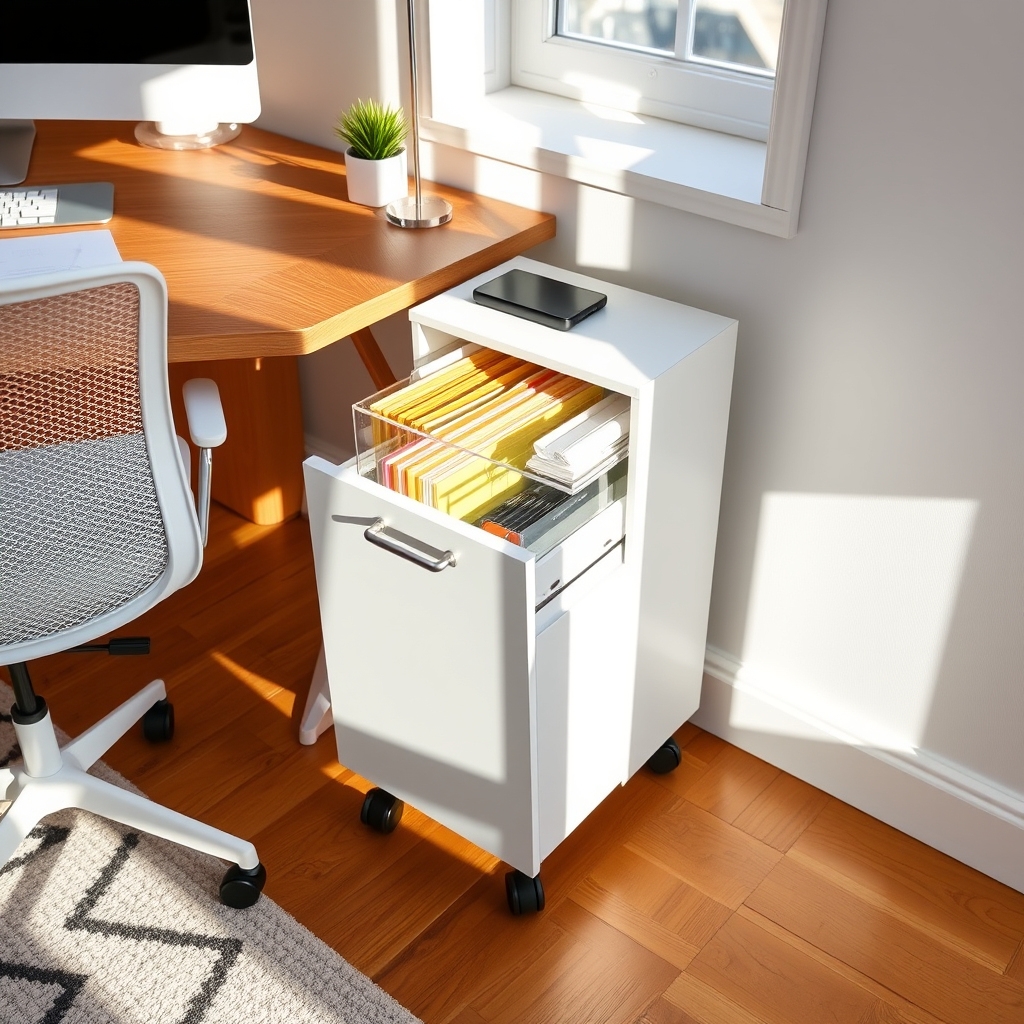
Mobile storage solutions have become essential components of modern home office organization, offering flexibility and efficiency in increasingly dynamic work environments. These versatile pieces allow you to adapt your workspace as needed while keeping essential items within arm’s reach.
Rolling storage units serve as extensions of your desk space, providing the perfect balance between accessibility and clutter control. Whether you need to move your supplies between different work areas or simply want to tuck everything away at the end of the day, mobile storage carts and rolling file cabinets offer practical solutions for maintaining an organized and productive workspace.
Required Items:
- Rolling file cabinet or mobile storage cart
- File folders
- Label maker or labels
- Drawer organizers
- Storage bins or containers
- Hanging file frames
- File folder tabs
- Drawer liners (optional)
- Cable ties or organizers
- Cleaning supplies
Start by categorizing your items based on frequency of use and type of material. Designate specific drawers or levels in your mobile storage unit for different categories: frequently used items on top, reference materials in the middle, and archived items at the bottom.
Install hanging file frames in appropriate drawers and arrange folders alphabetically or by project priority. For smaller items, implement drawer organizers to create designated spaces for supplies like staplers, paper clips, and writing tools.
Maximize vertical space by utilizing the top surface of your rolling cabinet as an additional workspace or printer stand. Install cable management solutions to keep any electronic connections tidy when moving the unit.
Consider using clear containers or labeled bins for supplies that don’t fit in standard file folders, ensuring everything has a designated home while maintaining visibility.
Additional Tips: Implement a regular maintenance schedule to prevent clutter accumulation, reviewing contents monthly and purging unnecessary items. Use color-coding systems for different projects or file types to enhance visual organization.
Keep frequently accessed items toward the front of drawers and consider adding drawer stops to prevent accidents when rolling the unit. Maintain a small clearance zone around your storage cart’s typical parking spot to ensure smooth mobility when needed.

