You don’t need to sacrifice style for storage – I’ve discovered that the most organized homes are often the most beautiful! After years of helping clients transform their cluttered spaces, I’ve learned that smart storage solutions can actually enhance your décor rather than detract from it. From multi-tasking ottoman coffee tables to stunning statement armoires, these 10 ideas will help you maximize space while creating a home that feels both purposeful and pulled-together. Let me show you how to make organization an art form.
Ottoman Coffee Tables: The Hidden Storage Heroes
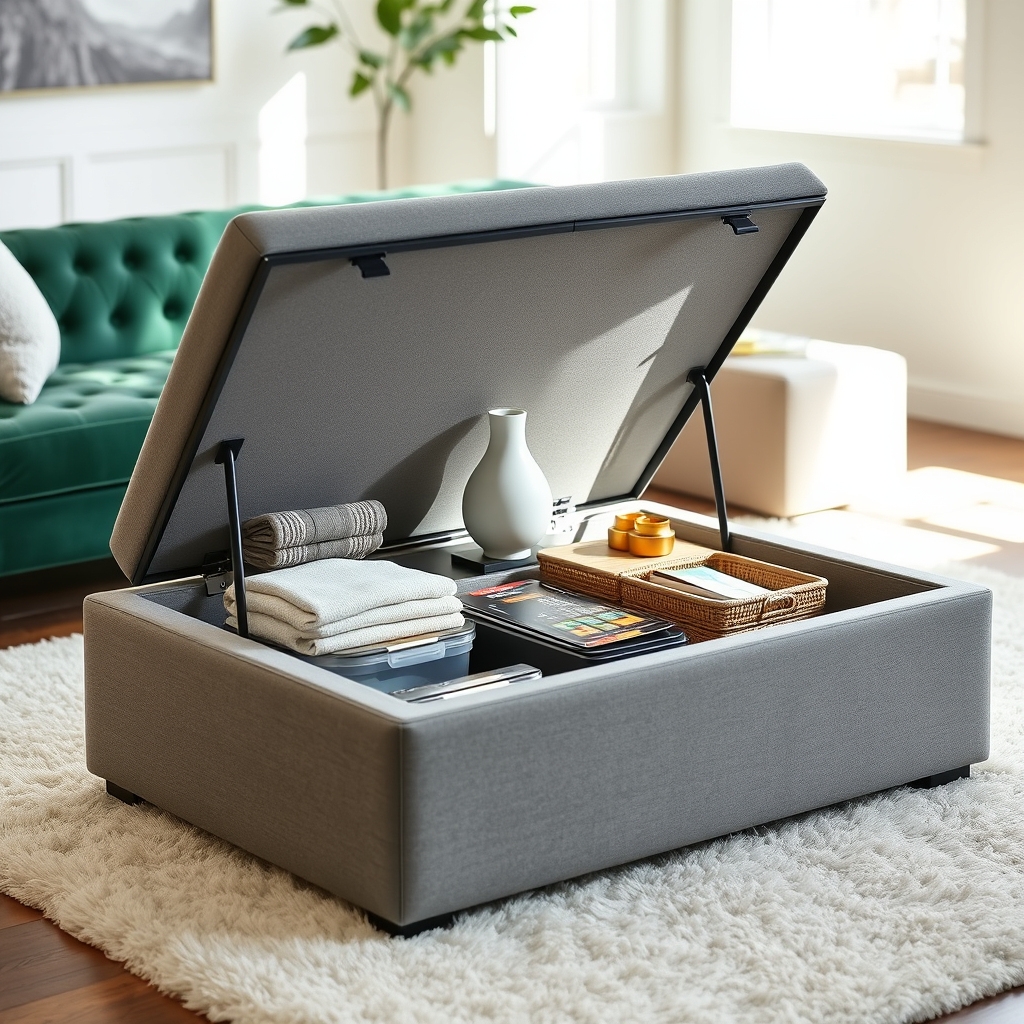
Ottoman coffee tables represent one of the most versatile pieces of furniture in modern homes, serving triple duty as seating, surface space, and storage solution.
These multifunctional pieces help maintain a clutter-free living room while keeping essential items within arm’s reach, making them invaluable for small spaces and busy households.
The key to maximizing an ottoman coffee table’s storage potential lies in thoughtful organization and categorization.
When properly organized, these pieces can store everything from extra throw blankets and magazines to board games and media accessories, all while maintaining easy access and preserving the ottoman’s aesthetic appeal.
Required Items:
- Storage bins or baskets
- Drawer organizers or dividers
- Labels or label maker
- Shelf liner or felt padding
- Measuring tape
- Clear storage containers
- Dust-proof storage bags
- Inventory list
To organize an ottoman coffee table effectively, start by emptying the storage compartment completely and measuring the interior space.
Place shelf liner or felt padding on the bottom to protect both the ottoman and stored items.
Divide the space into zones using storage bins or baskets based on item categories – entertainment, comfort items, and frequently used objects.
Position heavier items toward the bottom and sides for stability.
Consider the frequency of use when arranging items.
Place daily-use items near the front for easy access, while seasonal items can go toward the back.
Use clear containers for smaller items to maintain visibility, and implement a labeling system to quickly identify contents without having to open every container.
Additional organizing success tips:
Regularly audit stored items every three months to prevent accumulation of unnecessary items.
Consider using vacuum storage bags for bulky textiles to maximize space.
Always maintain a small empty zone for temporary storage needs, and keep a current inventory list inside the ottoman to track contents and maintain organization over time.
Floating Shelves as Functional Art Displays
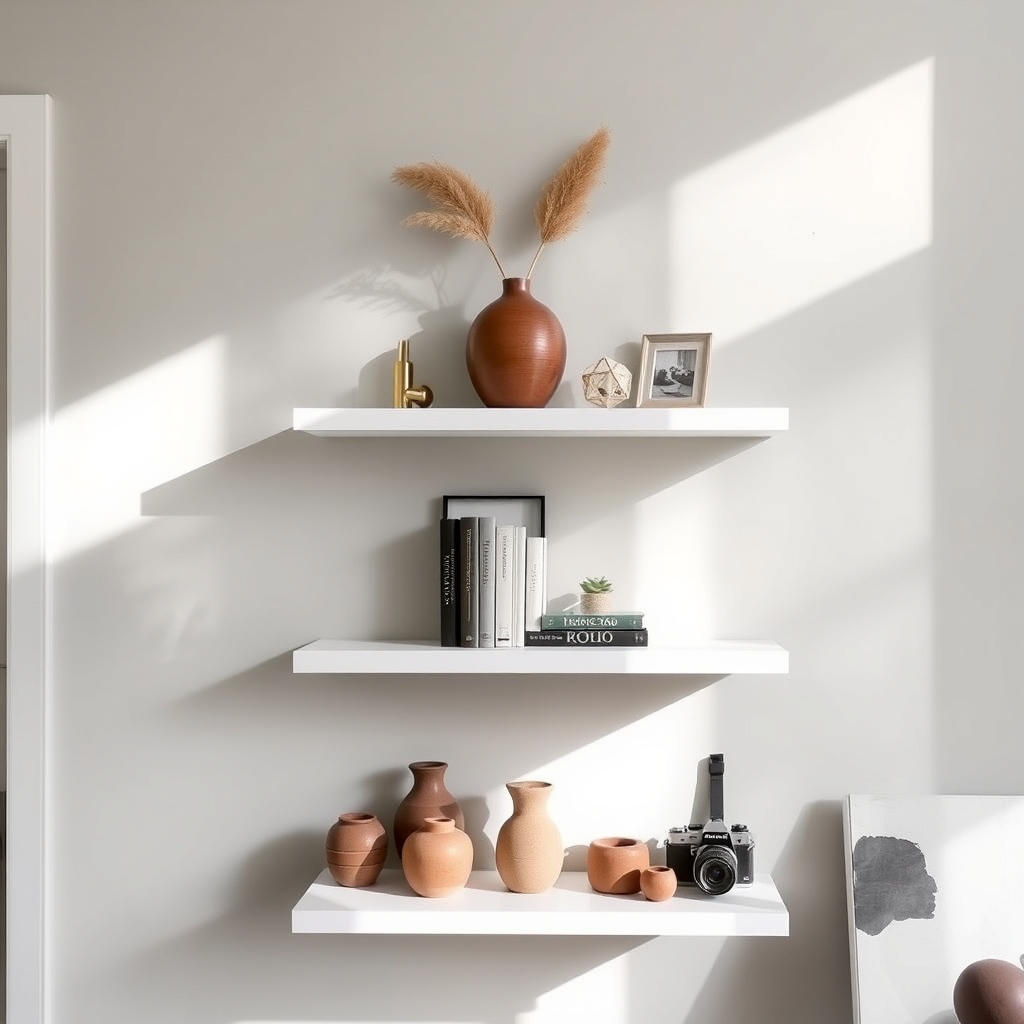
Floating shelves represent the perfect marriage of form and function in modern home décor. These versatile installations serve as both striking architectural elements and practical storage solutions, allowing homeowners to showcase cherished artwork, photographs, and decorative pieces while maximizing vertical wall space.
Creating an organized and visually appealing floating shelf display transforms ordinary walls into gallery-like features while providing essential storage. When properly arranged, these shelves can establish focal points in any room, create visual balance, and keep precious items safely displayed yet easily accessible.
Required Items:
- Floating shelves
- Level
- Measuring tape
- Pencil
- Wall anchors
- Screwdriver
- Cleaning cloth
- Decorative objects
- Artwork
- Small adhesive strips or museum putty
- Step ladder
- Dust cloth
Begin by planning your shelf arrangement on paper, considering both height and spacing. Install shelves at varying heights to create visual interest, ensuring larger pieces have adequate space. Group items in odd numbers, following the rule of thirds for optimal aesthetic appeal.
Place heavier items closer to shelf brackets for stability, and arrange objects by size, color, or theme to create cohesive displays. Layer items at different depths, positioning taller pieces toward the back and smaller ones in front. Maintain negative space between groupings to prevent a cluttered appearance.
Secure delicate items with museum putty to prevent accidents, particularly in homes with children or in earthquake-prone areas.
Additional Tips:
Rotate displayed items seasonally to maintain fresh appeal and prevent dust accumulation. Use proper lighting to highlight key pieces, and regularly assess the weight distribution on each shelf to ensure long-term stability.
Consider incorporating small storage boxes or decorative containers to conceal practical items while maintaining the overall aesthetic appeal of your display.
Stylish Woven Baskets That Tell a Story
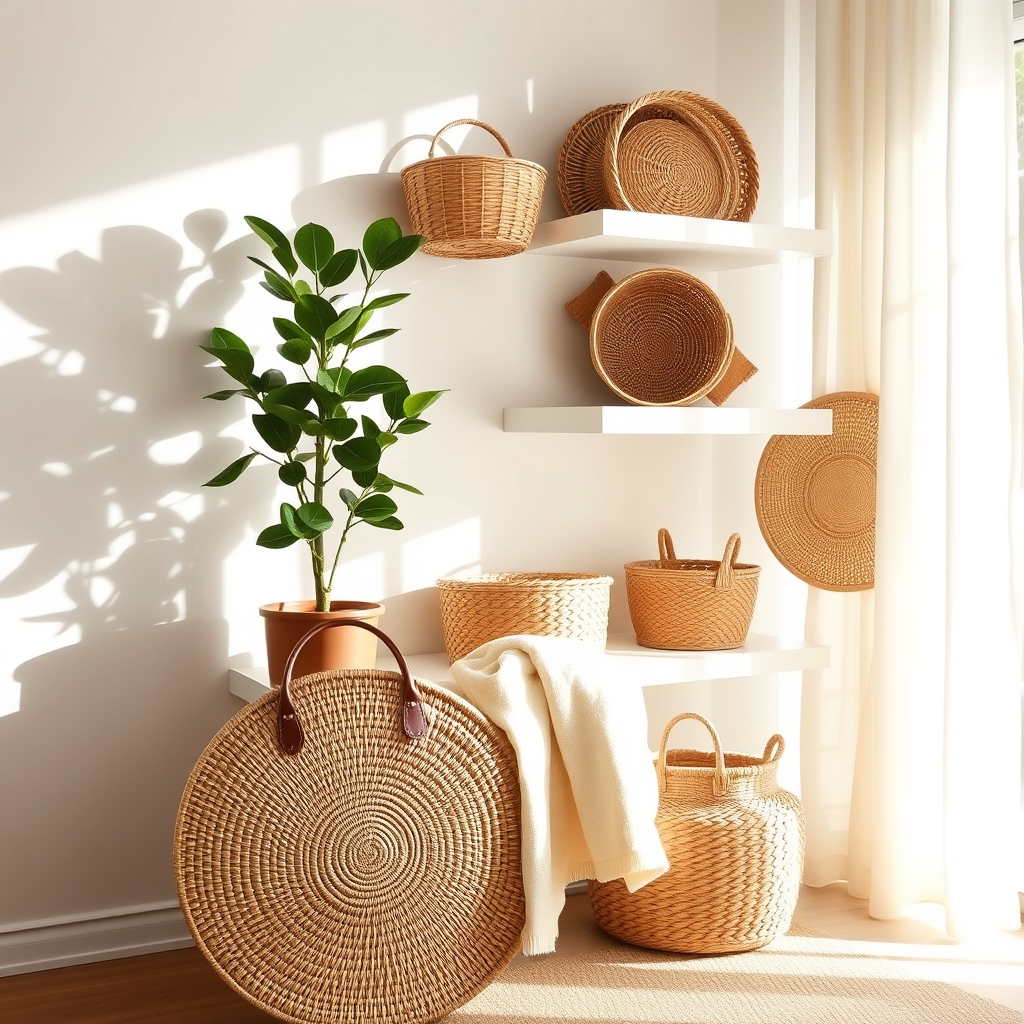
Woven baskets represent more than just storage solutions – they’re artistic statements that bring texture, warmth, and cultural elements into living spaces. When thoughtfully organized, these versatile pieces can transform cluttered areas into curated displays while maintaining full functionality.
Strategic basket organization creates visual harmony while maximizing storage potential throughout the home. Whether displaying handcrafted pieces from global travels or utilizing practical storage solutions, proper arrangement of woven baskets enhances both form and function in any room.
Required Items:
- Woven baskets of varying sizes
- Basket liners or fabric inserts
- Labels or tags
- Clear storage containers
- Measuring tape
- Level
- Wall mounting hardware
- Basket cleaning supplies
- Inventory list
- Storage bins for overflow items
Start by assessing your basket collection and categorizing pieces by size, style, and intended use. Group similar baskets together, considering both aesthetic appeal and practical application. Position larger statement pieces at focal points in the room, while arranging smaller baskets in graduated heights for visual interest.
Install wall-mounted baskets at varying heights to create dynamic vertical storage that doubles as wall art. For optimal organization, designate specific contents for each basket and implement a clear labeling system. Line delicate baskets with fabric to protect both the vessel and its contents.
Create zones within your space – designating areas for decorative display pieces versus functional storage baskets. Rotate seasonal items to maintain fresh looks throughout the year while keeping frequently accessed items in easily reachable locations.
To maintain your organized basket system, conduct quarterly assessments of basket condition and contents. Regularly dust and clean baskets to prevent wear, and consider rotating their positions to distribute sun exposure evenly.
Store unused baskets properly by nesting them when possible, and maintain an inventory system to track which items are stored where. This systematic approach ensures your woven basket collection remains both beautiful and functional throughout the year.
Statement Armoires Beyond the Bedroom
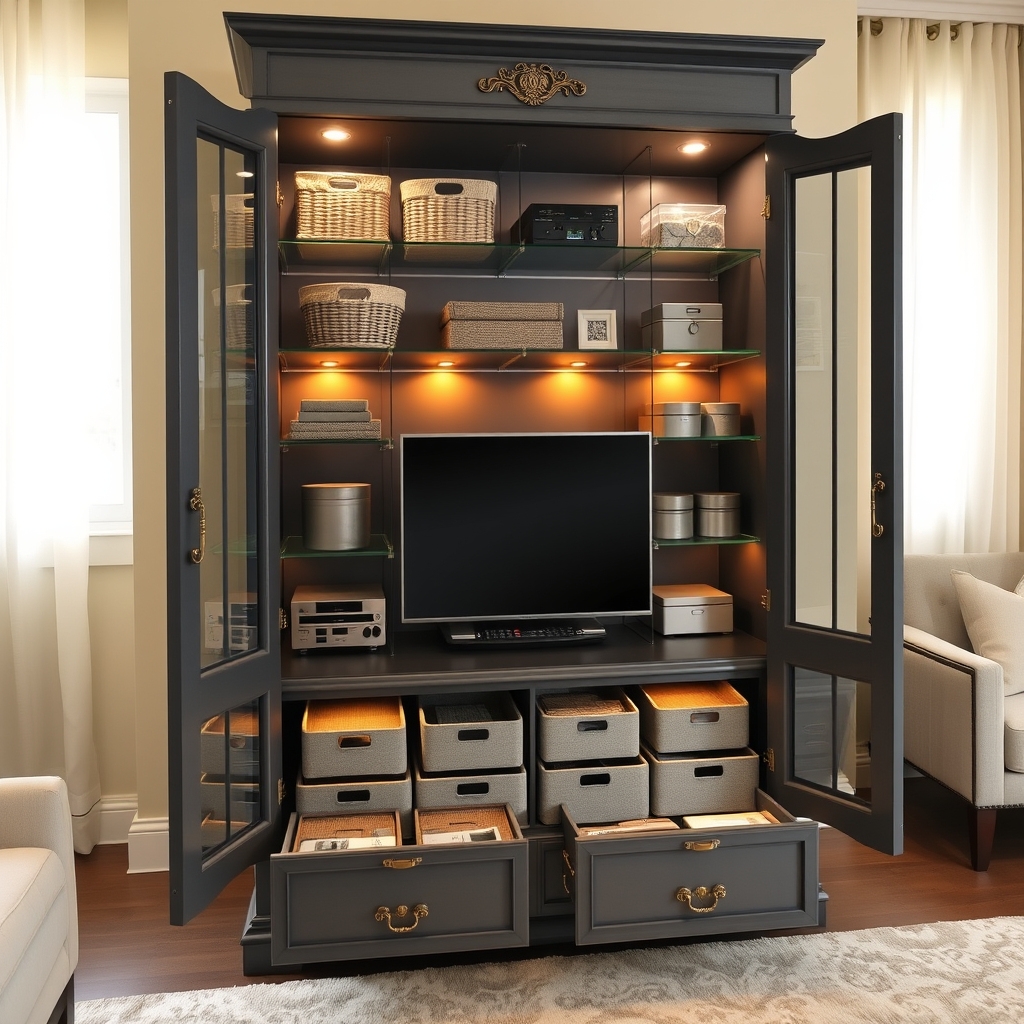
Statement armoires have evolved beyond traditional bedroom storage, becoming versatile organizational powerhouses that can enhance any room’s functionality while making a bold design statement.
These substantial pieces can transform into entertainment centers, home offices, craft stations, or specialized storage units that showcase your style while concealing clutter.
When properly organized, a statement armoire can serve as a central hub for various activities while maintaining a clean, sophisticated appearance in living rooms, dining rooms, or transitional spaces.
The key lies in maximizing vertical space and creating designated zones within the armoire that align with your specific needs.
Required Items:
- Adjustable shelving
- Drawer organizers
- Cabinet hooks
- Clear storage containers
- Label maker
- Fabric-lined baskets
- LED lighting strips
- Door-mounted organizers
- Cable management solutions
- Shelf liner
Start by completely emptying the armoire and assessing its structural features, including existing shelves, drawers, and hanging space.
Create distinct zones based on your intended use, such as entertainment equipment on middle shelves, frequently used items at eye level, and lesser-used items on top shelves.
Install adjustable shelving to customize the space according to your needs, and add door-mounted organizers for additional storage capacity.
Incorporate clear containers and baskets to group similar items together, ensuring everything has a designated home.
For electronics, implement proper cable management using adhesive clips and cord organizers.
If using the armoire for entertainment purposes, consider adding LED strips to illuminate specific areas and create ambiance.
To maintain organization long-term, establish a regular maintenance schedule for decluttering and reassessing the armoire’s contents.
Use labels to mark containers and zones, making it easier for family members to maintain the system.
Consider seasonal rotation of items and periodically evaluate whether the current organization scheme continues to serve your needs effectively.
Modular Wall Systems for Modern Living
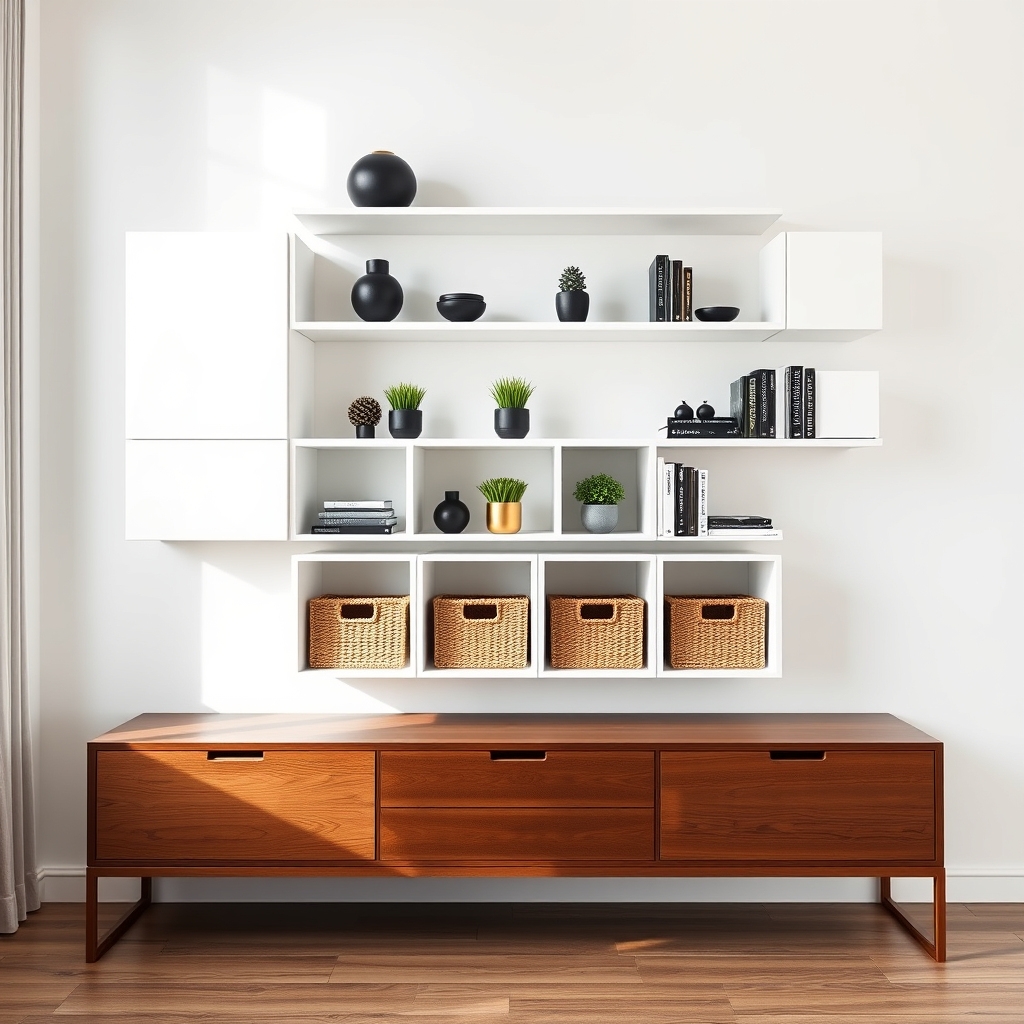
Modern living spaces demand smart storage solutions that maximize functionality while maintaining aesthetic appeal. Modular wall systems have emerged as a versatile answer to this challenge, offering customizable storage that adapts to changing needs while creating a cohesive, contemporary look.
These systems transform blank walls into organized, functional spaces that can accommodate everything from books and media to decorative items and office supplies. The beauty of modular wall systems lies in their flexibility – components can be rearranged, added, or removed as storage needs evolve.
Required Items:
- Modular wall tracks
- Mounting brackets
- Wall anchors
- Shelving units
- Storage bins or baskets
- Cabinet modules
- Display cubes
- Level
- Drill
- Measuring tape
- Pencil
- Stud finder
- Screwdriver set
Start by planning your wall system layout on paper, measuring the available wall space and marking stud locations. Install the main tracking system first, ensuring it’s perfectly level and secured to wall studs.
Once the tracks are in place, attach the vertical standards at regular intervals, typically 16-24 inches apart. Add your chosen components systematically, beginning with larger units like cabinets or shelving at the bottom for stability.
Work your way up, incorporating various elements such as display cubes, open shelving, and specialized storage units based on your needs. Ensure all components are securely locked into place before adding items.
For optimal organization, group similar items together and utilize storage bins or baskets to contain smaller objects. Consider incorporating adjustable elements that can be modified as your storage needs change over time.
Label containers clearly and maintain some empty space for future additions or seasonal items.
Additional Tips:
Keep frequently used items at eye level for easy access, while storing seasonal or rarely used items in higher or lower positions. Incorporate proper lighting to highlight displayed items and ensure adequate visibility.
Regularly assess the system’s functionality and rearrange components as needed to maintain optimal organization and efficiency.
Vintage Trunks as Decorative Storage Pieces

Vintage trunks represent the perfect marriage of form and function in home storage solutions. These classic pieces not only serve as conversation starters but also provide substantial storage space for various household items while adding character and warmth to any room.
Their sturdy construction and timeless appeal make them ideal for both long-term storage and daily access needs. When properly organized, vintage trunks can accommodate seasonal items, family heirlooms, extra linens, or entertainment essentials while maintaining their decorative appeal.
The key lies in maximizing the interior space while ensuring the trunk’s exterior continues to serve as an attractive furniture piece, whether used as a coffee table, end table, or standalone accent piece.
Required Items:
- Vintage trunk
- Storage containers or fabric boxes
- Acid-free tissue paper
- Labels or tags
- Drawer organizers or dividers
- Moisture absorbers
- Fabric liner
- Clear plastic bags
- Measuring tape
- Cleaning supplies
Organization Process:
Start by thoroughly cleaning and lining the trunk’s interior with fabric to protect stored items. Measure the internal dimensions and divide the space into zones using drawer organizers or fabric boxes.
Create a primary zone for frequently accessed items near the top and designate deeper sections for seasonal or less-used items. If storing textiles or delicate items, wrap them in acid-free tissue paper and place them in clear plastic bags for protection.
Label all containers and create an inventory list to tape inside the trunk’s lid for easy reference.
Additional Success Tips:
Rotate stored items seasonally to prevent moisture buildup and maintain proper air circulation. Place moisture absorbers in corners and check them monthly.
When using the trunk as a table, consider placing frequently used items in upper containers for easy access without disturbing decorative items displayed on top. Always maintain a small gap between stored items and the trunk’s walls to prevent potential moisture damage and preserve both the trunk and its contents.
Window Seat Storage Solutions With Flair
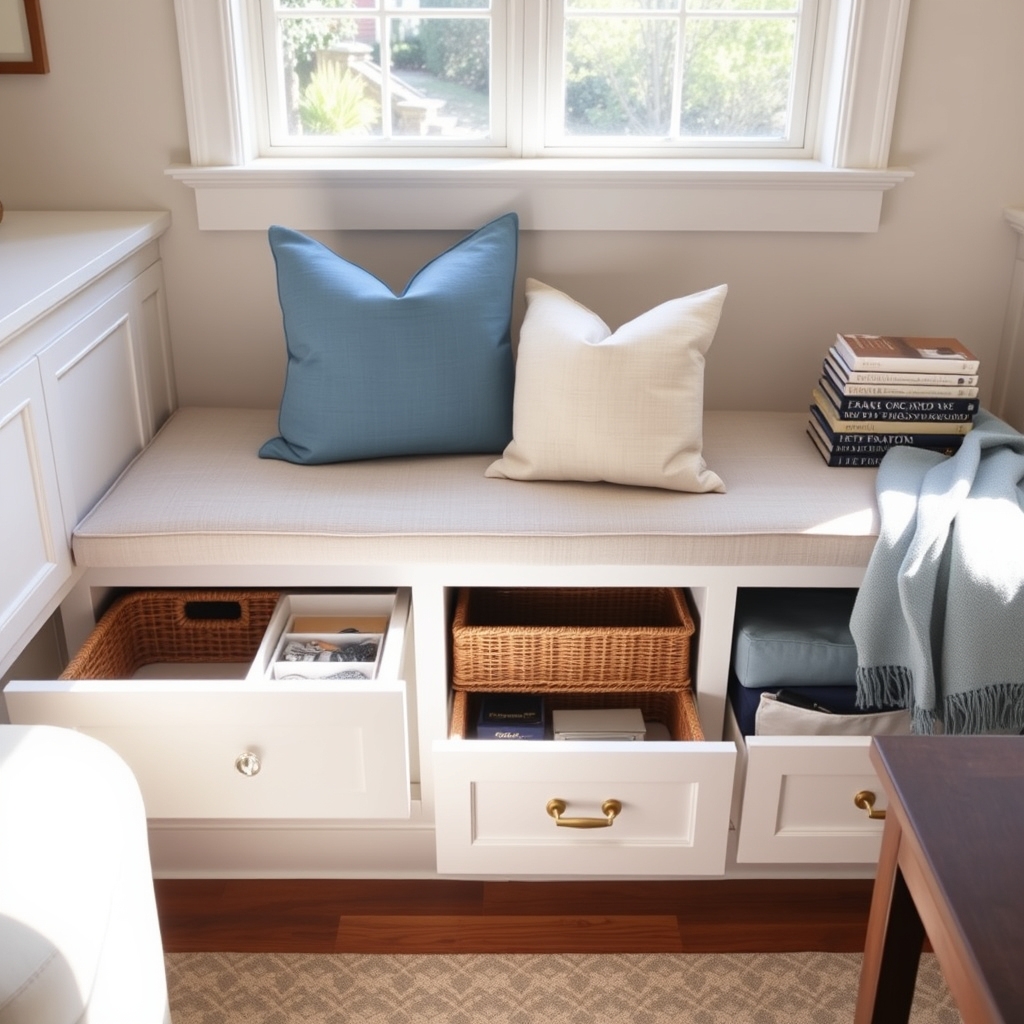
A well-organized window seat storage system transforms an often-overlooked space into a functional and aesthetically pleasing storage solution. Window seats naturally create a cozy nook in any room while providing valuable storage real estate for items ranging from seasonal decor to everyday essentials.
Maximizing window seat storage requires thoughtful planning and smart organization strategies that complement both the room’s design and your storage needs. When properly organized, these built-in spaces can significantly reduce clutter while maintaining easy access to stored items, all while preserving the decorative appeal of your window seat area.
Required Items:
- Storage bins or baskets
- Drawer organizers
- Labels and label maker
- Measuring tape
- Storage containers in varying sizes
- Fabric storage boxes
- Shelf dividers
- Clear plastic containers
- Moisture absorbers
- Vacuum storage bags
Start by measuring your window seat storage space and mapping out zones based on item categories. Install drawer organizers or small containers to separate smaller items, and use fabric storage boxes for larger items. Position frequently accessed items toward the front of the storage space, while seasonal items can be stored deeper inside.
For optimal organization, implement a labeling system that clearly identifies the contents of each container or section. Additional consideration should be given to the types of items being stored. Books and paper products should be kept away from any potential moisture near windows. Decorative items should be wrapped carefully and stored in padded containers.
For seasonal items like throw pillows or blankets, vacuum storage bags can maximize space while protecting fabrics from dust and moisture. For lasting organization success, conduct quarterly audits of your window seat storage contents, rotating seasonal items as needed.
Consider using clear containers for better visibility, and maintain a detailed inventory list of stored items. Remember to leave some breathing room in each container rather than overpacking, which can make accessing items difficult and potentially damage stored belongings.
Creative Console Tables That Conceal and Reveal
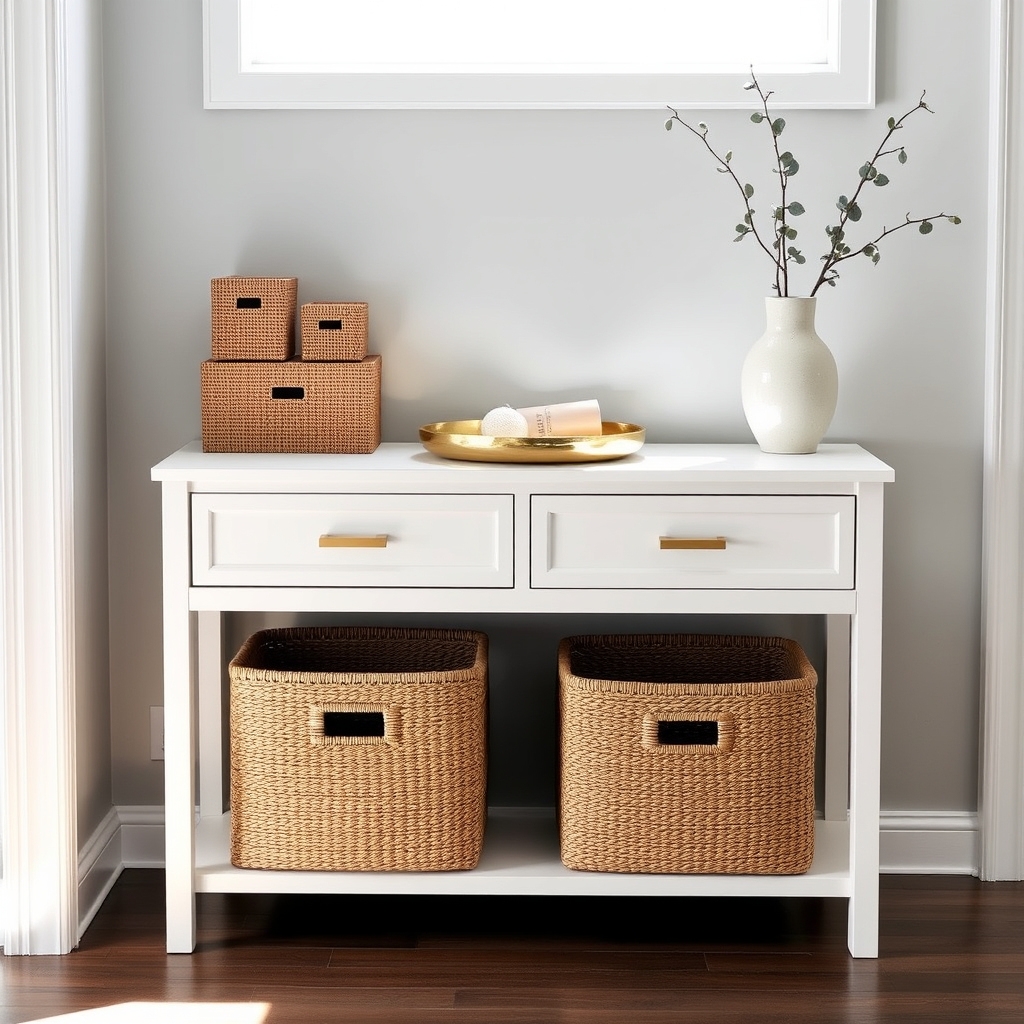
Console tables serve as both functional storage solutions and stylish focal points in entryways, hallways, and living spaces. When properly organized, these versatile pieces can elegantly hide everyday clutter while displaying decorative items that enhance your home’s aesthetic.
The key to maximizing console table storage lies in creating a balanced system that conceals practical items while showcasing carefully curated decorative elements. This dual-purpose approach ensures your space remains both beautiful and functional, allowing easy access to necessities without compromising style.
Required Items:
- Decorative boxes or baskets
- Drawer organizers
- Small trays
- Fabric-lined containers
- Cable management solutions
- Drawer dividers
- Labels
- Measuring tape
- Storage bins that fit under the console
- Attractive containers for visible storage
Start by measuring your console table’s dimensions, including drawer depths and under-table clearance. Sort items into categories: frequently used items, occasionally needed items, and decorative pieces.
Place daily essentials in easily accessible drawers using organizers to maintain order. Install drawer dividers to create designated spaces for specific items like keys, mail, and small electronics.
For items that will be visible on the table’s surface, select attractive containers that complement your décor while providing practical storage. Layer these elements by height, with taller items at the back and smaller pieces in front.
Utilize the space beneath the console by incorporating baskets or bins that slide out easily while maintaining a clean look.
Additional success tips: Regularly assess stored items to prevent clutter accumulation. Consider seasonal rotation of decorative elements to keep the space fresh. Use cord management solutions for any electronics stored on or in the console table.
Implement a one-in-one-out rule when adding new items to maintain organized spaces. Position frequently used items toward the front of drawers or containers for easy access while keeping occasional-use items in the back.
Pegboard Walls: The New Organization Statement
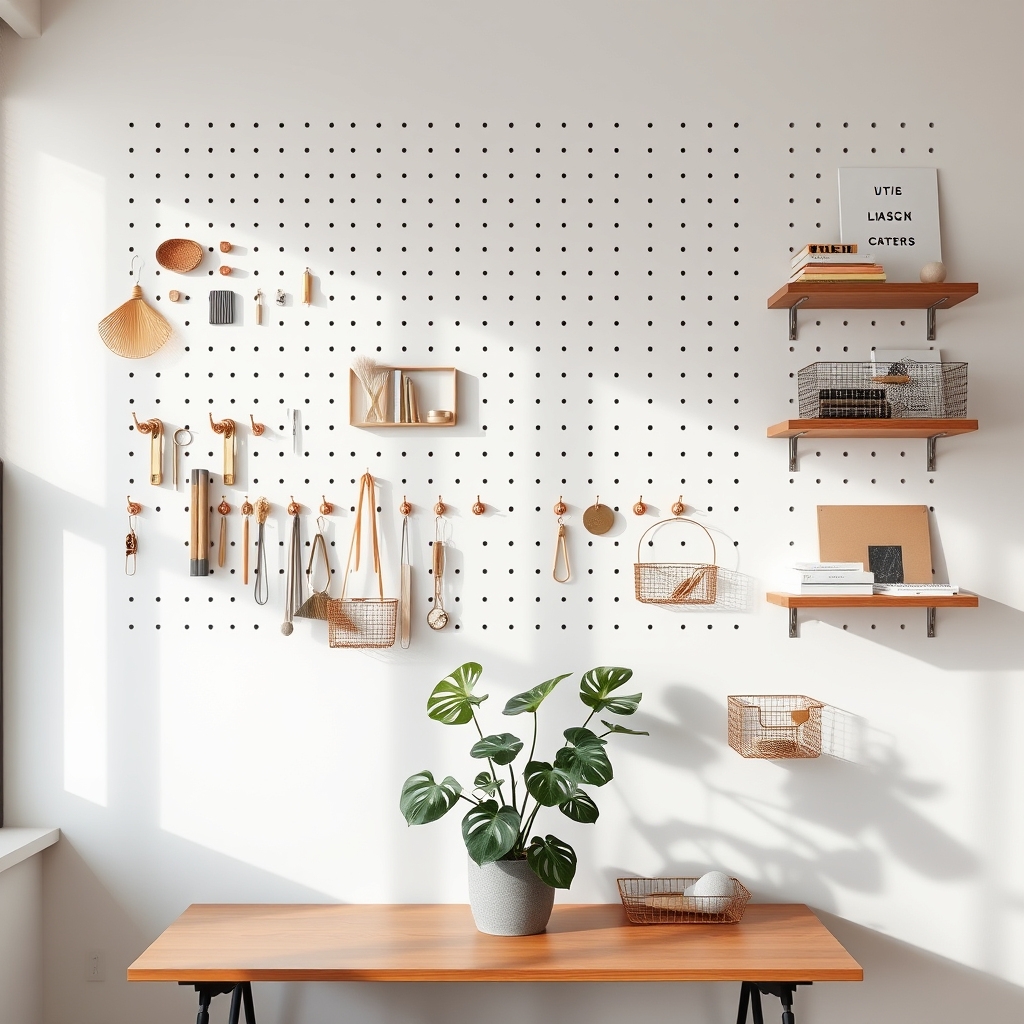
A well-organized pegboard wall system transforms underutilized vertical space into a functional storage and display area, maximizing room efficiency while creating an aesthetically pleasing organizational solution.
From craft rooms to home offices and garages, pegboard walls have evolved from purely utilitarian surfaces to stylish statement pieces that complement modern interior design.
The versatility of pegboard walls allows for continuous adaptation as storage needs change, making them an ideal solution for both temporary and permanent organization systems. Their customizable nature means you can arrange and rearrange hooks, shelves, and accessories to accommodate different items while maintaining a clean, organized appearance.
Required Items:
- Pegboard panels
- Wall anchors and screws
- Spacers or furring strips
- Power drill
- Level
- Measuring tape
- Pencil
- Various pegboard hooks and accessories
- Storage bins and baskets
- Wire shelving units (optional)
- Pegboard mounting brackets
- Hammer
- Stud finder
Installing and organizing a pegboard wall starts with proper mounting. Secure furring strips to wall studs to create space between the wall and pegboard for hook insertion.
Attach the pegboard using appropriate anchors and screws, ensuring it’s level and sturdy. Before adding accessories, plan your layout by drawing a rough sketch of where different items will go, grouping similar items together and keeping frequently used items at eye level.
Install hooks, shelves, and other accessories according to your plan, making sure they’re securely locked into the pegboard holes.
For maximum organization effectiveness, implement a color-coding system or labels to maintain order. Consider adding small bins or baskets for loose items, and leave some empty space for future additions.
Regularly assess the arrangement and adjust as needed to ensure the system continues to meet your organizational needs effectively.
Elevated Rolling Carts for Flexible Storage
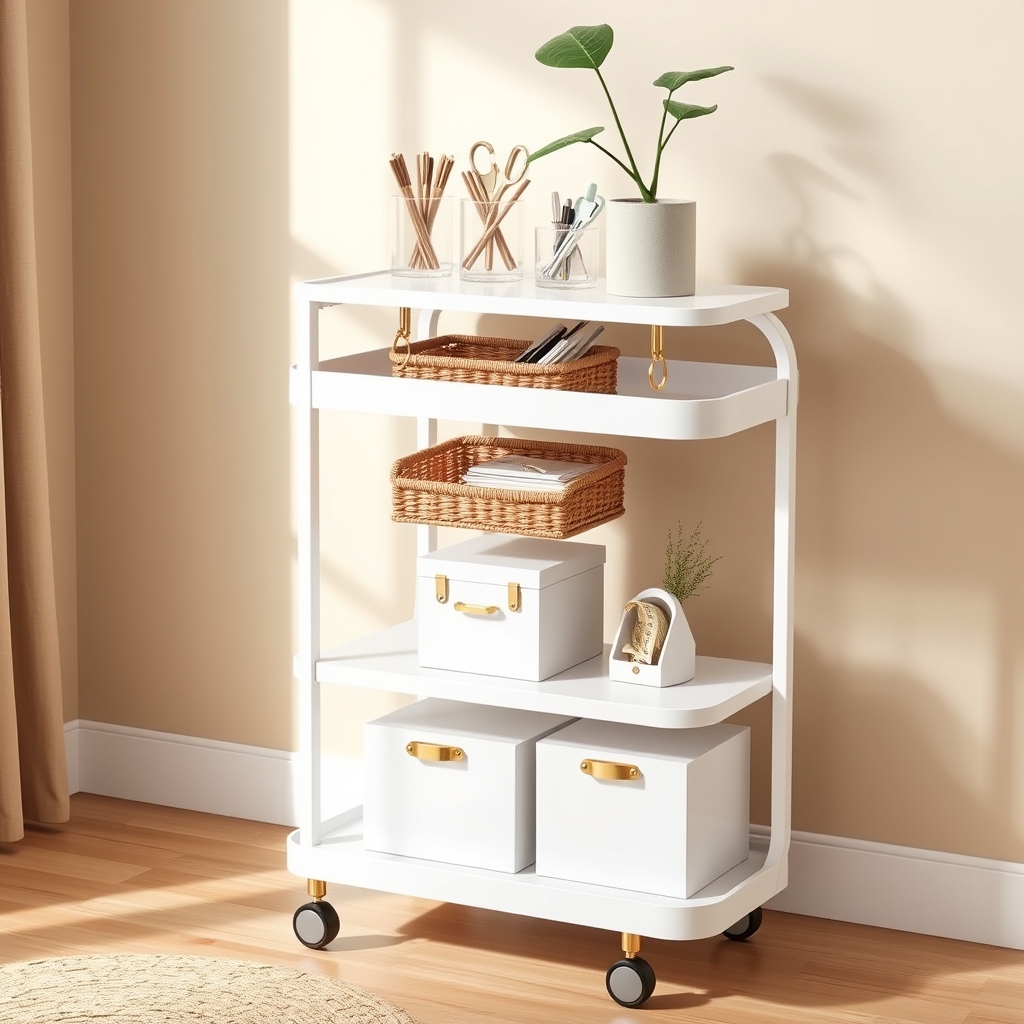
Rolling storage carts have become an essential solution for modern homes where flexibility and functionality are paramount. These versatile pieces allow you to maximize vertical space while maintaining the ability to reorganize your storage needs as they change throughout the year or as your lifestyle evolves.
The key to successful rolling cart organization lies in creating designated zones while maintaining mobility and accessibility. When properly organized, these carts can serve multiple purposes – from craft supply storage to kitchen pantry overflow, or even as a mobile office station – all while maintaining an elevated aesthetic that complements your home décor.
Required Items:
- Rolling cart (multi-tier)
- Clear storage containers
- Label maker or labels
- Drawer organizers/dividers
- Small bins or baskets
- Cabinet liner or non-slip mats
- Hooks (if cart allows for side hanging)
- Bungee cords or straps
- Cleaning supplies
Start by thoroughly cleaning your rolling cart and installing non-slip liner on each tier to prevent items from sliding during movement. Assess your storage needs and designate specific purposes for each level, with heavier items on the bottom tier for stability.
Group similar items together and use clear containers or baskets to create distinct zones within each tier. Implement a vertical organization system where frequently used items are placed at easily accessible heights, while seasonal or rarely used items can go on lower or higher tiers.
Maximize the cart’s utility by adding hooks to the sides for hanging tools or accessories, and use drawer organizers to separate smaller items. Create a clear labeling system that allows you to quickly identify contents, especially for items stored in opaque containers.
Consider using bungee cords or straps to secure items during cart movement, particularly if storing delicate objects.
Additional Tips: Regularly review and adjust your organization system as needs change. Keep a small space open on one tier for temporary storage or incoming items that need to be sorted.
Consider using color-coding or a numbered system for even easier identification, and maintain an inventory list for items stored in lower tiers that might be less visible. Periodically clean and assess the condition of wheels and surfaces to ensure smooth operation and longevity of your rolling storage solution.

