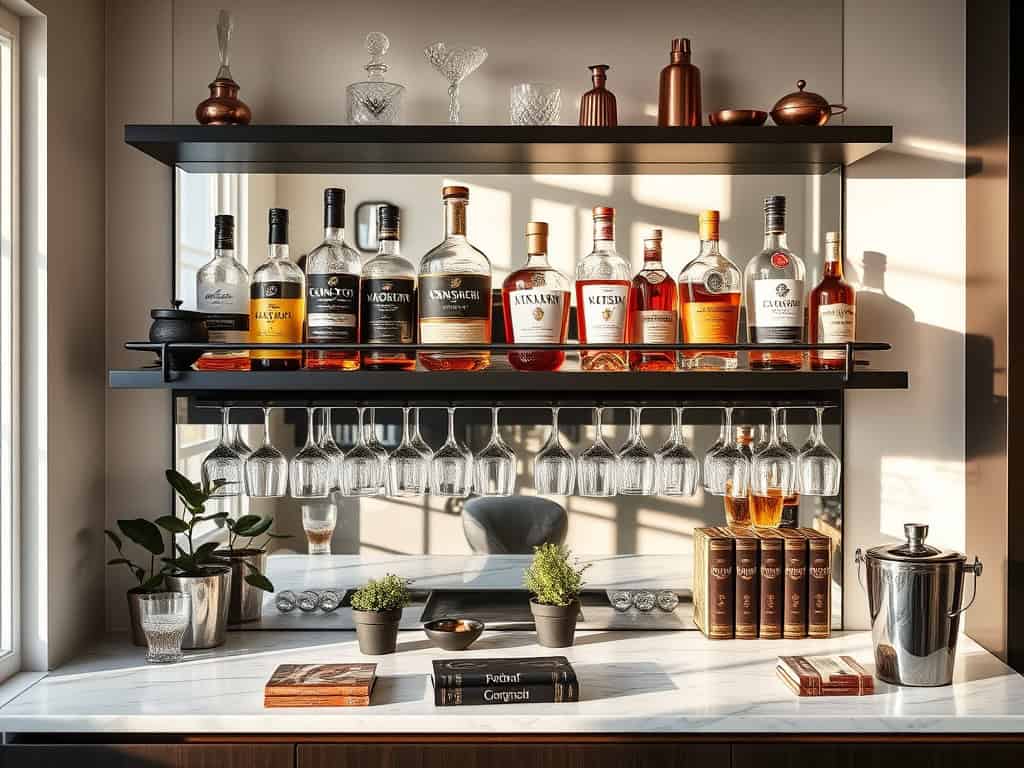
Nothing adds more sophistication to your home than a well-organized bar setup that’ll make guests say “wow!” As someone who’s transformed countless cluttered countertops into sleek entertaining spaces, I’ve learned that smart storage solutions are the secret to creating that perfect mix of style and function. You’ll be amazed at how these seven innovative storage ideas can turn your basic home bar into an entertainment destination that rivals your favorite upscale lounge. Let me show you how.

Floating Glass Racks and Bottle Shelves
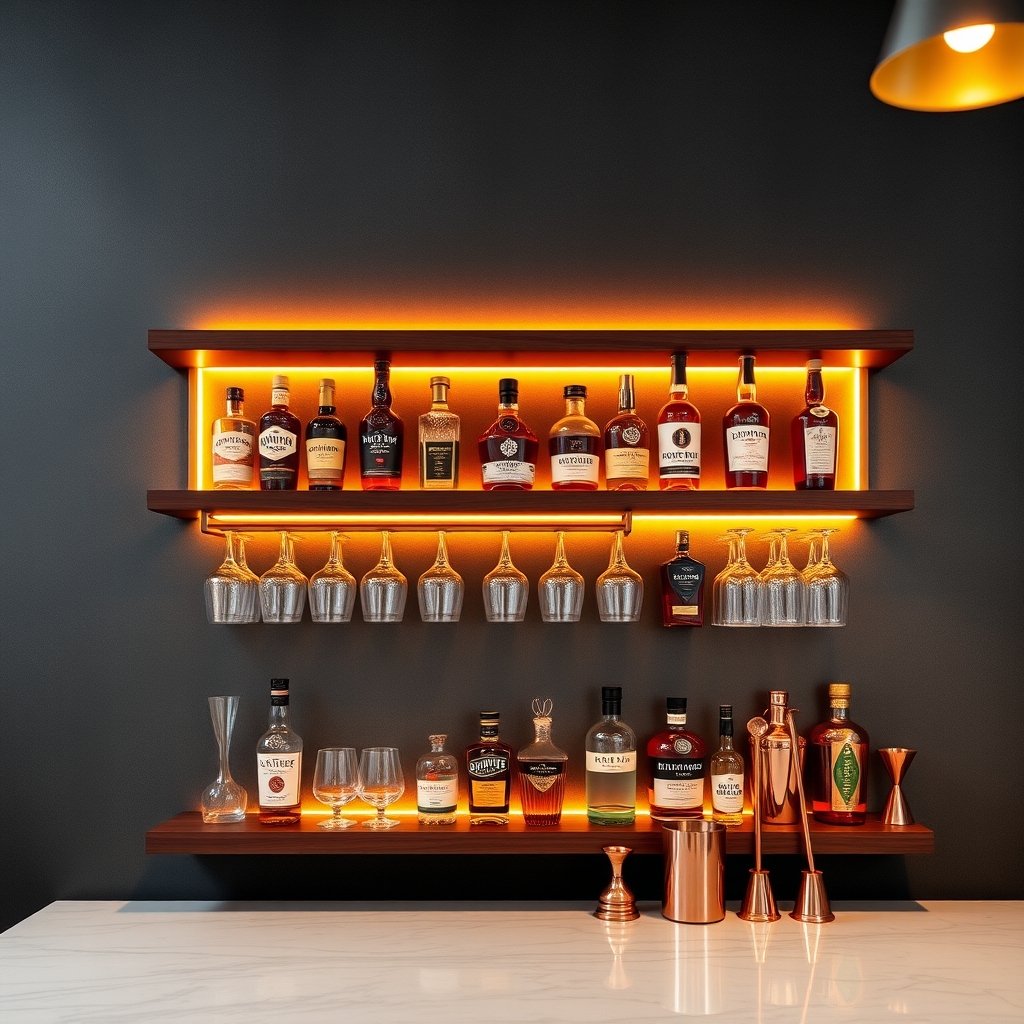
Proper organization of floating glass racks and bottle shelves is crucial for any home bar setup, as it maximizes space while creating an attractive display that rivals professional establishments.
Well-organized glassware and bottles not only enhance the aesthetic appeal but also improve functionality, making drink preparation more efficient and enjoyable.
Strategic placement of floating shelves and glass racks transforms your home bar from a simple storage space into a sophisticated entertainment zone.
When properly installed and organized, these elements create a clean, professional look while keeping essential items within easy reach, protecting delicate glassware, and showcasing your finest spirits.
Required Items:
- Floating shelves with proper weight capacity
- Under-cabinet stemware racks
- Wall-mounted bottle holders
- Level
- Measuring tape
- Stud finder
- Drill and appropriate hardware
- Safety glasses
- Pencil
- Glass cleaning supplies
- Non-slip shelf liner
Install the floating shelves first, ensuring they’re perfectly level and securely anchored to wall studs.
Position bottle shelves at eye level or slightly below, arranging spirits by category (whiskey, vodka, gin, etc.) with frequently used items in the most accessible spots.
Mount stemware racks under higher shelves or cabinets, spacing them to accommodate different glass sizes without overcrowding.
Maintain at least 2-3 inches of space between each glass to prevent contact and potential breakage.
Group similar glassware together, placing daily-use items within easy reach and special occasion pieces higher up.
For optimal organization, consider these additional touches: use non-slip mats on shelves to prevent bottle movement, implement a rotation system for bottles based on usage frequency, and maintain clear paths between storage areas.
Include proper lighting to highlight your display while ensuring safe access to all items.
Clean and dust regularly to maintain the professional appearance and extend the life of both your glassware and storage solutions.
Built-In Bar Cabinet Solutions
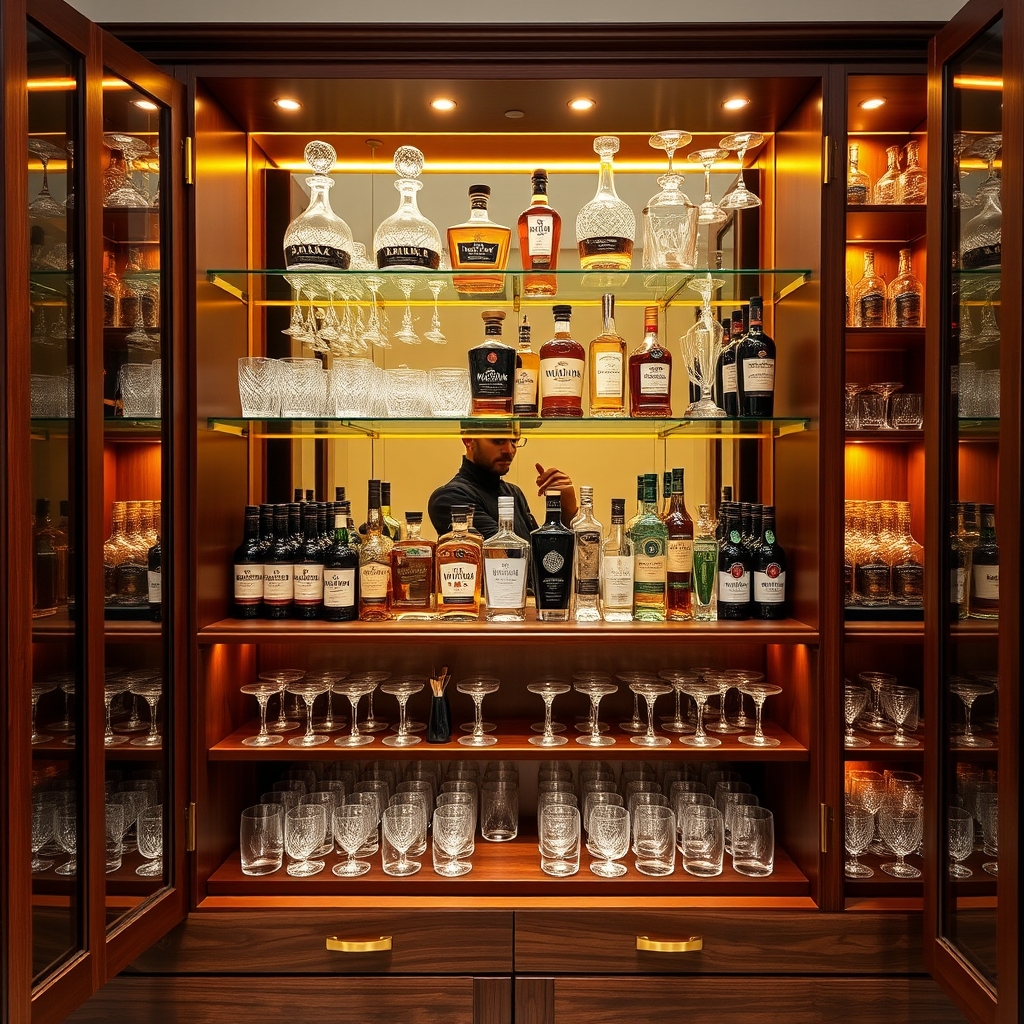
A well-organized built-in bar cabinet serves as both a functional storage space and an elegant focal point in your home. Proper organization transforms a basic cabinet into an efficient entertainment hub, making hosting gatherings seamless while keeping your spirits, glassware, and bar tools easily accessible.
Strategic organization of a built-in bar cabinet maximizes available space while protecting valuable bottles and delicate glassware. An organized system allows you to track inventory, maintain proper storage conditions for different spirits, and create a professional-looking display that enhances your home’s aesthetic appeal.
Required Items:
- Adjustable cabinet shelving
- LED strip lighting
- Cabinet liner material
- Bottle risers/steps
- Glass rack systems
- Wine bottle cradles
- Drawer organizers
- Label maker
- Microfiber cleaning cloths
- Clear storage containers
- Door-mounted organizing racks
Start by removing everything from the cabinet and categorizing items by type: spirits, wine, beer, mixers, glassware, and bar tools.
Install adjustable shelving to accommodate bottles of various heights, and add LED lighting to illuminate the space effectively. Line shelves with protective material to prevent scratches and slipping.
Configure the layout with frequently used items at eye level and easy reach. Position wine bottles horizontally in cradles, install hanging glass racks for stemware, and use risers to create tiered displays for spirits. Implement drawer organizers for bar tools and smaller accessories, keeping similar items together.
For optimal organization maintenance, establish zones within the cabinet: mixing station, glass storage, spirits section, and tool storage. Label shelves and sections clearly, rotate stock regularly, and maintain a cleaning schedule to preserve the cabinet’s appearance and functionality.
Additional Tips: Consider incorporating a small refrigerator for perishables and designating a specific area for recipe books or mixing guides.
Install mirror backing to create depth and reflect light, making the space appear larger while showcasing your collection. Use clear containers for garnishes and small items to maintain visual clarity and easy identification.
Rolling Bar Cart Organization
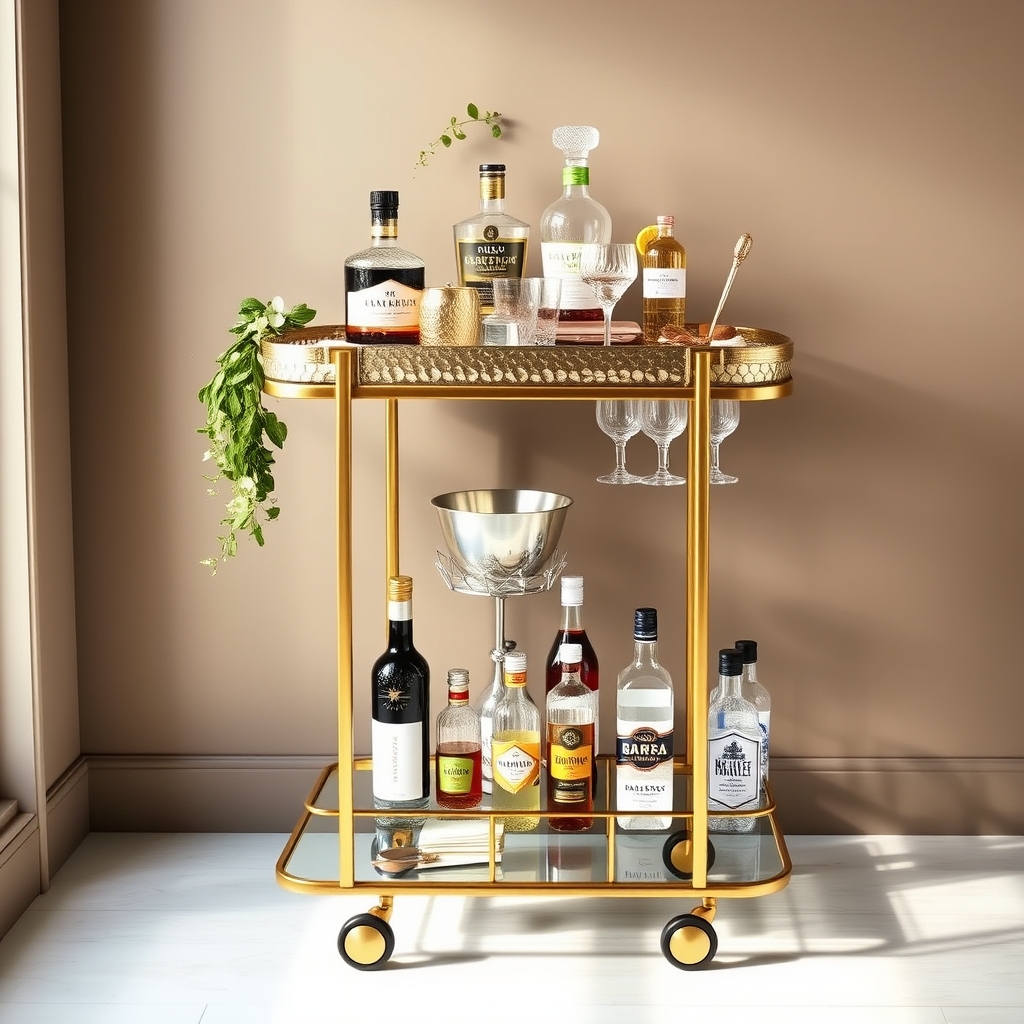
A well-organized rolling bar cart serves as both a functional beverage station and an elegant piece of home décor. When properly arranged, it allows for smooth entertaining, making drink preparation effortless while showcasing your favorite spirits and barware in an aesthetically pleasing way.
The key to a successful bar cart lies in its mobility and organization. Strategic placement of items not only creates visual appeal but also ensures that everything you need is within reach when mixing drinks. A thoughtfully organized cart can transform your entertaining space and make hosting gatherings more enjoyable.
Required Items:
- Bar cart (2-3 tiers)
- Glass cleaning cloth
- Small organizing trays or containers
- Bar tool set
- Coasters
- Ice bucket
- Glass risers or stands
- Bottle labels
- Beverage napkins
- Clear storage containers
Begin by completely clearing the bar cart and cleaning all surfaces. On the top tier, arrange frequently used spirits in the back row, positioned by height with taller bottles in the center. Place essential bar tools, such as shakers and jiggers, in a designated tray at the front of the top tier for easy access.
The middle tier should house glassware, arranged by type and frequency of use. Use glass risers to create levels and maximize space while protecting delicate items. Position an ice bucket and garnish containers on this level for convenient drink preparation.
The bottom tier works best for backup bottles, mixers, and less frequently used items. Store extra napkins, coasters, and cleaning supplies in clear containers to maintain visibility while keeping items organized and protected.
For optimal functionality, implement a rotation system where frequently used items stay at arm’s reach while special occasion spirits can be stored toward the back. Label bottles with their purchase dates and regularly assess inventory to maintain freshness.
Consider adding small LED lights to illuminate the cart during evening entertaining, and always keep a designated space clear for drink preparation.
Under-Counter Storage Systems
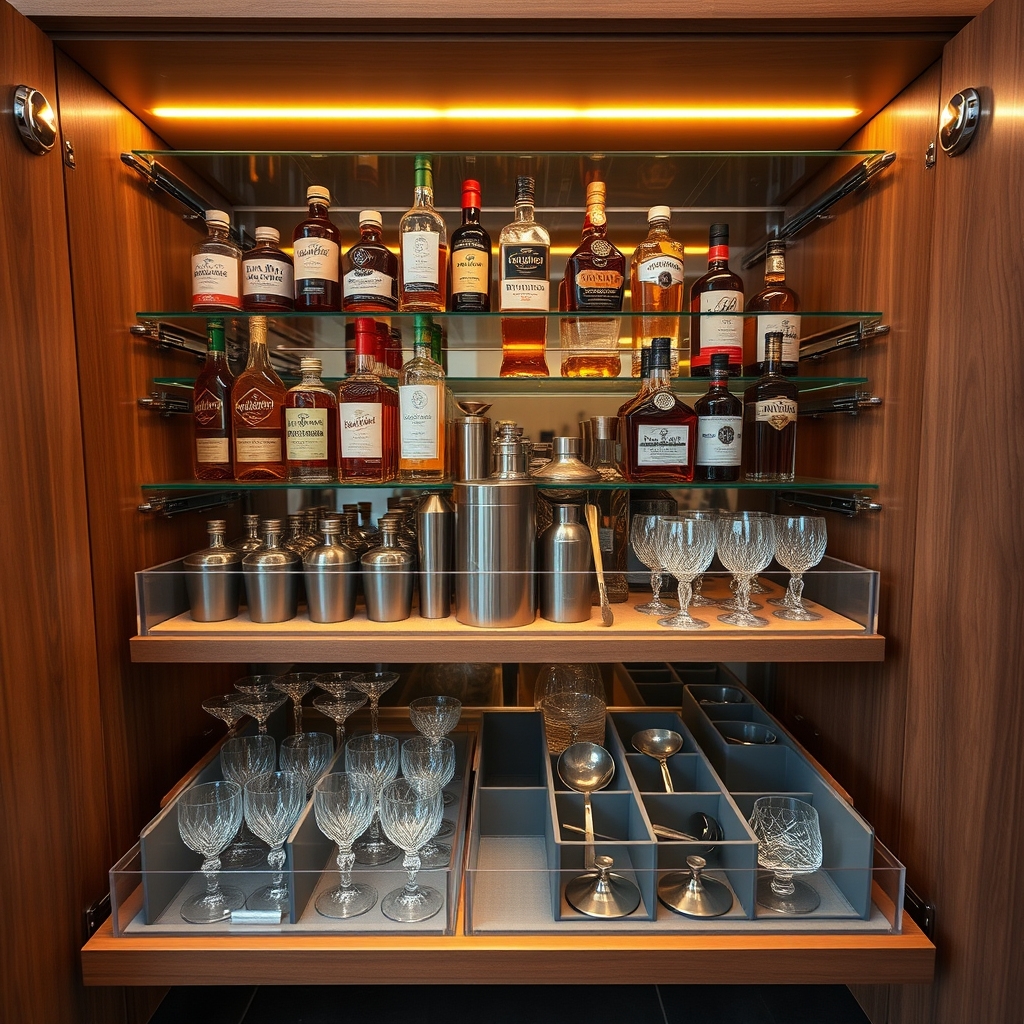
Proper organization of under-counter storage space is crucial for any home bar setup, serving as the foundation for an efficient and functional entertainment area. Well-planned storage systems allow quick access to bottles, mixers, and bar tools while maximizing every inch of available space beneath your counter.
Creating organized under-counter storage not only improves the functionality of your home bar but also helps protect your investment in spirits and glassware. A systematic approach to storage prevents bottle crowding, reduces the risk of breakage, and ensures that all items remain easily accessible during busy entertaining moments.
Required Items:
- Adjustable shelf brackets
- Pull-out drawer systems
- Cabinet organizers
- Bottle risers
- LED strip lighting
- Non-slip shelf liners
- Label maker
- Measuring tape
- Level
- Screwdriver set
- Drawer dividers
- Storage bins
Start by completely emptying the under-counter space and measuring all dimensions carefully. Install adjustable shelf brackets along the sides of the cabinet interior, ensuring they’re perfectly level.
Mount pull-out drawer systems for frequently accessed items, positioning them at comfortable heights. Create designated zones within the space: one for spirits, another for mixers, and a third for tools and accessories. Install LED strip lighting to illuminate dark corners and make items easily visible.
If using fixed shelving, incorporate bottle risers at the back of each shelf to create tiered storage, allowing clear visibility of all bottles. Place frequently used items toward the front and specialty bottles in the back.
Utilize drawer dividers and storage bins to separate and organize smaller items like bar tools, cocktail picks, and spare bottle pourers.
For optimal organization maintenance, implement a regular rotation system for bottles, moving newer purchases to the back while bringing older items forward. Use a label maker to mark sections clearly, and consider creating an inventory list attached to the inside of a cabinet door.
Keep a small step stool nearby for accessing items stored in higher spaces, and regularly clean shelf surfaces to prevent sticky residue buildup.
Vertical Wall-Mounted Displays
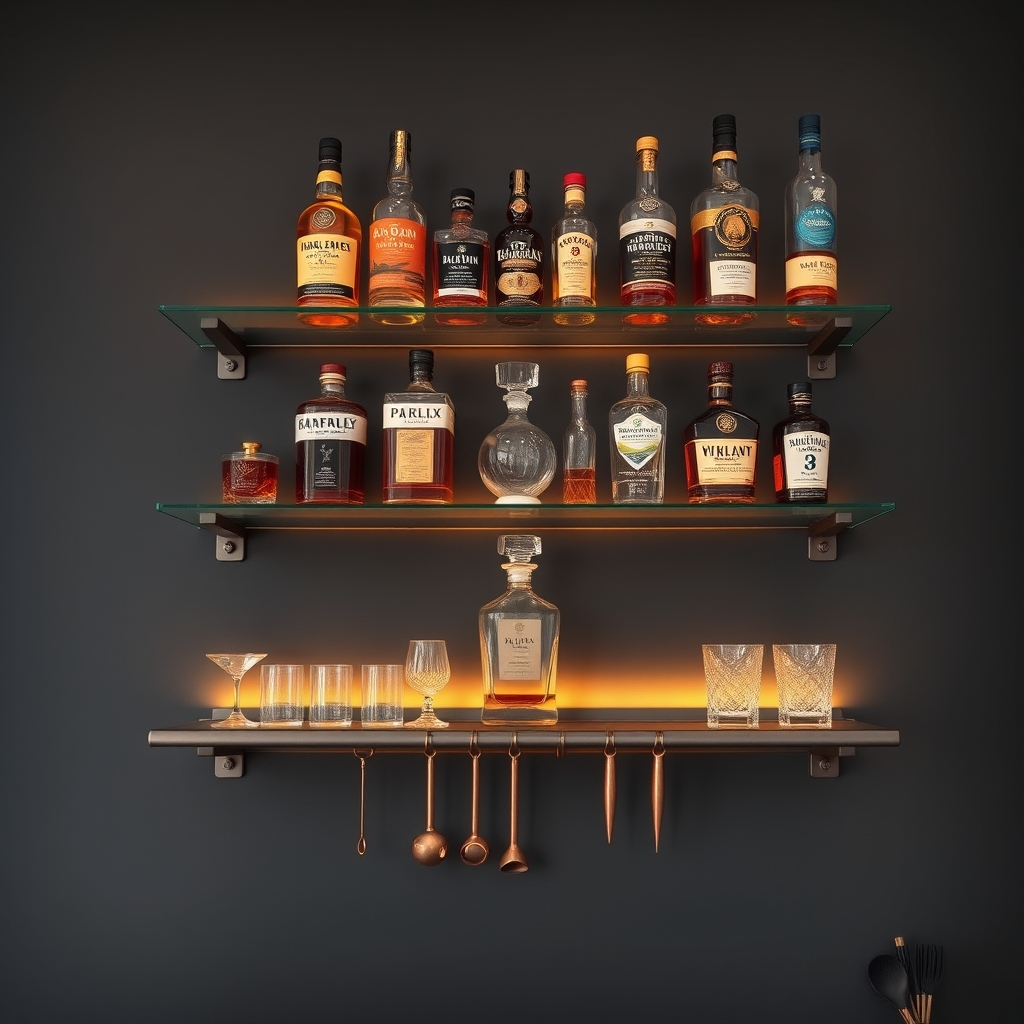
Vertical wall-mounted displays have become increasingly popular in home bars, offering both practical storage solutions and artistic appeal. These displays maximize vertical space while creating an eye-catching focal point that showcases your finest spirits and glassware.
By utilizing wall space effectively, you can free up valuable counter space while keeping bottles easily accessible. A well-organized vertical display not only enhances the aesthetic appeal of your home bar but also allows for better inventory management and creates a professional atmosphere similar to upscale commercial bars.
Required Items:
- Wall-mounted bottle racks or shelving
- Stud finder
- Level
- Power drill and drill bits
- Anchors and screws
- Measuring tape
- Pencil
- Safety glasses
- Wall brackets
- Optional LED lighting strips
- Cable management clips
Start by selecting your wall space and using a stud finder to locate secure mounting points. Measure and mark your installation points, ensuring they’re level and properly spaced for your chosen display system.
Install wall brackets or mounting hardware according to manufacturer specifications, being sure to use appropriate anchors for your wall type. When mounting multiple shelves or racks, work from bottom to top, double-checking level alignment at each step.
Consider spacing between shelves based on bottle heights and any specialty glassware you plan to display. For optimal organization, arrange bottles by category (spirits, wines, mixers) and height, keeping frequently used items at easily accessible levels.
If incorporating lighting, install it before placing bottles, ensuring all wiring is properly concealed and secured. Test the stability of each shelf or rack before loading with bottles.
Additional Tips: Incorporate a rotation system for bottles, keeping newer additions at the back and current bottles front-facing. Consider temperature and light exposure when choosing your wall location, avoiding areas near windows or heat sources.
Install a small lip or guardrail on each shelf for additional security, especially in areas prone to vibration or seismic activity. Regular dusting and maintenance will keep your display looking professional and prevent bottle label deterioration.
Customized Drawer Dividers and Inserts
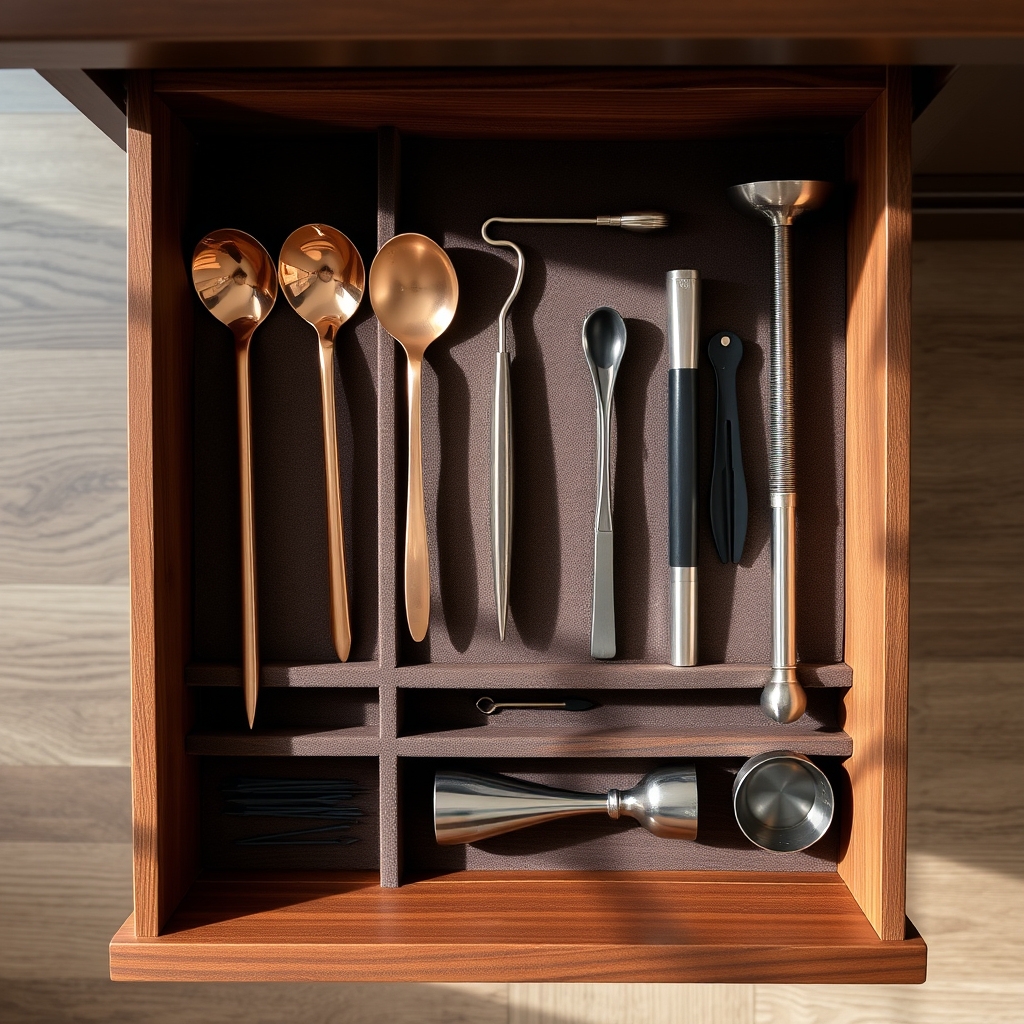
Well-organized drawer spaces are essential for any home bar setup, allowing quick access to tools and preventing damage to delicate bar implements. Proper drawer organization helps bartenders, whether professional or amateur, maintain an efficient workflow and protect their valuable bar accessories from unnecessary wear and tear.
Custom drawer dividers and inserts transform chaotic drawers into precision-organized spaces, with each tool having its designated spot. This systematic approach not only streamlines drink preparation but also extends the life of your bar tools by preventing them from knocking against each other during drawer operation.
Required Items:
- Measuring tape
- Adjustable drawer dividers
- Non-slip drawer liner
- Custom drawer inserts
- Label maker
- Cleaning supplies
- Storage containers for small items
- Drawer organizing trays
- Foam padding (optional)
- Scissors
Start by emptying the drawer completely and cleaning it thoroughly. Measure the interior dimensions of the drawer, accounting for both width and depth, and factor in any drawer mechanics that might interfere with insert placement.
Install non-slip liner material at the bottom of the drawer to prevent items from sliding.
Group similar items together: mixing tools, measuring implements, bottle openers, and small garnish tools. Create zones within the drawer using adjustable dividers or custom inserts, ensuring each section is appropriately sized for its intended contents.
Position frequently used items toward the front of the drawer for easy access. For delicate tools, consider adding foam padding to the dividers or creating custom-fitted slots. Arrange tools so that sharp edges are protected and metal implements don’t scratch against each other.
Label each section clearly to maintain organization over time.
Additional Tips: Review your drawer organization every few months and adjust the layout based on usage patterns. Consider seasonal adjustments for tools used more frequently during specific times of the year.
Keep a small container within the drawer for loose items that don’t fit the standard organizational system, and regularly assess whether all items in the drawer are necessary for your bar setup.
Hidden Storage Behind Mirrored Panels
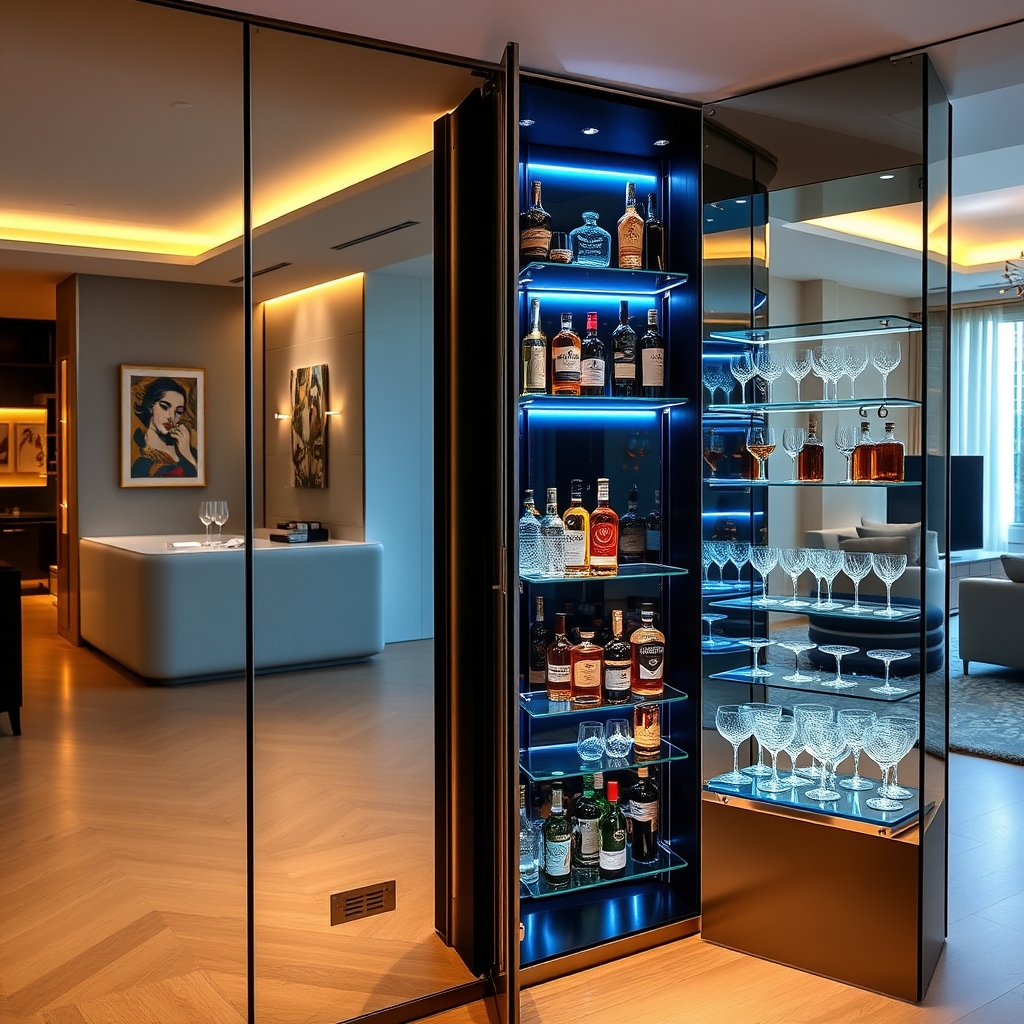
Creating hidden storage behind mirrored panels in your home bar area offers a sophisticated solution that combines functionality with aesthetic appeal. The reflective surfaces create an illusion of space while concealing your valuable spirits and bar accessories, making your home bar appear sleek and uncluttered during non-entertainment hours.
This organization method not only protects your collection from dust and direct sunlight but also adds an element of surprise and luxury to your home bar setup. When properly executed, mirrored panel storage can double your available space while maintaining a clean, modern appearance that enhances your room’s overall design.
Required Items:
- Mirrored panels with mounting hardware
- Cabinet hinges
- Wall anchors and screws
- Measuring tape
- Level
- Power drill
- Shelving brackets
- Adjustable glass shelves
- LED strip lighting
- Rubber bumpers
- Basic tools (screwdriver, pencil, drill bits)
Installing and organizing hidden storage behind mirrored panels requires careful planning and precise execution. Start by measuring your wall space and determining the optimal panel size and configuration. Install wall anchors at strategic points to support the weight of both the mirrors and stored items.
Mount the hinges securely, ensuring they can support the mirror’s weight while allowing smooth operation. Install adjustable shelving brackets behind the panels, positioning them at varying heights to accommodate different bottle sizes and bar accessories.
Create zones within the hidden storage area: designate the top shelves for frequently used items, middle shelves for spirits and wines, and lower shelves for backup supplies and less-used pieces. Install LED strip lighting along the shelving edges to illuminate the contents when the panels are opened. Use rubber bumpers at contact points to prevent the mirrors from hitting the wall when opened.
Additional Tips: Consider installing locks on the panels for added security, especially if you have valuable spirits or want to keep contents away from children. Label the backs of the panels to identify what’s stored behind each section, making it easier to locate items quickly.
Maintain a small gap between stored items and the mirror’s back to prevent contact when closing, and regularly check the hinges and mounting hardware for stability.

