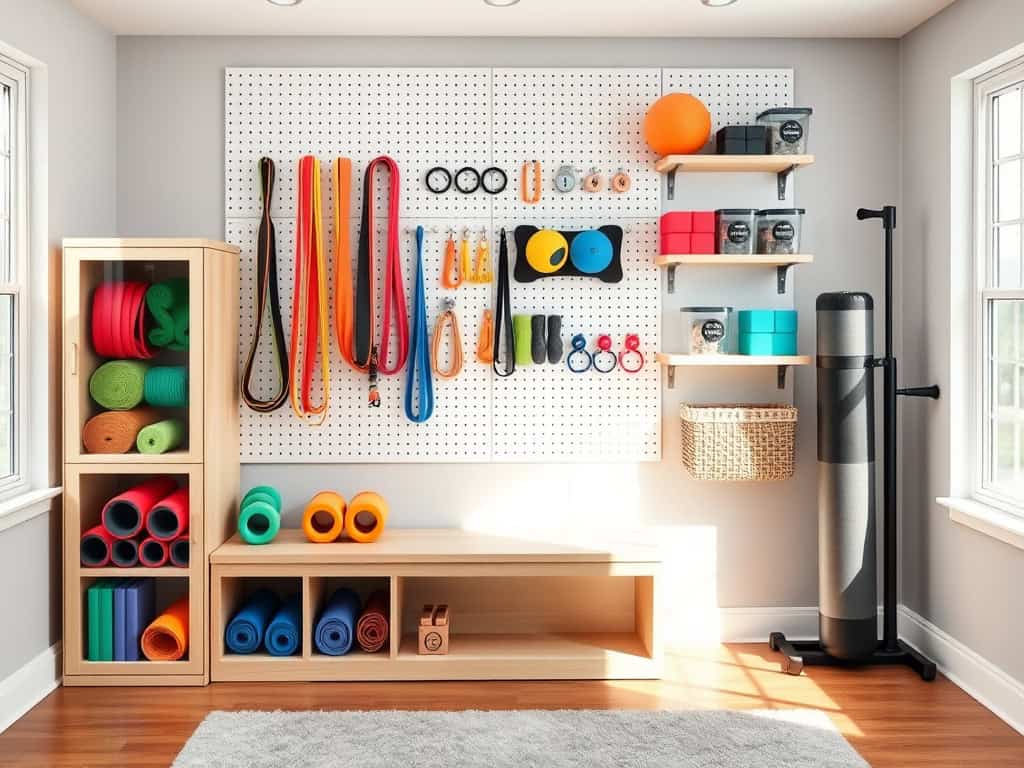
Just like a puzzle master finding creative ways to fit pieces together, you’re about to discover how to transform your cramped home gym into an organized oasis of fitness potential. You’ll be amazed at how much equipment you can actually fit into your workout space when you know the right storage tricks! Whether you’re dealing with a tiny corner or a dedicated room, I’ve tested these nine ingenious solutions that’ll help you maximize every square inch of your home gym.
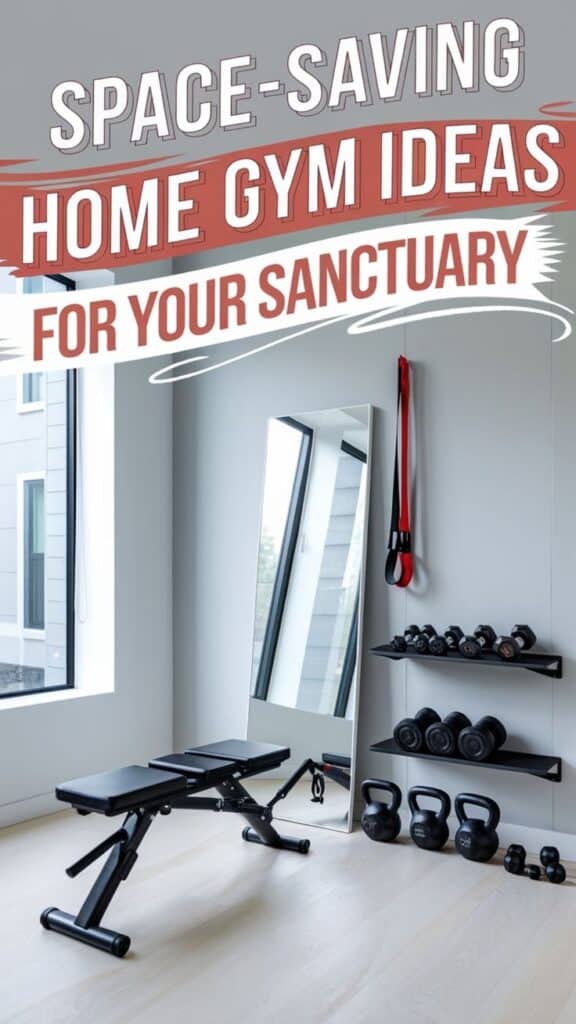
Vertical Storage Solutions for Weight Equipment
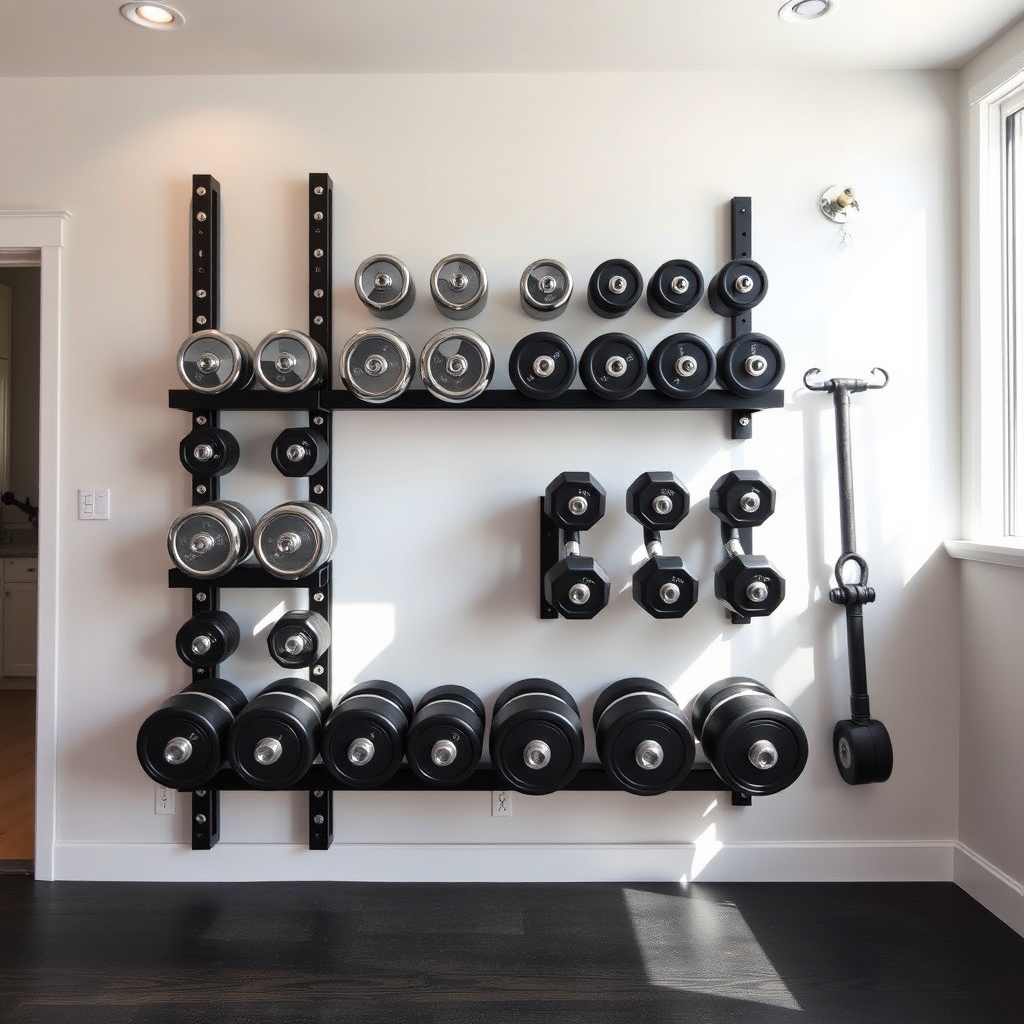
Proper storage of weight equipment is crucial for maintaining a safe and efficient home gym environment. Disorganized weights not only create hazards but can also discourage regular workouts when equipment is difficult to access or cluttered.
Vertical storage maximizes available floor space while keeping weights visible and easily accessible. By utilizing wall space and vertical storage solutions, you can transform your home gym into a professional-looking facility that rivals commercial gyms.
Strategic vertical organization helps protect your investment in equipment while creating a motivating environment that promotes consistent exercise habits.
Required Items:
- Wall-mounted weight rack
- Heavy-duty mounting hardware
- Stud finder
- Power drill
- Level
- Measuring tape
- Weight plate holders
- Dumbbell rack
- Storage hooks
- Rubber floor mats
- Weight collars organizer
Start by measuring your wall space and mapping out the ideal placement for your weight equipment. Install the wall-mounted weight rack at a comfortable height, ensuring it’s properly secured into wall studs.
Position heavier plates at the bottom of the rack for stability, with lighter weights at eye level or above. Mount dumbbell racks at waist height to prevent strain when accessing frequently used weights.
For barbells, install vertical bar holders or hooks with sufficient spacing between each unit to prevent collision. Create dedicated zones for different types of equipment: plate storage on one section, bars on another, and dumbbells in their designated area.
Use rubber floor mats beneath weight storage areas to protect both the floor and equipment from damage. Consider installing additional hooks or small shelves for weight collars, resistance bands, and other accessories above your main storage systems.
Always ensure proper weight distribution and leave adequate walking space between storage zones. Label weight sections clearly to maintain organization and perform regular safety checks on mounting hardware to prevent accidents.
Multi-Purpose Workout Benches With Hidden Storage
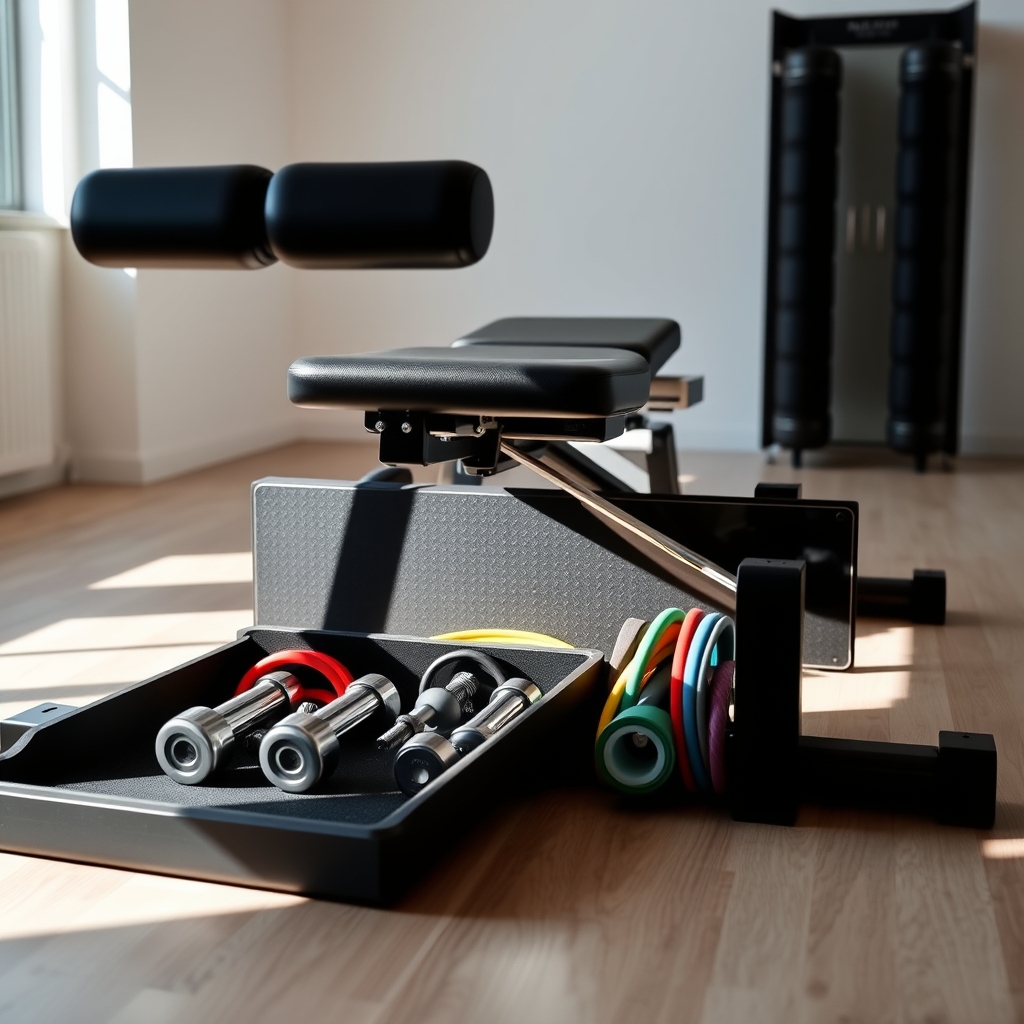
A well-organized workout bench with hidden storage capabilities serves as the cornerstone of an efficient home gym setup. By maximizing the functionality of your bench through smart storage solutions, you can maintain a clutter-free exercise space while keeping essential equipment within arm’s reach.
Multi-purpose workout benches with storage compartments offer a practical solution for home gyms of any size, eliminating the need for additional storage furniture while maintaining the primary function of strength training. This dual-purpose approach not only saves space but also helps create a more organized and professional-looking workout environment.
Required Items:
- Multi-purpose workout bench with storage compartments
- Storage bins or containers that fit bench dimensions
- Labels or label maker
- Dividers or organizers
- Microfiber cleaning cloth
- Measuring tape
- Storage bags for smaller items
- Anti-slip drawer liners
- Inventory list template
To organize your multi-purpose workout bench storage effectively, start by measuring the internal compartments and categorizing your equipment based on frequency of use and type. Place frequently used items like resistance bands, weight clips, and lifting straps in easily accessible compartments.
Utilize storage bins or containers that fit perfectly within the bench’s compartments to prevent items from shifting during use. Create designated zones within the storage areas: one for workout accessories, another for safety equipment, and a third for cleaning supplies.
Install anti-slip drawer liners to prevent items from sliding around, and use dividers to maintain organization within each compartment. Label all sections clearly to ensure equipment returns to its designated spot after use.
Additional Tips: Conduct a monthly inventory check to maintain organization and identify any missing or damaged equipment. Consider using clear containers to easily identify contents, and implement a “one-in-one-out” rule when adding new equipment to prevent overcrowding.
Keep a small maintenance kit in one of the compartments for quick repairs and regular bench maintenance.
Wall-Mounted Hanging Systems for Resistance Bands
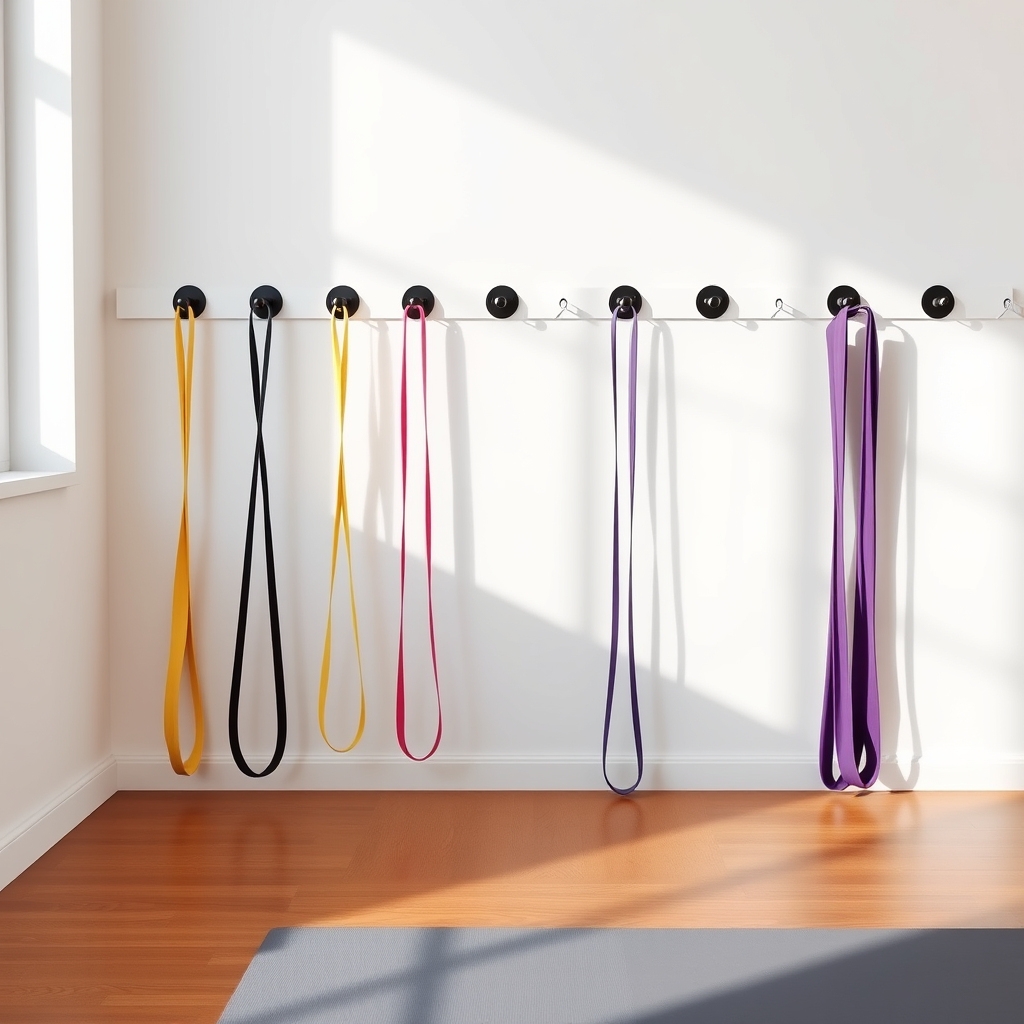
Proper storage of resistance bands is crucial for maintaining their longevity and preventing damage that can occur from improper storage methods. When bands are left tangled or on the floor, they can become stretched, kinked, or even create tripping hazards in your workout space.
A well-organized wall-mounted hanging system not only protects your investment in resistance bands but also creates an aesthetically pleasing display that makes selecting the right band quick and efficient. This system maximizes vertical space while keeping your workout area clear and professional-looking.
Required Items:
- Heavy-duty wall hooks or pegs
- Wall anchors
- Power drill
- Level
- Measuring tape
- Pencil
- Stud finder
- Screwdriver
- Wall brackets (optional)
- Small storage bins (optional)
Install your wall-mounted hanging system by first locating wall studs using a stud finder. Mark these locations and plan your hook placement, ensuring adequate spacing between hooks (typically 8-12 inches apart) to prevent bands from touching.
Drill pilot holes at marked locations, insert wall anchors if not drilling directly into studs, and secure hooks firmly to the wall. Consider installing hooks at varying heights to accommodate different band lengths and create a cascading display effect.
For optimal organization, sort resistance bands by resistance level or type before hanging. Lighter bands should be placed at eye level for easy access, while heavier bands can be positioned lower. If using multiple hooks, dedicate specific areas for different band types: loop bands, therapy bands, and handled resistance tubes.
Additional tips: Label the wall space above each hook to identify band resistance levels quickly. Consider installing a small shelf or mounting a storage bin below the hanging system for band accessories like handles or ankle straps.
Regularly inspect the mounting hardware and bands for signs of wear, and avoid hanging bands in direct sunlight or near heat sources that could degrade the material over time.
Rolling Storage Carts for Small Exercise Tools
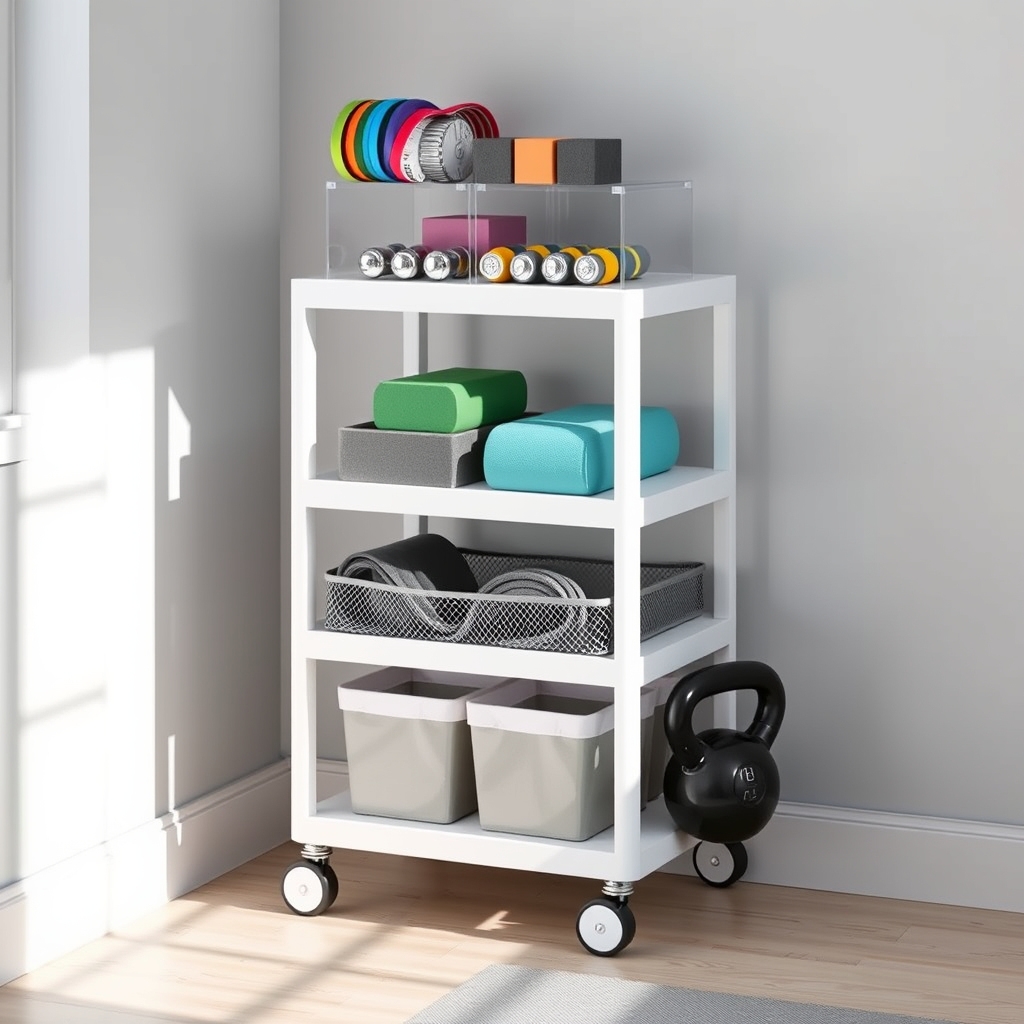
Organizing small exercise tools in rolling storage carts is essential for maintaining an efficient and clutter-free home gym environment. When equipment is properly stored and easily accessible, workouts become more fluid and enjoyable, eliminating the frustration of searching for resistance bands, weights, or other accessories mid-exercise.
Rolling storage carts offer the perfect solution for home gym organization, combining mobility with systematic storage. Their versatility allows you to move equipment wherever needed while keeping items organized in designated spaces, maximizing both floor space and accessibility during workouts.
Required Items:
- Multi-tier rolling cart
- Clear storage containers or bins
- Label maker or labels
- Drawer dividers
- Mesh bags
- Cable ties or velcro straps
- Measuring tape
- Cleaning supplies
Start by categorizing your small exercise tools into groups based on type and frequency of use. Place frequently used items like resistance bands and small hand weights on the top tier for easy access. Use clear containers or mesh bags to group similar items together, such as yoga blocks, massage balls, or exercise sliders.
The middle tier can house moderately used items such as jump ropes, workout gloves, and exercise bands. Reserve the bottom tier for heavier items and less frequently used equipment. Install drawer dividers to create separate compartments, preventing items from shifting during cart movement.
Ensure all containers are properly labeled for quick identification, and consider using color-coding for different exercise categories. To maximize the effectiveness of your rolling storage system, regularly review and rotate items based on your current workout routine.
Keep the cart clean and maintained, check wheels for smooth operation, and periodically assess if the organization system still meets your needs. Consider adding a small inventory list inside the cart to track items and maintain organization over time.
Over-the-Door Organizers for Yoga Mats and Accessories
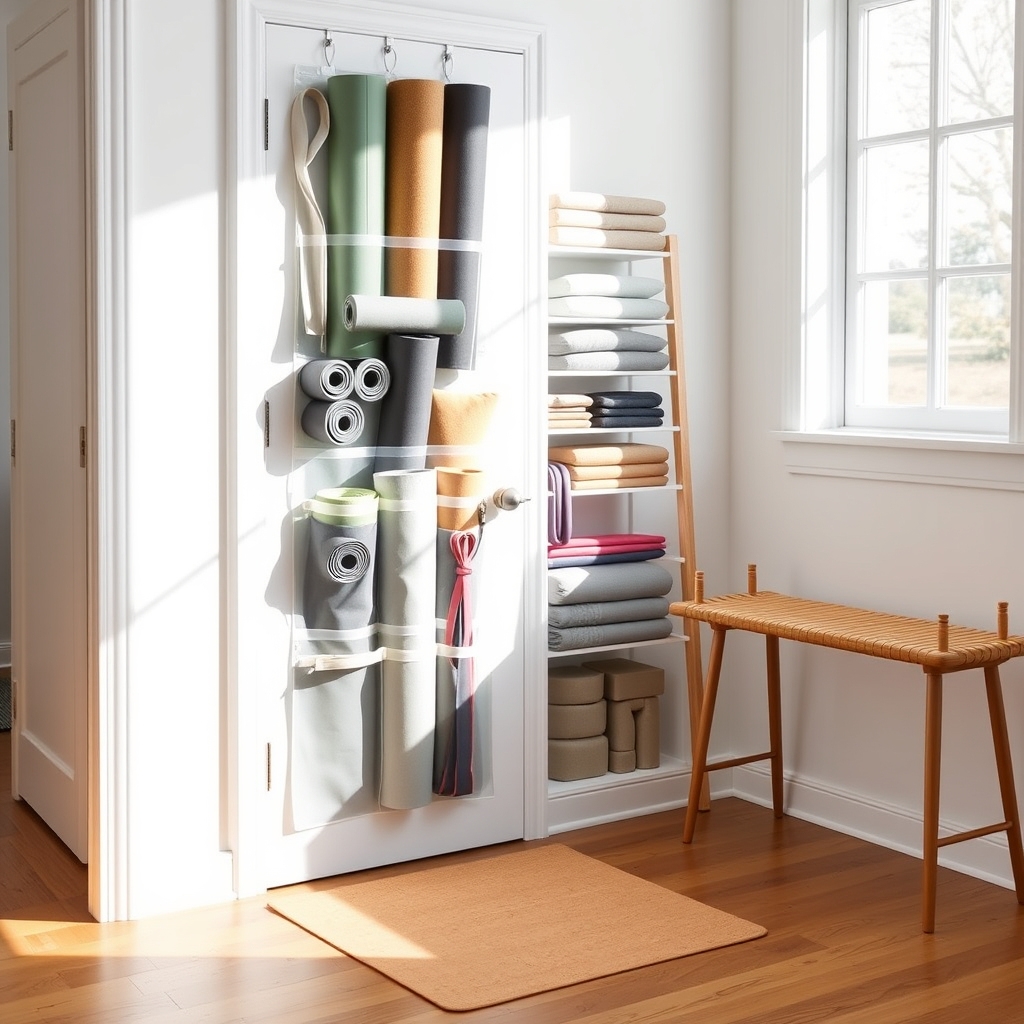
Keeping yoga equipment organized and easily accessible is crucial for maintaining a consistent practice and preventing damage to your gear. A cluttered exercise space can create mental barriers to working out and waste valuable time searching for essential items when you should be focusing on your practice.
Over-the-door organizers provide a space-efficient solution that maximizes vertical storage while keeping your yoga equipment off the floor and protected from dust and damage. This organization method is particularly valuable for small spaces and helps create a dedicated zone for your wellness equipment.
Required Items:
- Over-the-door organizer with multiple pockets
- Command hooks or over-door hooks
- Yoga mat straps or holders
- Storage bins or baskets (for smaller items)
- Label maker or labels
- Measuring tape
- Cleaning supplies
Start by measuring your door and selecting an appropriately sized over-the-door organizer that can accommodate your yoga mats and accessories. Install the organizer securely using either the included hooks or heavy-duty command hooks for additional stability.
Arrange your yoga mats vertically in the larger pockets, using straps if necessary to keep them tightly rolled. Dedicate specific pockets to different categories of accessories: blocks in one section, straps in another, and smaller items like resistance bands in mesh compartments.
Position frequently used items at eye level for easy access, while storing seasonal or less-used equipment in lower pockets. Consider using clear storage bins within larger pockets to contain small items like meditation beads or essential oils.
For optimal organization maintenance, implement a “one in, one out” rule when acquiring new yoga equipment, and regularly assess the condition of stored items. Clean the organizer monthly to prevent dust accumulation, and rotate your equipment periodically to ensure even wear.
Consider adding small silica gel packets to pockets containing moisture-wicking items to prevent mildew in humid environments.
Corner Shelving Units for Dumbbells and Kettlebells

Proper organization of free weights is crucial for both safety and efficiency in a home gym. Dumbbells and kettlebells scattered across the floor create tripping hazards and make it difficult to maintain a smooth workout flow. A well-organized corner shelving system maximizes vertical space while keeping weights easily accessible and visible.
Corner shelving units are particularly effective for home gyms as they utilize often-neglected corner spaces and create a professional, organized appearance. When weights are properly arranged by size and weight, you can quickly grab what you need during circuit training or when progressing through weight increments, ultimately saving time and maintaining workout momentum.
Required Items:
- Heavy-duty corner shelving unit
- Level
- Measuring tape
- Drill and mounting hardware
- Non-slip shelf liner
- Weight-rated wall anchors
- Labels or weight markers
- Safety straps (optional)
- Rubber matting
Installation and Organization Process:
Begin by measuring your corner space and selecting a shelving unit rated for the combined weight of your equipment. Install the unit following manufacturer specifications, ensuring it’s properly anchored to wall studs.
Place rubber matting on each shelf to prevent scratching and reduce noise. Arrange dumbbells in ascending weight order from top to bottom, with lighter weights on upper shelves for safer access. Position kettlebells on lower shelves due to their typically heavier weights and broader bases. Ensure at least two inches of space between each weight for easy removal and replacement.
Consider implementing a basic maintenance routine to keep your storage system functioning optimally. Regularly check shelf stability, tighten any loose screws or brackets, and clean both the weights and shelving surfaces weekly.
Keep heavier items centered on the shelves rather than toward the edges to maintain proper weight distribution and prevent shelf warping. Additionally, install small ledges or guardrails on the front of each shelf to prevent weights from rolling forward, especially if your home gym is in a basement or area prone to floor unevenness.
Additional Tips:
To maximize your corner shelving system, consider adding LED strip lighting under each shelf for better visibility during early morning or evening workouts. Use color-coded labels or markers to quickly identify weight increments, and keep frequently used weights at waist height for optimal accessibility.
If children have access to your gym space, install childproof straps or gates to prevent accidents, and always return weights to their designated spots after use to maintain organization and safety.
Pegboard Systems for Workout Gear
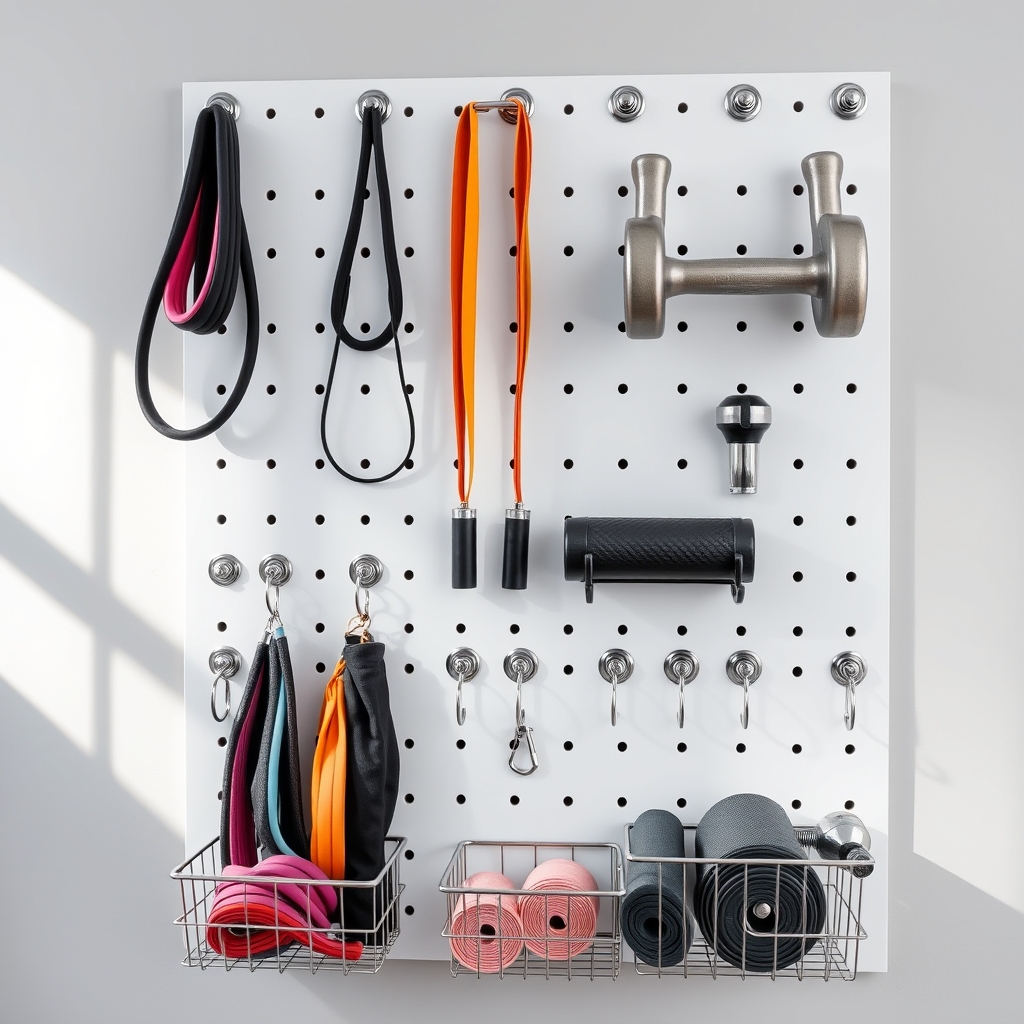
A well-organized pegboard system is a game-changer for home gym efficiency, transforming cluttered spaces into functional workout areas. By implementing vertical storage solutions, you can maximize wall space while keeping equipment easily accessible and visible, eliminating the frustration of searching for gear during workouts.
Pegboard systems are highly customizable and can accommodate various types of exercise equipment, from resistance bands to jump ropes. This versatile storage solution not only creates an organized environment but also protects your investment in fitness equipment by keeping items off the floor and properly stored.
Required Items:
- Pegboard panels
- Wall anchors and screws
- Mounting brackets
- Pegboard hooks (various sizes)
- Level
- Drill
- Measuring tape
- Pencil
- Hammer
- Assorted pegboard accessories (bins, holders, shelves)
Install the pegboard by first locating wall studs and marking their positions. Mount the brackets securely to the wall studs, ensuring they’re level and properly spaced. Attach the pegboard panels to the mounting brackets, leaving approximately 1/2 inch of space between the wall and pegboard for hook insertion.
Once mounted, begin arranging hooks and accessories according to your equipment needs. Organize equipment by frequency of use and workout type, placing regularly used items at eye level. Create designated zones for different categories of equipment: strength training, cardio accessories, and recovery tools.
Use a combination of single hooks, double hooks, and specialized holders to accommodate various gear sizes and shapes. When maximizing pegboard efficiency, consider implementing a color-coding system for different equipment categories and label sections clearly.
Periodically reassess your organization system and adjust hook placement based on changing workout routines or new equipment acquisitions. Leave some empty hooks and space for future additions, and regularly inspect the mounting hardware to ensure the system remains secure and stable.
Under-Stair Storage Solutions for Cardio Equipment
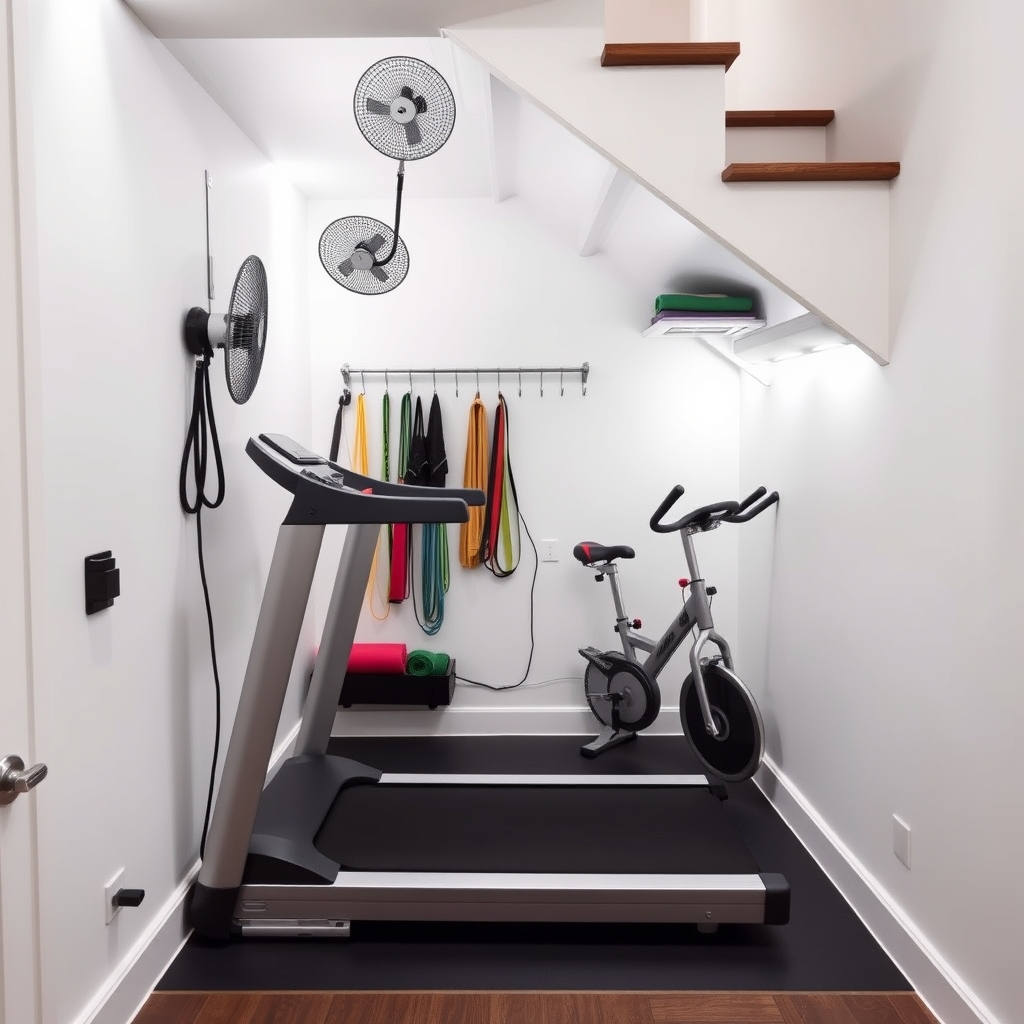
The often-overlooked space beneath stairs represents prime real estate for home gym storage, particularly for cardio equipment that tends to occupy significant floor space. Utilizing this area efficiently can transform an awkward architectural feature into a dedicated fitness zone while maintaining the clean aesthetics of your home.
Proper organization of cardio equipment under stairs not only maximizes space utilization but also creates a convenient workout station that encourages regular exercise. The triangular nature of under-stair spaces provides natural segregation for different equipment sizes, making it ideal for storing everything from treadmills to compact ellipticals.
Required Items:
- Measuring tape
- Level
- Power drill
- Wall anchors
- Heavy-duty brackets
- Non-slip rubber mats
- LED strip lighting
- Extension cords
- Cable management solutions
- Storage hooks
- Equipment casters (if needed)
- Ventilation fan (optional)
Start by measuring the under-stair space carefully, noting height clearances at different points and marking zones for specific equipment. Install rubber matting on the floor to protect both the surface and equipment while providing sound dampening.
Mount heavy-duty brackets on the walls where needed for securing larger equipment, ensuring they’re properly anchored to support the weight. Install LED strip lighting along the ceiling of the space to provide adequate visibility.
For optimal organization, position larger equipment like treadmills at the tallest point of the under-stair area, with smaller items such as folding bikes or steppers arranged toward the shorter end. Install hooks on the walls for resistance bands, jump ropes, and other accessories.
Ensure all electrical equipment has proper access to outlets and manage cables neatly using cord organizers to prevent tripping hazards.
Additional Tips: Consider installing a small ventilation fan to maintain air circulation in the enclosed space. Use equipment with folding capabilities when possible to maximize storage flexibility.
Create a clear walkway to access all equipment easily, and maintain a small open area for stretching or warm-up exercises. Label storage zones clearly to maintain organization and consider using storage solutions with wheels for easier access to equipment in tight spaces.
Ceiling-Mounted Pulley Systems and Storage Racks
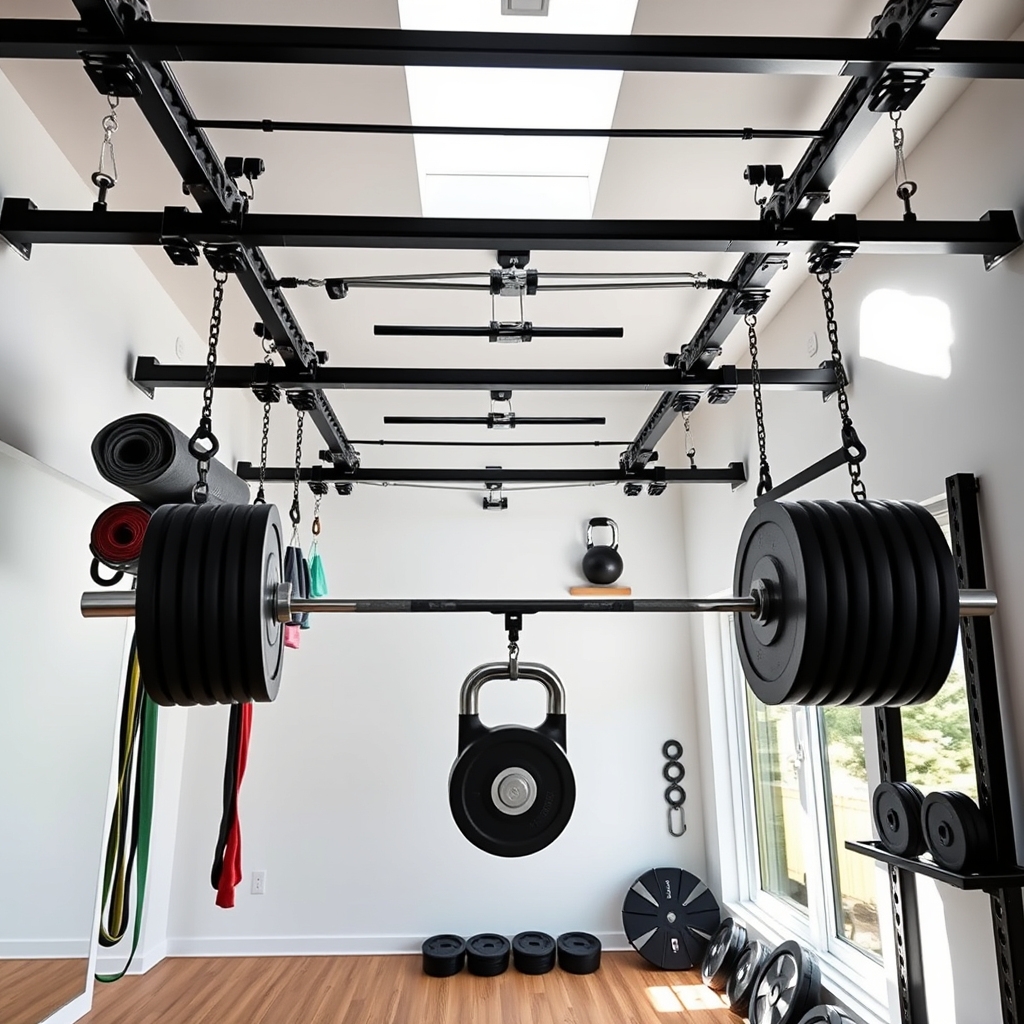
Maximizing vertical space in a home gym through ceiling-mounted solutions is crucial for creating an efficient workout environment. Proper organization of pulley systems and storage racks not only frees up valuable floor space but also creates a professional atmosphere that motivates consistent exercise habits.
Ceiling-mounted storage solutions require careful planning and installation to ensure safety and functionality. When properly organized, these systems can accommodate everything from resistance bands and jump ropes to Olympic bars and weight plates, while keeping them easily accessible during workouts.
Required Items:
- Heavy-duty ceiling mounting brackets
- Steel cable or chains
- Pulley wheels
- Carabiners
- Storage hooks
- Weight-rated ceiling anchors
- Drill and drill bits
- Level
- Measuring tape
- Stud finder
- Wrench set
- Safety cables
- Storage bins or baskets
Start by mapping out your ceiling space using a stud finder to locate secure mounting points. Install heavy-duty mounting brackets into ceiling joists, ensuring they’re rated for the weight you plan to store.
Position pulley systems strategically to accommodate different exercises and equipment access points. For storage racks, create zones based on equipment type and frequency of use. Install hooks and hangers at varying heights to maximize vertical space utilization.
Implement a pulley system that allows for easy raising and lowering of heavier items, using safety cables as backup support. Ensure all mounting points are reinforced and tested before adding equipment.
Safety should be the primary consideration when organizing ceiling-mounted storage. Regular inspection of mounting points, cables, and pulleys is essential.
Consider installing rubber matting beneath stored equipment, using safety straps for additional security, and maintaining clear access paths to all stored items. Implement a regular maintenance schedule to check for wear and tear on all components of your ceiling storage system.

