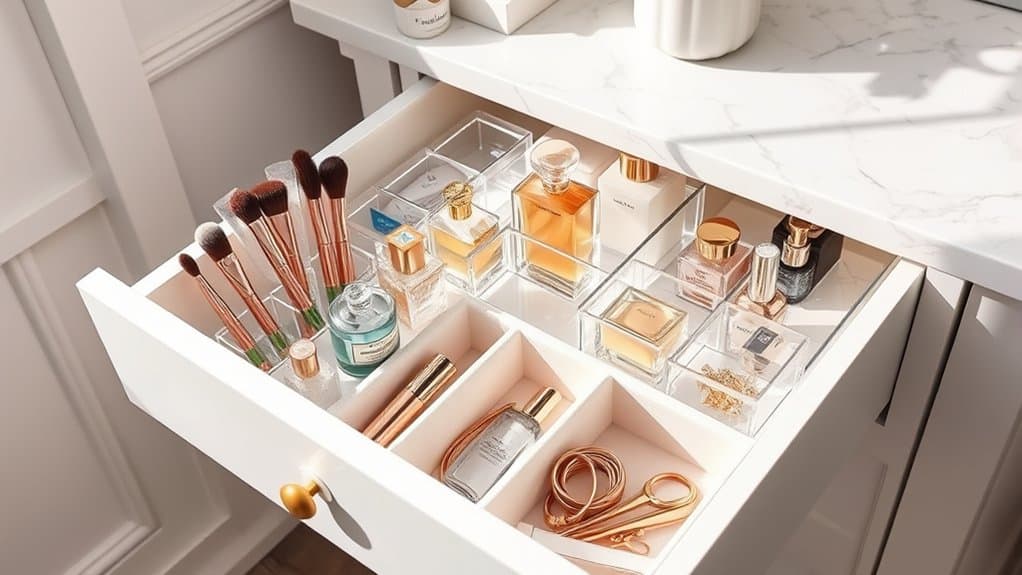
You’ve probably experienced that frustrating moment of rummaging through your vanity drawer, desperately searching for your favorite lipstick or that perfect eyeshadow palette. I’ve been there too! Whether you’re working with a tiny apartment bathroom or a spacious master suite, smart drawer organization can transform your morning routine from chaos to calm. Let’s explore seven game-changing ideas that’ll help you create a beautifully organized vanity space that Marie Kondo would definitely approve of.
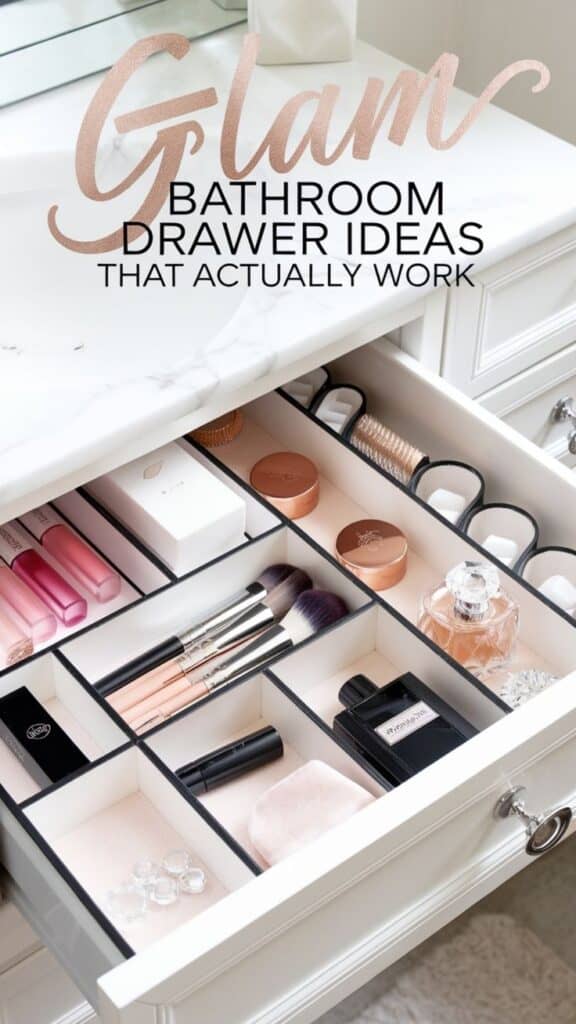
Custom Acrylic Drawer Dividers for Perfect Compartments
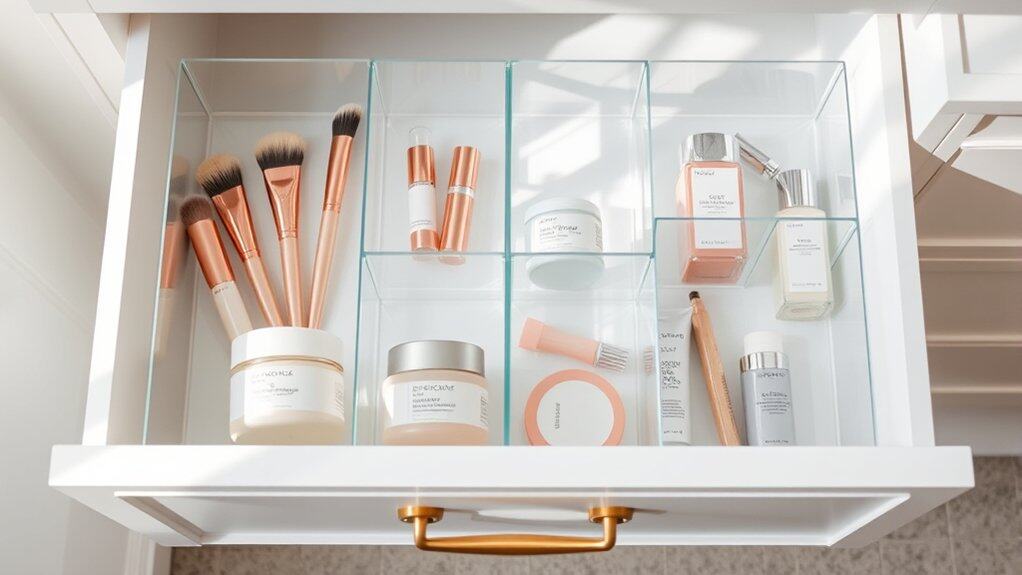
Bathroom vanity drawers often become chaotic catch-alls for various personal care items, making it difficult to find what you need quickly during daily routines. Custom acrylic drawer dividers offer a sleek, professional solution that transforms cluttered spaces into perfectly organized compartments tailored to your specific items and drawer dimensions.
Creating custom compartments with acrylic dividers allows you to maximize every inch of drawer space while keeping items separated and easily accessible. Unlike pre-made organizers, custom dividers can be cut to exact specifications, ensuring a perfect fit for your unique storage needs and maintaining a clean, minimalist aesthetic.
Required Items:
- Acrylic sheets (1/8 inch thickness)
- Measuring tape
- Pencil
- Straight edge ruler
- Scoring tool or utility knife
- Sandpaper (fine-grit)
- Clear silicone adhesive
- Cleaning cloth
- Isopropyl alcohol
- Safety glasses
- Work gloves
Start by thoroughly cleaning and measuring your drawer’s interior dimensions. Sketch a layout plan that accounts for the specific items you need to store, ensuring appropriate spacing for different categories like makeup, dental care, or hair accessories.
Measure and mark your acrylic sheets according to your planned layout, adding 1/4 inch to the height measurement for proper fitting. Score the acrylic along your marked lines using a scoring tool and straight edge, making several passes until the groove is deep enough. Carefully snap the acrylic along the scored line, then sand the edges smooth.
Clean the drawer and acrylic pieces with isopropyl alcohol. Apply a thin bead of silicone adhesive along the bottom edge of each divider where it will contact the drawer bottom. Position the dividers according to your layout plan, using painter’s tape to hold them in place while the adhesive cures for 24 hours.
For additional stability, consider creating interlocking joints where dividers meet by cutting notches in the connecting pieces.
For optimal long-term organization, label each compartment and establish a system where frequently used items are placed toward the front of the drawer. Consider using small acrylic risers or platforms within larger compartments to create multiple levels of storage, maximizing vertical space.
Regularly assess and adjust the layout as your storage needs change, and clean the acrylic surfaces with a mild soap solution to maintain clarity and prevent buildup of bathroom products.
Stackable Beauty Organizers That Maximize Space
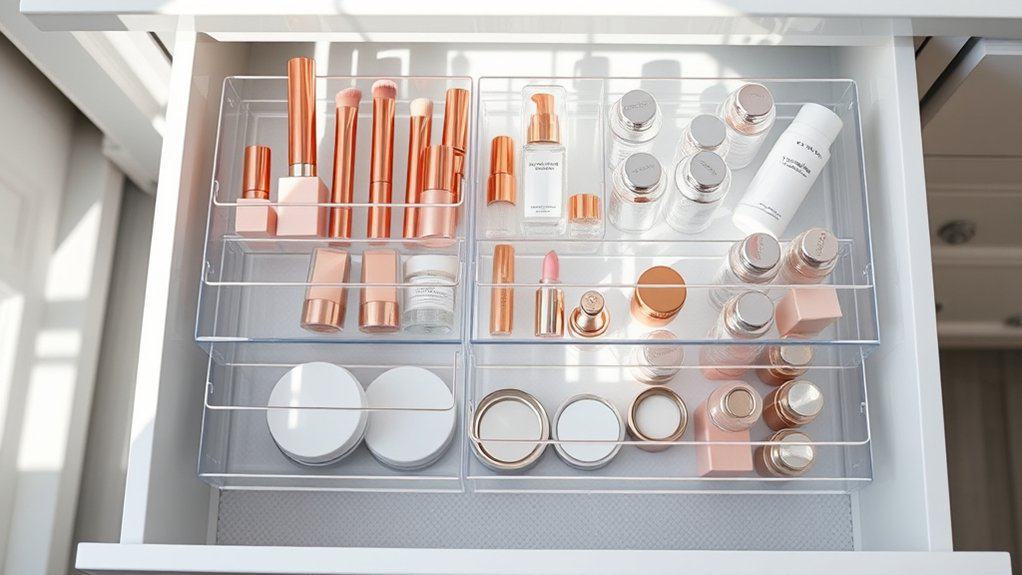
Organizing bathroom vanity drawers with stackable organizers transforms a chaotic space into an efficient, easy-to-navigate storage system. When cosmetics, skincare products, and beauty tools are properly arranged in stackable containers, you can maximize vertical space while keeping everything visible and accessible.
Stackable organizers eliminate the frustration of digging through messy drawers to find specific items, saving valuable time during daily routines. These modular solutions adapt to different drawer depths and widths, allowing customization based on your specific storage needs and product collection.
Required Items:
- Clear stackable drawer organizers
- Drawer measurement tape
- Label maker or labels
- Drawer liner (non-slip)
- Cleaning supplies
- Small containers for loose items
- Drawer dividers
- Storage bins with different heights
Empty the drawer completely and clean it thoroughly. Measure the drawer’s dimensions, accounting for height, width, and depth to determine which stackable organizers will fit best. Install non-slip liner to prevent containers from sliding.
Sort beauty items into categories such as makeup, skincare, hair accessories, and tools. Select appropriately sized stackable organizers for each category, ensuring they fit together efficiently within the drawer space.
Position taller stackable units toward the back of the drawer and shorter ones in front for easy visibility. Arrange frequently used items in top containers or front positions for quick access. Group similar items together within each container, using smaller compartments for items like lipsticks, brushes, or cotton swabs. Label each container clearly to maintain organization long-term.
Additional Tip: Review and reorganize your stackable system every three months, removing expired products and adjusting container arrangements based on changing needs and seasonal items. Consider using clear containers exclusively to maintain visibility and prevent forgotten products from expiring unused in bottom drawers.
Magnetic Palette Systems for Makeup Storage

Organizing makeup using magnetic palette systems has become increasingly popular among beauty enthusiasts and everyday users alike. These systems not only maximize drawer space but also keep cosmetics visible and easily accessible, preventing forgotten products from expiring unused in the depths of traditional makeup bags or containers.
The magnetic organization method is particularly effective for pressed powder products like eyeshadows, blushes, and bronzers. By depotting these items into a magnetic system, users can customize their collections, combine products from different brands, and create streamlined, space-efficient storage solutions that fit perfectly in vanity drawers.
Required Items:
- Magnetic palettes (various sizes)
- Magnetic stickers
- Metal spatula or depotting tool
- Heat tool (hair straightener or candle)
- Rubbing alcohol
- Cotton swabs
- Small containers for loose powder
- Labels
- Tweezers
- Clean cloth
Begin by assessing all makeup products and determining which items can be depotted into magnetic palettes. Heat the bottom of plastic or metal pans using a heat tool to loosen the adhesive. Carefully remove each pan using the metal spatula, ensuring not to damage the product. Clean any remaining adhesive from the bottom of the pans with rubbing alcohol and attach magnetic stickers if the pans aren’t already magnetic.
Arrange products in magnetic palettes according to frequency of use, color families, or product type. Consider creating separate palettes for everyday essentials versus special occasion items. Label each pan with the product name and shade using small stickers on the bottom to maintain organization long-term.
For optimal results, store magnetic palettes flat in drawer organizers to prevent products from shifting or breaking. Regularly clean the palette surfaces and evaluate the arrangement every few months, adjusting the organization system based on seasonal changes or evolving makeup preferences. Keep frequently used palettes at the front of drawers for easy access, and consider using clear-topped palettes to quickly identify contents without opening.
Clear Container Categories by Product Type

Organizing bathroom vanity drawers with clear containers sorted by product type transforms a cluttered space into an efficient, easy-to-navigate storage system. When items are grouped logically and stored in transparent containers, you can quickly locate what you need and maintain order in your daily routine.
Creating designated zones for different product categories not only maximizes drawer space but also helps track inventory levels and expiration dates. Clear containers allow you to see when supplies are running low and prevent duplicate purchases while keeping similar items together in an aesthetically pleasing way.
Required Items:
- Clear plastic containers in various sizes
- Drawer dividers
- Label maker or labels
- Measuring tape
- Drawer liner (non-slip)
- Clean cloth
- Cleaning spray
Start by emptying the drawer completely and cleaning it thoroughly. Measure the drawer dimensions and plan your container layout. Group similar products together: facial care, dental hygiene, hair accessories, makeup, first aid supplies, and daily essentials.
Select appropriately sized clear containers that fit within your drawer dimensions while maximizing space usage. Position the containers in the drawer, ensuring frequently used items are easily accessible. Place taller items toward the back and shorter items in front for better visibility.
Use smaller containers for items like cotton swabs, hair ties, or bobby pins, and larger ones for bottles, tubes, or bulkier products. Add labels to each container to maintain organization long-term.
Maintenance Tip: Review container contents monthly to remove expired products, clean containers, and adjust categories as needed. Consider implementing a one-in-one-out rule when purchasing new items to prevent overflow and maintain the organizational system’s effectiveness.
Keep backup supplies in a separate location to avoid overcrowding the daily-use drawer space.
Vertical Storage Solutions for Taller Items
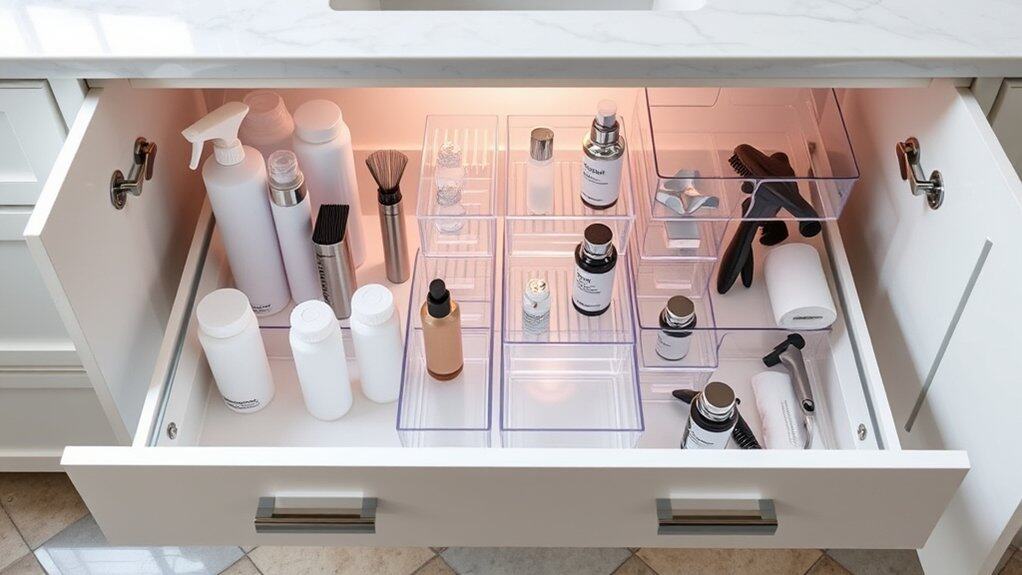
Making the most of vertical space in bathroom vanity drawers is crucial for storing taller items like hair sprays, lotions, and styling tools. These items often end up cluttered on countertops or crammed into cabinets where they’re difficult to access and create unnecessary chaos in your daily routine.
Proper vertical storage maximizes drawer space while keeping items visible and easily accessible. This organization method prevents products from falling over, reduces clutter, and transforms deep drawers into efficient storage spaces that work with your daily grooming routine.
Required Items:
- Drawer dividers (adjustable or expandable)
- Tension rods
- Clear acrylic organizers
- Drawer liner (non-slip)
- Measuring tape
- Label maker
- Small command hooks
- Drawer bins with varying heights
- Cable ties or velcro straps
Start by measuring your drawer’s dimensions and mapping out zones for different categories of items. Install drawer dividers to create vertical compartments, ensuring they’re properly secured.
Place tension rods across the width of the drawer to create additional support for taller items. Position acrylic organizers or bins against the back of the drawer for your tallest items, then arrange medium-height items in the middle section.
For items that tend to fall over, use command hooks on the drawer’s side walls to secure them in place. Group similar items together, such as hair products in one section and skincare in another.
Consider using stackable containers that can be removed easily when needed, maximizing vertical space while maintaining accessibility.
Additional Tips: Regularly review and rotate products to ensure frequently used items remain at the front. Install motion-sensor drawer lights to improve visibility of items stored in the back.
Consider using clear containers to easily identify products, and implement a quarterly cleaning schedule to maintain organization and check for expired products.
Pull-Out Organizer Trays for Deep Drawers
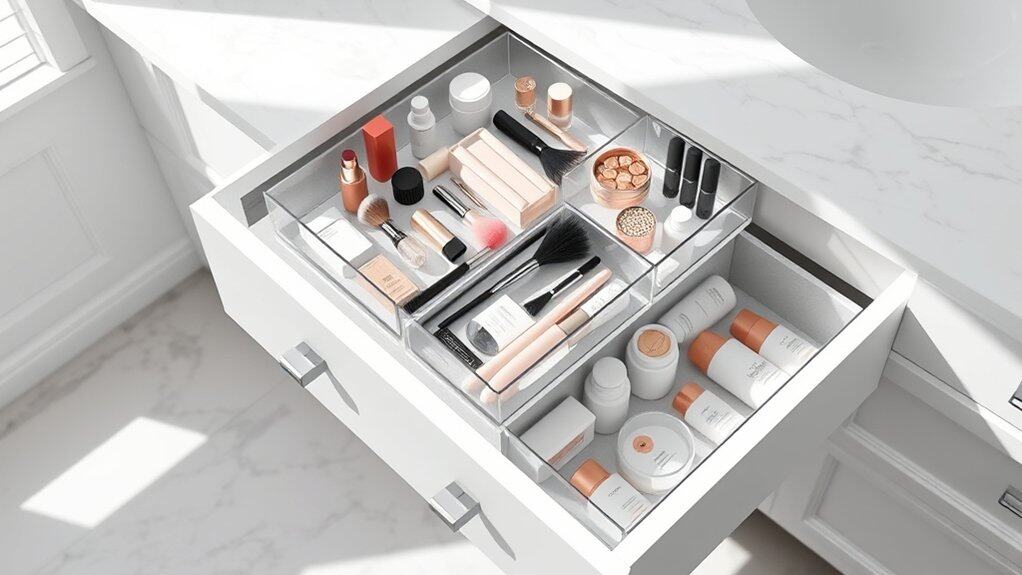
Deep bathroom drawers often become chaotic catch-alls for various toiletries, tools, and accessories, making it difficult to find what you need when you need it. Pull-out organizer trays transform these deep spaces into efficient, well-organized storage solutions that maximize vertical space while keeping items easily accessible.
Implementing pull-out organizer trays in deep drawers creates multiple levels of storage, effectively doubling or tripling your usable space. This system allows you to categorize items logically while preventing smaller items from getting lost at the bottom of deep drawers.
Required Items:
- Pull-out drawer organizer trays (sized to fit your drawer)
- Drawer liner material
- Measuring tape
- Scissors
- Small containers or dividers
- Labels and label maker (optional)
- Drawer stops or brackets
- Screwdriver
- Level
Installing and organizing pull-out trays requires careful planning and execution. First, measure your drawer’s interior dimensions, including depth, width, and height, to ensure proper fit of your organizer trays.
Install drawer stops or brackets according to the manufacturer’s instructions to prevent trays from sliding too far back. Line the bottom of each tray with non-slip drawer liner material, cut to size.
Sort bathroom items into categories such as daily essentials, hair care, dental care, and occasional-use items. Place frequently used items in the top tray for easy access, while storing less-used items in lower trays.
Utilize small containers or dividers within each tray to maintain organization and prevent items from sliding around when opening and closing the drawer.
To maintain your organized system, regularly assess and adjust the arrangement based on your usage patterns. Consider installing drawer dampeners to prevent slamming and protect your organized items from shifting.
Clean trays monthly and replace drawer liners as needed to maintain a hygienic environment. Keep categories consistent and resist the temptation to overcrowd the trays, as this will quickly lead to disorganization.
Upcycled Vintage Containers for Elegant Storage
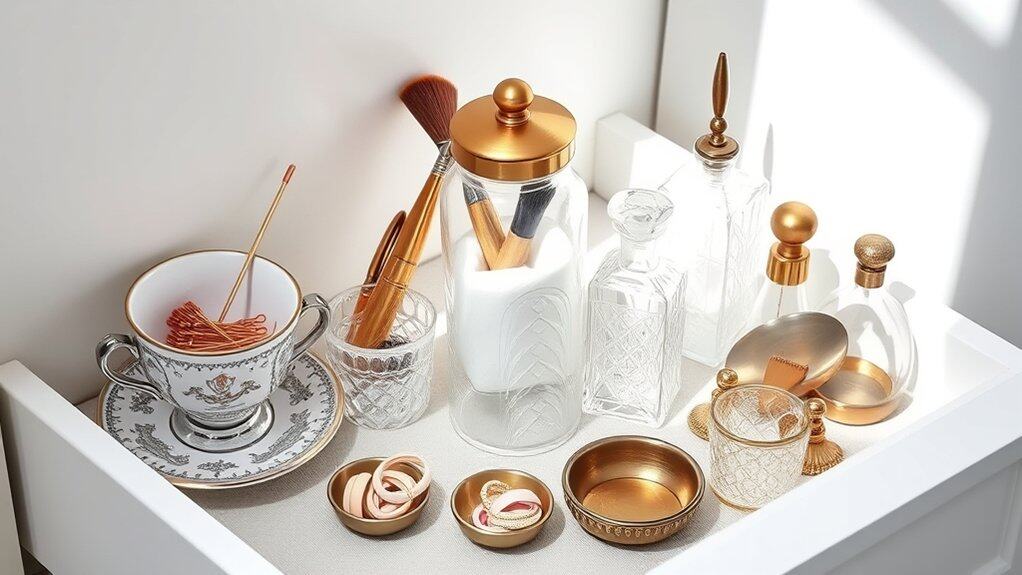
Transform your cluttered bathroom vanity drawer into an elegant, organized space by repurposing vintage containers. Antique teacups, delicate glass jars, and retro tins not only provide practical storage solutions but also add character and charm to your daily routine. These timeless pieces elevate the aesthetic of your bathroom while keeping essentials neatly arranged.
Upcycling vintage containers for bathroom storage combines sustainability with style, preventing these beautiful items from ending up in landfills while creating unique organizational solutions. This approach allows you to customize your storage based on your specific needs while maintaining a cohesive, sophisticated look that brings joy to your morning routine.
Required Items:
- Vintage teacups or saucers
- Antique glass jars with lids
- Small metal tins
- Drawer liner or felt padding
- Measuring tape
- Clear silicone dots
- Glass cleaner
- Soft cleaning cloths
- Drawer dividers (optional)
- Small vintage trays
- Non-slip drawer mat
Start by thoroughly cleaning all vintage containers with appropriate cleaning products, ensuring they’re completely dry before use. Measure your drawer space and arrange containers to maximize storage while maintaining easy access.
Place a non-slip mat or drawer liner first, then position larger items like glass jars toward the back for taller items such as makeup brushes or cotton swabs. Arrange smaller vessels like teacups in front for frequently accessed items such as hair ties or bobby pins.
Create designated zones within the drawer based on daily routine: morning essentials, evening skincare, and occasional-use items. Use silicone dots on the bottom of containers to prevent sliding. Consider adding small vintage trays to corral related items together, such as maintaining a dedicated space for jewelry or specific beauty tools.
For optimal organization maintenance, clean containers monthly and reassess their contents every season. Rotate items based on frequency of use, keeping daily essentials most accessible. Choose containers with proper seals for moisture-sensitive items, and consider using small sachets in enclosed containers to maintain freshness.
Remember that proper organization not only creates efficiency but also preserves these vintage pieces for continued use and enjoyment.

