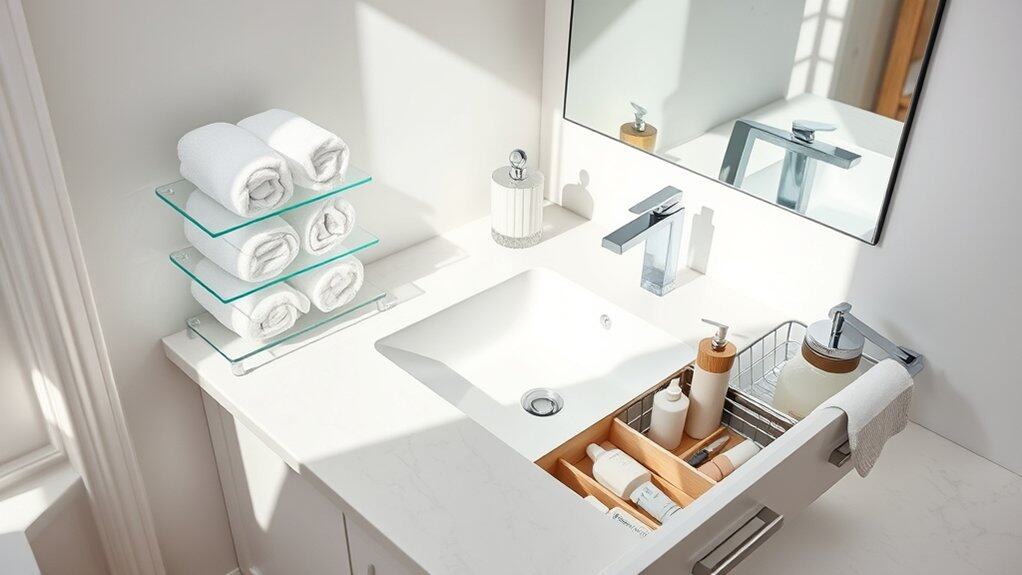
Picture Sarah, a busy mom of three, who transformed her chaotic bathroom sink area into a serene morning sanctuary in just one weekend. You’ll be amazed at how a few smart organization tricks can turn your cluttered counter into an efficient space that actually makes you smile! Whether you’re dealing with limited storage or sharing a bathroom with family members, these nine practical tips will help you create a system that works for your unique lifestyle.
Install a Bathroom Sink Shelf Organizer
A well-organized bathroom sink area creates a more efficient morning routine and helps maintain a clutter-free environment. The space under and around your sink often goes underutilized, yet it holds tremendous potential for smart storage solutions that can keep your daily essentials within easy reach.
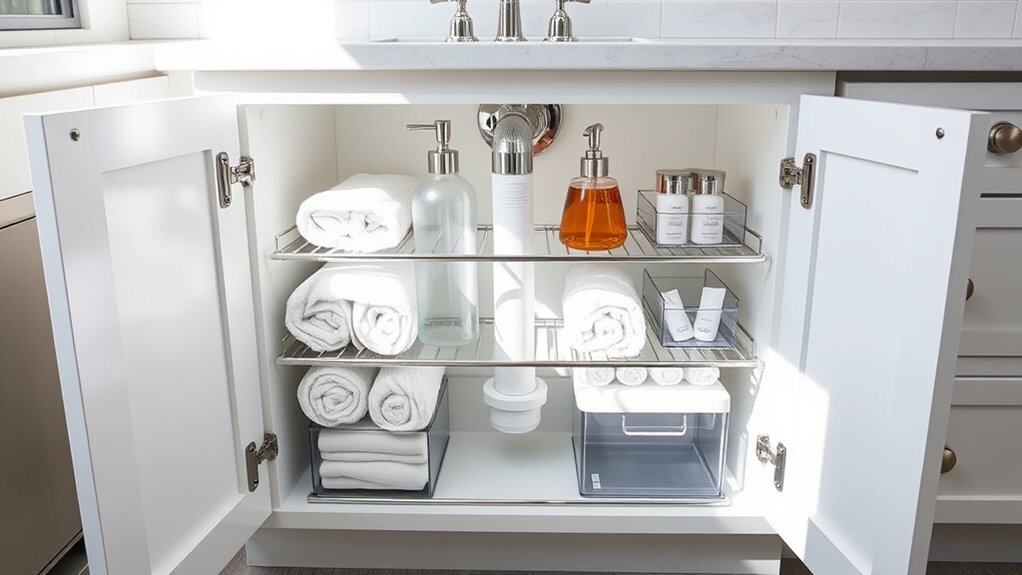
Installing a bathroom sink shelf organizer transforms the usually wasted space under your sink into a functional storage area. This simple addition can double or triple your storage capacity while keeping items visible, accessible, and protected from moisture.
Required Items:
- Bathroom sink shelf organizer unit
- Measuring tape
- Screwdriver
- Level
- Mounting hardware (typically included)
- Pencil
- Cleaning supplies
- Storage bins or containers (optional)
- Non-slip drawer liners (optional)
Start by thoroughly cleaning the area under your sink and taking precise measurements of the available space, accounting for plumbing fixtures and pipes. Select an organizer that fits these dimensions with at least one inch of clearance on all sides. Most sink organizers feature adjustable shelves and sections that can be configured around existing plumbing.
Once you’ve confirmed the fit, assemble the organizer according to manufacturer instructions, typically starting with the frame and adding shelves at your desired heights. If your organizer requires mounting, mark the installation points on the cabinet walls, ensuring they’re level. Drill pilot holes if necessary and secure the unit using the provided hardware.
For free-standing organizers, place non-slip mats underneath to prevent shifting. For maximum effectiveness, group similar items together on the shelves and consider using clear containers to keep smaller items organized. Place frequently used items at eye level and store rarely used items on lower shelves.
Regular maintenance of your sink organizer will ensure its long-term functionality – schedule monthly checks to wipe down shelves, adjust items as needed, and remove any products that are no longer used or have expired.
Use Drawer Dividers for Better Compartmentalization
Organizing bathroom sink drawers is essential for maintaining an efficient morning routine and keeping personal care items easily accessible. When drawers become cluttered, items get lost in the chaos, leading to wasted time searching for necessities and unnecessary product duplicates.
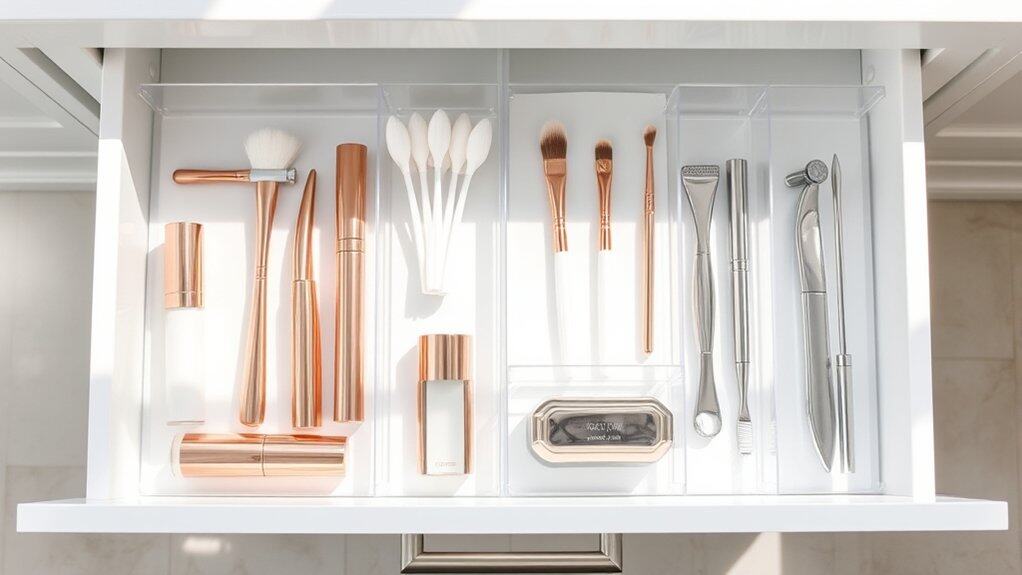
Drawer dividers transform chaotic spaces into well-ordered systems, creating designated spots for everything from dental care items to cosmetics. This organization method not only maximizes drawer space but also helps maintain cleanliness and extends the life of personal care products by preventing spills and damage.
Required Items:
- Drawer dividers (adjustable or fixed)
- Measuring tape
- Drawer liner (non-slip)
- Clean cloth
- Storage containers (various sizes)
- Label maker or labels
- Cleaning supplies
- Paper/pen for planning layout
Empty the drawer completely and clean it thoroughly with appropriate cleaning supplies. Measure the drawer’s dimensions and sketch a rough plan of how you want to organize different categories of items.
Install non-slip drawer liner to prevent dividers from sliding. Place drawer dividers according to your planned layout, ensuring they fit snugly. Create sections based on frequency of use and item categories – daily essentials in front, occasional items in back.
Consider using small containers within divided sections for tiny items like hair ties or cotton swabs. For optimal organizational success, regularly reassess your drawer organization system. Clean sections monthly, discard expired products, and adjust divider placement as needs change.
Consider storing rarely used items elsewhere to maintain efficient use of prime drawer space. Label sections clearly to ensure items return to their designated spots, helping maintain the system long-term.
Maximize Vertical Space With Wall-Mounted Solutions
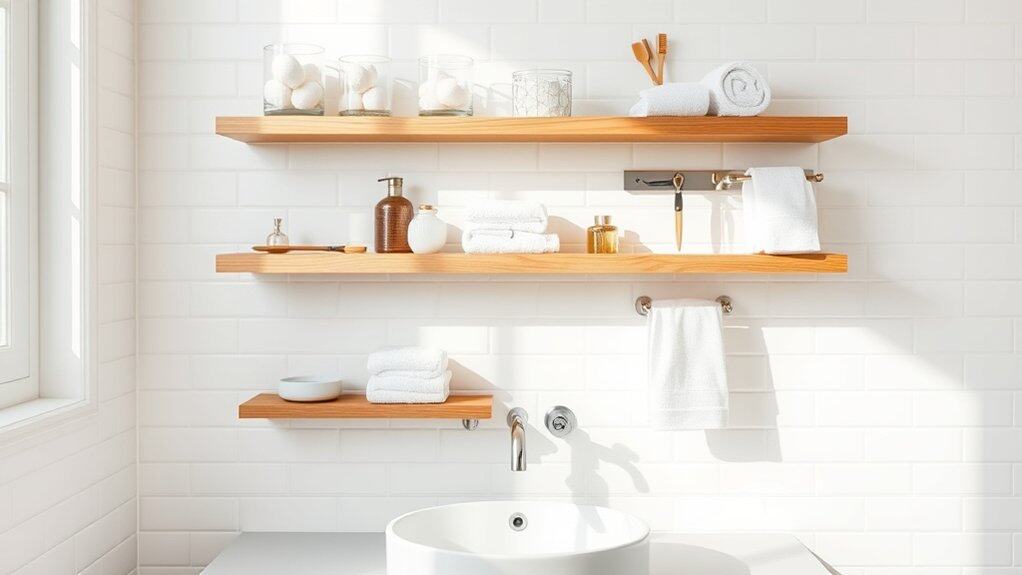
Making the most of vertical wall space around your bathroom sink is crucial for creating an organized and clutter-free environment. Most people focus solely on counter space and under-sink storage, overlooking the valuable real estate their walls provide. By utilizing vertical space effectively, you can keep frequently used items within easy reach while maintaining a clean, streamlined appearance.
Wall-mounted solutions not only free up precious counter space but also make cleaning easier and create a more visually appealing bathroom environment. These organizational systems can be customized to fit your specific needs and style preferences, whether you prefer a minimalist look or need maximum storage capacity.
Required Items:
- Wall anchors and screws
- Electric drill
- Level
- Measuring tape
- Pencil
- Wall-mounted shelves
- Hanging organizers
- Adhesive hooks
- Magnetic strips
- Storage baskets
- Towel bars or rings
- Glass/plastic containers
- Wall-mounted toothbrush holder
Start by measuring your available wall space and marking potential mounting locations, ensuring they don’t interfere with mirror usage or sink access. Install the largest items first, such as floating shelves or towel bars, using appropriate wall anchors to ensure stability. Position these items at comfortable reaching heights, typically between eye level and waist height.
Once the main pieces are secure, add smaller organizational elements like magnetic strips for metal items or adhesive hooks for lightweight accessories. Create designated zones on your wall-mounted storage solutions: one area for daily essentials like toothbrushes and soap, another for skincare products, and a third for items used less frequently.
Use clear containers or baskets on shelves to keep similar items together and prevent them from toppling over. Install a towel ring or bar at hand level near the sink for easy access to hand towels.
For optimal results, regularly assess your wall-mounted organization system and adjust as needed. Consider using clear containers to easily identify contents, and label everything to maintain organization. Remember to periodically check that all mounted items remain secure and tighten any loose screws or anchors.
Keep cleaning supplies nearby to maintain the space, and avoid overcrowding your wall-mounted solutions to maintain their effectiveness and aesthetic appeal.
Create a Daily Essentials Tray
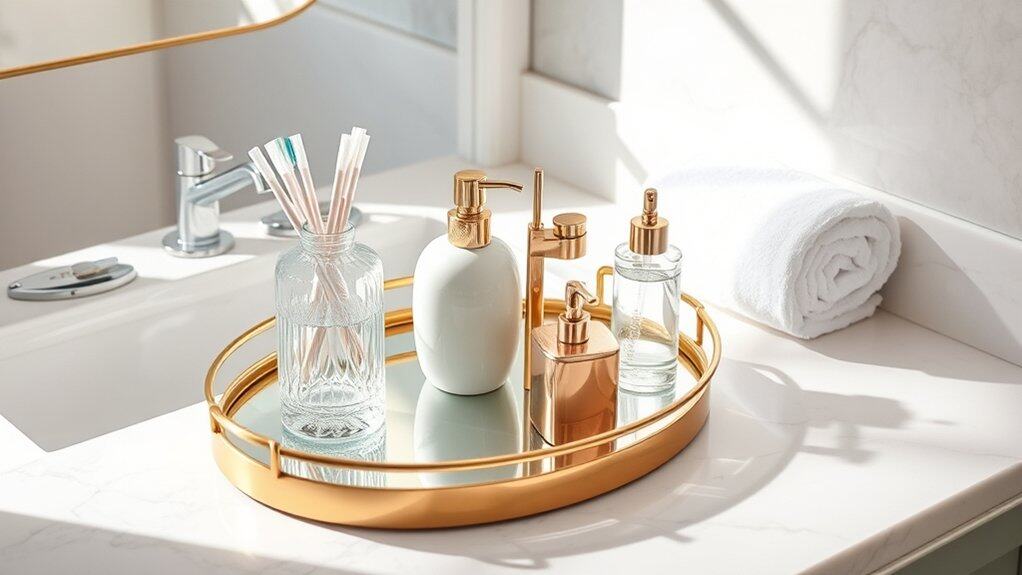
A well-organized daily essentials tray transforms your morning and evening routines into seamless experiences by keeping frequently used items within easy reach. Rather than rummaging through drawers or cabinets multiple times a day, a dedicated tray system creates an efficient home for your most-used bathroom items.
This organizational method not only streamlines your daily routine but also adds a touch of sophistication to your bathroom counter space. A thoughtfully arranged essentials tray prevents counter clutter and helps maintain a clean, organized appearance while ensuring your must-have items remain accessible.
Required Items:
- Decorative tray or organizer
- Small containers or dividers
- Labels (optional)
- Non-slip mat or padding
- Cleaning cloth
- Clear acrylic organizers (optional)
- Small risers or elevated platforms (optional)
Select a tray that fits your counter space and gather your daily-use items. Sort these items by frequency of use and category, such as skincare, dental care, and hair products. Place the tray in an accessible spot, ideally away from water splash zones.
Arrange items by height, with taller items at the back and shorter ones in front. Use small containers or dividers within the tray to separate items by category and prevent them from falling over. Consider adding a non-slip mat underneath to prevent sliding and protect your counter surface.
For optimal organization, position items based on your dominant hand and typical morning routine sequence. Keep only items used daily or multiple times per week on the tray – everything else should be stored elsewhere. Ensure adequate space between items to maintain a clean, uncluttered appearance and allow for easy cleaning of the tray surface.
Additional Tips: Review and adjust the contents of your essentials tray every few weeks to ensure it continues to serve your needs effectively. Clean the tray and containers weekly to prevent product residue buildup.
Consider using clear containers to easily identify contents, and rotate seasonal items as needed. If counter space is limited, opt for a corner-shaped tray or utilize vertical space with stackable containers.
Implement Under-Sink Storage Systems
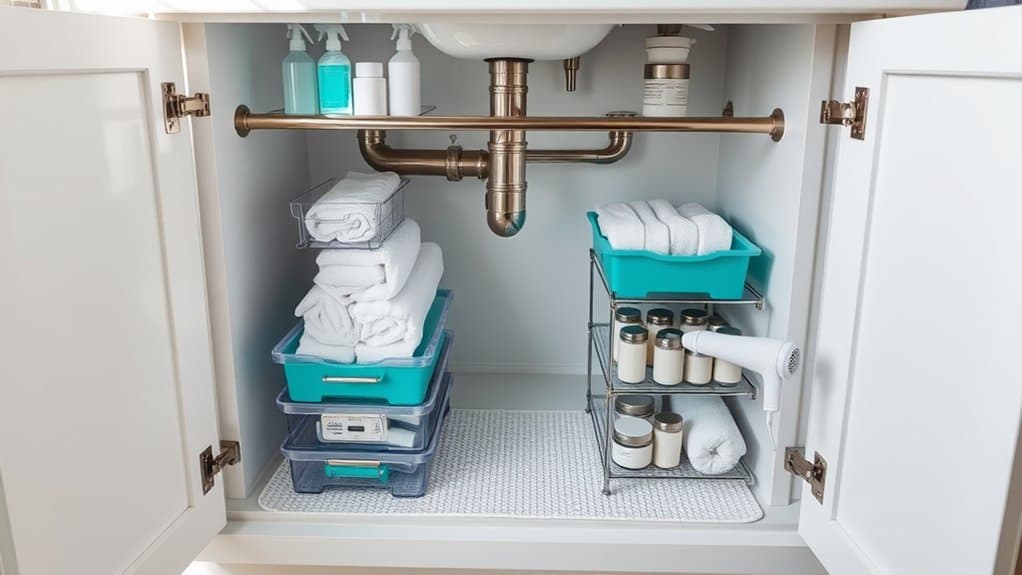
The space under your bathroom sink represents valuable real estate that often becomes a chaotic catch-all for cleaning supplies, toiletries, and forgotten items. When properly organized, this area can transform into an efficient storage hub that maximizes every square inch while keeping essential items easily accessible.
Organizing the under-sink space not only creates a more functional bathroom but also helps prevent water damage to stored items and makes it easier to spot plumbing issues early. A well-planned under-sink storage system can double your storage capacity while maintaining a clutter-free environment.
Required Items:
- Pull-out drawer organizers
- Clear plastic bins
- Tension rods
- Stack-able containers
- Cabinet shelf risers
- Label maker
- Measuring tape
- Command hooks
- Non-slip shelf liner
- Small lazy Susan (optional)
Start by removing everything from under the sink and thoroughly cleaning the area. Measure the cabinet space, accounting for plumbing fixtures and their locations. Install a non-slip liner to protect the cabinet bottom from moisture damage.
Position tension rods horizontally to hang spray bottles, creating an upper level of storage while maximizing vertical space. Group similar items together and assign designated zones within the cabinet. Place frequently used items toward the front and occasional-use items toward the back.
Utilize clear bins and drawer organizers to contain smaller items and prevent them from getting lost in the depths of the cabinet. Stack-able containers should be used for items of similar categories, such as hair products or cleaning supplies.
Position shelf risers around the plumbing to create multiple levels of storage, effectively doubling the usable space. If space permits, incorporate a small lazy Susan in corner areas for easy access to smaller items. Use Command hooks on cabinet doors or walls for hanging tools like hair dryers or cleaning brushes.
For optimal maintenance, review the contents every three months, disposing of expired products and reassessing the organization system’s effectiveness. Consider using waterproof containers near plumbing areas and maintain a small gap between stored items and pipes for easy access during maintenance.
Regular evaluation ensures the system continues to serve your needs effectively while preventing the gradual return of clutter.
Declutter and Categorize Your Items
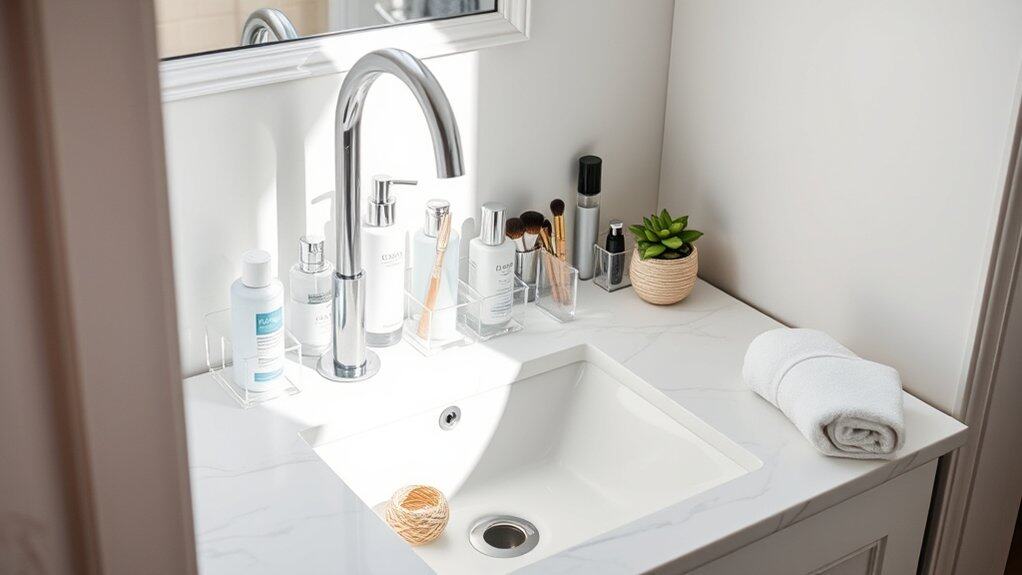
A cluttered bathroom sink area creates unnecessary stress and wastes valuable time during daily routines. When items are scattered without purpose, finding essential products becomes frustrating, and the space quickly becomes chaotic and unhygienic. The sink area serves as a central hub for daily grooming and hygiene tasks, making proper organization crucial for maintaining efficiency.
Decluttering and categorizing items around your bathroom sink transforms the space into a functional, stress-free zone. By implementing a systematic approach to organization, you’ll maximize counter space, reduce cleaning time, and ensure frequently used items remain easily accessible while maintaining a clean, orderly appearance.
Required Items:
- Storage bins or containers
- Labels or label maker
- Cleaning supplies
- Trash bag
- Clear containers or drawer organizers
- Timer
- Sorting boxes (3-4)
- Measuring tape
- Disinfectant wipes
Start by removing everything from the sink area and counter space. Sort items into four categories: daily use, weekly use, rarely used, and dispose/donate. Clean the entire area thoroughly while it’s empty. Examine each item’s expiration date and condition, immediately discarding anything expired or damaged.
Group similar items together, such as dental care, skincare, hair products, and medications. Once sorted, designate specific zones around your sink based on frequency of use. Place daily essentials closest to the sink within easy reach. Store weekly-use items in drawers or cabinets below or beside the sink, utilizing clear containers to maintain visibility. Relocate rarely used items to alternative storage areas or deeper cabinet spaces.
For optimal organization maintenance, implement a regular review system every three months. Remove items that haven’t been used, restock essentials, and adjust categories as needed. Consider installing additional storage solutions like magnetic strips for metal items, wall-mounted holders, or under-sink organizers to maximize vertical space and maintain your newly organized system.
Add Magnetic Storage Solutions
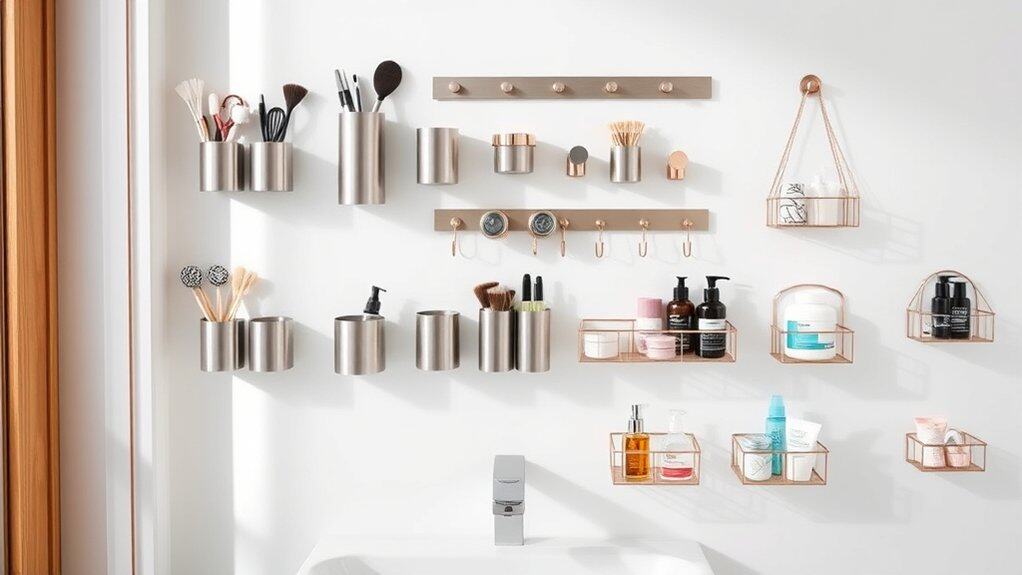
Magnetic storage solutions represent one of the most innovative and space-saving approaches to bathroom organization. By utilizing the vertical space on metal surfaces, you can instantly create additional storage without drilling holes or taking up precious counter space. This approach is particularly valuable in small bathrooms where every inch counts.
The magnetic storage concept transforms unused metal surfaces into functional storage areas, keeping essential items within easy reach while maintaining a clean, clutter-free environment. This system works especially well for small metal items like bobby pins, tweezers, and nail clippers that often get lost in drawers or traditional organizers.
Required Items:
- Magnetic strips or panels
- Magnetic containers
- Small magnetic hooks
- Metal-backed adhesive strips (if surfaces aren’t magnetic)
- Basic cleaning supplies
- Measuring tape
- Level
- Scissors
- Magnetic spice containers (optional)
- Small magnetic baskets
- Double-sided tape (if needed)
Start by identifying suitable magnetic surfaces in your bathroom, such as medicine cabinet doors or metal walls. Clean these surfaces thoroughly with appropriate cleaning supplies and ensure they’re completely dry. If working with non-magnetic surfaces, install metal-backed adhesive strips in your desired locations.
Measure and cut magnetic strips to fit your chosen areas, ensuring they’re level before securing them in place. Position your magnetic containers and hooks strategically, considering the items you use most frequently and their sizes. Group similar items together – beauty tools in one section, grooming items in another.
For smaller items like bobby pins and hair clips, dedicate specific magnetic containers to prevent them from getting scattered. To maintain the effectiveness of your magnetic storage system, regularly check that all magnets remain strong and secure. Avoid overloading magnetic containers, as this can cause them to slip or fall.
Consider labeling containers for better organization, and rotate items seasonally to ensure you’re maximizing the space for frequently used products. Clean the magnetic surfaces periodically to prevent dust buildup and maintain strong magnetic connections.
Utilize Corner Space Effectively
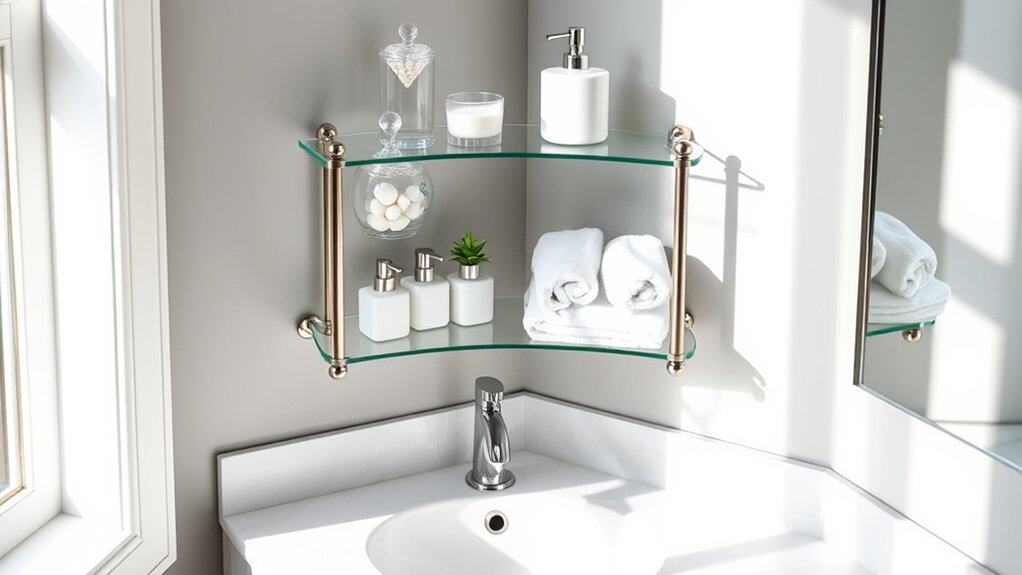
Corner spaces in bathroom sink areas often become neglected dead zones, collecting dust or remaining completely unused. These awkward angles actually represent valuable real estate in your bathroom organization system, offering unique opportunities for smart storage solutions and space optimization.
Making the most of corner spaces can dramatically increase your storage capacity while maintaining a clean, organized appearance. Strategic corner organization helps keep frequently used items within easy reach while maximizing every inch of available space around your sink area.
Required Items:
- Corner shelf unit (tiered or single)
- Corner caddy or organizer
- Command hooks or mounting hardware
- Measuring tape
- Level
- Drill and screws (if mounting)
- Clear containers or bins
- Non-slip shelf liner
- Silicon caulk (if needed)
Begin by thoroughly cleaning and measuring your corner space, noting both the available width and height. Install a corner shelf unit at a comfortable height that doesn’t interfere with faucet usage. If mounting permanent shelving, use a level to ensure proper alignment and secure it firmly to the wall.
For rental properties or temporary solutions, consider using tension-rod corner units or command-hook supported organizers. Arrange items by frequency of use, placing daily essentials at eye level and occasional-use items on higher or lower shelves. Group similar items together using clear containers to prevent smaller items from getting lost or disorganized.
Ensure proper spacing between shelves to accommodate taller items like soap dispensers or beauty products. To maintain corner organization long-term, consider installing a small LED light strip to illuminate darker corners, making items easier to locate. Use drawer organizers or small bins within your corner storage to create designated spaces for specific items, and regularly audit stored items to prevent clutter accumulation.
Finally, apply non-slip liner to shelves to keep items secure and prevent sliding in these angular spaces.
Choose Multi-functional Storage Containers
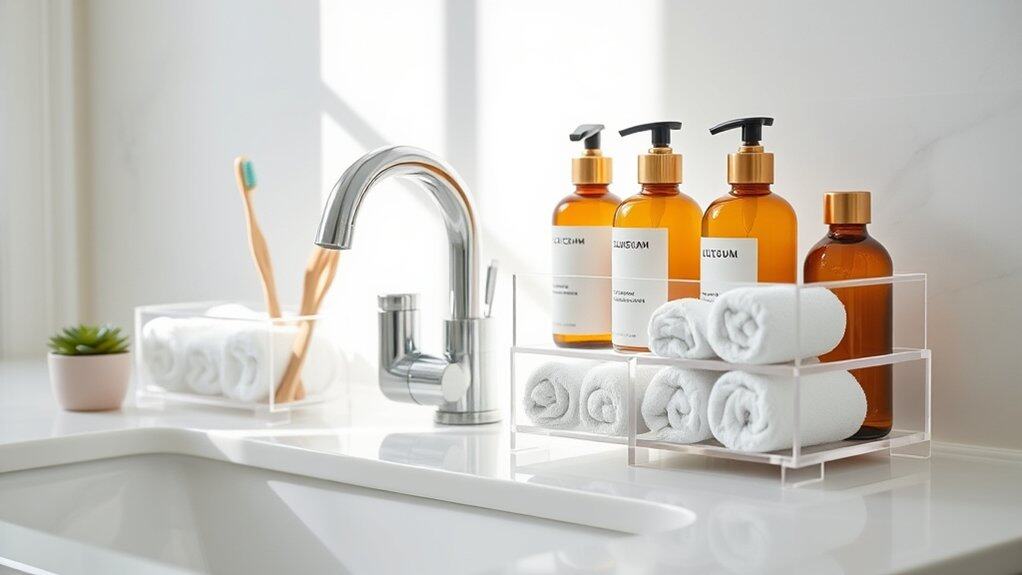
Organizing the space around your bathroom sink with multi-functional storage containers is crucial for maintaining a clutter-free and efficient daily routine. The right containers can transform a chaotic countertop into a streamlined space where every item has its designated spot while maximizing the available area.
Multi-functional storage containers serve multiple purposes, combining practicality with style while adapting to changing needs. These versatile solutions can accommodate various items – from toiletries to cleaning supplies – and can be easily reconfigured as your storage needs evolve.
Required Items:
- Clear acrylic organizers with multiple compartments
- Stackable drawer units
- Mason jars or decorative containers
- Drawer dividers
- Tension rods
- Command hooks
- Labels
- Measuring tape
- Cleaning supplies
Select containers that match both your space requirements and aesthetic preferences. Start by measuring the available counter space and under-sink area to determine appropriate container sizes.
Group similar items together, such as dental care products, hair accessories, or skincare items. Place frequently used items in easily accessible containers at the front of the counter or top drawers. Utilize stackable containers to maximize vertical space, especially in tight areas.
Install tension rods under the sink to hang spray bottles, and attach command hooks to cabinet doors for additional hanging storage. When arranging the containers, create designated zones based on daily routines. Morning essentials should be grouped together, while less frequently used items can be stored in secondary containers.
Use clear containers whenever possible to easily identify contents, and implement a labeling system for opaque storage solutions.
Additional Tips: Regularly assess the effectiveness of your storage system and adjust as needed. Clean containers monthly to prevent product buildup and maintain hygiene.
Consider rotating seasonal items to different storage areas and purge expired products quarterly. Maximize corner spaces with rotating organizers, and use drawer liner material to prevent containers from sliding.

