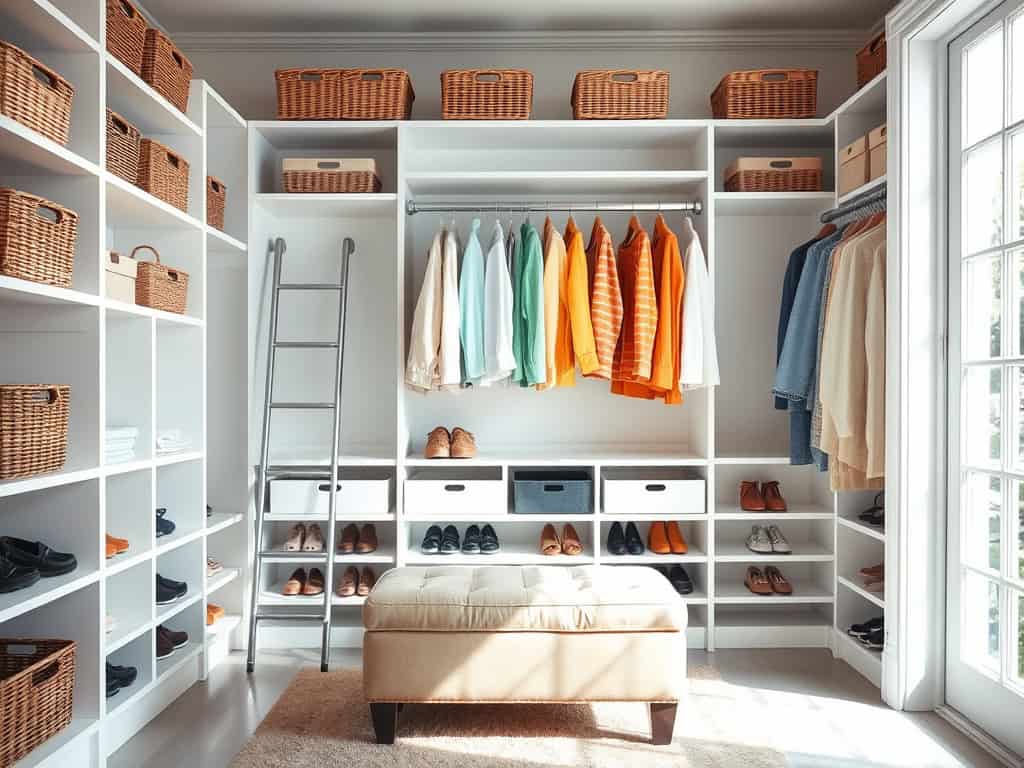
Just as a butterfly emerges from its chrysalis transformed, your cluttered home can undergo a stunning metamorphosis with the right organization strategy. You’re probably familiar with that overwhelming feeling when you can’t find what you need or when your space feels like it’s closing in on you. I’ve been there too, and that’s why I’ve gathered these game-changing storage solutions that’ll help you reclaim your space. Let’s explore how you can turn chaos into harmony in ways you never thought possible.
Maximize Vertical Space With Wall-Mounted Solutions
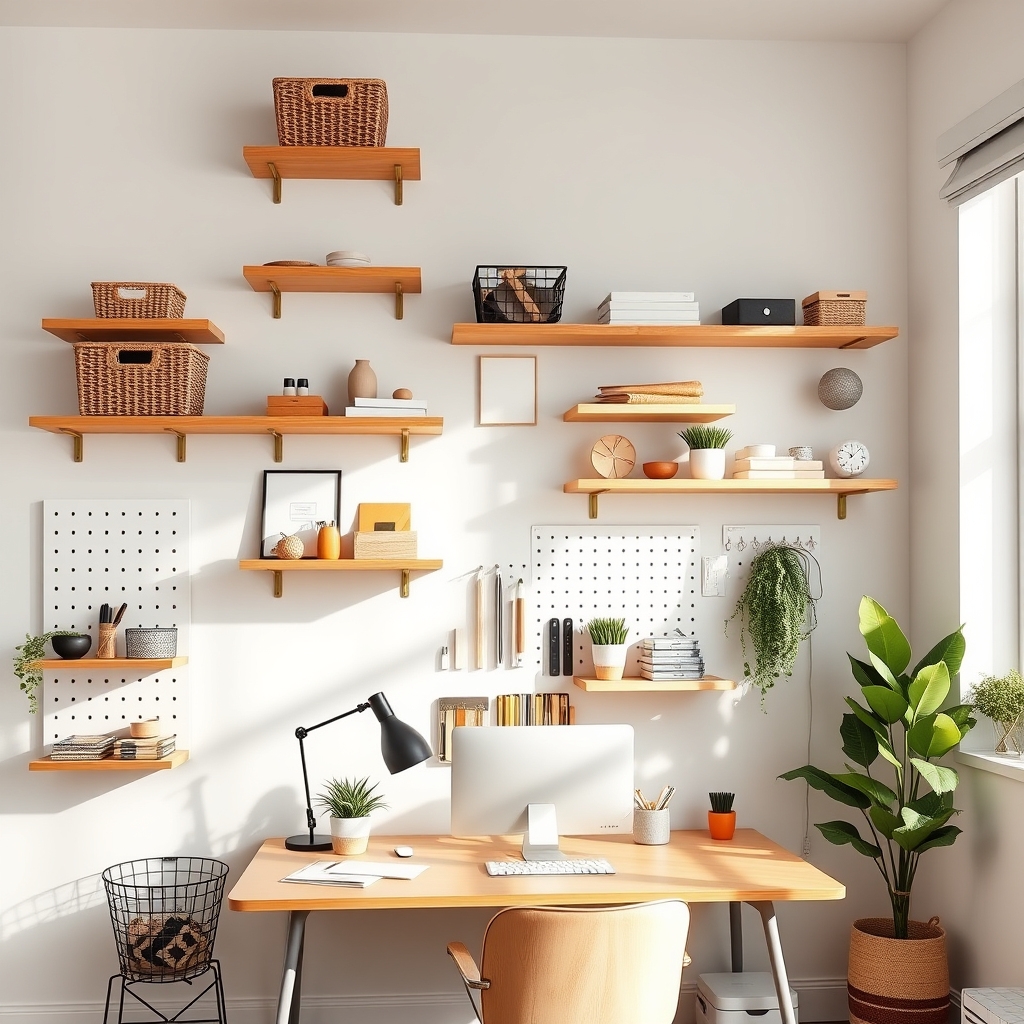
Making the most of vertical space in your home is essential for efficient storage, particularly in smaller living spaces where floor space comes at a premium. Wall-mounted solutions offer a practical way to store items while keeping them easily accessible and creating an organized, clutter-free environment.
By utilizing walls effectively, you can transform otherwise unused space into functional storage areas for everything from kitchen utensils to office supplies. Wall-mounted solutions not only maximize storage capacity but also contribute to a more streamlined and visually appealing living space, making rooms appear larger and more organized.
Required Items:
- Stud finder
- Level
- Drill and drill bits
- Screwdriver
- Wall anchors
- Mounting brackets
- Floating shelves
- Pegboards
- Wall-mounted organizers
- Measuring tape
- Pencil
- Storage containers or baskets
- Command hooks or similar adhesive hangers
Start by assessing your walls and identifying suitable mounting locations using a stud finder. Mark these spots clearly with a pencil, ensuring they’re level. Install heavy-duty brackets or shelving systems into wall studs when possible, using appropriate wall anchors for drywall installations.
Position shelves and organizers at comfortable heights based on their intended use, keeping frequently accessed items at eye level and less-used items higher up. For areas without studs or where permanent installation isn’t possible, use high-quality adhesive mounting solutions.
Create designated zones for different categories of items, such as a kitchen tool wall in the cooking area or an office supply station in your workspace. Install pegboards with various hooks and accessories to create customizable storage that can evolve with your needs.
Additional Tips:
Consider weight limits carefully when mounting items, and always use appropriate hardware for your wall type. Organize items by frequency of use, keeping everyday essentials within easy reach.
Incorporate labels or color-coding systems to maintain organization long-term, and regularly assess and adjust your storage setup to ensure it continues to meet your changing needs. Remember to leave some empty space for future additions and maintain a clean, uncluttered appearance.
Create Zones for Different Activities and Items
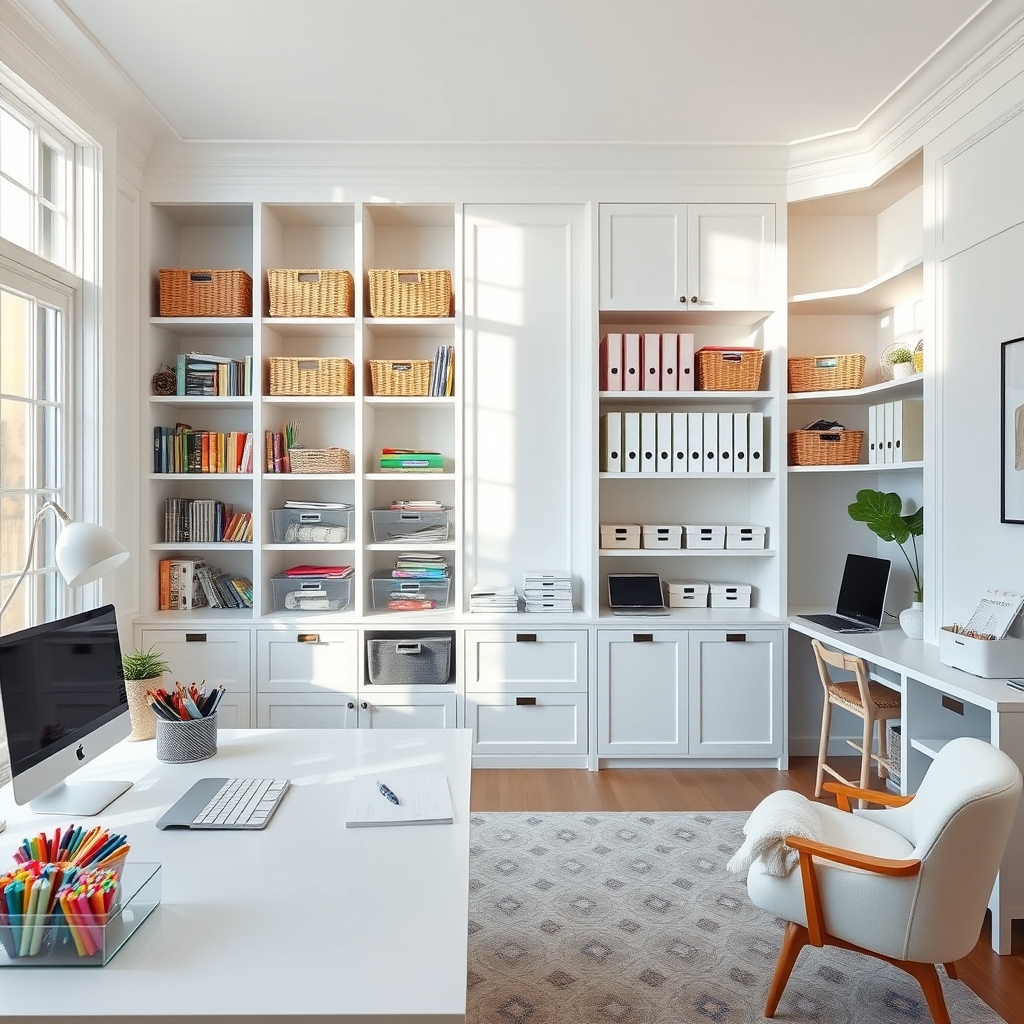
Creating designated zones in your home transforms chaotic spaces into functional areas that enhance daily routines and increase productivity. When each activity and item category has its dedicated space, finding what you need becomes effortless, and maintaining organization becomes second nature.
Zone organization works by grouping related items and activities together, creating intuitive spaces that match your lifestyle and habits. This systematic approach reduces time spent searching for items, minimizes clutter, and helps establish boundaries between different aspects of home life, from work to leisure to household management.
Required Items:
- Labels or label maker
- Storage containers
- Shelving units
- Drawer organizers
- Room dividers (optional)
- Storage bins
- Baskets
- Pen and paper for planning
- Measuring tape
- Clear plastic containers
Start by conducting a thorough assessment of your space and listing all activities that occur in each room. Map out zones based on frequency of use, with high-traffic activities receiving prime locations. Group related items together, such as creating a coffee station in the kitchen with mugs, filters, and supplies nearby, or establishing a crafting zone with all materials within arm’s reach.
Implementation begins with clearing the space completely and sorting items by their designated zones. Install appropriate storage solutions for each area, such as shelving for a home office zone or hooks for an entryway zone. Position frequently used items at eye level and less-used items in higher or lower storage spaces.
Create clear boundaries between zones using furniture arrangement, room dividers, or visual markers.
Additional Tips: Review and adjust zones periodically to ensure they continue meeting your needs. Maintain flexibility in your organization system, allowing zones to evolve with changing habits or seasons. Consider using color coding or clear labeling systems to help family members maintain the zone organization.
Keep a small buffer space in each zone for future additions, and regularly purge items that no longer serve the zone’s purpose.
Implement the “One In, One Out” Rule
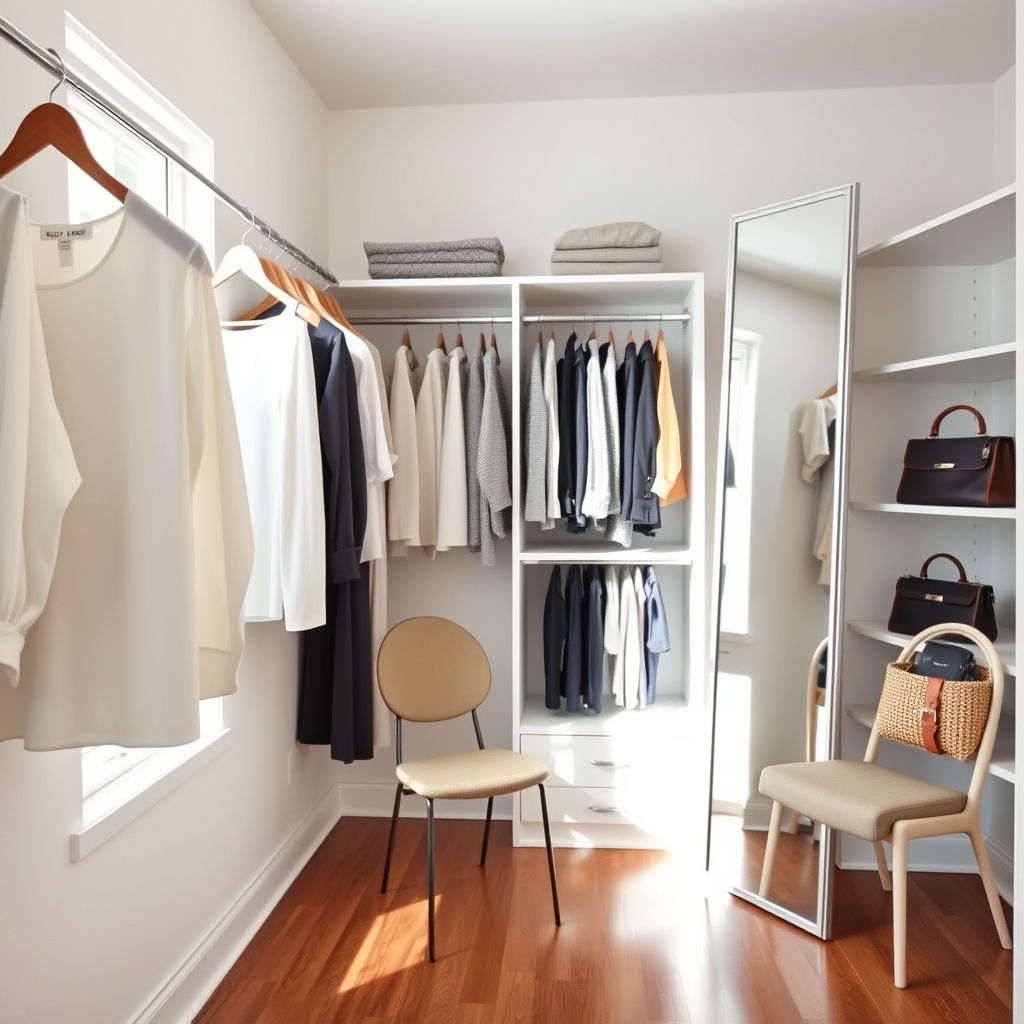
The “One In, One Out” rule stands as a fundamental principle in maintaining an organized and clutter-free home environment. This simple yet powerful concept helps prevent the gradual accumulation of items that often leads to overcrowded spaces and disorganized living areas.
Implementing this organization strategy creates a sustainable system that maintains balance in your home while forcing mindful consumption habits. When you know that bringing in a new item requires removing another, you naturally become more selective about purchases and more aware of your actual needs versus wants.
Required Items:
- Donation boxes or bags
- Trash bags
- Labels
- Notebook and pen
- Storage containers
- Camera (optional, for inventory)
The implementation process begins by conducting an initial assessment of your current belongings in each category (clothing, books, kitchen items, etc.). When acquiring a new item, immediately identify a similar item to remove through donation, sale, or disposal. Create a designated space for outgoing items, such as a donation box in your closet or garage. Document your decisions in a notebook to track patterns and maintain accountability.
The key to success lies in consistency and immediate action. When you purchase a new shirt, remove an old one before hanging the new item. Apply this principle to books, kitchen gadgets, decorative items, and even digital files.
For seasonal items, implement the rule during transition periods, such as switching winter clothes for summer wardrobes.
To maximize effectiveness, establish specific categories for your belongings and maintain a running inventory of items in frequently cluttered areas. Consider photographing organized spaces as reference points, and schedule monthly reviews to ensure adherence to the system.
Partner with family members to create household-wide commitment, and celebrate the positive impact of maintaining a balanced, clutter-free environment through this systematic approach.
Use Clear Containers for Better Visibility
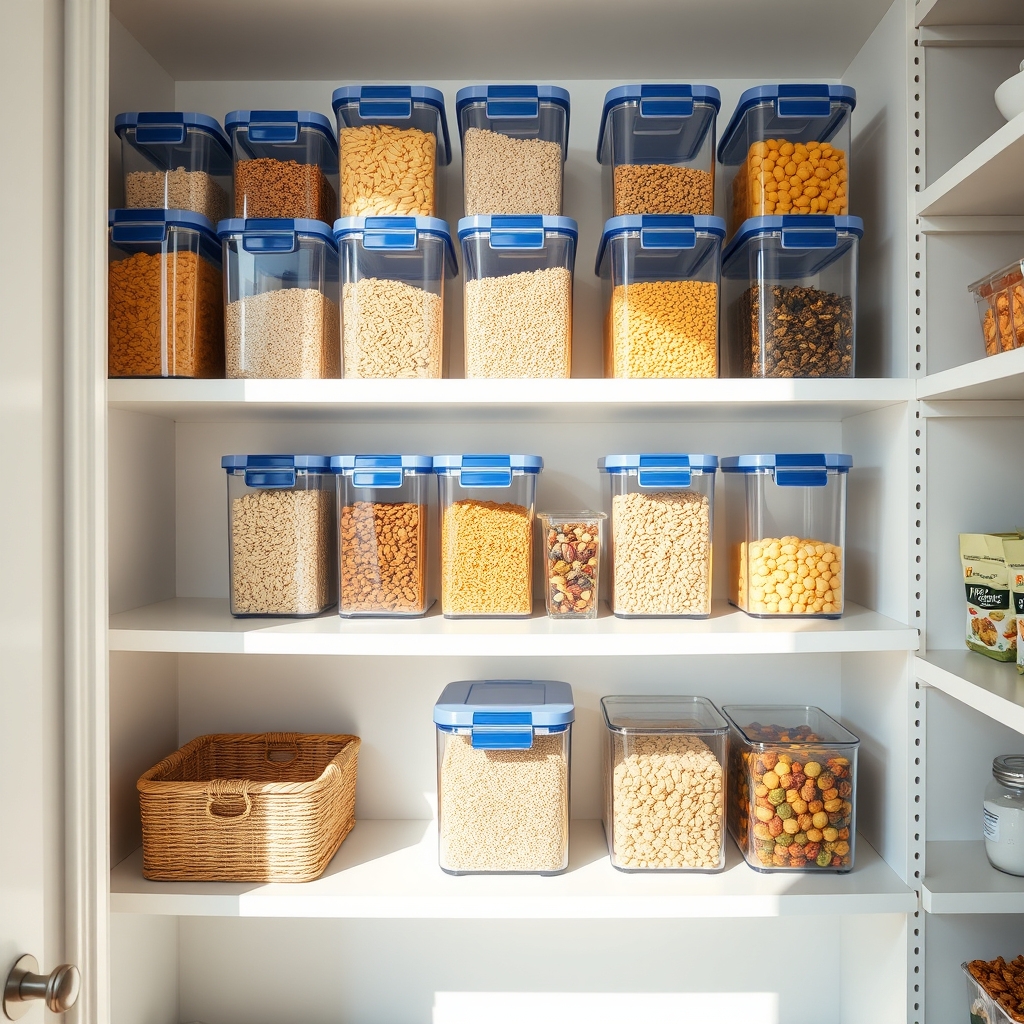
Clear storage containers revolutionize home organization by eliminating the guesswork of what’s stored where. When items are visible at a glance, you save time searching through opaque bins and boxes, reducing frustration and increasing efficiency in your daily routines.
Implementing a clear container system transforms cluttered spaces into functional storage areas. Whether in pantries, closets, or garage shelving, transparent containers allow you to quickly identify contents, monitor inventory levels, and maintain organized spaces with minimal effort.
Required Items:
- Clear plastic storage containers in various sizes
- Labels and label maker
- Measuring tape
- Container dividers
- Clear plastic bins with lids
- Clear drawer organizers
- Clear shoe boxes
- Airtight clear food storage containers
Select appropriate clear containers based on the items you plan to store. Measure your storage space and the items to ensure proper fit. Remove items from their original packaging when possible, grouping similar items together.
Place items in containers, positioning frequently used items at eye level or in easily accessible locations. For stacked containers, ensure the contents remain visible from the front. Add labels to the containers even though contents are visible, as this creates a standardized system and helps maintain organization long-term.
Additional optimization: Regularly assess and adjust your clear container system. Rotate seasonal items to more accessible locations when needed. Clean containers periodically to maintain visibility.
Replace any containers that become cloudy or damaged to preserve the system’s effectiveness. Consider using uniform container brands and sizes when possible to create a cohesive look and ensure efficient stacking and storage capabilities.
Master the Art of Drawer Organization
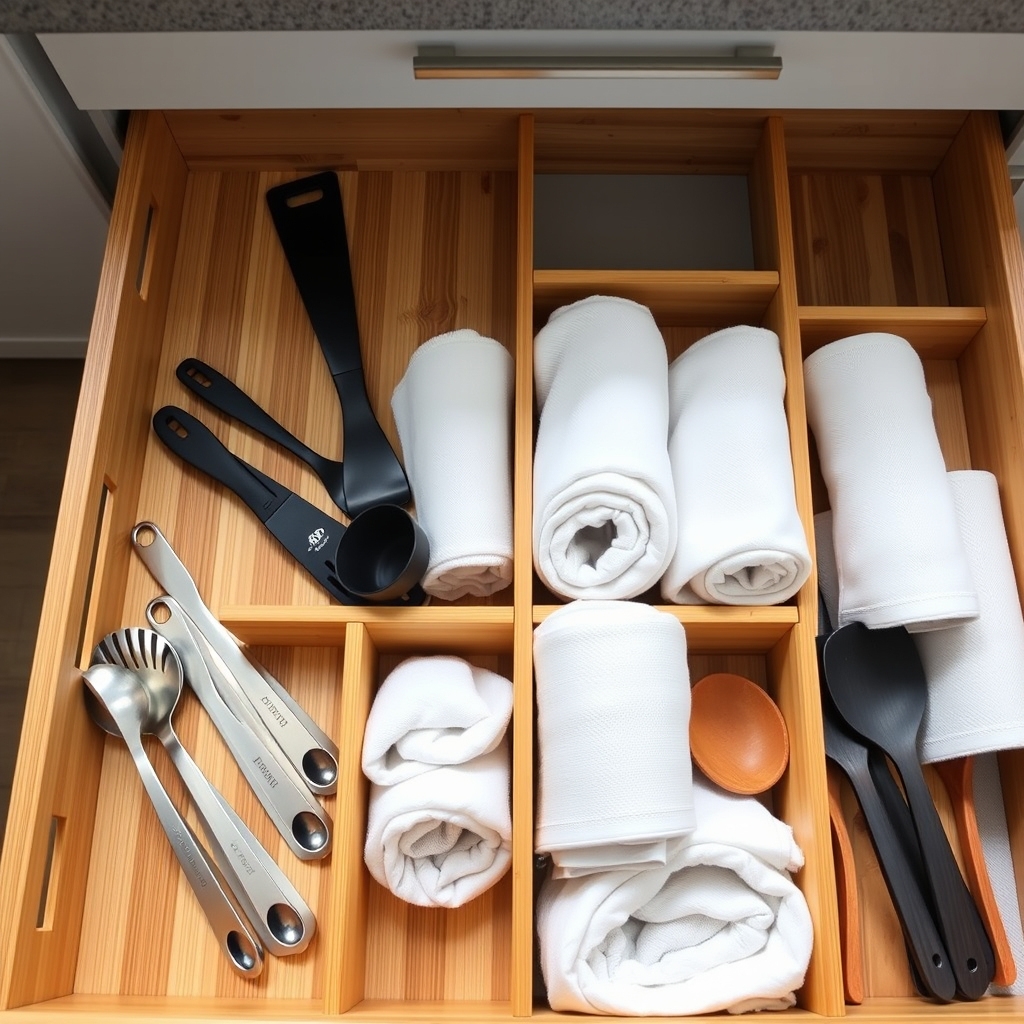
Well-organized drawers serve as the foundation of an efficient home, transforming cluttered chaos into streamlined storage spaces that save time and reduce stress.
Whether in the kitchen, bedroom, or home office, properly organized drawers make it easier to find items quickly and maintain order throughout your daily routines.
When drawers become dumping grounds for miscellaneous items, they create frustration and waste valuable storage space.
Strategic drawer organization not only maximizes available space but also helps establish systems that can be maintained long-term, leading to better functionality in every room of your home.
Required Items:
- Drawer dividers
- Small storage boxes or containers
- Drawer liner material
- Measuring tape
- Labels and label maker
- Sorting bins (temporary)
- Cleaning supplies
- Storage bags
- Paper for drawer inventory
Start by completely emptying the drawer and cleaning it thoroughly.
Sort items into three categories: keep, relocate, and discard.
Measure the drawer’s interior dimensions and plan your organization system based on the items you’re keeping.
Install drawer liners to protect the surface and prevent items from sliding.
Group similar items together and assign specific zones within the drawer.
Use drawer dividers or small containers to create designated spaces for each category.
Position frequently used items toward the front of the drawer for easy access.
For deeper drawers, consider using stacking organizers to utilize vertical space effectively.
Additional Tips:
Maintain your drawer organization by implementing a regular review system every three months.
Remove items that don’t belong and adjust dividers as needed.
Consider using clear containers to easily identify contents, and always leave some empty space for future additions.
Label both containers and drawer sections to help other household members maintain the system, and resist the urge to overfill drawers, as this quickly leads to disorganization.
Optimize Closet Space With Double-Hanging Rods
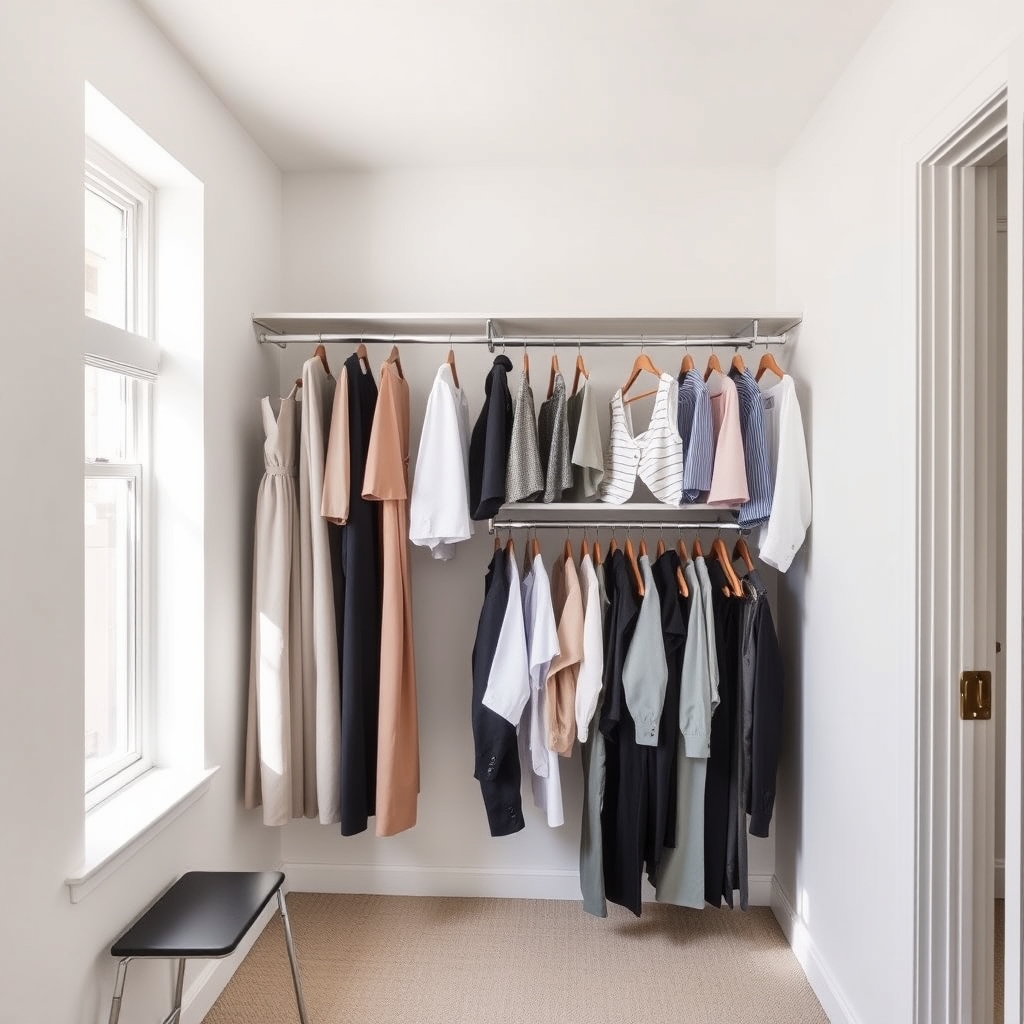
Maximizing closet space is essential for maintaining an organized and efficient wardrobe. A single rod typically utilizes only half of the available vertical space, leaving valuable storage potential untapped. By implementing a double-hanging rod system, you can effectively double your closet’s capacity while keeping clothes neat and easily accessible.
Double-hanging rods are particularly beneficial for storing shorter items like shirts, blouses, jackets, and folded pants. This organization method not only increases storage space but also helps create a systematic arrangement of clothing by type and length, making it easier to locate specific items and maintain an organized closet long-term.
Required Items:
- Measuring tape
- Adjustable double-hanging rod system
- Screwdriver
- Level
- Wall anchors
- Drill (if needed)
- Pencil
- Step ladder
- Clothing sorting bins
Installation and Organization Process:
Start by removing all clothing from the existing rod and measuring the closet’s dimensions. Install the primary rod at approximately 80 inches from the floor for longer garments. Mount the secondary rod about 40 inches below the first, ensuring enough clearance for shorter items. Use wall anchors for proper support, and verify all rods are level before hanging clothes.
Sort clothing by length, designating longer items like dresses and coats to the top rod, while shorter pieces such as shirts and folded pants go on the bottom rod. Group similar items together within each rod section to maintain organization.
Additional Success Tips:
To maximize the effectiveness of your double-hanging rod system, use slim hangers to conserve space and maintain consistent spacing between garments. Consider adding small hooks on the sides of the closet for belts, scarves, or accessories.
Regularly assess and declutter your wardrobe to prevent overcrowding, and maintain a one-in-one-out policy when adding new clothing items to ensure the organization system remains functional over time.
Transform Dead Space Into Storage Opportunities
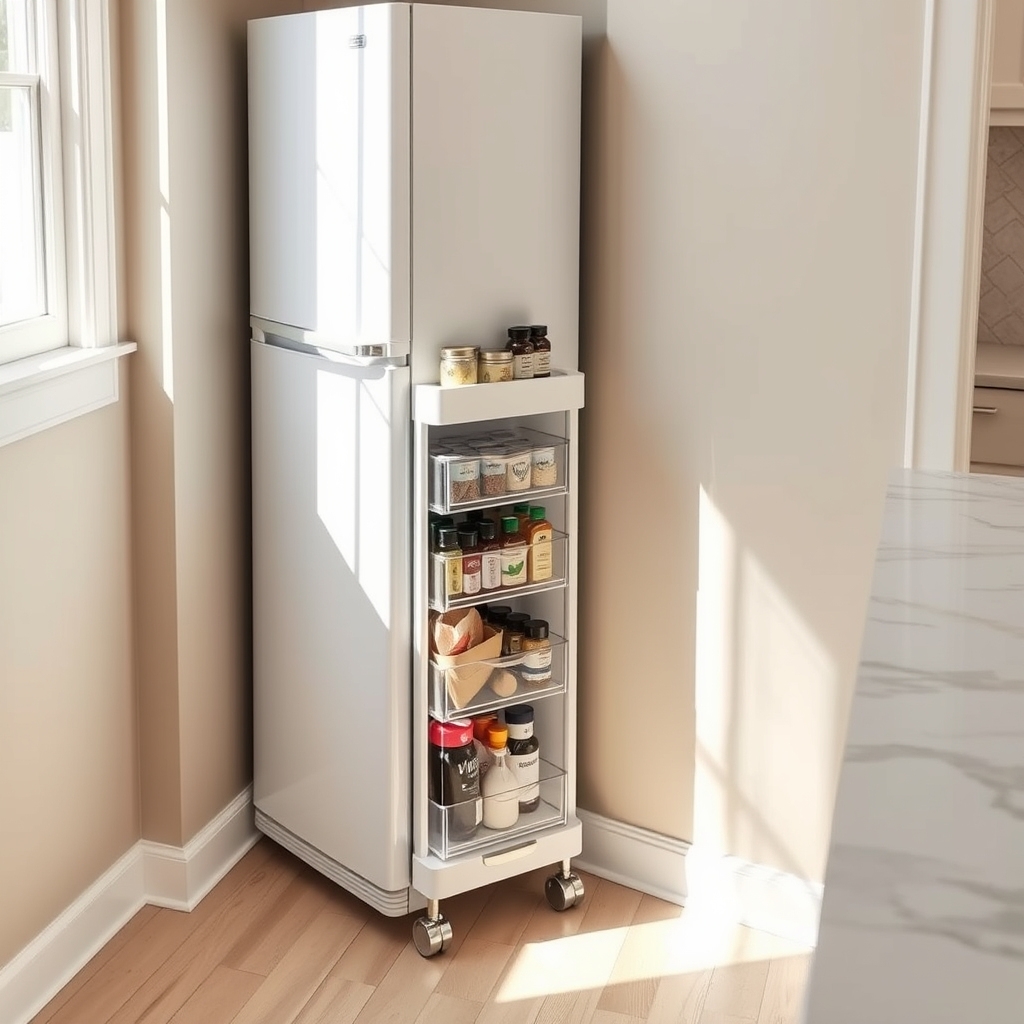
Dead space in homes represents untapped potential for valuable storage solutions. These overlooked areas – from the gaps between appliances to unused wall corners and the space under stairs – can be transformed into functional storage zones that help maximize every square foot of living space.
Converting these neglected spaces into organized storage areas not only increases your home’s storage capacity but also contributes to a more efficient and clutter-free environment. Strategic use of dead space can eliminate the need for additional furniture or expensive storage solutions while maintaining a clean, streamlined appearance throughout your home.
Required Items:
- Measuring tape
- Level
- Pencil and paper
- Floating shelves
- Tension rods
- Over-door organizers
- Drawer units on wheels
- Command hooks
- Storage bins
- Lazy Susan turntables
- Slim rolling carts
- Mounting hardware
- Basic tools (screwdriver, drill, hammer)
Start by conducting a thorough assessment of your home’s dead spaces, measuring each area precisely and noting its dimensions. Focus on spaces between appliances, under stairs, above doorways, and in awkward corners.
Create a plan for each identified space, considering both vertical and horizontal storage possibilities. Select appropriate storage solutions based on the space dimensions and intended use.
Install your chosen storage solutions systematically, beginning with mounted items like floating shelves or pegboards. For spaces between appliances, utilize slim rolling carts or custom-built pullout shelving. Transform under-stair areas with built-in drawers or shelving units. Maximize vertical space by installing shelves or hooks from floor to ceiling in corners or narrow wall sections.
Additional Success Tips:
Use clear containers in hard-to-reach spaces to easily identify contents, incorporate lighting in dark storage areas, and implement a labeling system for organized access.
Regularly assess the functionality of your storage solutions and adjust as needed. Remember to leave some breathing room in each storage space to prevent overcrowding and maintain easy access to stored items.
Design a Command Center for Daily Essentials
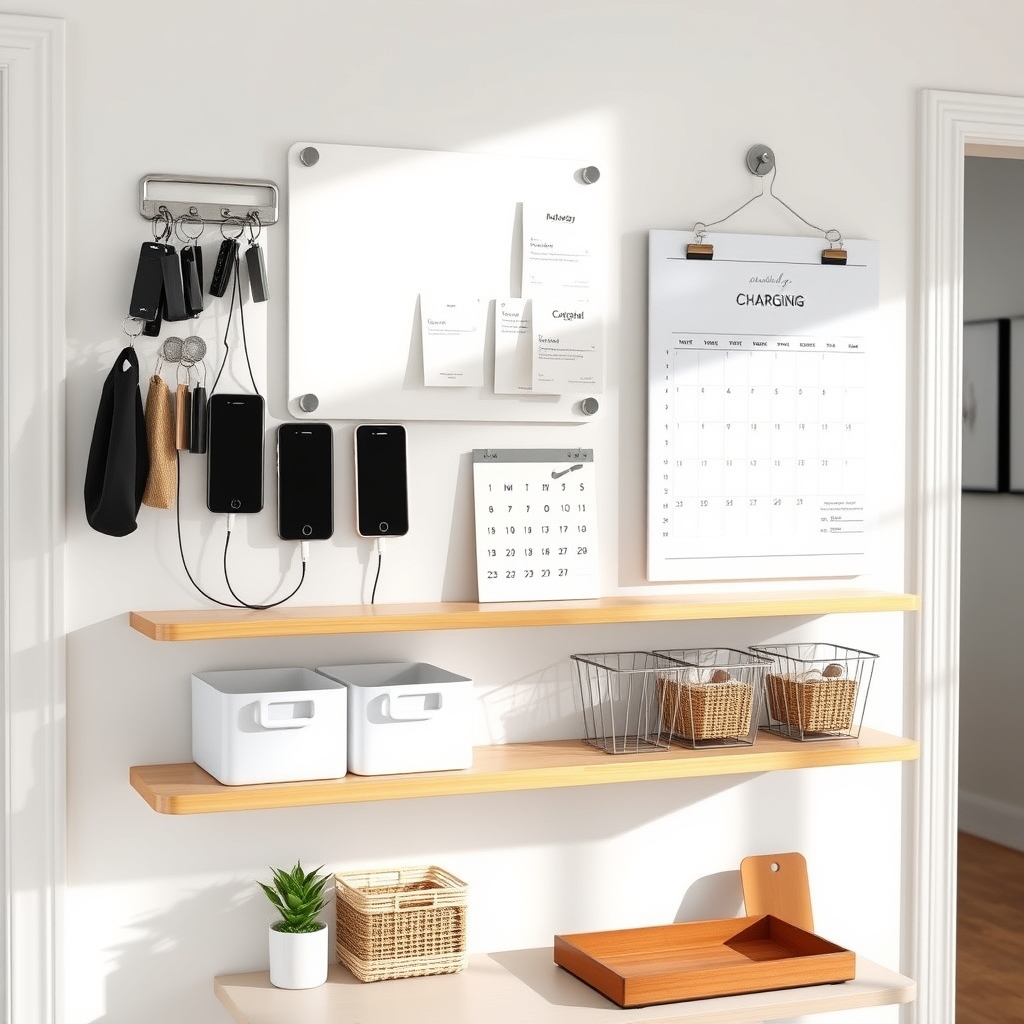
A well-designed command center serves as the organizational hub of any home, preventing the chaos of misplaced keys, forgotten bills, and lost documents. This dedicated space streamlines daily routines by creating a centralized location for managing household essentials and important information.
Creating a command center eliminates the stress of searching for frequently used items and helps maintain order in busy households. When properly organized, this area becomes a natural part of daily workflows, ensuring that important tasks aren’t overlooked and essential items are always within reach.
Required Items:
- Wall-mounted key hooks
- Bulletin board or magnetic board
- Mail sorter or letter organizer
- Calendar
- Small whiteboard
- Document folders or filing system
- Storage bins or baskets
- Labels and markers
- Wall anchors and mounting hardware
- Writing supplies
- Charging station components
Select a high-traffic location near the main entrance of your home for the command center. Install the wall-mounted components first, positioning the calendar at eye level and arranging other elements in order of frequency of use.
Create distinct zones within the command center: one for incoming items (mail, papers), another for outgoing items (bills to pay, forms to sign), and a third for everyday essentials (keys, phones).
Establish a filing system using clearly labeled folders for different categories of documents and set up a charging station for electronic devices. Install hooks or a key rack at a convenient height, and position the bulletin board where it’s easily visible but won’t be bumped into.
Arrange storage bins or baskets below the main organization area to catch overflow items and store supplies.
To maintain the effectiveness of your command center, implement a daily reset routine where items are returned to their designated spots, incoming mail is sorted immediately, and the calendar is reviewed.
Consider seasonal updates to your organization system, and regularly purge outdated documents or unnecessary items to prevent clutter accumulation.
Utilize Under-Bed Storage Effectively
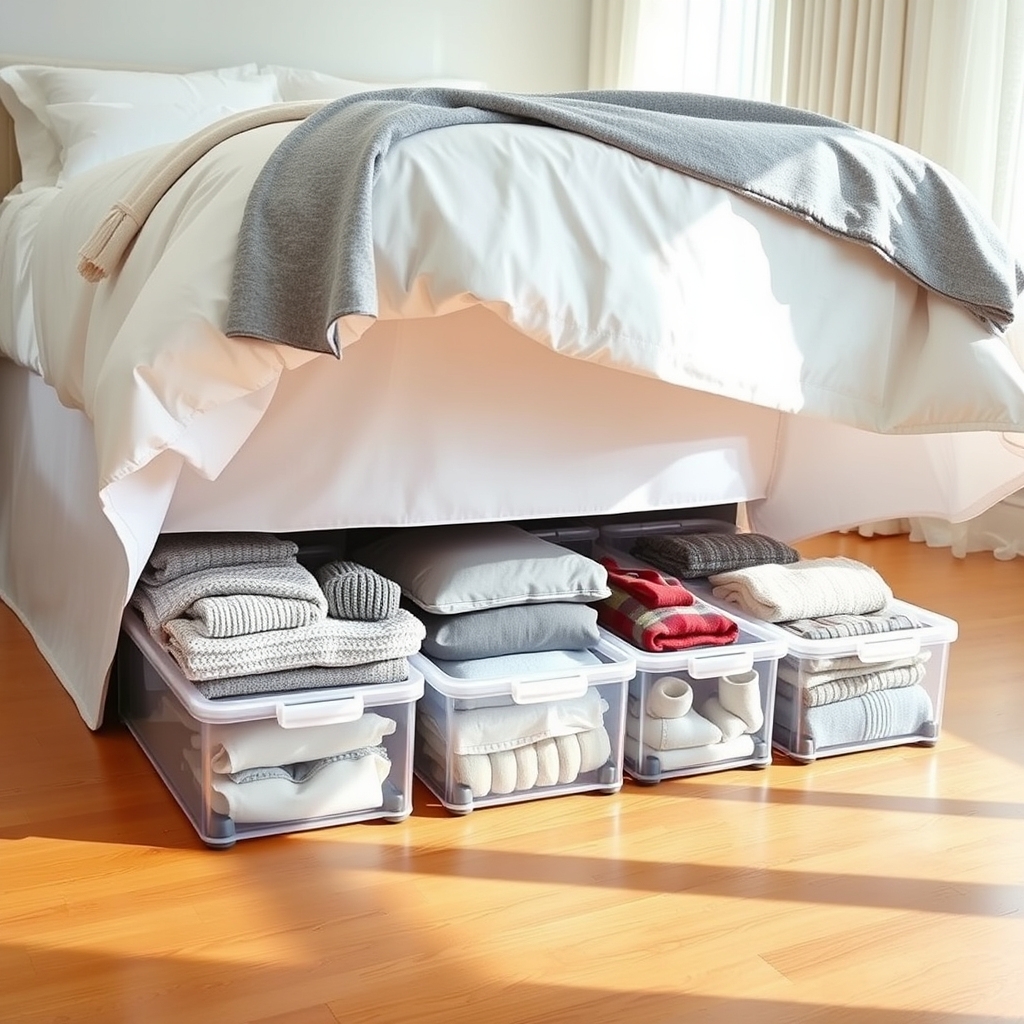
Under-bed storage represents one of the most underutilized spaces in the average home, offering valuable square footage for items that aren’t needed daily. This often-overlooked area can provide substantial storage capacity, equivalent to several dresser drawers or a small closet, without taking up additional living space.
Making the most of under-bed storage not only helps declutter your living areas but also creates an organized system for seasonal items, extra bedding, clothing, and other belongings. When properly utilized, this space becomes an essential part of your home’s storage solution, particularly valuable for those living in smaller homes or apartments.
Required Items:
- Under-bed storage containers or bins
- Storage bags with wheels
- Bed risers (if needed)
- Labels and marker
- Measuring tape
- Dust cover or bed skirt
- Vacuum bags (for clothing/bedding)
- Clear plastic bins
- Drawer organizers or dividers
Start by measuring the available space under your bed, including height, width, and depth. Remove everything currently stored there and thoroughly clean the area. If necessary, install bed risers to create additional clearance.
Select appropriate storage containers that maximize the available space while allowing easy access. Sort items into categories: seasonal clothing, extra bedding, shoes, memorabilia, or other items suitable for long-term storage.
Use vacuum storage bags for soft items to maximize space and protect against dust and moisture. Place frequently accessed items toward the front and less-used items toward the back. Create a detailed labeling system, including contents and dates, particularly for seasonal items.
For optimal organization maintenance, consider creating a storage map indicating where specific containers are located under the bed. Use clear containers when possible to easily identify contents, and implement a rotation system for seasonal items.
Regular cleaning and assessment of stored items will help maintain organization and prevent the space from becoming a catch-all for unnecessary items.
Keep Frequently Used Items Within Easy Reach
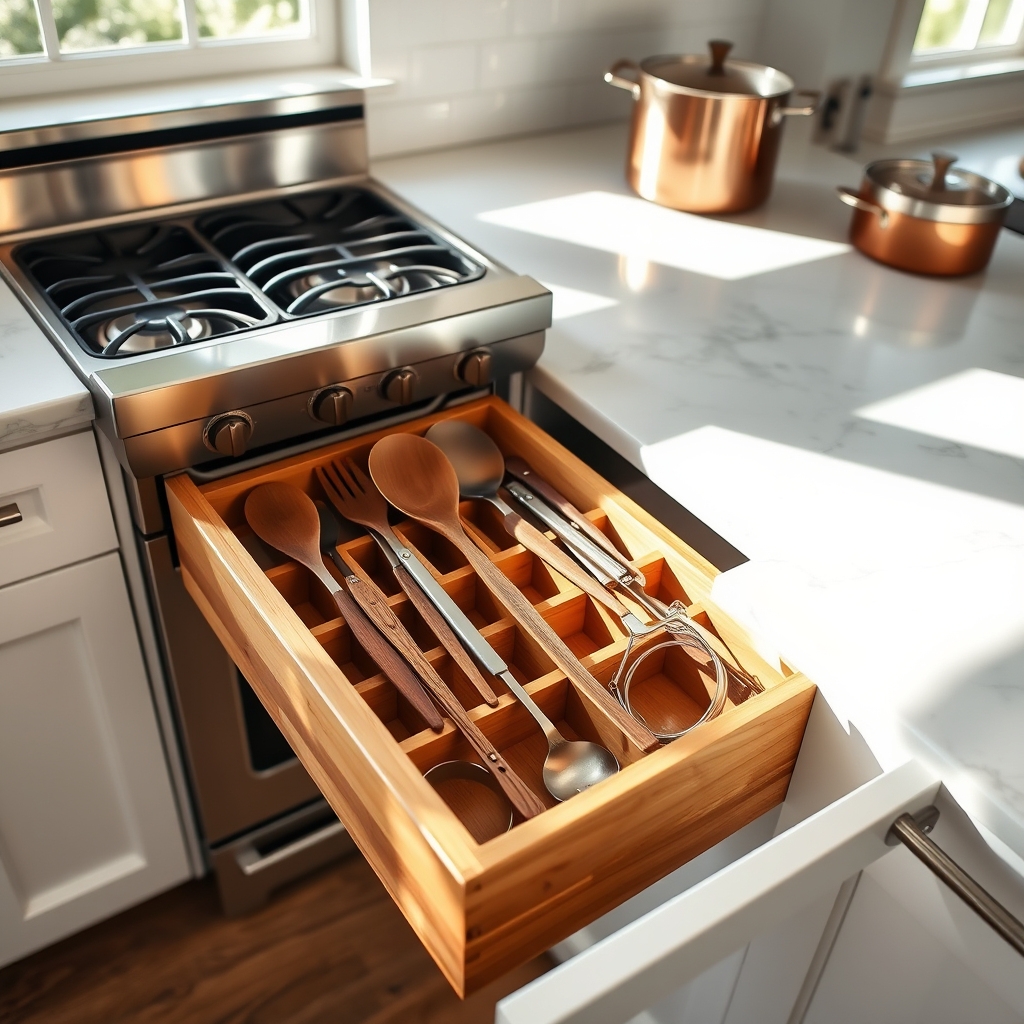
The strategic placement of everyday items can dramatically impact the efficiency of daily routines. When frequently used items are stored in easily accessible locations, tasks become smoother, faster, and less frustrating. This simple organizational principle can save countless hours over time and reduce the physical strain of reaching, bending, or searching for common items.
Proper placement of frequently used items also promotes better habits and maintains organization long-term. When items are conveniently located, family members are more likely to return them to their designated spots, creating a self-sustaining system of organization that benefits everyone in the household.
Required Items:
- Drawer organizers
- Clear storage containers
- Labels and label maker
- Measuring tape
- Step stool
- Storage bins
- Drawer dividers
- Command hooks
- Shelf risers
- Clipboard for inventory
Begin by analyzing your daily routines and identifying items used multiple times per week. Place these items between waist and shoulder height in cabinets, drawers, or on countertops. Install hooks, small shelves, or magnetic strips to keep tools and accessories at eye level. Group similar items together in clear containers or organizers, ensuring they remain visible and within arm’s reach.
For kitchen spaces, arrange frequently used cooking utensils near the stove, everyday dishes near the dishwasher, and coffee supplies near the coffee maker. In bathrooms, position daily toiletries on the counter or in the medicine cabinet rather than under the sink. For closets, place current-season clothing at eye level, while storing occasional-use items on higher or lower shelves.
Additional Tip: Review and adjust your organization system every three months. Items used frequently can change with seasons or lifestyle changes. Keep a running list of items that prove inconvenient to reach, and reorganize accordingly. Consider using drawer organizers with adjustable dividers to maintain flexibility as your needs evolve.

