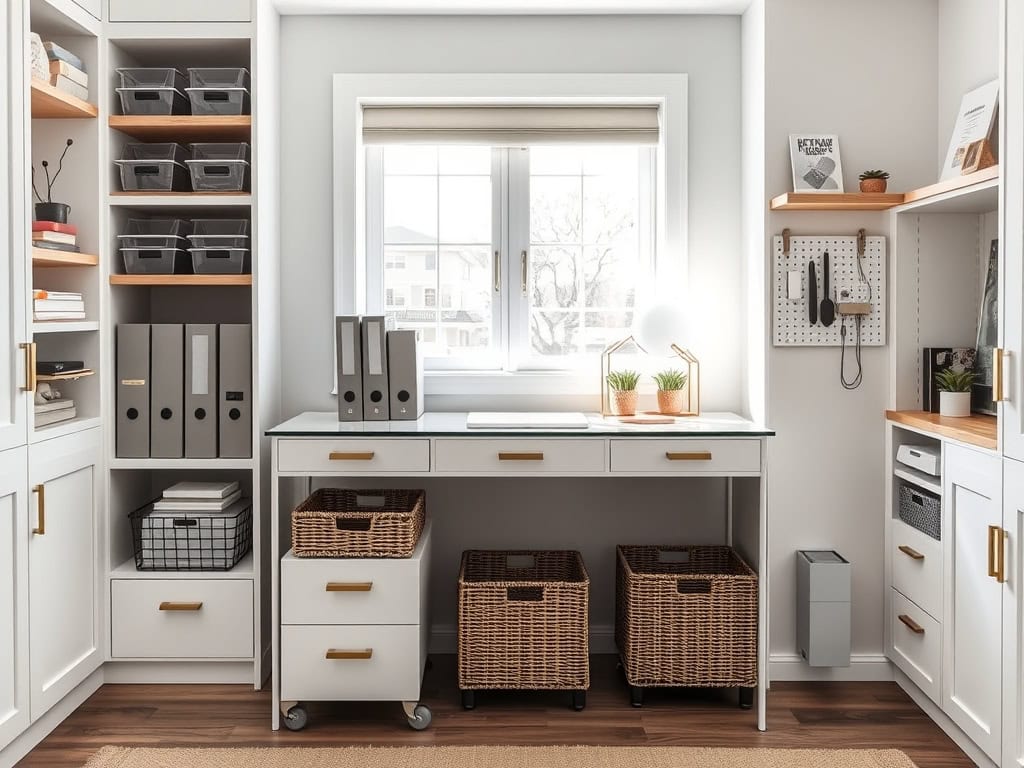
Working from home should be productive, efficient, and enjoyable – but let’s face it, a cluttered office space can really cramp your style! I’ve spent years perfecting my home office setup, and I’ve discovered that smart storage solutions make all the difference. Whether you’re dealing with paper avalanches, tangled cables, or the dreaded “stuff with nowhere to go” syndrome, I’ve got 10 game-changing solutions that’ll transform your workspace from chaotic to streamlined. Ready to see how your home office can work harder for you?
Vertical Wall-Mounted Filing Systems
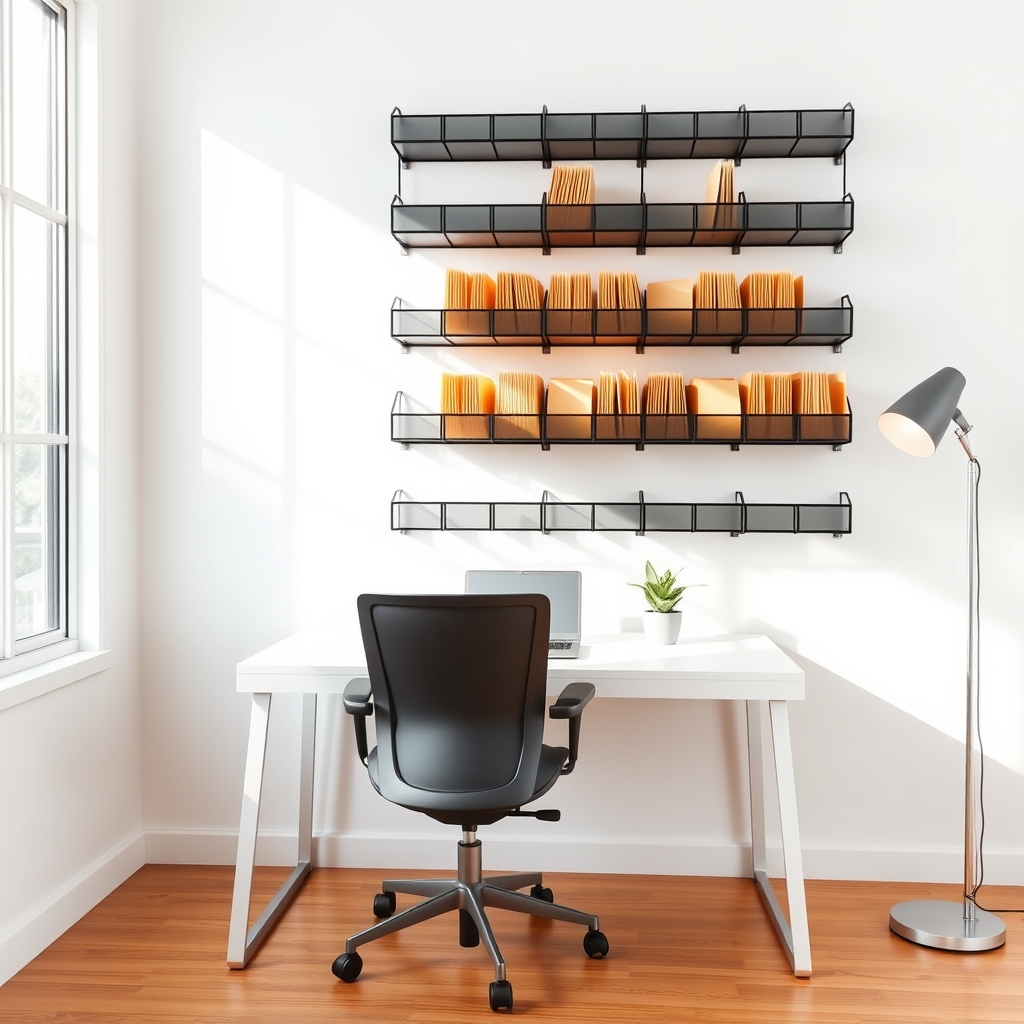
Making the most of vertical wall space in a home office is crucial for maximizing efficiency and minimizing desk clutter. Wall-mounted filing systems not only free up valuable floor space but also keep important documents within arm’s reach while creating an organized, professional atmosphere.
Vertical filing systems transform mundane walls into functional storage areas that can accommodate everything from current projects to archived materials. This organization method helps maintain a clear workflow by keeping documents visible and accessible, while simultaneously creating a systematic approach to paperwork management.
Required Items:
- Wall-mounted file holders
- Wall anchors and screws
- Power drill
- Level
- Measuring tape
- Pencil
- File folders
- Labels and label maker
- Sorting bins
- Step ladder
The installation and organization process begins with measuring and marking the wall space where the filing system will be mounted. Position the first file holder at eye level, ensuring it’s properly anchored into wall studs or using appropriate wall anchors.
Space additional holders vertically, maintaining consistent gaps between each unit. Once mounted, create a logical filing system by categorizing documents into main categories such as “Action Items,” “Reference,” and “Archive.”
Sort documents into temporary bins based on these categories before transferring them to labeled folders in the wall-mounted system. Arrange files from top to bottom in order of priority or frequency of use, keeping the most accessed items at eye level.
Consider color-coding folders by category or urgency to enhance visual organization.
Additional Tips: Implement a regular maintenance schedule to prevent the accumulation of outdated documents. Review files monthly, relocating or removing items as needed.
Consider installing a small shelf or tray below the filing system to hold supplies like staplers, paper clips, or incoming mail. For optimal functionality, maintain clear labels and establish a consistent filing protocol that all office users can follow.
Multi-Purpose Storage Furniture
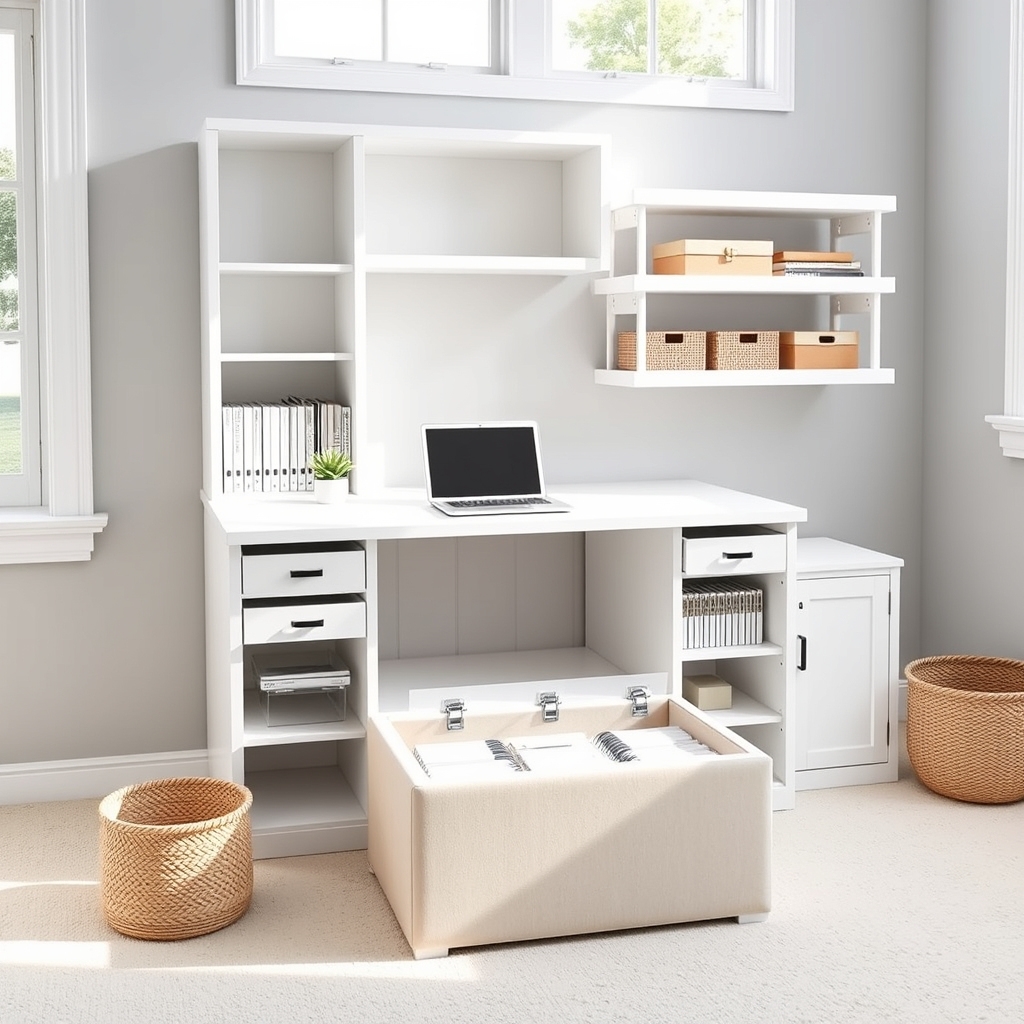
Multi-purpose storage furniture has become essential in modern home offices where space optimization is crucial. These versatile pieces serve multiple functions while maintaining organization and reducing clutter, making them invaluable for anyone looking to maximize their workspace efficiency.
The strategic implementation of multi-purpose storage furniture can transform a cramped home office into a highly functional workspace. From ottomans that double as file storage to desk systems with built-in shelving, these pieces create seamless organization while maintaining aesthetic appeal and professional atmosphere.
Required Items:
- Measuring tape
- Space planning template or graph paper
- Level
- Basic tools (screwdriver, Allen wrench)
- Drawer organizers
- Labels
- Cable management solutions
- Storage bins or baskets
- File folders
- Document sorters
Select multi-purpose furniture pieces that align with your specific needs and available space. Start by measuring your office area and mapping out potential furniture placement. Focus on pieces that offer maximum storage capacity while serving multiple functions, such as a filing cabinet that can double as a printer stand or a bookshelf with a fold-down desk surface.
Implementation begins with arranging larger pieces along walls to maximize floor space. Install drawer organizers and sorting systems within each piece to create designated spaces for different categories of items. Integrate vertical storage solutions when possible, utilizing wall-mounted shelves or tall cabinets that combine storage with workspace.
Ensure frequently used items are easily accessible while maintaining a clean, professional appearance.
Additional Tips: Consider furniture pieces with adjustable components that can adapt to changing needs. Implement a regular maintenance schedule to prevent clutter accumulation and reassess storage needs quarterly. Use clear containers or labels to maintain organization systems, and always factor in growth space when planning storage solutions. Keep frequently used items at arm’s reach and less-used items in secondary storage areas.
Under-Desk Organization Units
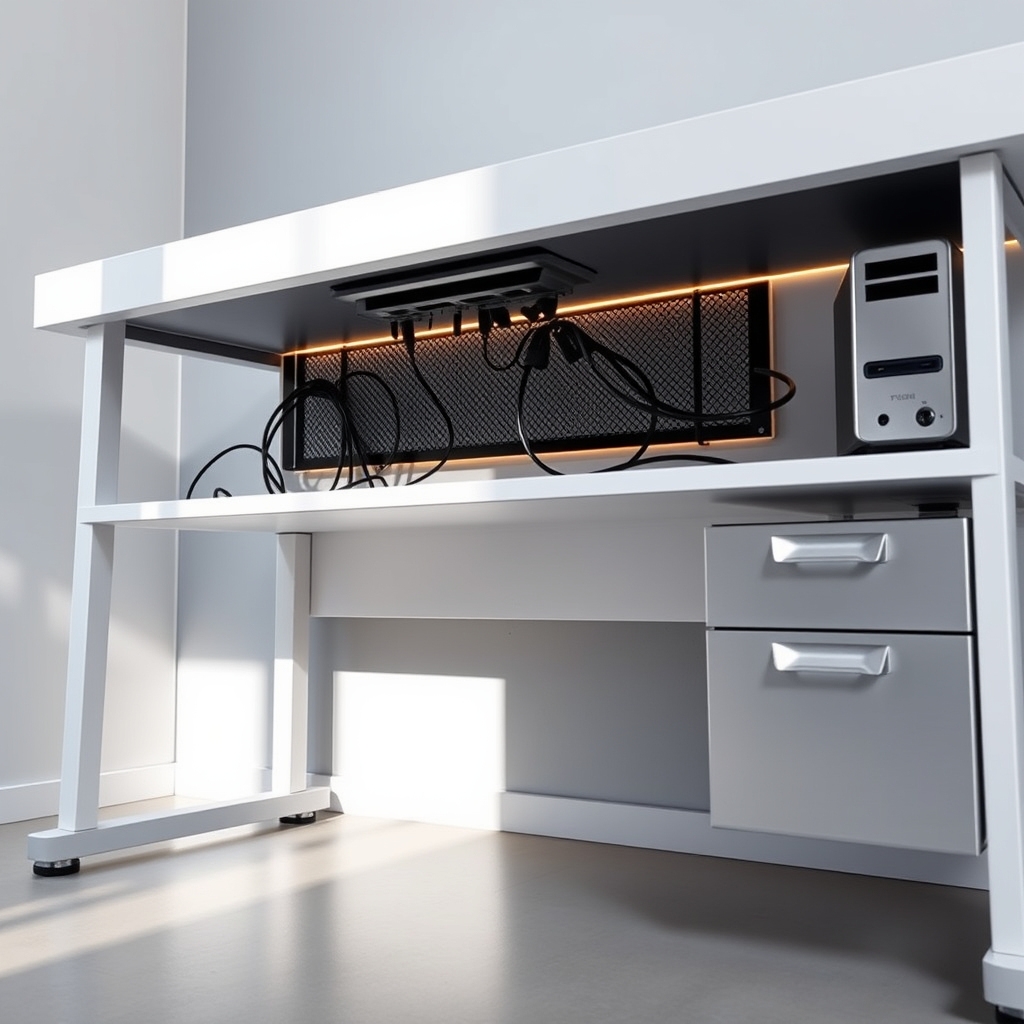
A well-organized under-desk area is crucial for maintaining a productive and clutter-free home office environment. Without proper organization, this valuable space often becomes a chaotic collection of cables, peripheral devices, and miscellaneous items that impede workflow and create visual distraction.
Maximizing the storage potential beneath your desk not only helps keep your workspace tidy but also improves accessibility to frequently used items. An organized under-desk area can significantly enhance leg room, reduce stress, and create a more ergonomic workspace that promotes better posture and comfort during long working hours.
Required Items:
- Cable management system (clips, ties, or sleeves)
- Under-desk drawer unit or filing cabinet
- Cable raceway or cord cover
- Surge protector or power strip
- Adjustable monitor stand or riser
- Desktop organizer tray
- Label maker
- Measuring tape
- Cleaning supplies
The organization process begins with completely clearing the under-desk area and thoroughly cleaning the space. Start by installing a surge protector in an accessible location, then group cables together using cable ties or sleeves, routing them along the desk’s edge or through a cable raceway.
Position the under-desk drawer unit on the side that provides the most convenient access while maintaining adequate leg room. Install any CPU holders or peripheral device mounts to keep equipment off the floor and optimize space usage.
Create designated zones within the drawer unit: the top drawer for frequently accessed items like stationery and charging cables, middle drawers for documents and supplies used weekly, and bottom drawers for rarely needed items or archive materials. Label each drawer clearly to maintain the organization system long-term.
Additional Tips:
Conduct a monthly maintenance check to prevent cable tangles and clutter accumulation. Consider using wireless peripherals to reduce cable management needs, and implement a “one-in-one-out” rule when adding new items to the storage system.
Keep a small LED light strip attached under the desk to illuminate the storage area when needed, making it easier to locate items in darker corners.
Digital Cable Management Solutions
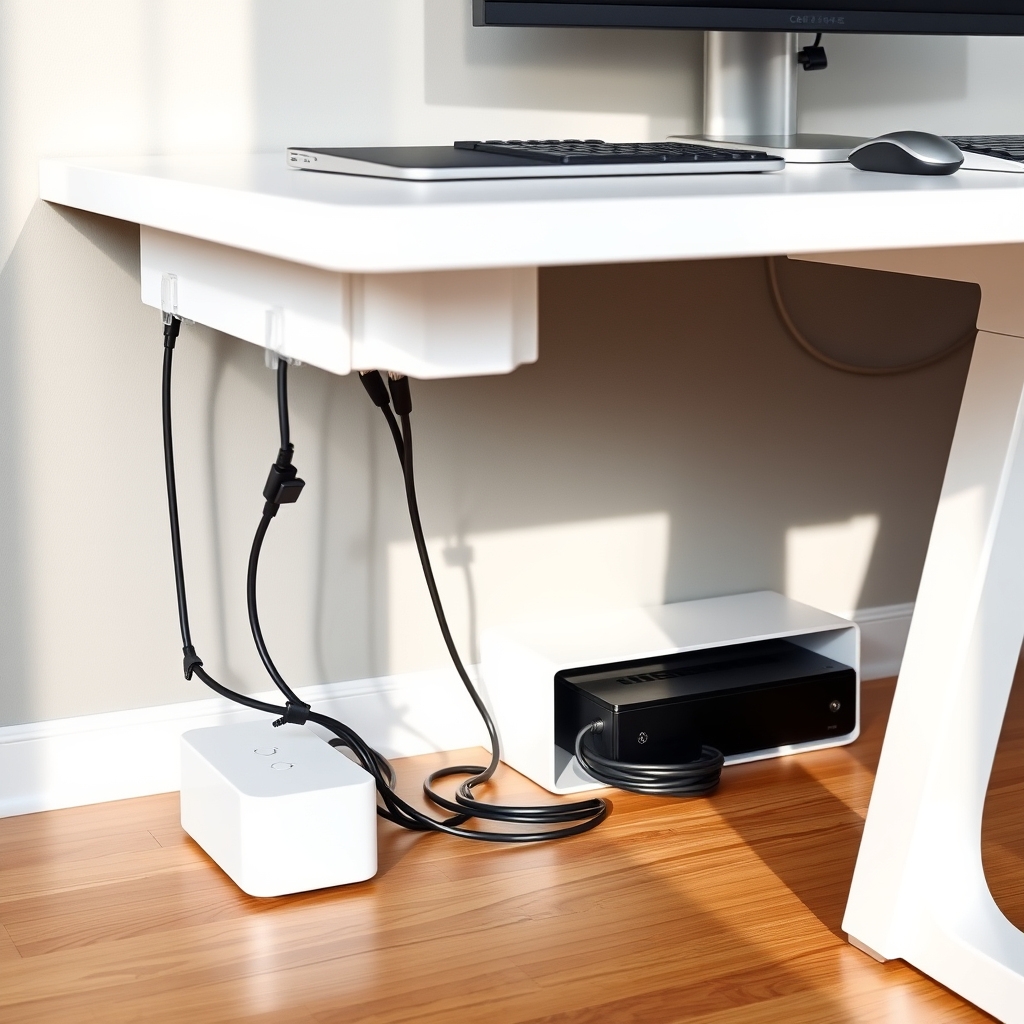
In today’s digital workspace, cable management has become increasingly crucial for maintaining both functionality and aesthetics. Tangled cords not only create visual chaos but can also lead to damaged cables, safety hazards, and inefficient use of workspace. A well-organized cable system allows for easier access to devices, quicker troubleshooting, and a more professional-looking home office environment.
Proper cable management can significantly improve your daily workflow by eliminating the frustration of searching for specific cables or dealing with knots and tangles. It also helps protect your valuable electronics by preventing unnecessary strain on cords and ensuring proper airflow around devices, which can extend their lifespan and maintain optimal performance.
Required Items:
- Cable ties or velcro straps
- Cable clips or adhesive cable holders
- Cable sleeves or spiral wrap
- Label maker or cable labels
- Cable management box or tray
- Desk grommets
- Power strip or surge protector
- Wire baskets or J-channel raceways
- Double-sided tape or mounting adhesive
- Cable shortening tools (optional)
Start by unplugging all devices and laying out cables to identify their purposes and optimal routing paths. Group cables by function (power, data, peripherals) and determine the shortest practical route from source to destination.
Install a cable management box near your desk to house power strips and excess cable length. Use adhesive cable clips along the desk’s edge or underside to create a main cable highway, ensuring cables stay hidden but accessible.
Next, bundle related cables together using velcro straps or spiral wrap, leaving enough slack for device movement and maintenance. Install J-channel raceways along walls or desk legs to conceal cables running to wall outlets or floor-based equipment. Use desk grommets to create clean entry and exit points for cables through the desk surface, and label each cable at both ends for easy identification.
For optimal results, perform regular maintenance checks on your cable management system. Replace any damaged cables or worn fasteners promptly, and readjust bundles as needed when adding or removing devices.
Consider using wireless alternatives when possible to reduce cable clutter, and keep a small supply of cable management materials on hand for future modifications or additions to your setup.
Hidden Drawer Compartments
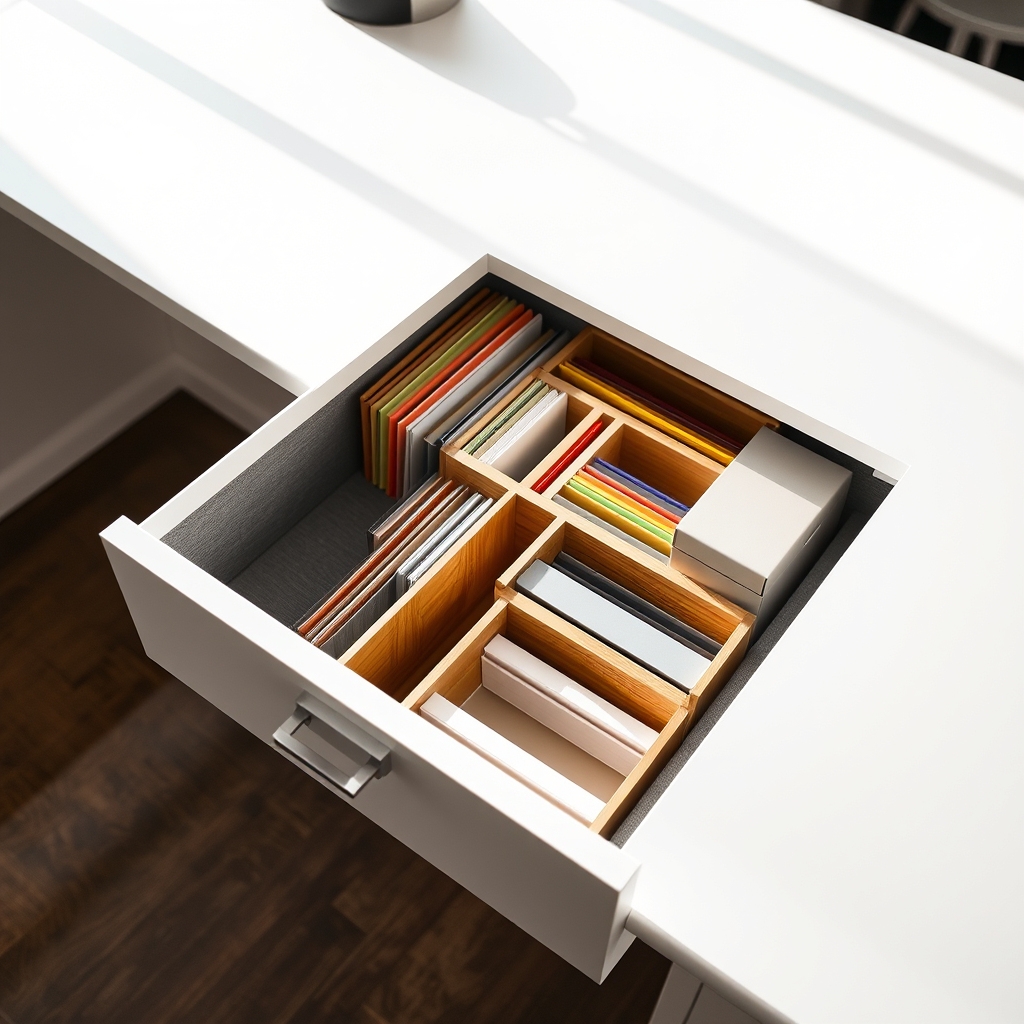
Hidden drawer compartments represent an often-overlooked opportunity to maximize storage space while maintaining a clean, professional appearance in your home office. These discrete storage areas can house confidential documents, valuable items, or frequently used supplies while keeping them out of sight and protecting them from dust and damage.
Proper organization of hidden drawer compartments not only increases storage capacity but also enhances security and accessibility. By implementing a systematic approach to these spaces, you can create an efficient system that allows quick access to necessary items while maintaining the polished look of your workspace.
Required Items:
- Drawer dividers
- Small containers or organizers
- Labels
- Measuring tape
- Anti-slip drawer liner
- Clear plastic pouches
- Document folders
- Small lockboxes (if needed)
- Drawer stops
- Adhesive hooks
Start by measuring your hidden drawer compartments and mapping out zones for different categories of items. Install drawer stops and anti-slip liner to prevent items from sliding around. Create designated areas using drawer dividers, positioning frequently accessed items toward the front and less-used items toward the back.
For documents, implement a color-coding system using folders or clear pouches to distinguish between different categories. Consider installing small adhesive hooks on the sides of deeper drawers to maximize vertical space. Place smaller containers within the compartments to separate items like office supplies, technology accessories, or personal items. Ensure all containers fit properly and allow the drawer to close smoothly without catching.
To maintain optimal organization of hidden drawer compartments, conduct monthly reviews of stored items, removing anything that’s no longer needed. Consider using moisture-absorbing packets in drawers storing sensitive documents or electronics, and maintain an inventory list of stored items, especially for security-sensitive materials.
Remember to periodically clean the compartments and check that any mechanical components, such as drawer slides or locks, are functioning properly.
Space-Saving Corner Shelving
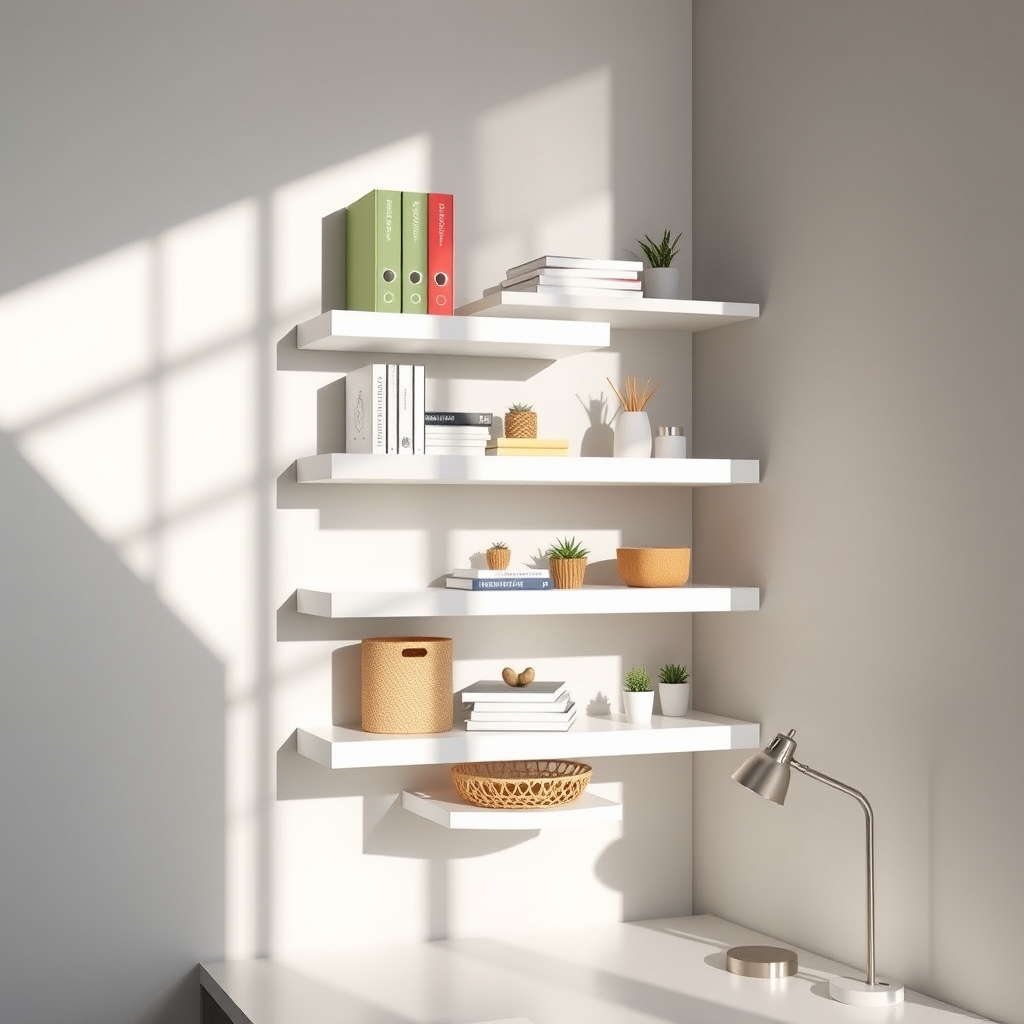
Maximizing corner space in a home office is crucial for creating an efficient and productive workspace. These often-overlooked areas can provide valuable storage solutions while maintaining a clean, organized appearance.
Corner shelving not only utilizes dead space but also adds architectural interest to your office while keeping essential items within arm’s reach. When properly organized, corner shelves can transform awkward angles into functional storage zones that complement your workflow.
This strategic approach to space management helps reduce clutter on your desk and creates designated areas for different categories of work materials, resulting in improved focus and productivity.
Required Items:
- Corner shelf unit
- Level
- Measuring tape
- Pencil
- Wall anchors
- Screwdriver
- Label maker
- Storage bins or baskets
- Bookends
- Dust cloth
Begin by thoroughly measuring your corner space and selecting an appropriate shelving unit that fits both the dimensions and your storage needs.
Install the shelving unit according to manufacturer specifications, ensuring it’s level and properly anchored to the wall for safety. Once secured, clean all surfaces thoroughly before organizing.
Group similar items together and assign specific zones to each shelf, with frequently used items at eye level and less-used items on higher or lower shelves.
Consider using attractive storage containers or baskets to corral smaller items, and implement a clear labeling system to maintain organization long-term. Books should be arranged vertically with proper bookend support to prevent tipping.
Maximize your corner shelving organization by regularly reassessing the arrangement and adjusting as needed. Implement a quarterly cleaning and reorganization schedule to prevent clutter accumulation.
Consider using adjustable shelves when possible to accommodate changing storage needs, and always leave some empty space for future additions or temporary storage requirements.
Mobile Storage Carts
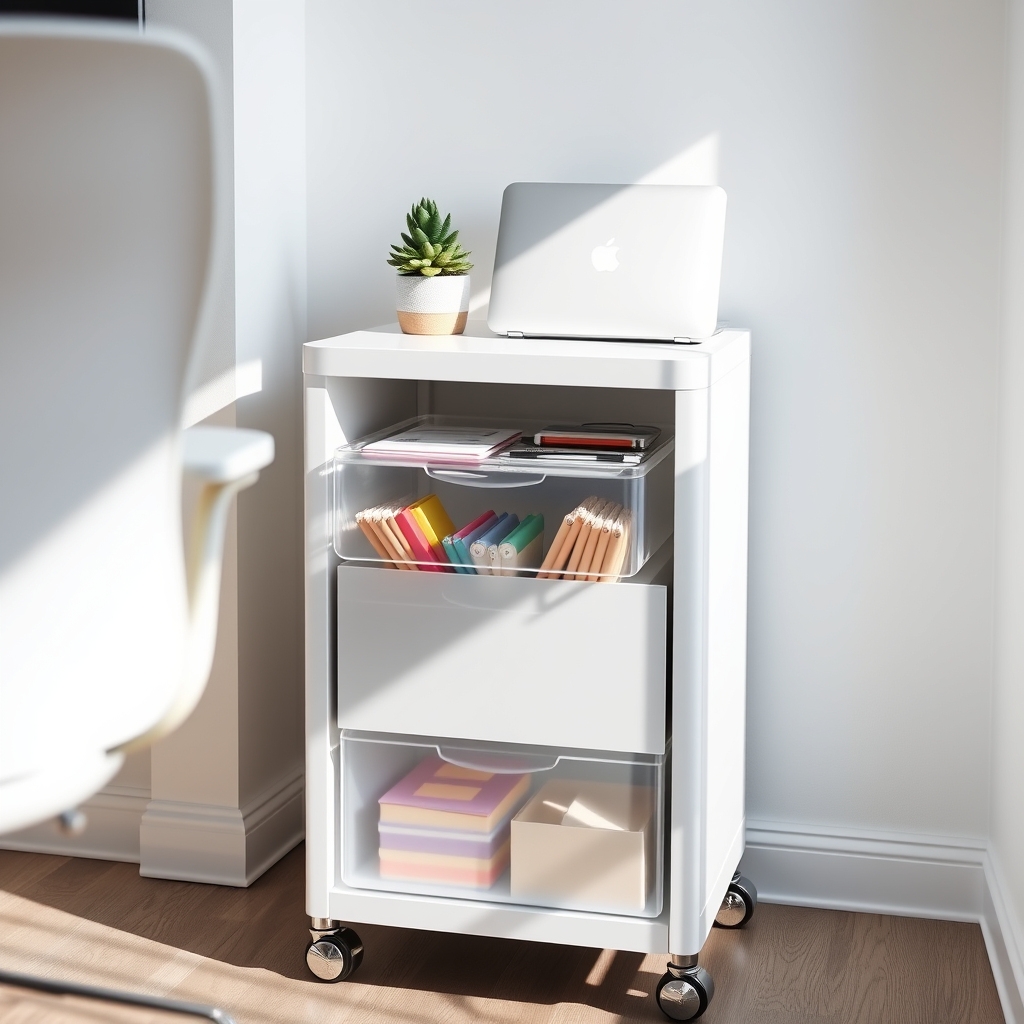
Mobile storage carts represent a versatile solution for the modern home office, offering flexibility and functionality in an increasingly dynamic work environment.
These wheeled organizational tools can transform how you store supplies, documents, and equipment while maintaining easy access to everything you need throughout your workday.
The ability to move storage where it’s needed most makes mobile carts an invaluable asset in any home office setup. Whether you’re transitioning between different work areas or need to quickly clear space for other activities, these portable units help maintain organization while adapting to your changing needs.
Required Items:
- Mobile storage cart
- Drawer organizers
- Label maker
- Clear storage containers
- File folders
- Hanging file frames
- Drawer liners
- Small bins or baskets
- Cable ties
- Measuring tape
Select a mobile cart that matches your specific storage needs, considering the types of items you’ll store and the available space in your home office.
Begin by measuring your intended storage items and choosing appropriately sized containers or organizers that fit within the cart’s dimensions. Sort items by frequency of use, placing daily essentials in the top drawers and less-frequently used items in lower sections.
Create designated zones within each drawer using drawer organizers or small containers. Implement a color-coding system for different categories of items, such as office supplies, technology accessories, or paper products.
Label each section clearly to maintain organization over time, and use drawer liners to prevent items from sliding around when moving the cart.
For optimal organization and longevity of your mobile storage system, regularly audit the contents and adjust the layout as your needs change.
Keep frequently used items at arm’s reach, and consider using clear containers to easily identify contents. Maximize vertical space by utilizing stackable containers, and always ensure the cart’s wheels are maintained for smooth mobility.
Periodically clean and declutter to prevent the accumulation of unnecessary items.
Desktop Document Sorters

A well-organized desktop document sorter is crucial for maintaining an efficient workflow and reducing the mental clutter that comes with scattered paperwork. When important documents are properly sorted and easily accessible, you can save valuable time that would otherwise be spent searching through piles of paper.
Desktop document organization directly impacts productivity by creating clear systems for managing incoming papers, active projects, and important reference materials. A proper sorting system helps prevent important documents from getting lost or forgotten while keeping frequently accessed items within arm’s reach.
Required Items:
- Desktop document sorter/organizer
- Label maker or labels
- File folders
- Sticky notes
- Paper clips
- Binder clips
- Recycling bin
- Shredder
- Letter tray
- Magazine holders
Start by removing all documents from your current setup and sorting them into three main categories: action items, reference materials, and archive documents. Select a document sorter with enough compartments to accommodate your workflow – vertical slots work well for active projects, while horizontal trays are better for incoming/outgoing mail.
Label each section clearly with categories that match your work style, such as “To Process,” “In Progress,” “To File,” and “Important Reference.”
Position your document sorter in an easily accessible spot on your desk, ideally within arm’s reach of your primary workspace. Arrange the compartments so that frequently accessed items are at eye level. Create a designated spot for incoming mail or new documents, and establish a separate area for outgoing items that need to be processed.
Additional Tips:
Review and purge documents weekly to prevent accumulation. Implement a “touch it once” rule – when handling a document, immediately decide whether to act on it, file it, or discard it.
Consider scanning important documents for digital backup and using color-coding for different categories to make identification even faster. Keep a small recycling bin nearby to immediately dispose of unnecessary papers.
Floating Shelves and Pegboards
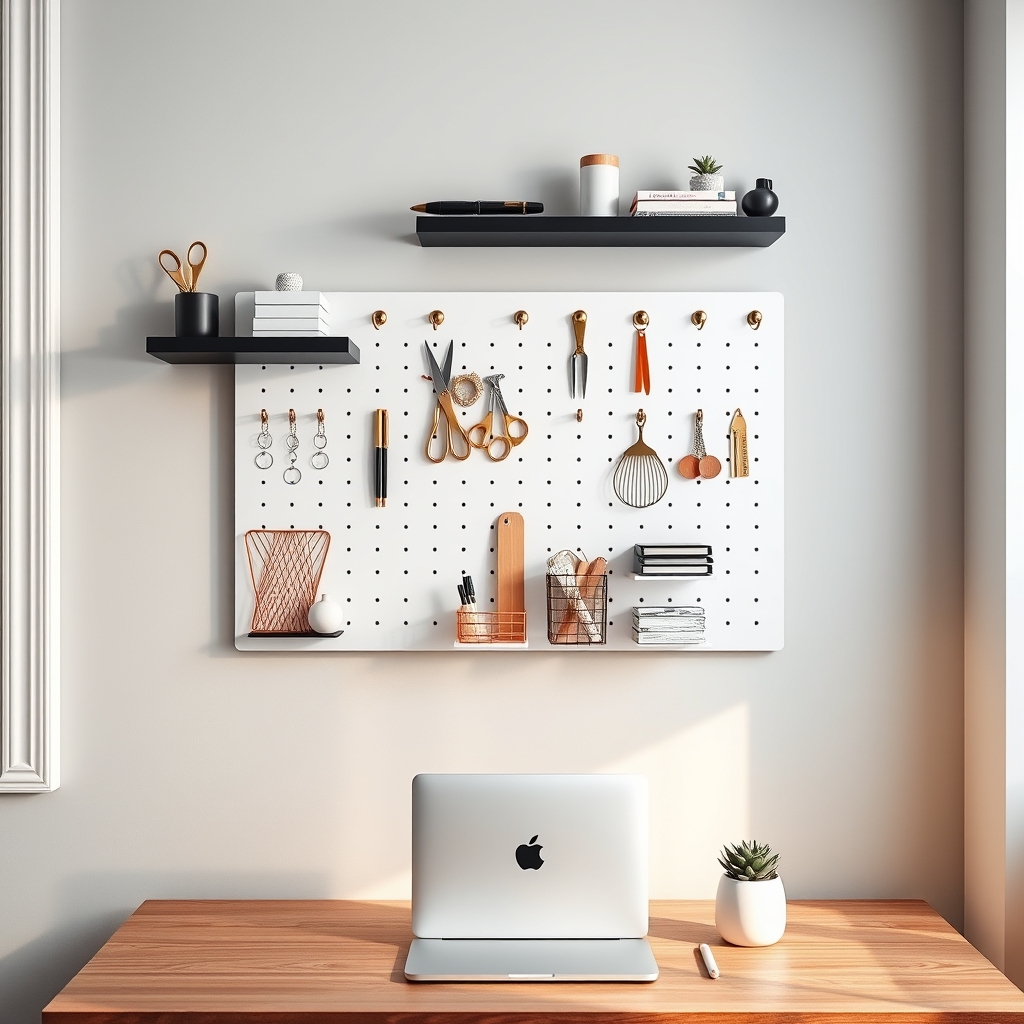
Maximizing vertical wall space in a home office is crucial for maintaining an organized and efficient workspace. Floating shelves and pegboards offer versatile storage solutions that keep essential items within reach while freeing up valuable desk space and creating a clean, professional atmosphere.
These wall-mounted storage options allow for customization based on your specific needs and can be easily modified as your storage requirements change. Floating shelves provide sturdy platforms for books, decorative items, and office supplies, while pegboards offer flexible arrangements for frequently used tools and accessories.
Required Items:
- Floating shelves
- Pegboard
- Wall anchors and screws
- Level
- Drill
- Pencil
- Measuring tape
- Pegboard hooks and accessories
- Storage containers or baskets
- Wire organizers
- Command strips (optional)
- Stud finder
Begin by determining the optimal location for your storage system, using a stud finder to locate wall supports. Measure and mark the positions for floating shelves, ensuring they’re level and properly spaced for your needs. Install the strongest shelves at the bottom for heavier items, gradually decreasing weight capacity as you move upward.
For pegboards, mount the board securely using appropriate wall anchors, leaving enough space between the wall and board for hook insertion. Organize items on floating shelves by frequency of use, with daily necessities at arm’s reach. Group similar items together and use attractive containers or baskets to corral smaller objects.
When arranging the pegboard, create zones for different activities or item types, such as writing implements, tech accessories, or crafting supplies. Consider leaving some empty space for future additions or seasonal changes.
To maintain the effectiveness of your organization system, regularly assess and adjust the arrangement based on your workflow. Use clear containers to easily identify contents, and label everything to maintain order. Consider adding LED strip lighting under floating shelves for both functionality and ambiance, and periodically rotate items to ensure the most-used supplies remain in prime positions.
Remember to secure heavier items toward the back of shelves for stability and safety.
Modular Storage Cubes
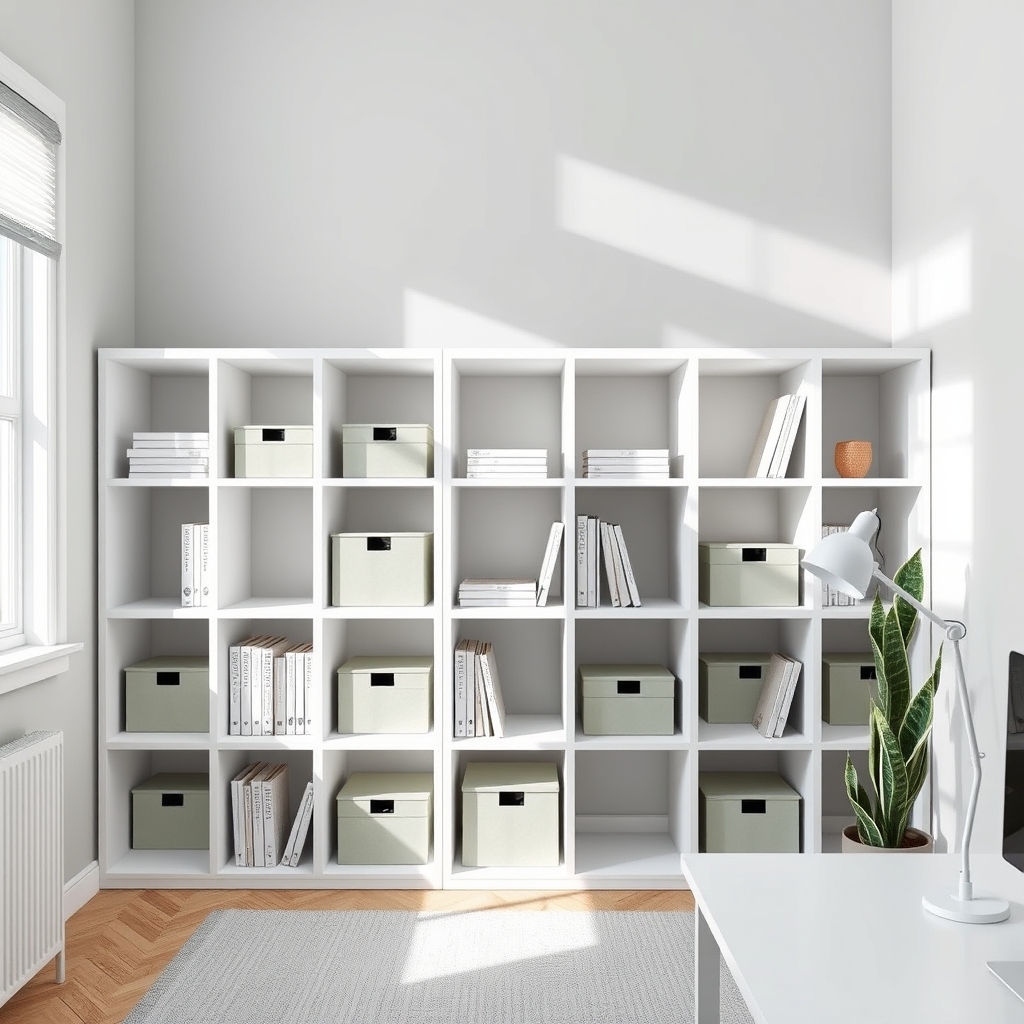
Modular storage cubes represent one of the most versatile and adaptable storage solutions for any home office space. These customizable units allow you to create a personalized storage system that can grow and change with your needs, while maintaining a clean and professional appearance that complements any office décor.
The beauty of modular storage cubes lies in their ability to maximize vertical space while providing both open and closed storage options. Whether you need to store office supplies, important documents, or decorative items, these stackable units offer flexibility in configuration and can be easily rearranged as your storage needs evolve.
Required Items:
- Modular storage cubes
- Cube organizer inserts or bins
- Measuring tape
- Level
- Screwdriver
- Wall anchors (if securing to wall)
- Labels
- Drawer organizers
- Container dividers
Start by measuring your available space and determining the ideal configuration for your modular cubes. Consider both the width and height of your planned storage system, ensuring it fits comfortably within your office space while maximizing storage potential.
Once you’ve determined the layout, assemble the basic cube structure according to manufacturer instructions, making sure each unit is level and secure.
After assembly, assess your storage needs and categorize items that will be stored in the cubes. Designate specific cubes for different purposes – some may work better with fabric bins for supplies, while others might remain open for books or decorative items.
Install any necessary drawer inserts or door attachments, and ensure all components are properly secured.
To maximize the effectiveness of your modular storage system, incorporate a clear labeling system and regularly reassess the organization scheme. Consider using cube inserts in contrasting colors to create visual separation between different categories of items, and keep frequently used items at easily accessible heights.
Periodically evaluate the system’s efficiency and don’t hesitate to reconfigure the cubes as your storage needs change over time.

