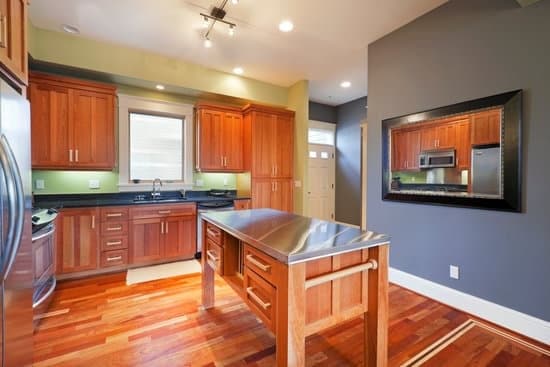
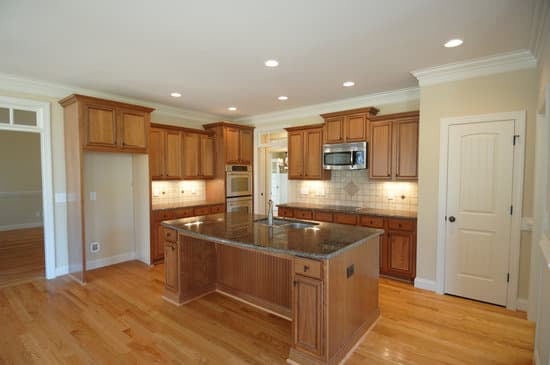
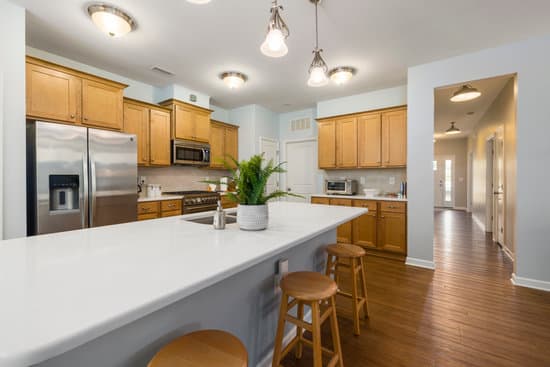
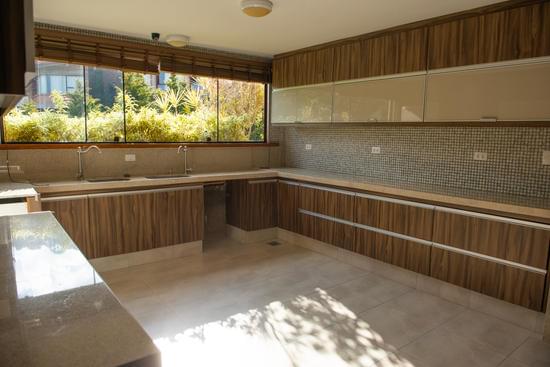
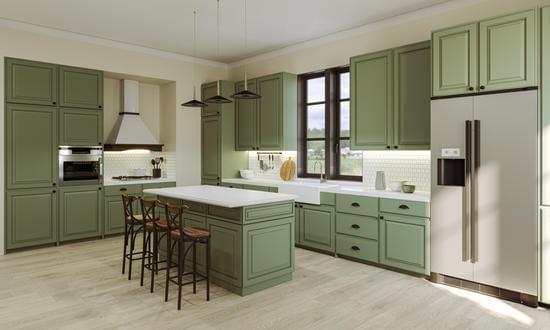
Are you looking to create a functional and stylish kitchen island with extra seating? This article will guide you through the process step by step, ensuring your safety every step of the way. By following these instructions, you’ll be able to plan, gather materials, build the base, add seating, and customize your kitchen island to fit your needs. Get ready to transform your kitchen into a space that is both practical and inviting for family and friends.
Planning and Designing Your Kitchen Island
When designing your kitchen island, it’s important to consider the available space and how much seating you want. Determining dimensions is crucial to ensure that your island fits perfectly in your kitchen. Measure the length and width of the area where you plan to place the island, leaving enough room for people to comfortably walk around it. Next, think about choosing materials that are both durable and stylish. Solid wood or granite countertops are popular choices for their durability, while also adding an elegant touch to your kitchen. For the base of the island, consider using sturdy cabinets or a combination of cabinets and open shelving for additional storage options. Remember to prioritize safety when selecting materials and avoid sharp edges or slippery surfaces that could cause accidents in the kitchen.
Gathering Materials and Tools
To start, you’ll need to gather all the necessary materials and tools for your project. Choosing the right materials for your kitchen island is crucial to ensure durability and functionality. Here are some items you’ll need:
- A sturdy countertop material, such as granite or quartz, that can withstand daily use and spills.
- Strong lumber or plywood for the base of your island, ensuring stability and support.
- Quality screws or nails to secure the components together.
When it comes to tools, there are a few must-haves for building a kitchen island:
- A circular saw or jigsaw to cut the countertop material and wood accurately.
- A drill with various bits for attaching pieces and making holes.
- A level to ensure everything is straight and even.
Remember, safety should always be a priority when working on any DIY project. Wear protective goggles, gloves, and follow instructions carefully.
Building the Base of Your Kitchen Island
Once you have gathered all the necessary materials and tools, begin by constructing the base of your kitchen island. Start by measuring and cutting the wood for the base to ensure accurate dimensions. Remember to use safety goggles and gloves while handling sharp tools. Next, assemble the pieces of wood according to your design, making sure they fit snugly together. Use screws or nails to secure the joints properly, ensuring stability and durability. Double-check that everything is level using a spirit level before proceeding. If needed, make adjustments to ensure a sturdy base. Once assembled, reinforce any weak spots with additional screws or brackets for added support. Take your time during this step to guarantee a solid foundation for your kitchen island with seating.
Adding Seating to Your Kitchen Island
Adding seating to your kitchen island can enhance its functionality and create a space for gathering and entertaining. When choosing the right kitchen island seating, consider the size of your island and the available space in your kitchen. Opt for stools or chairs that are comfortable and safe to sit on for extended periods of time. Built-in kitchen island seating is a great way to maximize space in your kitchen. Consider incorporating benches or banquettes along one side of the island, which can provide additional storage underneath. Another option is to install bar stools that can be easily tucked under the countertop when not in use. Remember to leave enough legroom between the seating area and the countertop edge for comfortable sitting. By carefully selecting and arranging your kitchen island seating, you can create a functional and inviting space that meets all your needs while maximizing your kitchen’s potential.
Finishing Touches and Customization
For the finishing touches and customization of your kitchen island, you can incorporate personalized decor and accessories to make it a unique and stylish centerpiece in your kitchen. When it comes to customization options, there are plenty of choices to consider. Firstly, think about the materials you want to use for your island. Opt for durable and easy-to-clean surfaces like granite or quartz countertops, as they not only look elegant but also provide lasting functionality. Additionally, you can choose from a wide range of finishes for your island’s cabinetry, such as sleek white or warm wood tones, depending on your desired aesthetic. Consider adding decorative features like pendant lights above the seating area or installing shelving units for displaying cookbooks and decorative items. By carefully selecting these elements, you can create a personalized kitchen island that meets both your style preferences and safety requirements.
Conclusion
Now that you have completed the construction of your kitchen island with seating, it is time to step back and admire your hard work. The addition of a kitchen island not only provides extra counter space but also creates a welcoming area for family and friends to gather. With careful planning and attention to detail, you have successfully created a functional and stylish centerpiece for your kitchen. Enjoy the fruits of your labor and savor the joy of cooking and entertaining in your newly transformed space!

