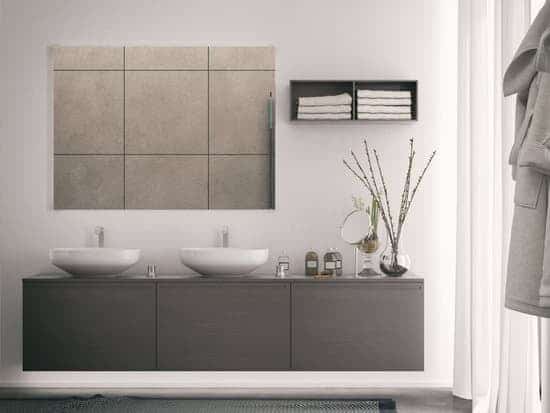
In this step-by-step guide, you will learn how to create a practical and stylish bathroom cabinet with doors. By following these instructions, you can confidently tackle this DIY project while prioritizing safety. From gathering the necessary materials and tools to attaching the doors and hardware, this article will provide all the information you need for a successful cabinet-making experience. Get ready to enhance your bathroom organization and storage with your very own handmade cabinet!
Gathering Materials and Tools
Now you’re going to gather all the materials and tools you’ll need for making your bathroom cabinet with doors. Safety is important, so let’s start by choosing the right paint color. Look for a paint that is specifically designed for bathrooms, as it will be more resistant to moisture and humidity. This will help prevent any damage or peeling in the future. Next, select the right type of wood for your cabinet. Opt for a wood species that is durable and can withstand the humid environment of a bathroom. Good options include oak or maple. Make sure to also gather tools such as a tape measure, circular saw, drill, screws, sandpaper, and a level. These will be essential for building your cabinet efficiently and securely. Remember to always prioritize safety by wearing protective gear like safety goggles and gloves while working with these tools.
Measuring and Planning
First, you’ll need to measure the dimensions and carefully plan out your project. This step is crucial to ensure that your bathroom cabinet fits perfectly in the space available. Here are four important things to consider:
- Choosing the right color scheme: Opt for colors that complement your bathroom decor and create a cohesive look.
- Maximizing storage space: Think about how many shelves and drawers you’ll need to store all your bathroom essentials efficiently.
- Safety measures: Make sure the cabinet is securely attached to the wall, especially if you have children or pets who might accidentally knock it over.
- Accessibility: Design the cabinet with easy access in mind, so you can reach items without straining or bending too much.
By carefully measuring and planning, considering color scheme and maximizing storage space, you will be able to create a functional and aesthetically pleasing bathroom cabinet.
Cutting and Assembling the Cabinet
To start cutting and assembling, you’ll need to gather all the necessary materials and tools. Make sure you have a saw, drill, screws, wood glue, sandpaper, and paint or stain. Safety should always be your top priority when working with power tools, so make sure to wear protective goggles and gloves.
First, use the measurements from your previous planning stage to cut out the pieces for the cabinet structure. Use joinery techniques like butt joints or pocket holes to securely connect the pieces together. Apply wood glue before screwing them in place for extra strength.
Once the cabinet is assembled, it’s time to sand down any rough edges or uneven surfaces using sandpaper. This will ensure a smooth finish and prevent any potential splinters. After sanding, apply your chosen finish such as paint or stain according to the manufacturer’s instructions.
Remember to take breaks and work at a comfortable pace. Always prioritize safety by following proper procedures when handling tools and materials throughout this process.
Attaching the Doors and Hardware
Once you’ve completed assembling the cabinet, it’s time to attach the doors and hardware. Safety should always be a priority when working with doors, so make sure to choose the right door hinges for your bathroom cabinet. Look for hinges that are sturdy and can support the weight of the doors. When installing the hinges, follow the manufacturer’s instructions carefully to ensure proper alignment and smooth operation.
Next, it’s time to install the door handles. Measure and mark where you want them to be placed on each door, ensuring they are at a comfortable height for easy access. Use a drill or screwdriver to attach them securely, making sure they are straight and level.
Before finishing up, double-check that all screws are tightened properly and that the doors open and close smoothly without any resistance. Taking these extra steps will ensure that your bathroom cabinet is not only functional but also safe for everyday use.
Finishing Touches and Installation
To complete the installation of your bathroom cabinet, you can add some finishing touches and then proceed with the installation process. Firstly, choose a paint color that matches your bathroom decor. Opt for a water-resistant paint that can withstand moisture and prevent any damage to the cabinet. Apply multiple coats for a smooth and durable finish. Next, consider adding decorative accents such as knobs or handles to enhance the overall look of the cabinet doors. Make sure they are securely attached to avoid any accidents or injuries. Once all the finishing touches are in place, it’s time to install the cabinet in your bathroom. Follow the manufacturer’s instructions carefully and ensure that it is properly secured to prevent any accidents or mishaps. Safety should always be a top priority when working on home improvement projects like this one!
Conclusion
In conclusion, you now have the knowledge and skills to create your own bathroom cabinet with doors. By gathering materials and tools, measuring and planning, cutting and assembling the cabinet, attaching the doors and hardware, as well as adding finishing touches, you can achieve a beautiful and functional addition to your bathroom. With some time and effort, you will be able to enjoy the satisfaction of completing this DIY project and enhance the organization of your space.

