After tripping over my work bag in the entryway for the tenth time last month, I finally decided enough was enough! If you’re like me, you know the daily struggle of managing bags, briefcases, and totes without letting them take over your living space. While throwing everything in a pile might seem like the easy solution, there’s actually a much better way to handle your work essentials. Let me share some clever storage ideas that’ll transform your home from chaos to calm.
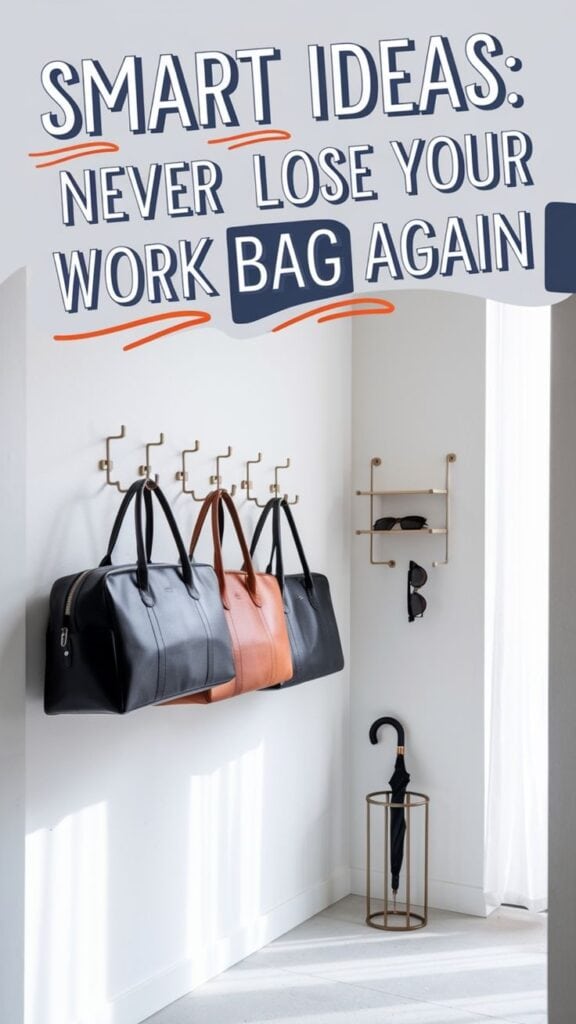
Install Stylish Wall-Mounted Hooks
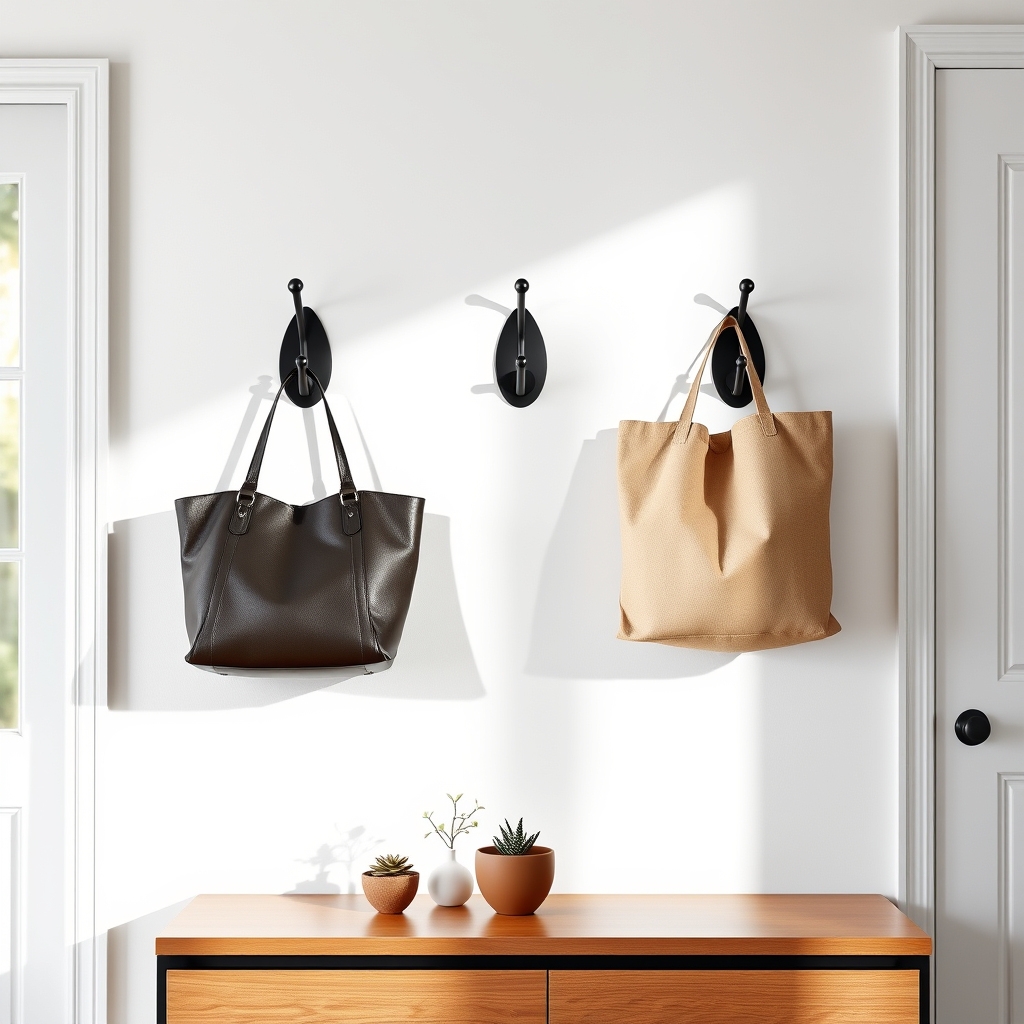
A well-organized entryway or mudroom with strategically placed wall-mounted hooks can transform your daily routine, eliminating the common frustration of misplaced work bags and creating an efficient system for grab-and-go access.
These hooks not only serve a practical purpose but can also add a decorative element to your space while keeping bags off the floor and away from dirt and damage.
Installing wall-mounted hooks provides a designated spot for each bag, preventing the morning scramble and maintaining the professional appearance of your work accessories. This storage solution is particularly beneficial for smaller spaces where floor space is limited, and vertical storage becomes essential for maintaining order and accessibility.
Required Items:
- Wall-mounted hooks (decorative or industrial)
- Stud finder
- Level
- Pencil
- Measuring tape
- Drill
- Drill bits
- Screwdriver
- Wall anchors
- Screws
- Hammer
- Safety glasses
Installation begins with planning the layout of your hooks. Measure the wall space and mark positions for each hook, ensuring adequate spacing between them (typically 12-16 inches apart).
Use a stud finder to locate wall studs, as these provide the most secure mounting points. For hooks placed between studs, install appropriate wall anchors.
Hold the level against your marked points to ensure proper alignment, then drill pilot holes. Secure each hook firmly to the wall, making sure they can support the weight of loaded work bags.
For optimal organization and longevity, consider these additional tips: Install hooks at a height that makes bags easily accessible but keeps them from dragging on the floor.
Choose hooks with a weight capacity that exceeds your heaviest bag by at least 50%. Consider installing a shelf above the hooks for additional storage or decorative elements that complement your space’s aesthetic.
Regularly check the tightness of mounted hooks to ensure they remain secure and safe for daily use.
Create a Dedicated Bag Drop Zone
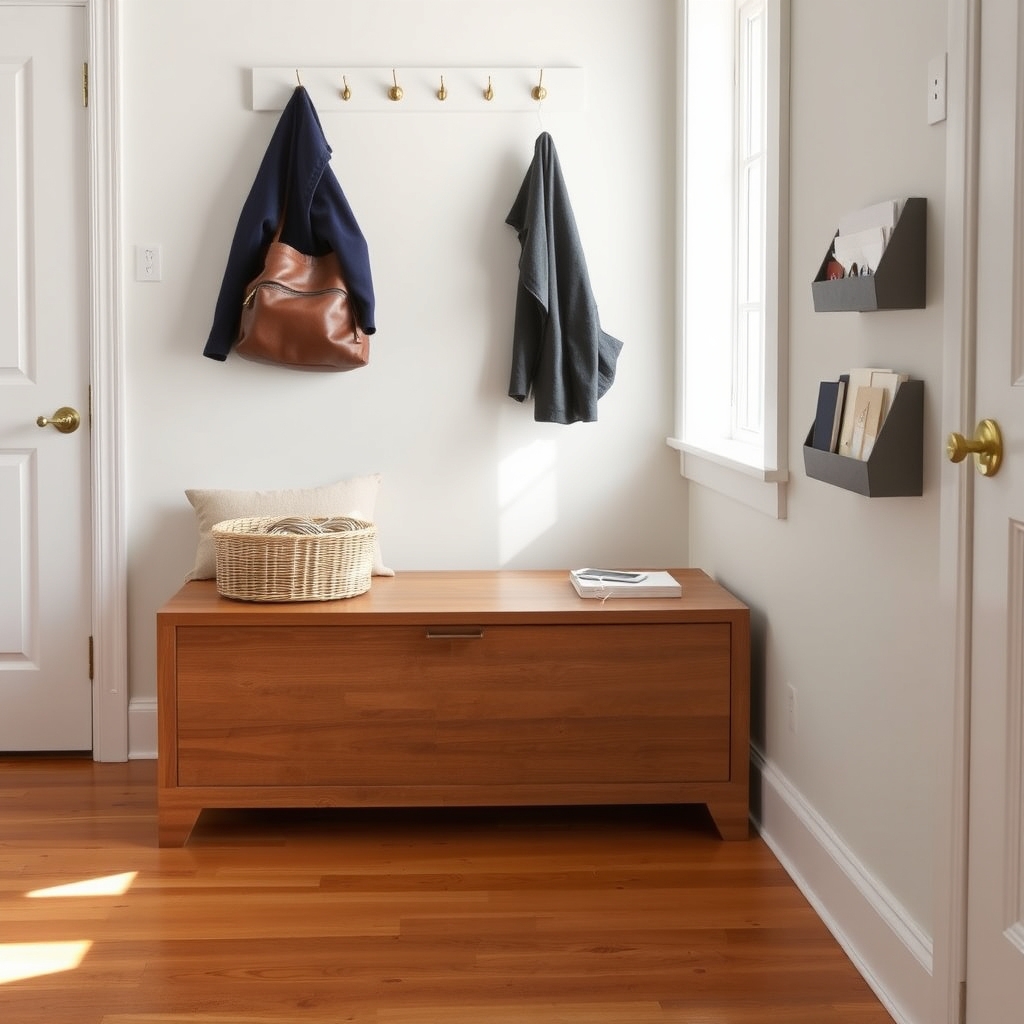
A dedicated bag drop zone serves as a crucial transition point between work and home life, preventing the all-too-common scenario of misplaced work items and morning rushes. This designated space not only keeps your work essentials organized but also helps maintain the overall tidiness of your home while reducing daily stress.
Creating an efficient bag drop zone eliminates the need to search for work items and helps establish a reliable routine. When you know exactly where to find and store your work bag and accessories, you can move through your day with greater confidence and punctuality, making it an essential component of a well-organized home.
Required Items:
- Wall hooks or coat rack
- Storage bench or shelf unit
- Small storage containers or baskets
- Key holder
- Cable organizer
- Label maker
- Wall-mounted file holder
- Tray or dish for small items
- Storage bins
Select a location near your home’s entry point that offers enough space for your work items. Install sturdy wall hooks or a coat rack at an appropriate height for hanging bags and jackets. Position a storage bench or shelf unit below to accommodate shoes and additional items.
Add small containers or baskets to organize frequently used items like chargers, notebooks, or office supplies. Establish zones within your drop zone by designating specific areas for different categories of items. The top level should hold frequently accessed items like keys and phones, while lower shelves or drawers can store backup supplies or seasonal items.
Install a wall-mounted file holder for important documents or mail that needs immediate attention. For optimal organization success, implement a daily reset routine where you clean and reorganize the drop zone before bed. Keep cleaning supplies nearby for quick maintenance, and regularly assess the space’s functionality, adjusting the layout as needed.
Consider implementing a seasonal audit to remove unnecessary items and ensure the space continues to serve its intended purpose effectively.
Optimize Your Closet With Shelf Dividers
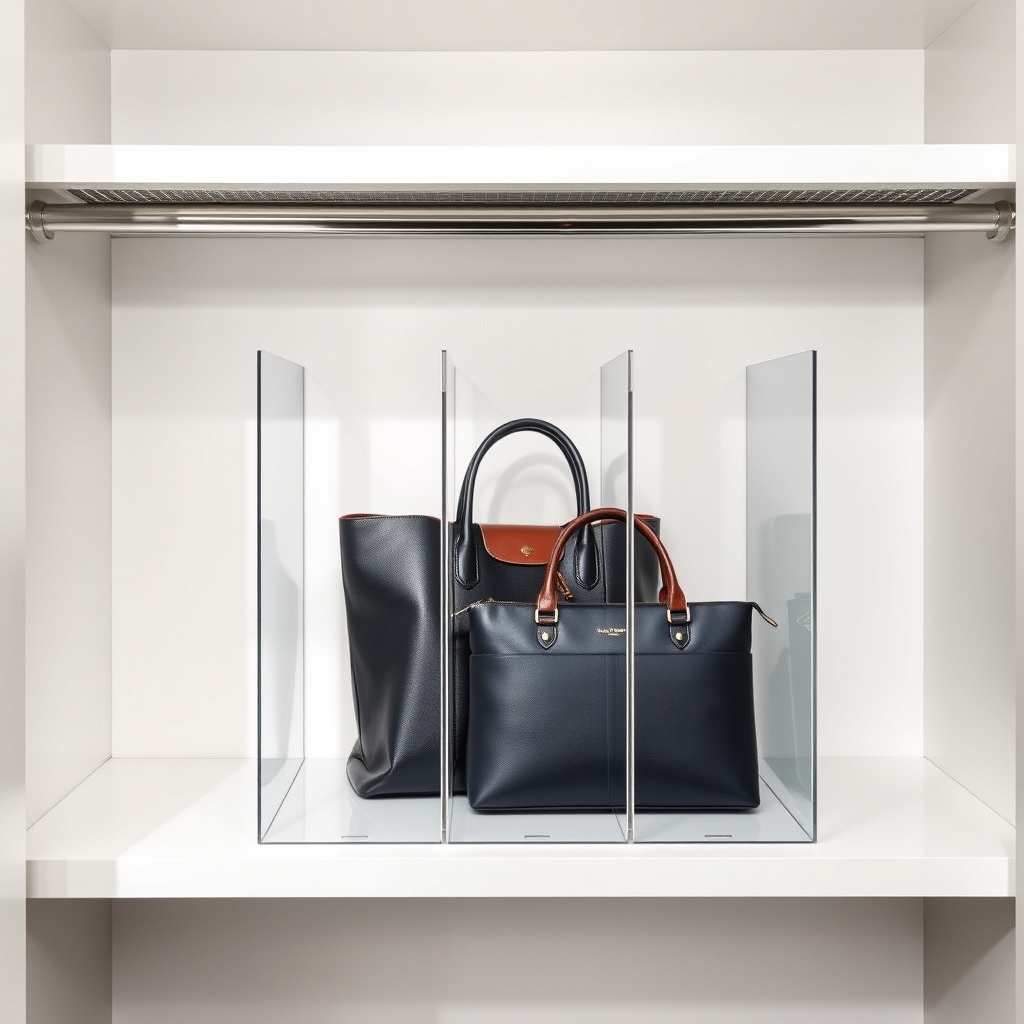
Shelf dividers are essential tools for maintaining order in closets, especially when storing work bags and accessories. Without proper organization, shelves can quickly become cluttered zones where bags slump against each other, potentially causing damage and making it difficult to find what you need during busy mornings.
Creating designated spaces with shelf dividers not only protects your investment in professional bags but also streamlines your daily routine. Well-organized shelves mean each bag has its own space, preventing scratches and maintaining shape while making it easy to grab exactly what you need for different work occasions.
Required Items:
- Shelf dividers (acrylic or wire)
- Measuring tape
- Pencil
- Level
- Screwdriver (if mounting permanent dividers)
- Cleaning supplies
- Labels (optional)
- Storage boxes (optional)
Start by removing all items from your shelf and thoroughly cleaning the surface. Measure the depth and height of your shelf to ensure proper divider fit. Position dividers approximately 12-15 inches apart for standard work bags, or adjust based on your specific bag sizes.
If using mounted dividers, mark placement points with a pencil and ensure they’re level before securing them. For slide-on dividers, simply clip them onto the shelf at your desired intervals.
Once dividers are in place, arrange your bags in the created compartments, positioning frequently used items in the most accessible spots. Store bags upright when possible to maintain their shape and prevent creasing. For smaller bags or accessories, consider adding storage boxes between dividers to maximize vertical space.
Additional Success Tips: Evaluate your divider placement after a week of use and adjust as needed for optimal functionality. Consider using clear dividers for a less cluttered visual appearance, and implement a seasonal rotation system to keep less-used bags in storage during off-seasons.
Regular maintenance of this system, including quarterly reorganization, will ensure long-term effectiveness and protect your professional accessories.
Set Up a Mudroom Storage Bench
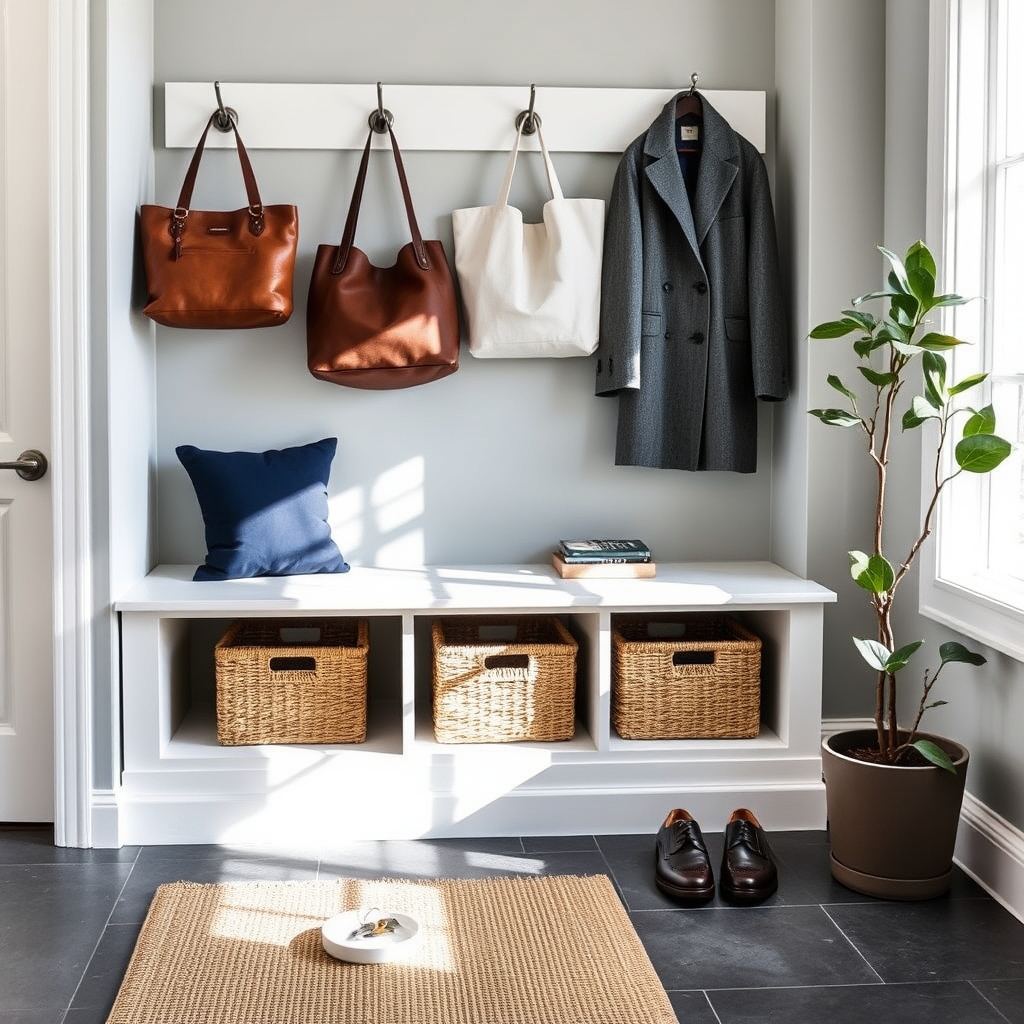
A well-organized mudroom storage bench serves as a crucial transition point between the outside world and your home, providing a dedicated space for work bags and daily essentials. This organized system prevents the common problem of bags cluttering entryways or being misplaced during busy mornings, ultimately saving time and reducing stress during daily commutes.
Creating a functional storage bench in your mudroom combines seating convenience with practical storage solutions, making it easier to maintain an organized entrance while keeping work bags, accessories, and seasonal items readily accessible. A properly set up storage bench can transform a chaotic entryway into an efficient space that supports smooth daily transitions.
Required Items:
- Storage bench with compartments
- Storage bins or baskets
- Label maker or labels
- Hooks for wall mounting
- Storage bench cushion
- Shoe mat or tray
- Basic tools (screwdriver, level, drill)
- Wall anchors
- Measuring tape
Start by positioning the storage bench against a wall in your mudroom, ensuring it doesn’t obstruct foot traffic. Install wall-mounted hooks above the bench at an appropriate height for hanging work bags and coats.
Divide the bench’s internal storage space using bins or baskets, designating specific compartments for different items such as shoes, accessories, or seasonal gear. Label each storage section clearly to maintain organization and ensure family members know where items belong.
Place a cushion on top of the bench for comfortable seating while removing shoes or organizing items. Position a shoe mat or tray beneath or next to the bench to protect flooring from wet or dirty footwear.
Create a system where each family member has their designated space, using either specific hooks, bins, or bench compartments to store their work bags and personal items.
Additional Tips: Establish a regular maintenance routine to prevent clutter accumulation. Remove seasonal items when no longer needed, and periodically assess the organization system to ensure it continues meeting your needs.
Consider adding small trays or dishes on top of the bench for keys and small items, and implement a “one in, one out” rule to maintain the organized space.
Utilize Over-the-Door Organizers
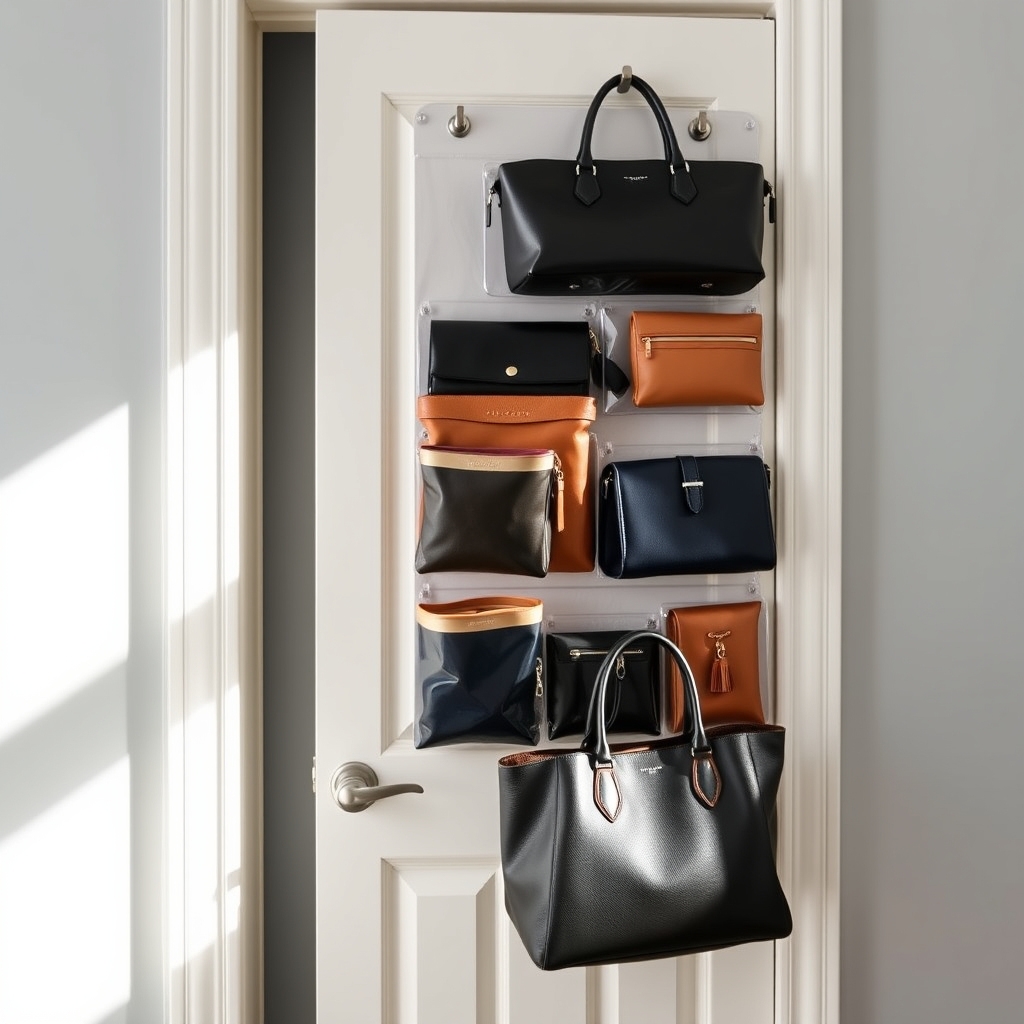
Over-the-door organizers present an ingenious solution for work bag storage, maximizing vertical space that often goes unused in homes and offices. These practical storage solutions transform dead space into valuable storage real estate, keeping work bags organized, easily accessible, and protected from dust and damage.
By implementing an over-the-door storage system, you can create a designated space for each bag while maintaining their shape and condition. This organization method prevents bags from piling up on floors or chairs, reduces clutter, and makes it simple to quickly grab the right bag for any occasion.
Required Items:
- Over-the-door organizer with multiple pockets
- Command hooks or mounting hardware
- Door bumpers or felt pads
- Storage bins (optional)
- Label maker (optional)
- Dust covers for bags (optional)
Install the over-the-door organizer by placing it securely over the door, ensuring it’s level and properly balanced. If using a hanging organizer with pockets, arrange larger bags in the bottom compartments for stability, with medium-sized bags in the middle sections and smaller items in upper pockets. For organizers with hooks, space them evenly and consider bag sizes when determining placement.
Add door bumpers or felt pads where the organizer touches the door to prevent scratching. Sort bags by frequency of use, placing daily-use items at eye level for easy access. Consider using clear dust covers for less frequently used bags to keep them clean. If utilizing bins within the organizer, group similar items together and label each section clearly.
Ensure the weight is evenly distributed across the organizer to prevent strain on the door. For optimal organization maintenance, perform regular checks of the mounting hardware and adjust as needed. Rotate bags periodically to prevent permanent creasing, and consider seasonal reorganization to keep frequently used items readily available.
Install a small mirror nearby to quickly check your appearance with your chosen bag before heading out, and keep a small basket nearby for bag accessories like extra straps or dust bags.
Add Command Center Cubbies
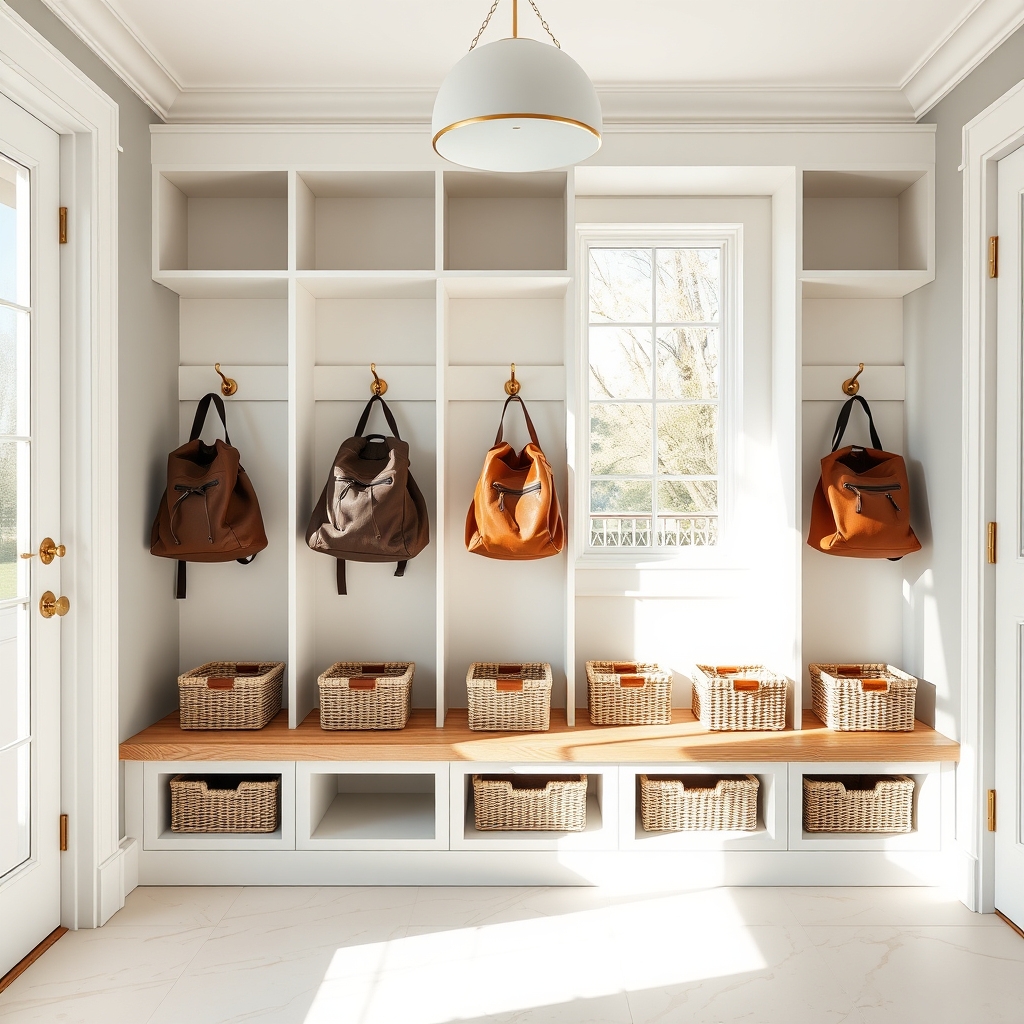
A well-organized command center with dedicated cubbies for work bags transforms chaotic morning routines into streamlined processes. When each family member has a designated spot for their work or school bags, it eliminates the frantic morning search and ensures essential items are always within reach.
Command center cubbies serve as a transition zone between work and home life, creating a natural drop zone that prevents bags from cluttering living spaces. This system also helps maintain bag contents, as items can be replenished and organized in a consistent location each day.
Required Items:
- Wall-mounted cubby unit or lockers
- Heavy-duty wall anchors
- Drill and screwdriver
- Level
- Measuring tape
- Label maker or tags
- Storage bins (optional)
- Hooks (optional)
- Shelf liner (optional)
Select a convenient location near your home’s entry point and measure the available wall space. Install the cubby unit at an appropriate height, ensuring it’s securely anchored to wall studs. Assign individual cubbies to each family member, creating zones within each space for bags, accessories, and daily essentials.
If using open cubbies, consider adding hooks inside for hanging bags or installing small shelves to maximize vertical space. Line the bottom of each cubby with protective material to prevent wear and tear.
Position a small tray or container within each cubby for loose items like keys, badges, or phone chargers. Establish a system where work bags remain in their designated spots when not in use, and implement a weekly cleanup routine to prevent accumulation of unnecessary items. Label each cubby clearly to maintain organization and accountability.
Additional Tips: Install task lighting above the command center to improve visibility during early mornings or late evenings. Consider adding a small bulletin board or whiteboard near each cubby for important reminders or schedules. Keep a designated spot for incoming mail or papers that need attention, and maintain a charging station nearby for electronic devices that need to be ready for the next day.
Design a Work Bag Corner Station
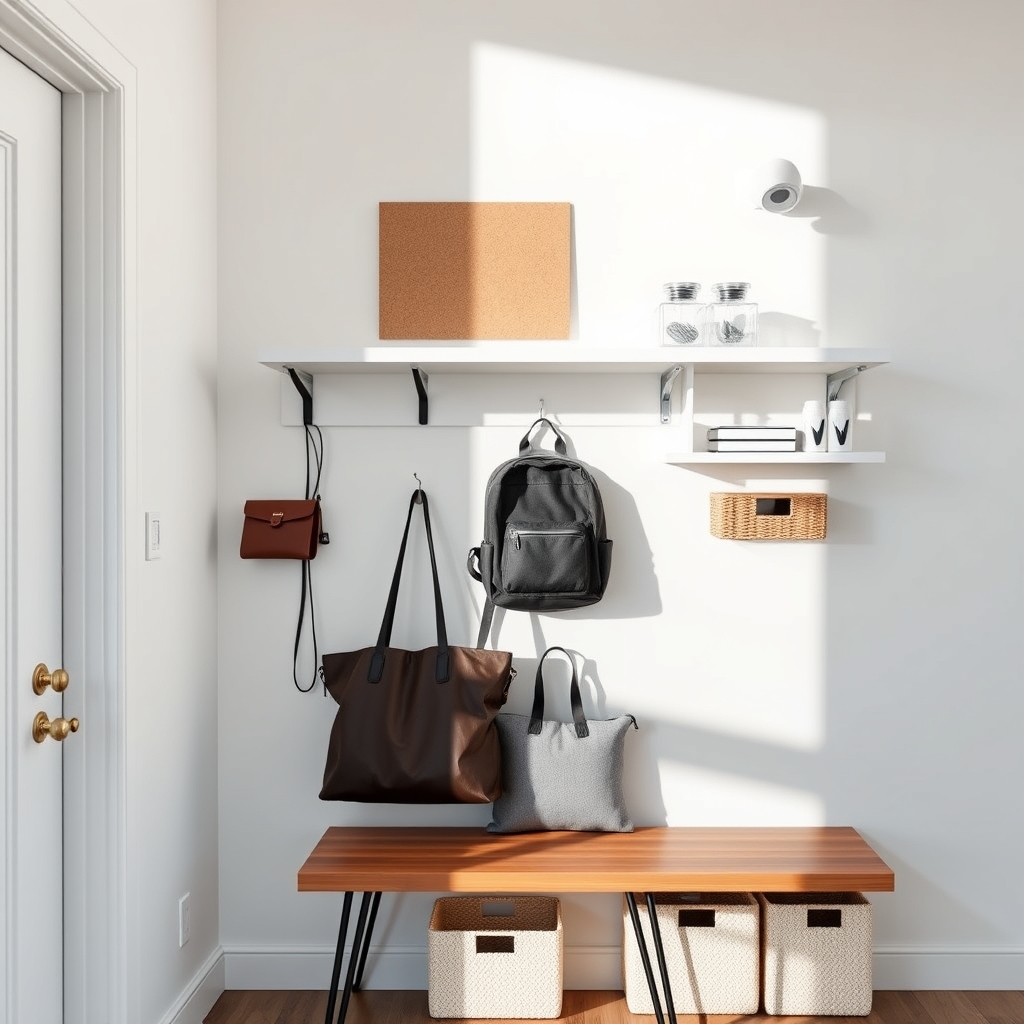
A dedicated corner station for work bags is essential for maintaining order and reducing morning stress. Having a designated space ensures you’ll never waste time searching for work essentials or rushing to gather items before heading to the office. This organized approach not only streamlines your daily routine but also helps preserve your bags and professional items in better condition.
Creating a functional work bag corner station transforms a previously unused corner into a command center for your professional life. This space serves as a transition point between home and work, allowing you to efficiently pack, unpack, and store everything you need for your workday in one convenient location.
Required Items:
- Wall-mounted hooks or coat rack
- Small bench or stool
- Storage shelf or cubby system
- Charging station or power strip
- Small tray or dish for keys
- Wall-mounted file holder
- Bulletin board or small whiteboard
- Storage bins or baskets
- Label maker
- LED motion sensor light
Position the wall-mounted hooks at eye level, ensuring adequate space between them for multiple bags. Install the shelf system below the hooks, creating designated spaces for different categories: tech accessories, documents, and daily essentials. Place the bench or stool underneath for convenient access and as a spot to set items while packing or unpacking.
Incorporate the charging station on the shelf, using cord organizers to keep cables tidy and accessible. Set up zones within your corner station: a grab-and-go zone for frequently used items, a charging zone for electronics, and a storage zone for spare supplies. Use the bulletin board to post important reminders, schedules, or documents needed for upcoming workdays.
Position storage bins on lower shelves to house extra supplies, keeping them organized but easily accessible. Consider implementing a weekly maintenance routine to keep your corner station organized and functional. Remove unnecessary items, wipe down surfaces, and reorganize supplies as needed.
Keep a small basket designated for items that need to be restocked or replaced, and make it a habit to check this basket during your weekly review to maintain the efficiency of your work bag corner station.


