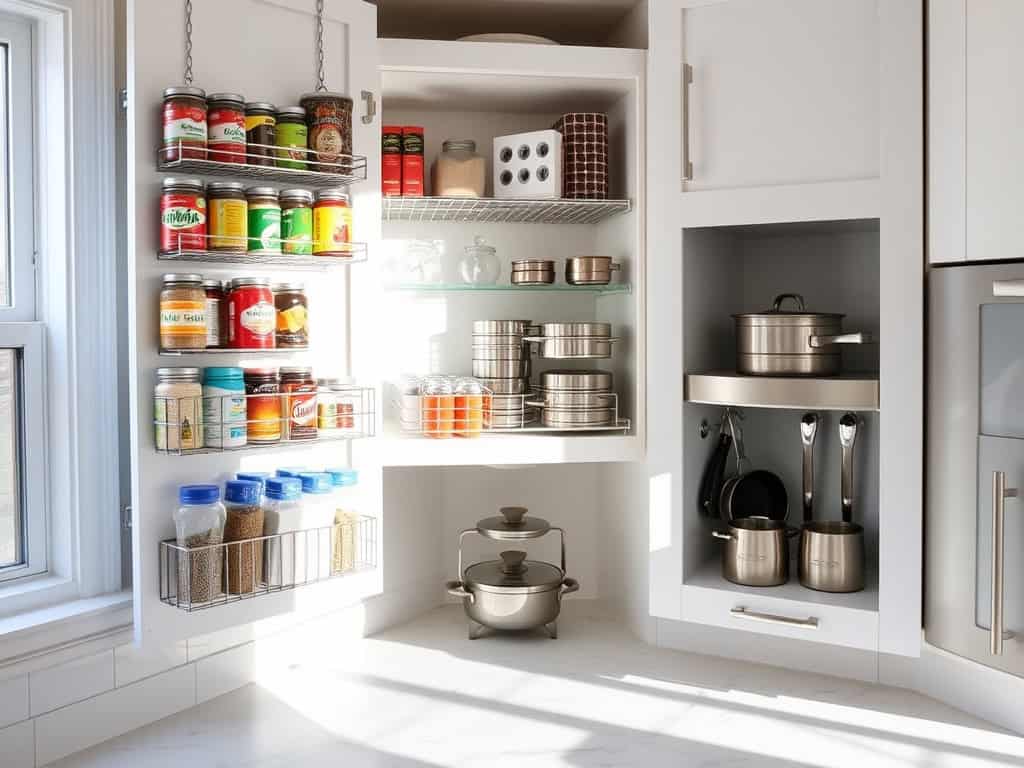
If you’re tired of playing kitchen Tetris with your cramped cupboards, you’re not alone! I’ve spent years perfecting the art of small-space storage, and I’ve discovered some game-changing solutions that go way beyond basic shelf organizers. These seven clever hacks will help you reclaim those awkward corners, maximize vertical space, and finally find a home for every pot, pan, and spice jar. Let me show you how to transform your tiny kitchen into an organizational masterpiece.
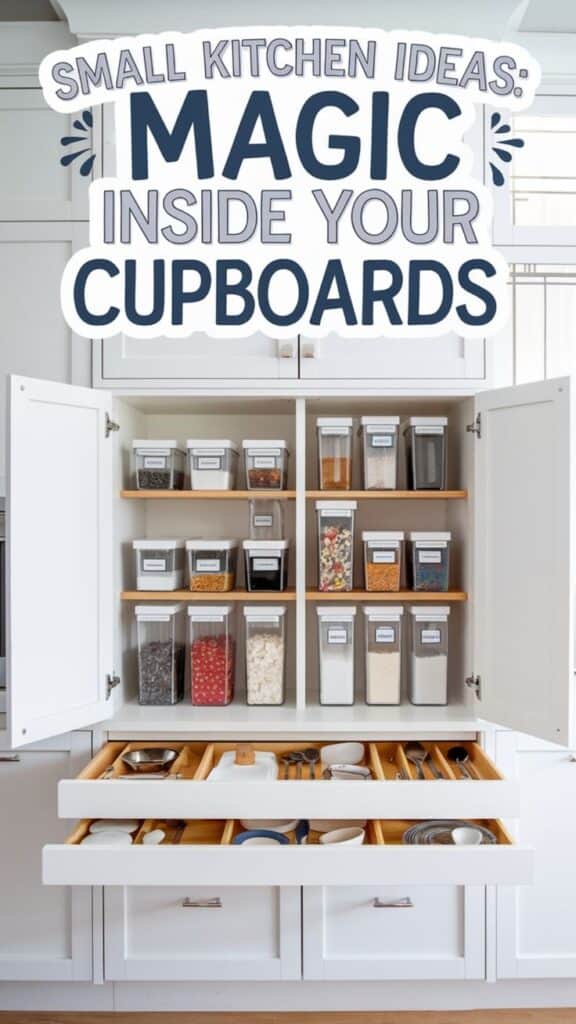
Transform Dead Corner Space With Lazy Susan Systems
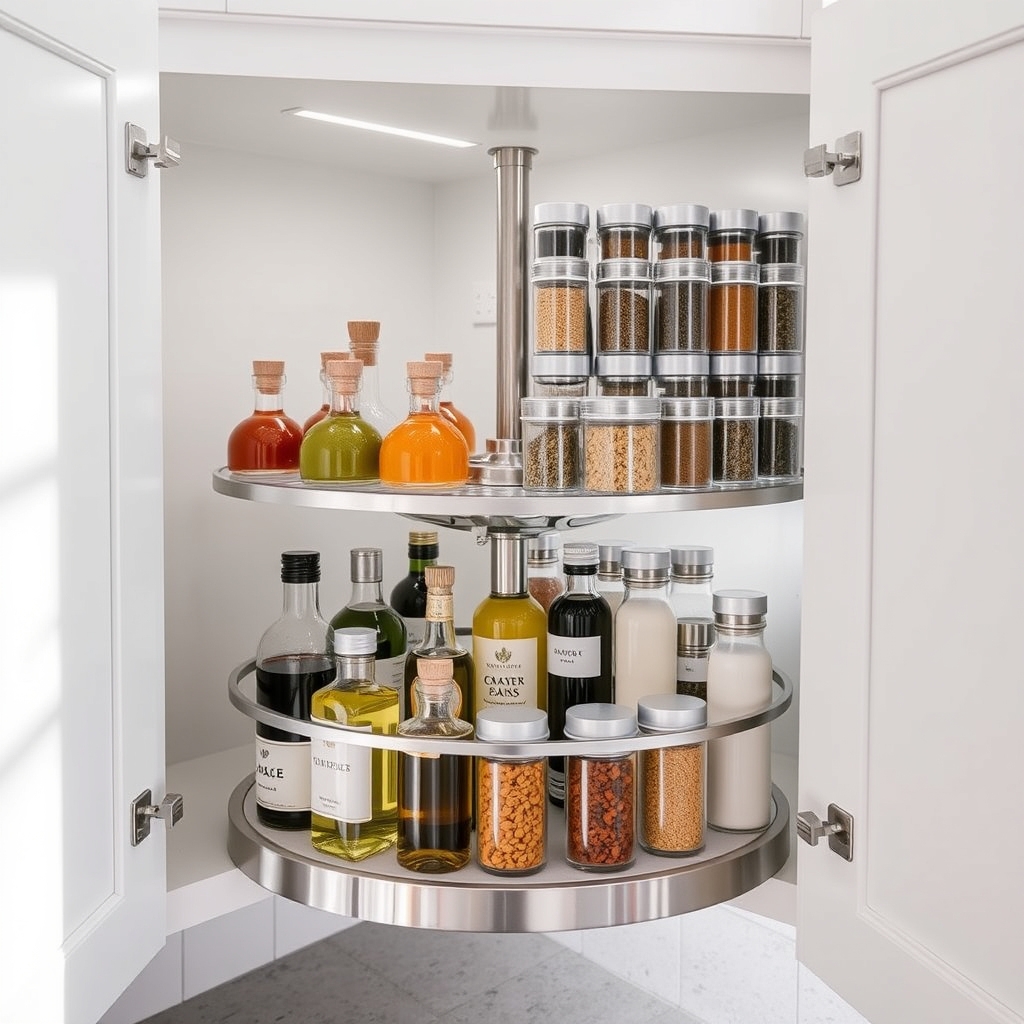
Corner cabinets are notorious for becoming black holes of kitchen storage, where items disappear into the depths never to be seen again. These awkward spaces often waste valuable storage real estate in kitchens where every inch counts. Installing lazy Susan systems transforms these problematic corners into functional, accessible storage areas that maximize space utilization.
The rotating nature of lazy Susan systems brings items from the back of corner cabinets to the front with a simple spin, eliminating the need to crawl halfway into the cabinet to retrieve items. This solution not only makes items more accessible but also helps maintain organization by creating designated zones for different categories of kitchen items.
Required Items:
- Lazy Susan turntable (single or multi-tier)
- Measuring tape
- Screwdriver
- Cabinet mounting hardware
- Non-slip liner
- Storage containers
- Labels
- Cleaning supplies
Installation and organization begins with thoroughly emptying and cleaning the corner cabinet. Measure the cabinet’s dimensions carefully to ensure proper fit of the lazy Susan system. Mount the hardware according to manufacturer specifications, ensuring the rotating mechanism is level and properly centered.
Once installed, line each tier with non-slip material to prevent items from sliding during rotation. Sort items by frequency of use and category before placing them on the lazy Susan. Position frequently used items toward the front edges for easy access. Create zones for different categories – for example, cooking oils and vinegars on one level, canned goods on another.
Use clear storage containers to group smaller items together and prevent them from tipping during rotation. To maintain optimal functionality, regularly check the rotating mechanism for smooth operation and clean the surfaces. Consider adding battery-operated LED lights to illuminate dark corners, and use label makers to mark sections for different categories.
Avoid overloading the system, as excess weight can strain the rotating mechanism and make it difficult to turn. Periodically review and adjust item placement based on usage patterns to maintain efficiency.
Create Custom Pull-Out Shelving on a Budget
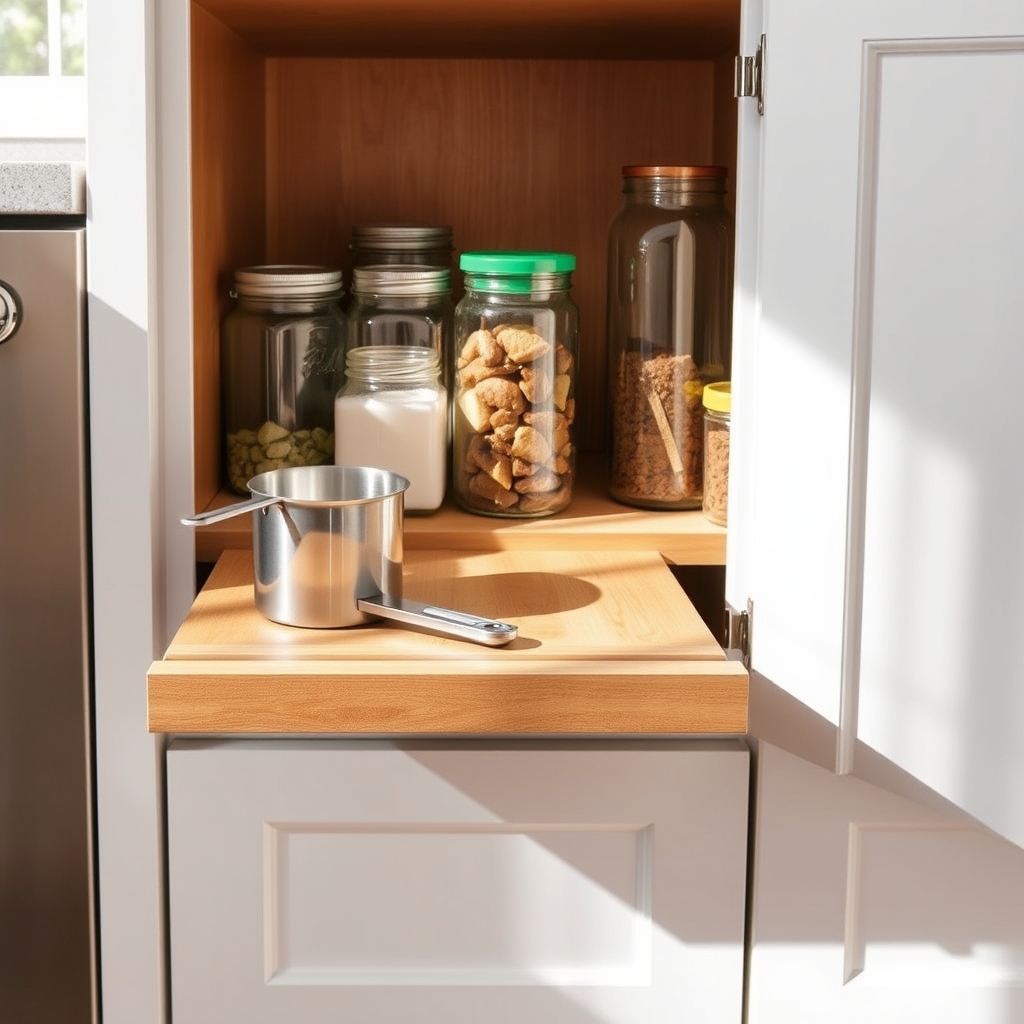
Making the most of limited cabinet space is crucial in any small kitchen, and custom pull-out shelving can transform awkward, hard-to-reach spaces into highly functional storage areas. Traditional pull-out systems can be expensive, but creating your own budget-friendly version allows you to maximize every inch of cabinet space while keeping items easily accessible.
Pull-out shelving eliminates the need to remove multiple items to reach things at the back of cabinets, reducing frustration and saving valuable time during meal preparation. This DIY approach can be customized to fit your specific cabinet dimensions and storage needs, making it an ideal solution for any small kitchen.
Required Items:
- Drawer slides (pair)
- Plywood or MDF board
- Wood screws
- Measuring tape
- Pencil
- Drill and drill bits
- Screwdriver
- Wood glue
- Sandpaper
- L-brackets
- Safety goggles
- Work gloves
Start by thoroughly measuring your cabinet interior, accounting for the drawer slides’ thickness and ensuring adequate clearance. Cut your plywood to size, making the shelf slightly narrower than the cabinet opening to allow smooth movement. Sand all edges smooth.
Install the drawer slides by mounting one side to the cabinet interior walls and the corresponding piece to your custom shelf. Ensure the slides are level and parallel to prevent binding. For added stability, reinforce the shelf corners with L-brackets.
Test the sliding mechanism several times before loading items onto the shelf. Consider adding a front lip or guardrail to prevent items from falling off when pulling out the shelf. For deeper cabinets, you may want to install multiple pull-out shelves at different heights to maximize vertical space.
To enhance the longevity and functionality of your custom pull-out shelving, regularly clean the drawer slides and check all screws for tightness. Consider adding non-slip shelf liner to prevent items from shifting, and label the front of each shelf to maintain organization.
For heavier items, install additional support brackets or choose heavy-duty drawer slides rated for the anticipated weight load.
Master Vertical Storage With Cabinet Door Organizers
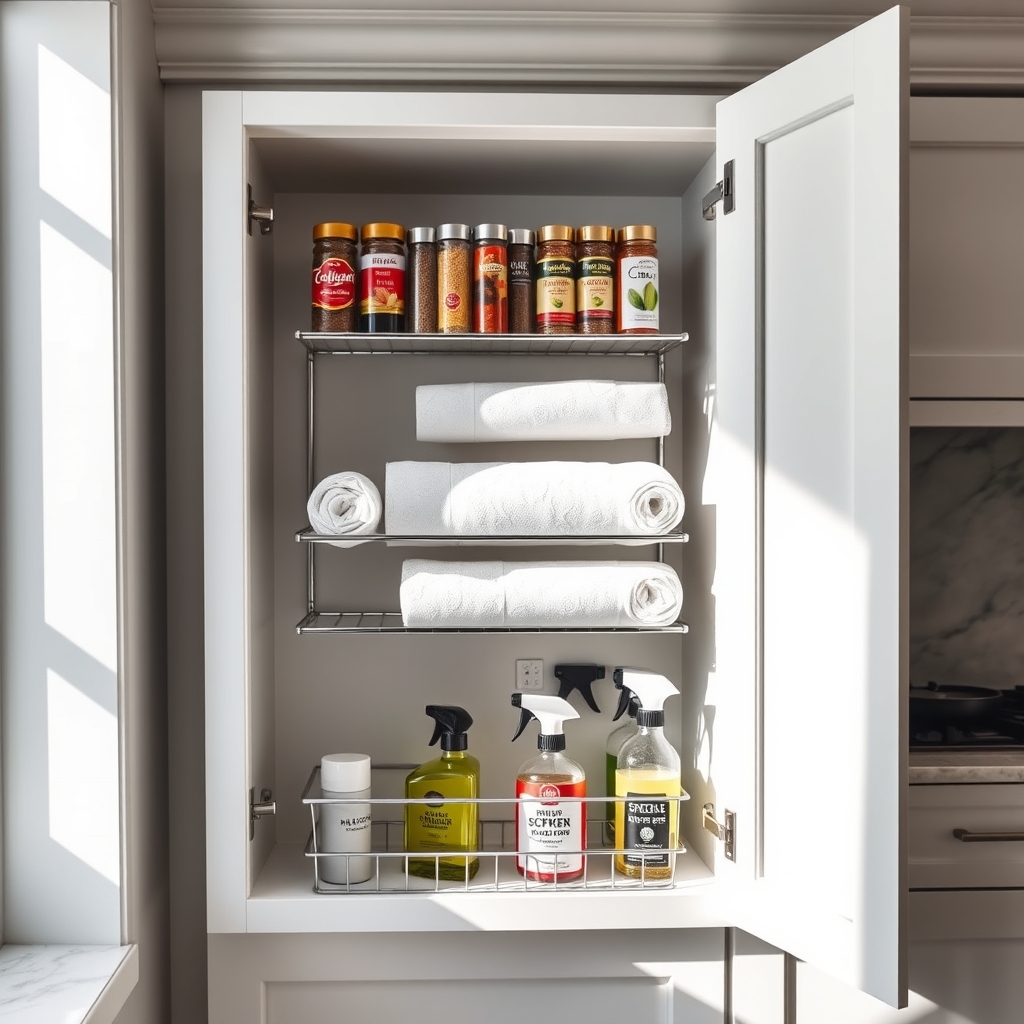
Making the most of vertical storage space inside cabinet doors is a game-changer for small kitchens. This often-overlooked area can effectively double your storage capacity while keeping frequently used items within easy reach. When properly utilized, cabinet door organizers can transform cluttered cabinets into efficient storage zones.
Cabinet door organization is particularly valuable for storing cleaning supplies, spices, pot lids, cutting boards, and wrap dispensers. This vertical storage solution not only maximizes space but also creates a systematic approach to organizing items that might otherwise get lost in the depths of your cabinets.
Required Items:
- Over-the-door organizers
- Command hooks or mounting hardware
- Measuring tape
- Screwdriver
- Level
- Pencil
- Cabinet door mounted racks
- Clear adhesive bumpers
- Tension rods (optional)
- Wire baskets (optional)
Start by measuring the interior of your cabinet doors, accounting for shelves and hinges that might interfere with mounted organizers. Choose organizers that fit within these measurements, leaving enough clearance for the door to close properly. Install adhesive bumpers where the organizer might contact the cabinet frame to prevent scratching and noise.
Mount your chosen organizers using appropriate hardware, ensuring they’re level and securely fastened. For cleaning supplies, position spray bottles and tools at eye level. When installing spice racks, arrange them in multiple tiers if possible. For pot lids and cutting boards, use vertical dividers or slots that keep items separated and easily accessible.
Consider the weight capacity of both the organizers and cabinet doors before loading them with items. Place heavier items toward the bottom of the door for better stability. Group similar items together and position frequently used products at eye level for convenient access. Label sections if necessary to maintain organization long-term.
Additional Tip: Regularly inspect mounting hardware and tighten as needed, as door movement can gradually loosen attachments. Consider using clear containers within the organizers to prevent small items from falling through gaps, and periodically review stored items to ensure you’re making the most efficient use of this vertical space.
Double Your Space With Magnetic Storage Solutions
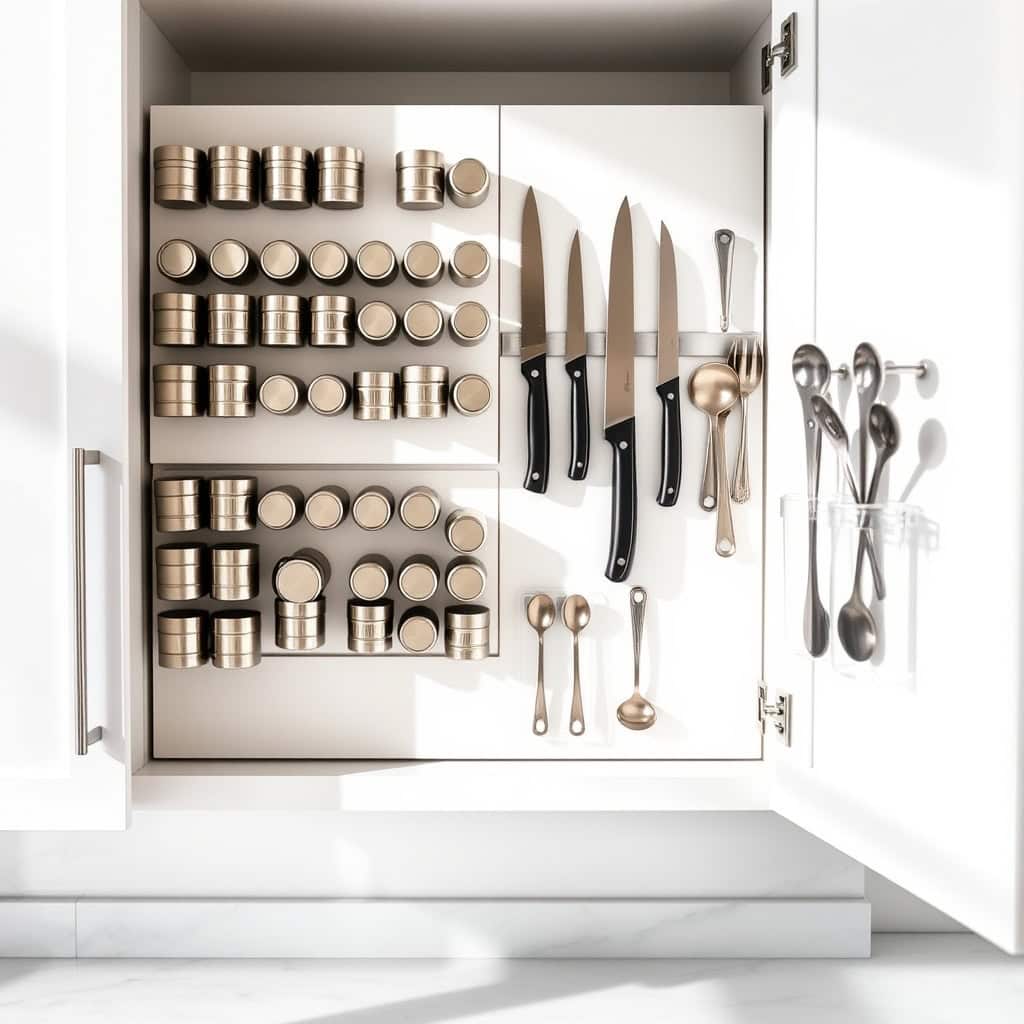
Making the most of vertical space in kitchen cupboards has become essential for modern homes, especially in compact living situations. Magnetic storage solutions offer an innovative way to utilize every inch of available space while keeping items easily accessible and organized.
Magnetic organizers transform unused surfaces into valuable storage areas, particularly inside cabinet doors and along the sides of appliances. This approach not only maximizes space efficiency but also keeps frequently used items within immediate reach, streamlining daily kitchen tasks.
Required Items:
- Magnetic strips/bars
- Magnetic containers
- Magnetic spice tins
- Magnetic knife holders
- Strong adhesive strips
- Measuring tape
- Level
- Cleaning supplies
- Mounting screws (if needed)
- Drill and screwdriver (if mounting)
Installation begins with thoroughly cleaning all surfaces where magnetic items will be placed. Measure and mark optimal positions for magnetic strips, ensuring they don’t interfere with cabinet closure. For cabinet doors, install magnetic strips at least one inch from edges to prevent interference.
Arrange magnetic containers and holders according to frequency of use, with daily items at eye level. When mounting magnetic knife strips or heavier-duty organizers, use appropriate screws and wall anchors for security.
Position lighter items like spice tins and small utensil holders on the upper portions of cabinet doors, while heavier items should be mounted lower to maintain door balance. Group similar items together, such as measuring spoons or specialty cooking tools, to create efficient zones within the magnetic storage system.
Additional Tips:
Test the magnetic strength before committing to permanent installation, especially for heavier items. Regularly check magnetic strips and containers for secure attachment, adjusting as needed.
Consider using clear magnetic containers to easily identify contents, and label anything that isn’t immediately visible. Rotate items seasonally to ensure frequently used tools remain in the most accessible positions.
Utilize Clear Containers for Smarter Pantry Storage
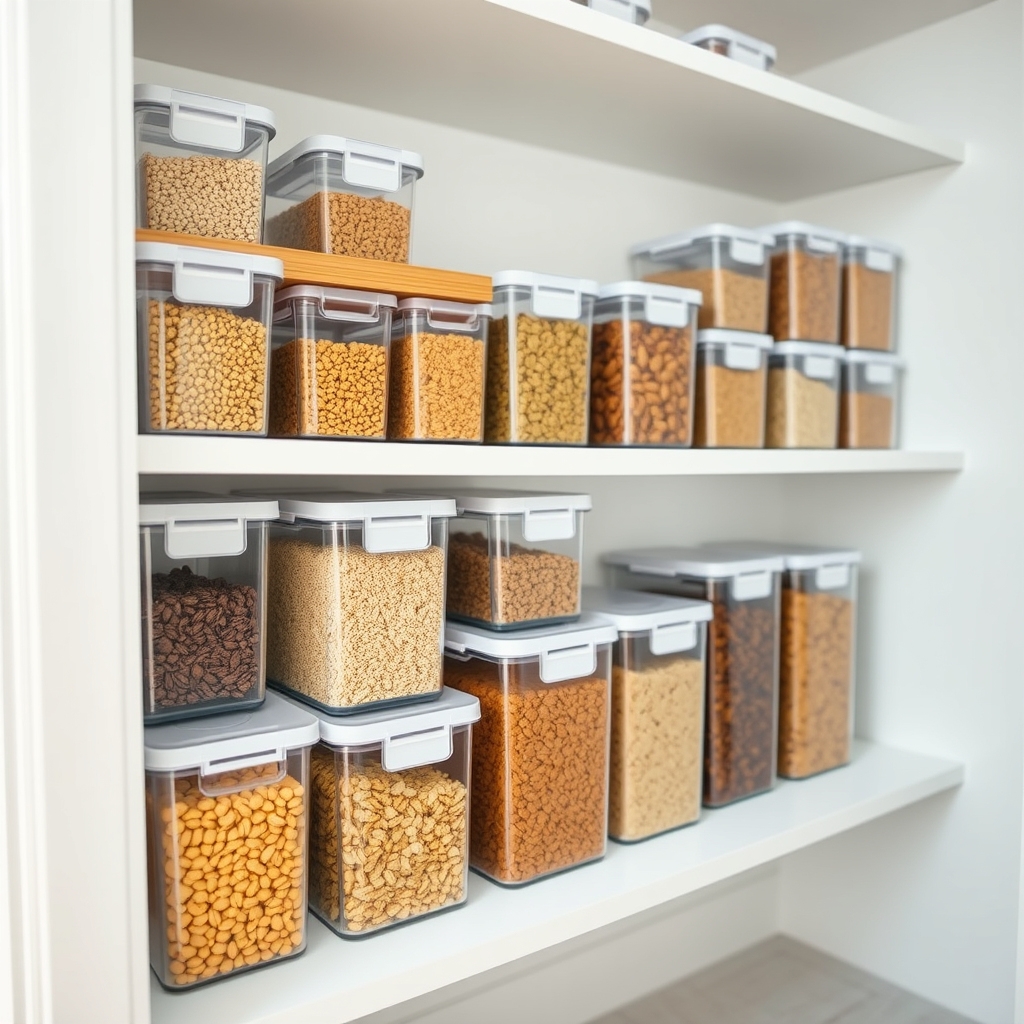
Clear containers revolutionize pantry storage by transforming cluttered, chaotic spaces into efficient, visually appealing organizational systems. When items are visible and properly contained, it becomes significantly easier to track inventory, maintain freshness, and quickly locate needed ingredients during meal preparation.
The shift to clear container storage eliminates the frustration of digging through mysterious boxes and bags, while also protecting dry goods from moisture and pests. This system creates a streamlined appearance that maximizes space utilization and reduces food waste by keeping contents visible and accessible.
Required Items:
- Clear airtight containers (various sizes)
- Label maker or waterproof labels
- Measuring cups
- Funnel
- Clean cloth or paper towels
- Container cleaning brush
- Storage bins for backup items
- Permanent marker
- Small scoop or measuring cup for each container
Before transferring foods into clear containers, thoroughly wash and completely dry each container. Sort dry goods by category (grains, snacks, baking supplies) and assess the quantity needed for each item to select appropriate container sizes.
Transfer contents using a funnel to prevent spills, ensuring each container is filled to an optimal level that allows for easy scooping while maintaining freshness.
Label each container with the item name, purchase date, and expiration date. Arrange containers by frequency of use, placing everyday items at eye level and occasional-use items higher up or lower down. Group similar items together and maintain backup supplies in separate bins to refill containers as needed.
Consider implementing a rotation system where newer items are poured into the back of containers while older products remain in front for first use. Keep measuring tools nearby for portioning, and regularly audit containers for freshness and cleanliness.
To maintain the system’s effectiveness, clean containers thoroughly between refills and update labels as needed to reflect current contents and dates.
Implement the Zone Method for Cabinet Organization
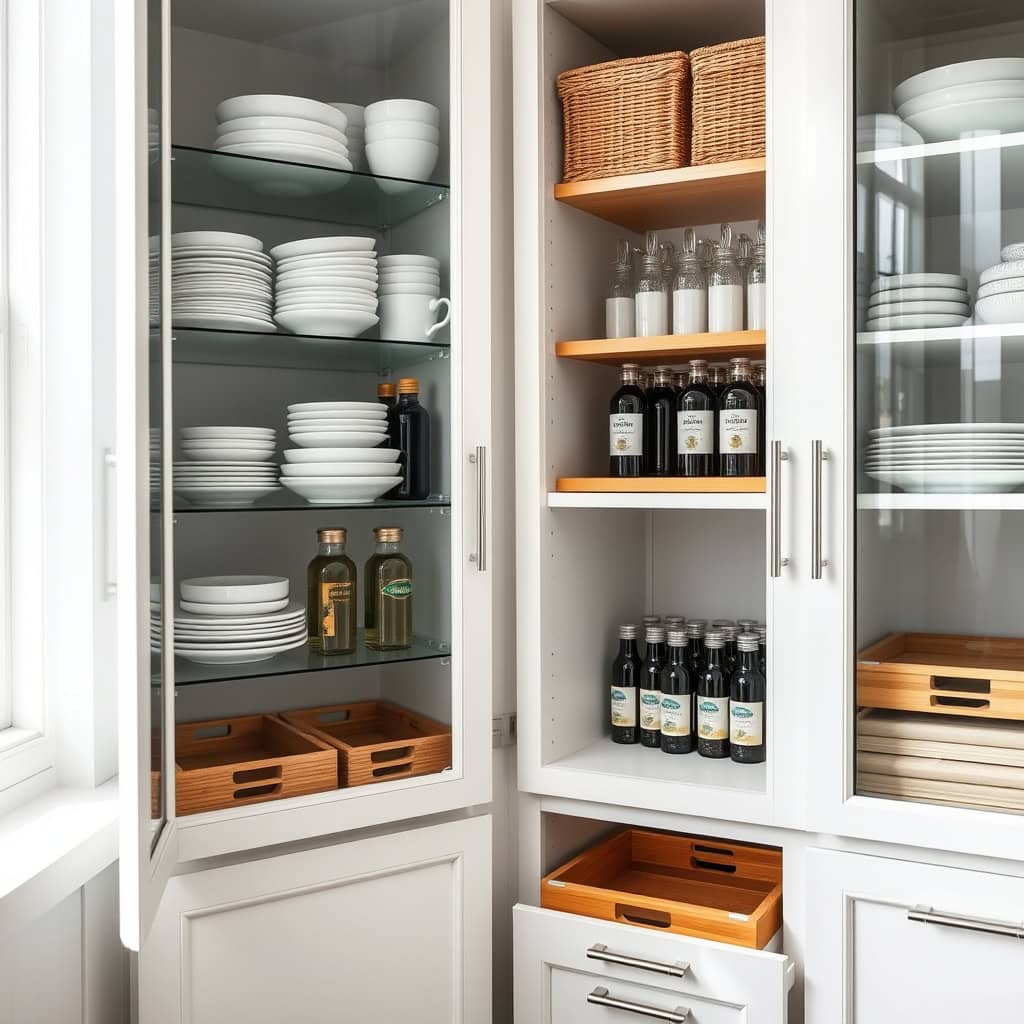
The zone method of cabinet organization transforms chaotic kitchen storage into an intuitive system that mirrors your natural cooking workflow. By designating specific areas for different kitchen activities, you eliminate wasted time searching for items and create a more efficient cooking environment that makes meal preparation smoother and more enjoyable.
Creating distinct zones in your kitchen cabinets allows you to group related items together based on their function, making it easier to maintain organization long-term. This method particularly benefits small kitchens where space optimization is crucial, ensuring every inch of cabinet space serves a clear purpose.
Required Items:
- Measuring tape
- Labels or label maker
- Clear storage containers
- Drawer dividers
- Shelf risers
- Cabinet organizers
- Cleaning supplies
- Notepad and pen
Start by identifying 5-6 primary zones in your kitchen: cooking, food prep, cleaning, food storage, dishware, and beverage areas. Map out these zones by measuring your cabinet space and determining which cabinets are most convenient to their corresponding work areas. For example, position cooking supplies near the stove and cleaning supplies near the sink.
Empty all cabinets and sort items according to their designated zones. Install appropriate organizers such as shelf risers or drawer dividers in each cabinet. Place frequently used items at eye level and within easy reach. Store less-used items in higher or lower cabinets. Group similar items together within each zone, such as keeping all baking supplies in one section of the cooking zone.
For optimal zone method success, regularly review and adjust your system based on changing needs. Consider seasonal rotation of items, moving summer entertaining pieces to less accessible areas during winter months. Keep a list of where everything belongs for the first few weeks until the new organization becomes habitual, and involve all household members in maintaining the zone system for lasting organization.
Maximize Height With Stackable Cabinet Shelving
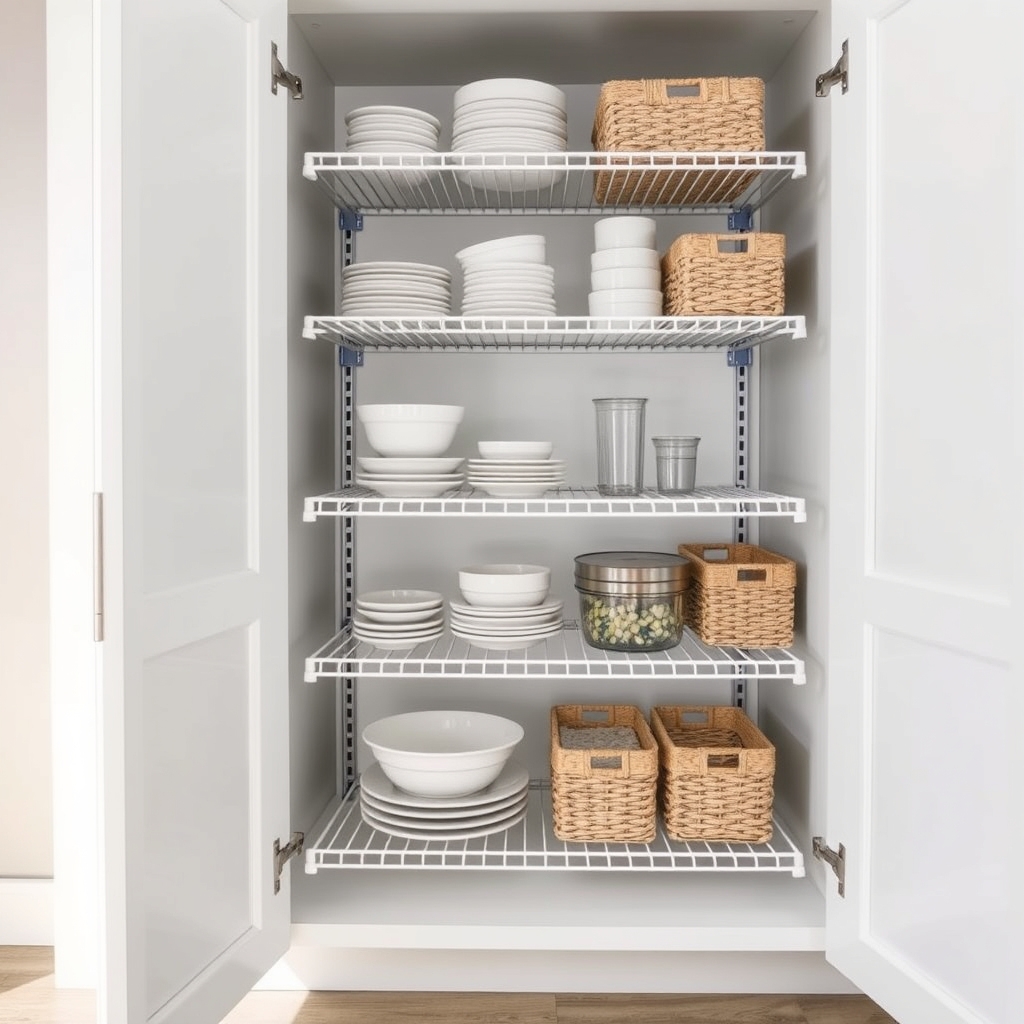
Making the most of vertical space in kitchen cabinets is crucial for maximizing storage capacity, especially in small kitchens where every inch counts. Standard cabinet shelving often leaves significant unused space between shelves, resulting in wasted storage potential that could be better utilized.
Stackable cabinet shelving transforms this unused vertical space into functional storage areas, effectively doubling or tripling the usable surface area within existing cabinets. This organization method creates designated spaces for different items while maintaining easy visibility and access to all stored items.
Required Items:
- Expandable cabinet shelves
- Shelf risers
- Wire shelving units
- Measuring tape
- Cabinet liner (non-slip)
- Label maker
- Cleaning supplies
- Storage containers (if needed)
Start by removing all items from the cabinet and measuring the interior dimensions, including height, width, and depth. Clean the cabinet thoroughly and install non-slip liner material. Select stackable shelving units that fit within your measurements, leaving at least 2-3 inches of clearance for items you plan to store.
Position the tallest stackable units toward the back of the cabinet, with shorter units in front to maintain visibility. Consider the items you’ll be storing and arrange your stackable shelves accordingly. Place frequently used items on lower or more accessible shelves, while seasonal or rarely used items can go on higher shelves.
Group similar items together and use the varying heights of different stackable units to accommodate items of different sizes efficiently. For optimal organization maintenance, regularly assess the functionality of your stackable shelf arrangement and adjust as needed.
Consider using clear containers or bins to further organize smaller items within the shelving system, and implement a regular cleaning schedule to prevent dust accumulation. Label shelves or sections to maintain organization and ensure items return to their designated spots after use.

