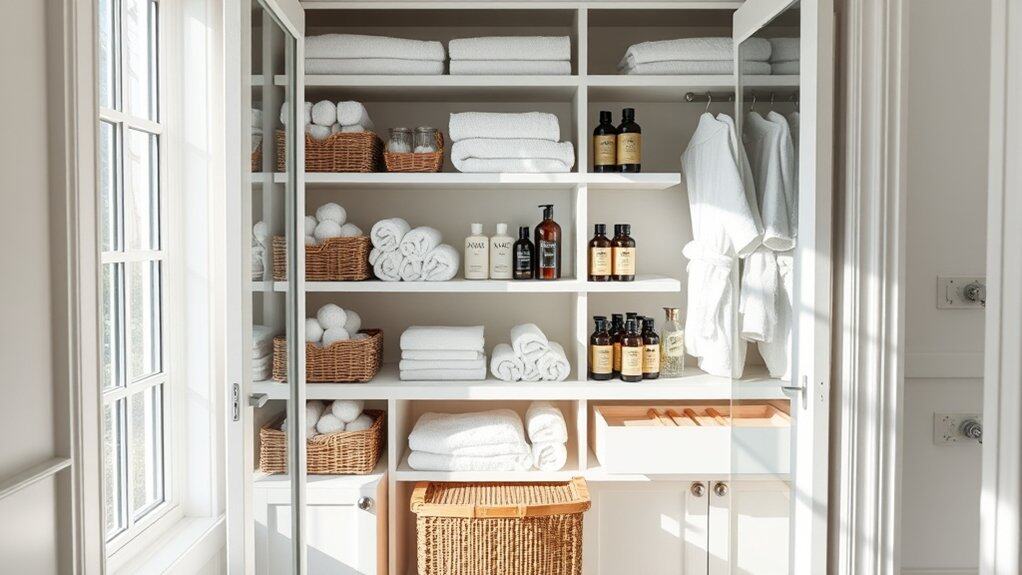
You’ve been staring at your cramped bathroom closet, wondering how anyone manages to keep these tiny spaces organized. Trust me, I’ve been there! After years of testing different organization methods in my own postage stamp-sized bathroom, I’ve discovered seven game-changing tricks that’ll transform your cluttered closet into an efficiency expert’s dream. Whether you’re dealing with a mountain of toiletries or a avalanche of towels, these proven strategies will help you maximize every precious inch of space.
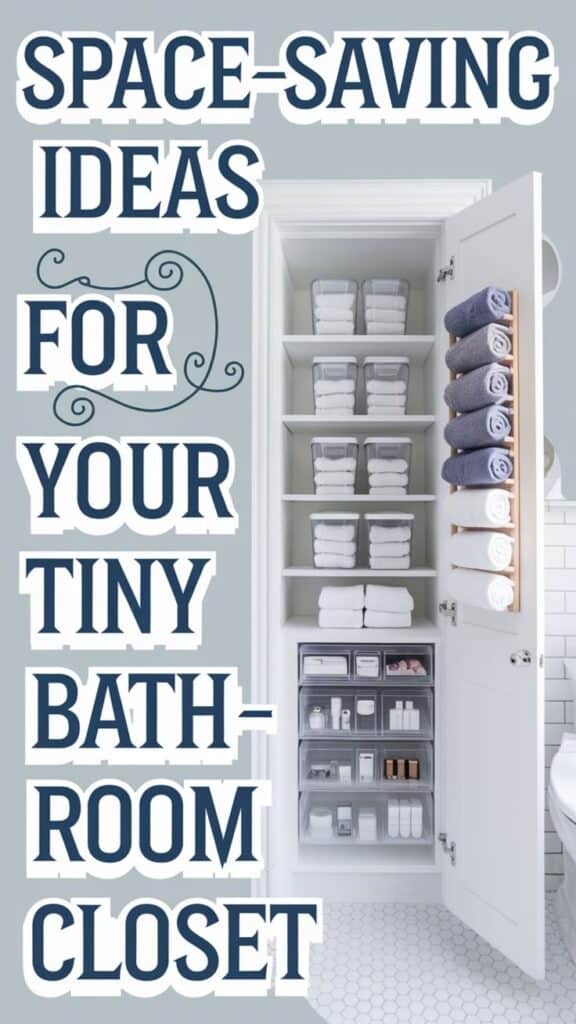
Declutter and Sort: Start With a Clean Slate
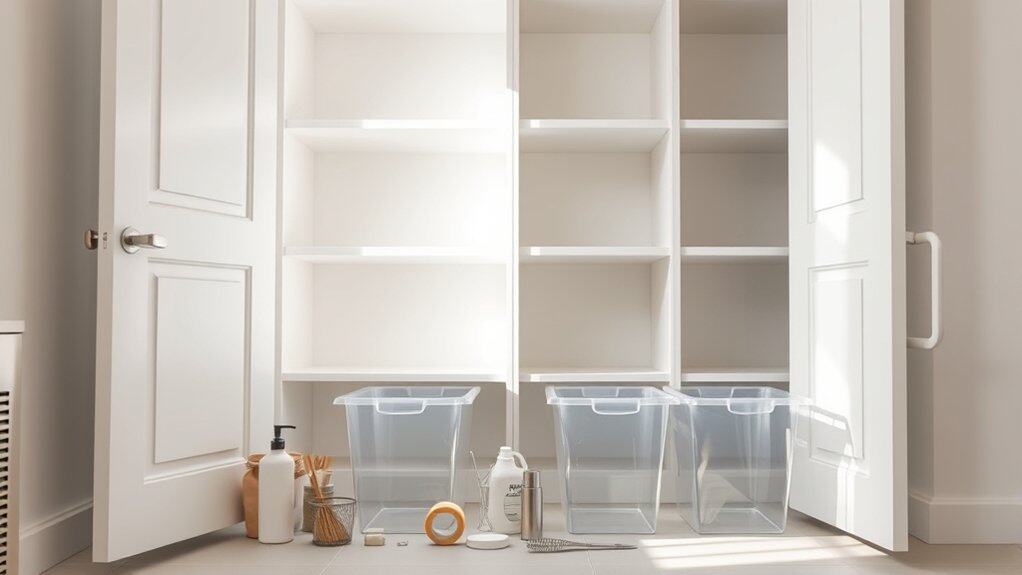
A cluttered bathroom closet creates daily stress and wastes valuable time searching for essential items. When toiletries, medications, and cleaning supplies pile up in disarray, it becomes challenging to maintain an efficient morning routine or keep track of important products before they expire.
Starting with a clean slate through proper decluttering and sorting is the foundation of any successful organization system. This initial step prevents you from organizing items you don’t need and helps identify the true storage requirements for your space. By removing everything and sorting systematically, you can make informed decisions about what stays and what goes.
Required Items:
- Large garbage bag
- Donation box
- Sorting bins or boxes
- Cleaning supplies
- Labels
- Timer
- Notepad and pen
- Storage containers
- Disinfectant wipes
Remove everything from the bathroom closet and create four distinct sorting areas: keep, donate, trash, and relocate. Check expiration dates on medications and beauty products, disposing of anything expired. Group similar items together in categories such as first aid, daily hygiene, cleaning supplies, and backup items. Assess each item’s frequency of use and necessity, being ruthless with items that haven’t been used in the past six months.
Clean all surfaces thoroughly before returning items to the closet. For medications and beauty products, create a simple inventory system noting expiration dates. Consider implementing a “one in, one out” rule moving forward to maintain the decluttered state. Return only the items that truly belong in the bathroom closet, finding more appropriate homes for items that serve better purposes elsewhere in the house.
To maintain your newly decluttered space, schedule quarterly reviews to assess items and prevent future buildup. Keep a small donation bag or box nearby for immediate removal of items as they become unnecessary, and maintain a running shopping list to avoid overbuying products you already have in stock. This proactive approach will help preserve the organized system you’ve created.
Install Adjustable Shelving Systems
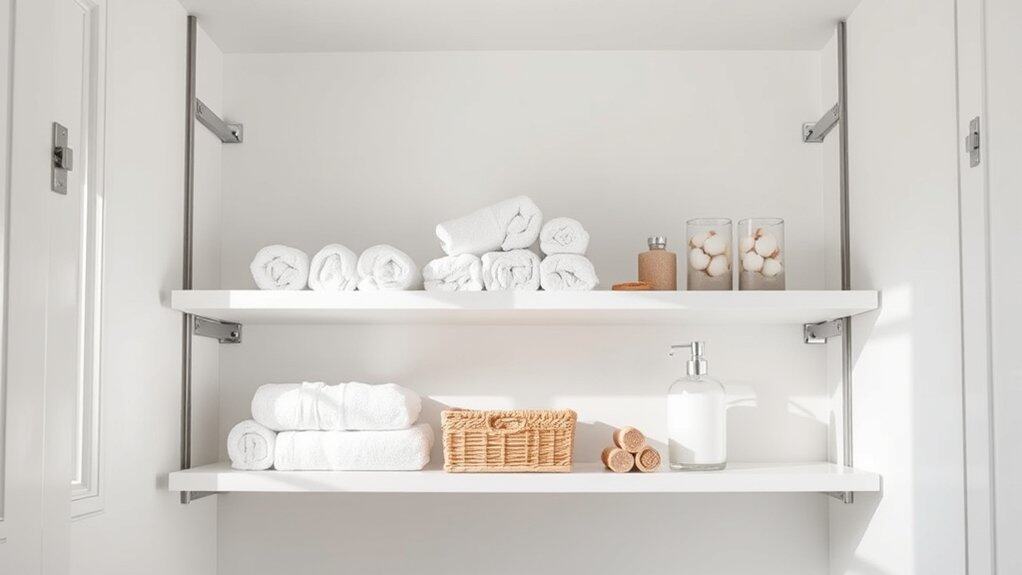
A well-organized bathroom closet with adjustable shelving transforms a cramped storage space into a functional and efficient area. The flexibility of adjustable shelves allows you to maximize vertical space while accommodating items of various sizes, from small toiletries to larger towel stacks and cleaning supplies.
Adjustable shelving systems represent a significant upgrade from fixed shelves, as they can be modified as your storage needs change over time. This adaptability ensures that no vertical space goes to waste, and you can reconfigure the layout whenever necessary to store new items or adjust to changing organizational needs.
Required Items:
- Measuring tape
- Level
- Drill and drill bits
- Screwdriver
- Wall anchors
- Adjustable shelf track system
- Shelf brackets
- Shelf boards
- Pencil
- Stud finder
- Safety goggles
- Dust mask
Start by measuring your closet’s dimensions and marking the desired locations for the vertical tracks. Use a stud finder to locate wall studs and mark them clearly. Install the vertical tracks by drilling pilot holes and securing them to the studs with appropriate screws, using wall anchors where necessary.
Ensure the tracks are perfectly level and parallel to each other. Once the tracks are secure, insert the shelf brackets at your desired heights, making sure they’re level across all tracks. Cut shelf boards to size if needed, or use pre-cut shelves that fit your space.
Place the shelves onto the brackets, ensuring they’re stable and level. Test the weight capacity by gradually adding items, starting with lighter objects.
Additional Tips: Consider installing shelf liners to prevent items from sliding and protect the shelf surface. Label each shelf section to maintain organization, and leave some empty slots in your tracks for future adjustments.
Keep frequently used items at eye level, and store seasonal or rarely used items on higher or lower shelves. Periodically assess your shelf arrangement and adjust heights as needed to accommodate changing storage requirements.
Maximize Door Space With Over-The-Door Organizers
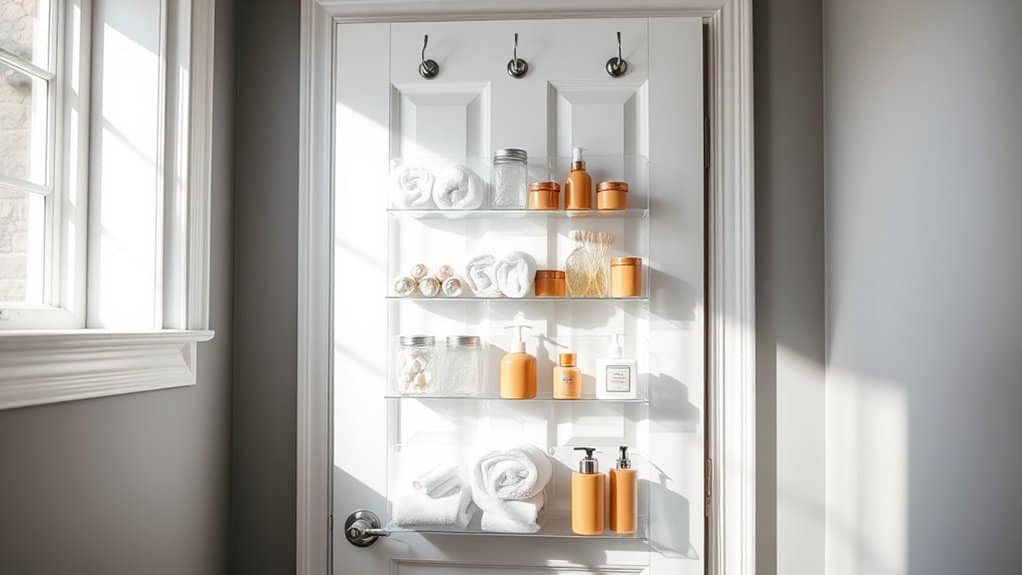
Making the most of every inch in a small bathroom is crucial for maintaining an organized and functional space. The often-overlooked bathroom door presents a valuable opportunity to create additional storage without sacrificing precious floor or wall space.
Over-the-door organizers transform dead space into a practical storage solution, offering easy access to frequently used items while keeping countertops and cabinets clutter-free. This vertical storage approach can effectively double your bathroom’s storage capacity while maintaining a clean, organized appearance.
Required Items:
- Over-the-door organizer (mesh, clear plastic, or fabric)
- Door hooks or hanging brackets
- Level
- Measuring tape
- Command strips (optional)
- Storage bins or baskets (optional)
- Label maker or labels (optional)
Start by measuring your door’s dimensions and choosing an appropriately sized over-the-door organizer that won’t interfere with door closure. Install the organizer following manufacturer instructions, ensuring it’s level and secure. For added stability, consider using command strips at the bottom corners to prevent swinging.
Organize items by category, placing frequently used items at eye level and heavier items in lower pockets. Group similar items together, such as hair products, cleaning supplies, or extra toiletries.
When loading the organizer, distribute weight evenly to prevent sagging and maintain door function. Utilize clear containers or labeled bins within larger pockets to keep smaller items organized and easily accessible. Consider using waterproof or mesh organizers in humid bathroom environments to prevent moisture buildup.
Additional Tips: Regularly assess and rotate items to ensure frequently used products remain easily accessible. Clean the organizer monthly to prevent dust accumulation and maintain hygiene. Consider installing a second, smaller organizer on the inside of cabinet doors for additional storage opportunities. Always check weight limits and door clearance to prevent damage to both the door and organizer.
Use Clear Storage Containers and Labels
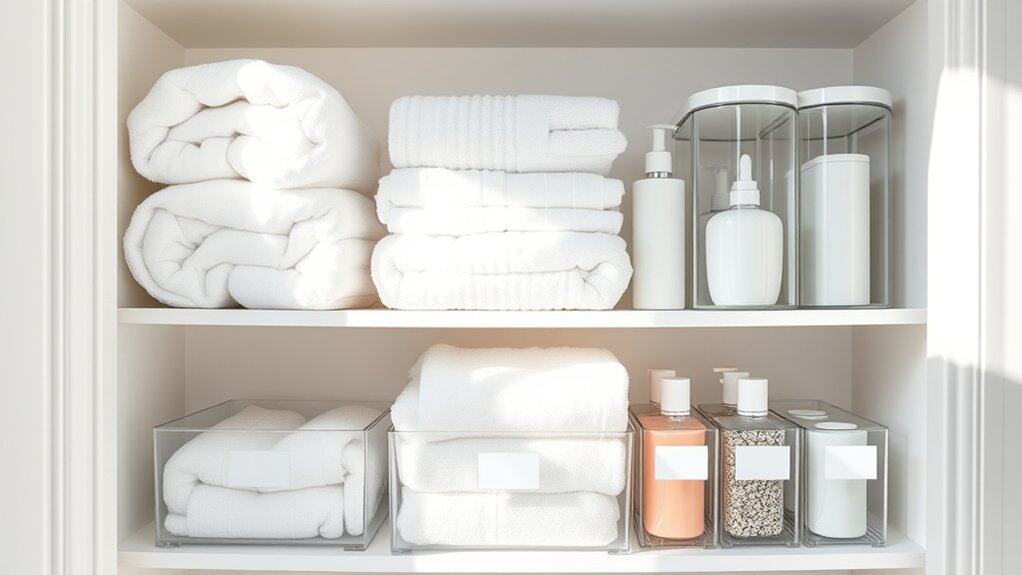
Organizing bathroom closet items in clear containers with proper labeling is a game-changing strategy that transforms cluttered spaces into efficient storage solutions. Clear containers allow immediate visibility of contents, reducing time spent searching for items and preventing unnecessary duplicate purchases.
The combination of transparent storage and clear labeling creates a system that’s easy to maintain and aesthetically pleasing. This approach is particularly valuable in small bathroom closets where space optimization is crucial and quick access to items is essential.
Required Items:
- Clear plastic storage containers (various sizes)
- Label maker or waterproof labels
- Measuring tape
- Marker
- Container dividers
- Shelf liner
- Adhesive label holders
- Clear bins with handles
- Small clear drawer units
Start by measuring your closet shelves and purchasing appropriately sized clear containers that maximize the available space. Sort bathroom items into categories such as first aid, hair care, dental products, and cleaning supplies. Place items in containers according to their categories, ensuring frequently used items are easily accessible.
Install clear containers with similar items grouped together, positioning taller containers at the back of shelves and shorter ones in front for optimal visibility. Create detailed, water-resistant labels for each container, including both the category name and specific contents. Attach labels consistently on the same spot of each container, preferably on the front and top if visible from multiple angles.
Consider using a standardized labeling system with consistent fonts and sizes to maintain a cohesive look.
Additional Tip: Review container contents every three months to remove expired items and reassess organization needs. Consider using stackable containers with secure lids to maximize vertical space and protect items from bathroom humidity. When selecting containers, choose options with smooth surfaces that are easy to clean and maintain in a bathroom environment.
Create Designated Zones for Different Items
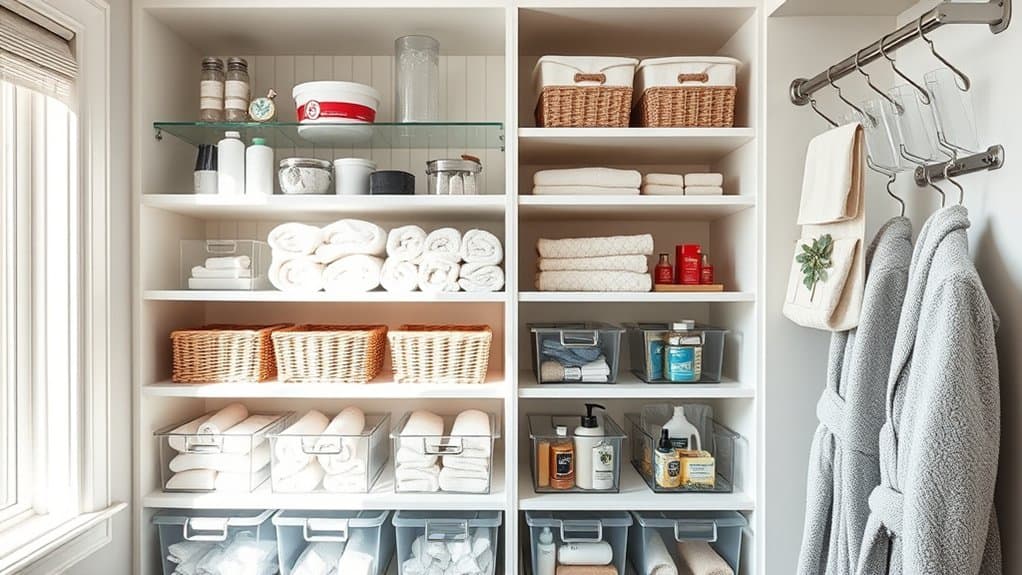
Organizing a small bathroom closet into designated zones is essential for maintaining order and maximizing limited space. When items have specific homes, it becomes easier to find what you need quickly and put things back where they belong, reducing clutter and frustration during busy mornings.
Creating distinct zones transforms a chaotic closet into an efficient storage system that works for everyone in the household. This systematic approach not only makes the space more functional but also helps maintain organization long-term, as family members can easily understand and follow the established system.
Required Items:
- Clear storage bins
- Label maker or labels
- Shelf dividers
- Small baskets
- Clear containers
- Drawer organizers
- Measuring tape
- Paper and pen for planning
- Command hooks
- Over-the-door organizer
Start by removing everything from the closet and grouping similar items together. Create distinct categories such as daily essentials, cleaning supplies, first aid, hair care, and extras/backup supplies.
Measure your closet space and sketch a rough plan, designating specific areas for each category based on frequency of use. Place daily-use items at eye level, heavy or bulky items on lower shelves, and occasional-use items up high.
Install shelf dividers to create clear boundaries between zones and prevent items from mixing. Use clear containers for smaller items within each zone, ensuring everything is visible and accessible. Label each container and zone clearly. Position frequently used items toward the front of their designated areas, with backup supplies behind them.
Consider installing hooks on empty wall space for hanging items like robes or towels, and use an over-the-door organizer for additional vertical storage. Stack similar items together within their zones, using risers or tiered organizers to maximize vertical space while maintaining visibility of all items.
To maintain the zone system effectively, implement a regular review schedule to assess what’s working and what isn’t. Keep a small notepad nearby to track items that need replenishing, and establish a “one in, one out” rule to prevent zones from becoming overcrowded.
Consider seasonal rotation of items to keep the zones relevant and functional throughout the year.
Add Pull-Out Drawers and Baskets
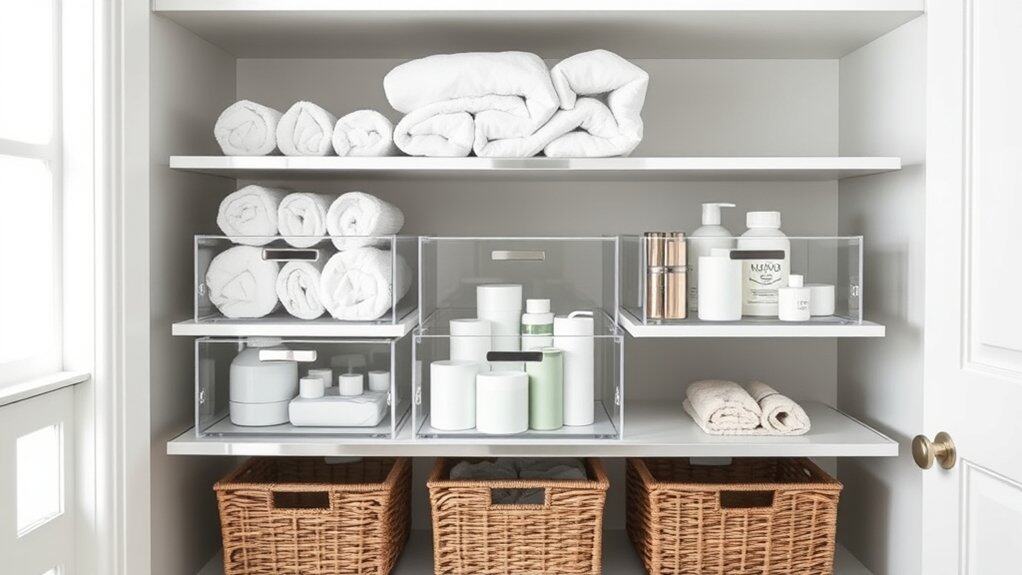
Maximizing storage in a small bathroom closet is essential for maintaining an organized and stress-free environment. Pull-out drawers and baskets offer an intelligent solution by utilizing vertical space while keeping items easily accessible and visible.
Installing pull-out drawers and baskets transforms awkward, hard-to-reach spaces into functional storage areas. This system prevents items from getting lost in the back of deep shelves and creates designated zones for different categories of bathroom essentials, making daily routines more efficient.
Required Items:
- Pull-out drawer systems
- Wire or plastic storage baskets
- Mounting brackets
- Screwdriver
- Measuring tape
- Level
- Pencil
- Drill
- Anchors
- Drawer liner material
- Labels
- Screws
Start by measuring your closet’s interior dimensions, including depth, width, and height between shelves. Install mounting brackets according to your measurements, ensuring they’re level and properly anchored into wall studs.
Attach the pull-out drawer slides to the brackets, then secure the drawers or baskets onto the slides. Test each drawer to ensure smooth operation before loading items.
For optimal organization, assign specific categories to each drawer or basket: toiletries, cleaning supplies, spare towels, or medical items. Consider using shallow drawers for smaller items and deeper ones for bulkier supplies. Install drawer liners to prevent items from sliding and protect the surface.
Additional Tips: Label the front of each drawer clearly to maintain organization long-term. Use drawer dividers or small containers within larger drawers to separate items further. Leave about 20% of space empty in each drawer to prevent overcrowding and maintain easy access.
Clean and assess the organization system every three months, adjusting as needed based on your changing storage needs.
Implement the One-In-One-Out Rule
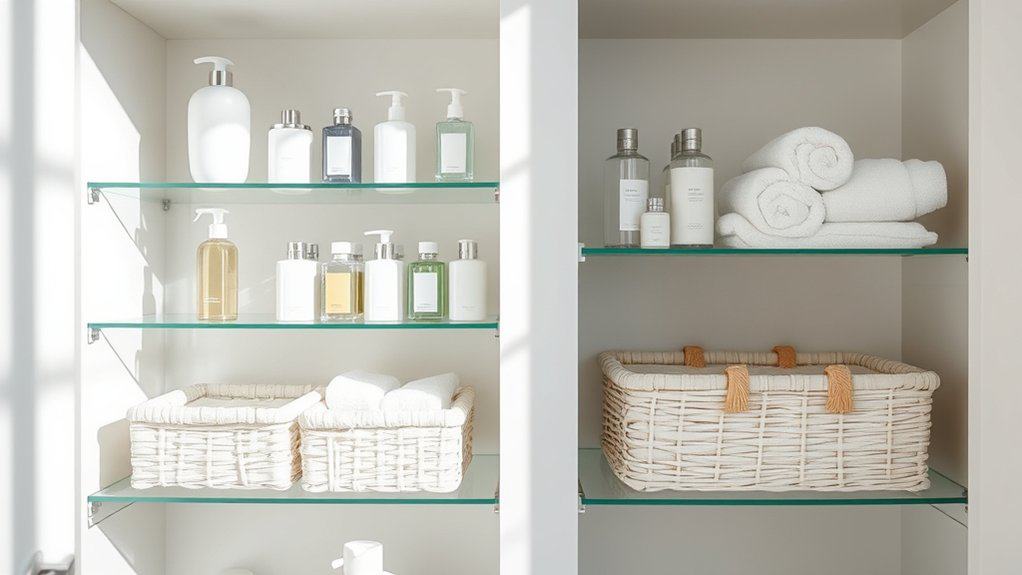
The one-in-one-out rule is a fundamental principle of maintaining an organized bathroom closet space, particularly in small areas where every inch counts. This systematic approach prevents overcrowding and ensures that your storage space remains manageable and clutter-free over time.
By implementing this organizational method, you create a sustainable system that maintains the perfect balance between necessary items and available space. The rule not only helps maintain order but also encourages mindful purchasing habits and prevents the accumulation of expired or unused products that often plague bathroom storage areas.
Required Items:
- Donation box or bag
- Trash bin
- Storage containers
- Labels
- Notepad
- Pen
- Timer
- Calendar or tracking system
The implementation process begins with a thorough inventory of your current bathroom closet items. Each time you purchase a new product, immediately identify its corresponding item that will be removed. For example, when buying a new bottle of shampoo, commit to disposing of or using up the old one before opening the new product.
Create designated zones within your closet for different categories (toiletries, medicines, cleaning supplies) and maintain strict boundaries for each section. When removing items, assess their condition and either dispose of them properly if expired, donate unused products in good condition, or fully use them before introducing new items.
Keep a small notepad in the closet to track the dates of new additions and removals, helping maintain accountability to the system. For optimal success, perform monthly audits of your bathroom closet to ensure compliance with the one-in-one-out rule.
Consider setting calendar reminders for these check-ins and maintaining a running inventory list of essential items. This practice helps identify patterns in product consumption and prevents unnecessary purchases while keeping your small bathroom closet organized and functional year-round.

