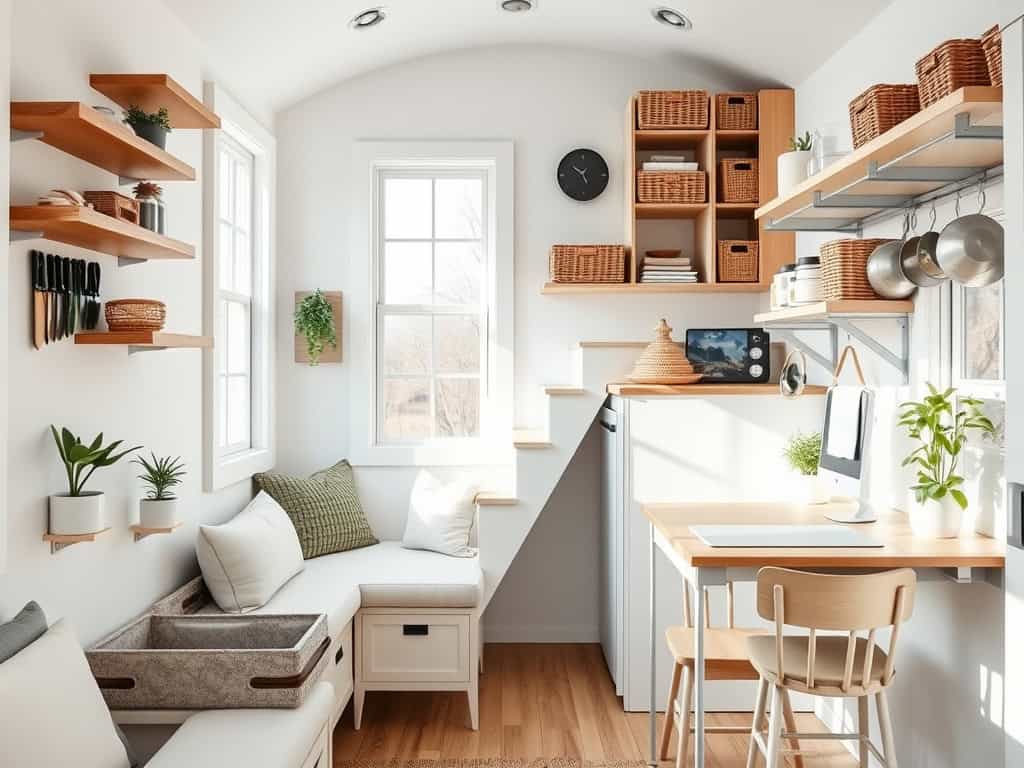
Living in a tiny home doesn’t mean you have to compromise on storage – you just need to get creative! As someone who downsized from a 2,000-square-foot house to a 400-square-foot tiny home, I’ve discovered game-changing storage solutions that’ll transform how you think about small spaces. From hidden compartments under floorboards to brilliant door-mounted organizers, these seven clever ideas will help you maximize every square inch. Ready to turn your cozy space into an organizational masterpiece?
Vertical Wall Gardens and Living Storage
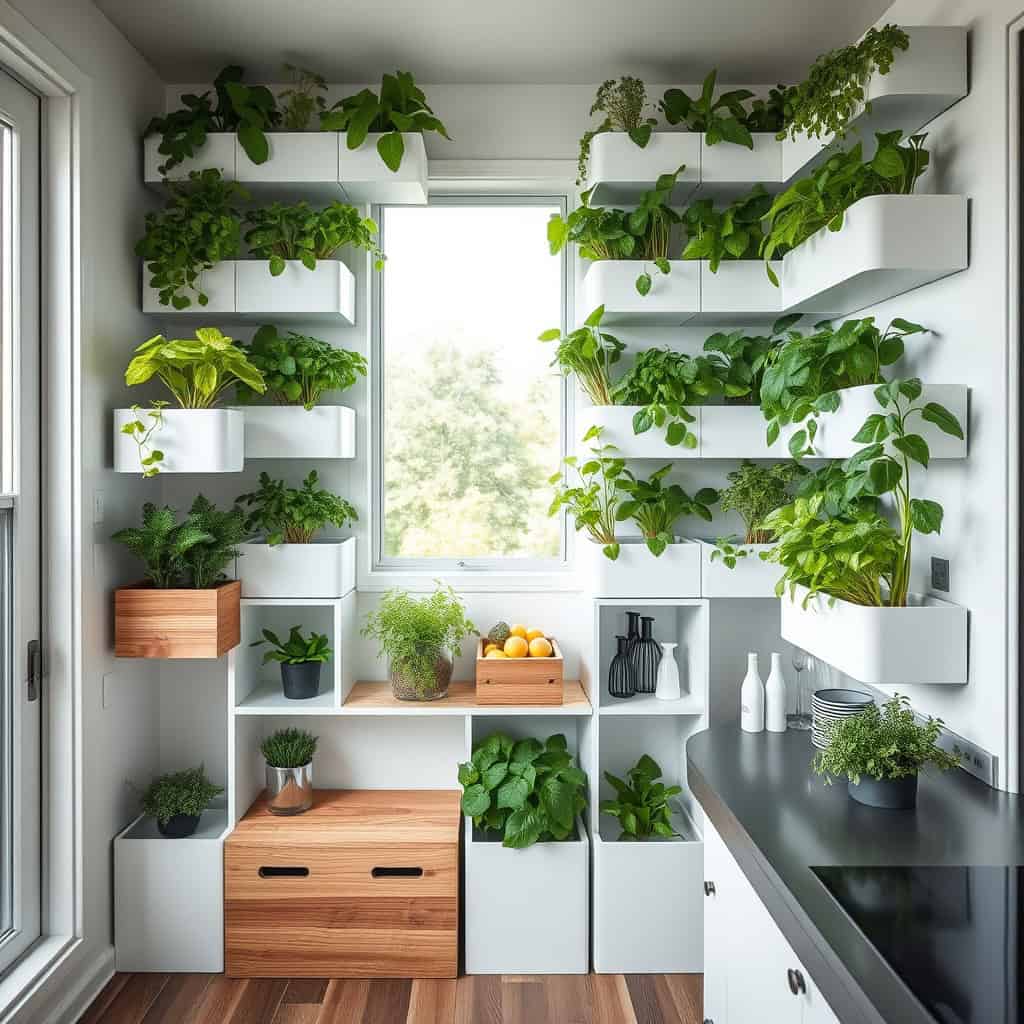
Vertical wall gardens represent an innovative solution for tiny home dwellers who want to maximize their limited space while incorporating natural elements into their living environment.
These living walls serve dual purposes – they provide fresh herbs and small vegetables while acting as dynamic, green storage solutions that add life to compact spaces.
The integration of vertical gardens into storage systems allows tiny home owners to blend functionality with biophilic design.
When properly organized, these systems can store essential items behind or alongside growing plants, creating multi-functional spaces that contribute to both storage efficiency and improved air quality.
Required Items:
- Modular wall mounting system
- Plant containers or pocket planters
- Mounting brackets and hardware
- Grow lights (if natural light is limited)
- Irrigation system components
- Moisture-resistant backing material
- Plant-safe storage containers
- Water collection tray
- Garden tools
- Growing medium
- Selected plants
The organization process begins with installing a moisture-resistant backing board to protect the wall structure.
Mount the modular system’s track or frame, ensuring proper weight distribution and secure anchoring.
Install the irrigation system components, working from top to bottom, and connect them to a water source.
Position storage containers strategically between planting areas, ensuring they’re easily accessible while maintaining proper plant spacing.
Position plants according to their light requirements and growth patterns, with taller plants at the top and trailing varieties below.
Integrate storage spaces around the plants, using weatherproof containers that complement the garden design.
Establish clear zones for different items – everyday essentials at eye level, less frequently used items higher up or lower down.
Additional Success Tips:
Regularly assess the balance between storage and plant growth, adjusting as needed when plants mature.
Use clear containers to easily identify stored items, and implement a rotation system for seasonal plants and stored goods.
Consider incorporating automated irrigation and lighting systems to reduce maintenance while ensuring optimal growing conditions.
Label all storage containers and maintain an inventory system to prevent overcrowding and ensure efficient use of space.
Multi-Purpose Furniture Solutions

Living in a tiny home requires maximizing every square inch of space, and multi-purpose furniture serves as the cornerstone of efficient small-space living. These versatile pieces not only fulfill their primary functions but also provide valuable storage opportunities, effectively doubling or tripling their utility in your home.
Strategic selection and arrangement of multi-purpose furniture can transform a cramped space into a highly functional living area. By incorporating furniture that serves multiple roles, you can maintain a clutter-free environment while ensuring all essential items have their designated storage spaces.
Required Items:
- Measuring tape
- Graph paper
- Pencil and eraser
- Storage containers
- Furniture sliders
- Level
- Storage bins
- Drawer organizers
- Space-saving hangers
- Furniture mounting hardware
Start by mapping your space and identifying high-traffic areas and dead zones. Select furniture pieces that match your specific needs: ottoman storage benches for entryways, murphy beds with built-in desks for bedrooms, and expandable dining tables with hidden storage compartments.
Position larger pieces against walls to maximize floor space, ensuring each item serves at least two purposes. Consider vertical space utilization by incorporating tall storage units that can function as room dividers. Install modular furniture systems that can be reconfigured as needs change.
Prioritize pieces with built-in storage, such as hollow stairs leading to loft areas or platform beds with drawer systems underneath.
Additional Success Tips:
Before purchasing any multi-purpose furniture, measure your space three times and create a detailed floor plan. Test the functionality of moving parts in store when possible, and prioritize quality construction that will withstand frequent use.
Remember to leave adequate clearance for doors, windows, and pathways while maintaining easy access to stored items. Regular reassessment of your storage needs will help you adapt your furniture layout for optimal efficiency.
Hidden Under-Floor Compartments
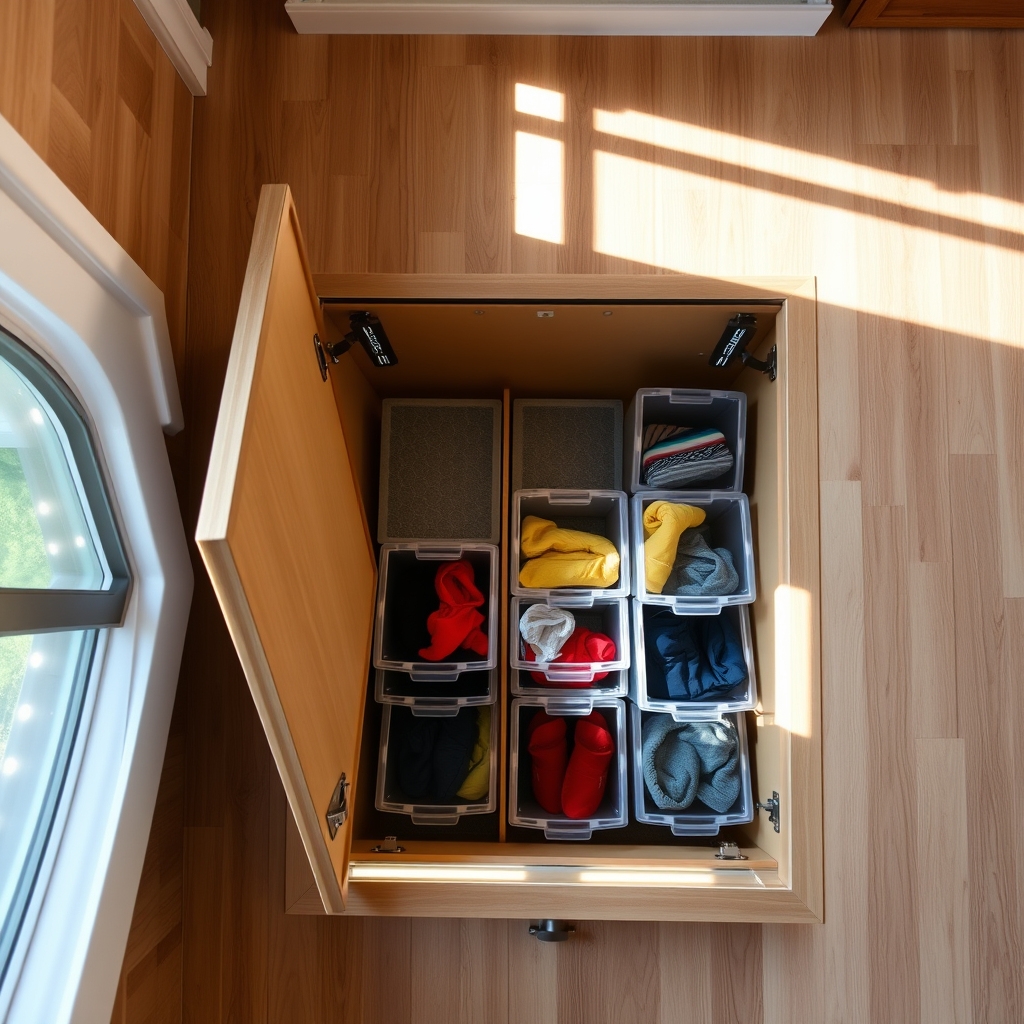
Making the most of every square inch is crucial in tiny home living, and under-floor storage compartments represent one of the most innovative solutions for maximizing space. These hidden storage areas turn otherwise unused space into valuable storage real estate, perfect for items that aren’t needed daily but still essential to keep.
Under-floor compartments work particularly well in tiny homes because they maintain the clean, minimalist aesthetic while providing substantial storage capacity. When properly organized, these spaces can store everything from seasonal clothing and holiday decorations to emergency supplies and outdoor gear without creating visual clutter.
Required Items:
- Measuring tape
- Storage containers or bins that fit compartment dimensions
- Labels and label maker
- Moisture-resistant bags or containers
- Anti-slip mats
- LED strip lighting
- Small hinges or lifting mechanisms
- Weather stripping
- Storage dividers
- Inventory list template
Start by measuring each under-floor compartment and creating a detailed map of the spaces. Group similar items together and assign specific compartments based on access frequency and item size.
Install moisture-resistant barriers or liners to protect stored items from potential dampness or condensation. Place frequently accessed items in compartments near high-traffic areas, while seasonal items can go in less accessible spaces.
Position LED strip lighting around compartment edges for visibility. Use properly sized containers that maximize the vertical space while allowing for easy removal. Create a labeling system that’s visible when the compartment is open, and maintain an inventory list of stored items and their locations.
To ensure long-term organization success, conduct quarterly reviews of stored items, checking for moisture issues and updating your inventory list. Install weather stripping around compartment edges to prevent dust infiltration, and use anti-slip mats to prevent containers from shifting.
Consider creating a digital map of your storage layout to share with household members, ensuring everyone knows where to find and return items.
Ceiling-Mounted Storage Systems
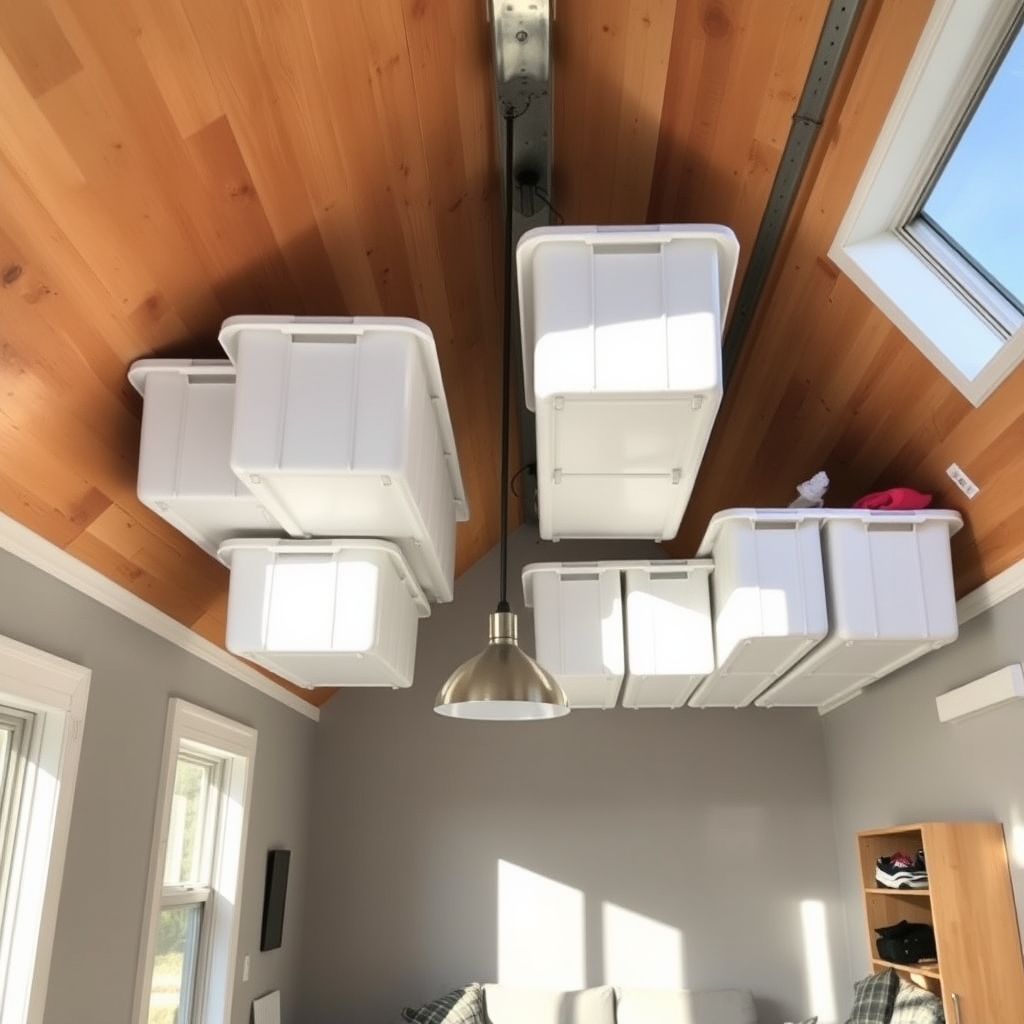
Making use of ceiling space is one of the most overlooked yet valuable storage solutions in tiny homes. The ceiling represents a significant amount of unused square footage that can be transformed into functional storage space without impacting your living area.
When properly utilized, ceiling storage can accommodate seasonal items, sports equipment, and rarely-used belongings that would otherwise consume precious floor or wall space.
Ceiling-mounted storage systems require careful planning and installation to ensure both safety and accessibility. These systems can range from simple hooks and pulleys to elaborate track-mounted containers and retractable units.
The key is selecting appropriate solutions based on ceiling height, structural support capabilities, and the types of items you plan to store.
Required Items:
- Stud finder
- Drill and drill bits
- Screwdriver set
- Level
- Measuring tape
- Ceiling hooks or track system
- Storage containers or bins
- Mounting brackets
- Heavy-duty hardware
- Safety goggles
- Step ladder or platform
- Pencil for marking
Begin by mapping your ceiling layout, identifying joists and electrical wiring using a stud finder. Mark mounting points that align with ceiling joists, ensuring even distribution of weight across the storage system.
Install mounting brackets or tracks according to manufacturer specifications, using appropriate hardware for your ceiling type. For track systems, ensure perfect alignment by measuring multiple times and using a level throughout installation.
When mounting individual hooks or pulley systems, space them strategically to accommodate specific items while maintaining adequate clearance for movement below.
Consider installing adjustable systems that can be lowered for easy access and raised when not in use. Group similar items together and use clear, labeled containers for easy identification from below.
For optimal use of ceiling-mounted storage, invest in lightweight, durable containers that fit your system specifications. Create a rotation schedule for seasonal items, keeping currently needed items in more accessible locations.
Always factor in the weight capacity of your mounting hardware and distribute weight evenly across multiple mounting points. Consider installing LED strip lighting around storage areas to improve visibility and maintain easy access to stored items.
Fold-Down Work and Dining Spaces
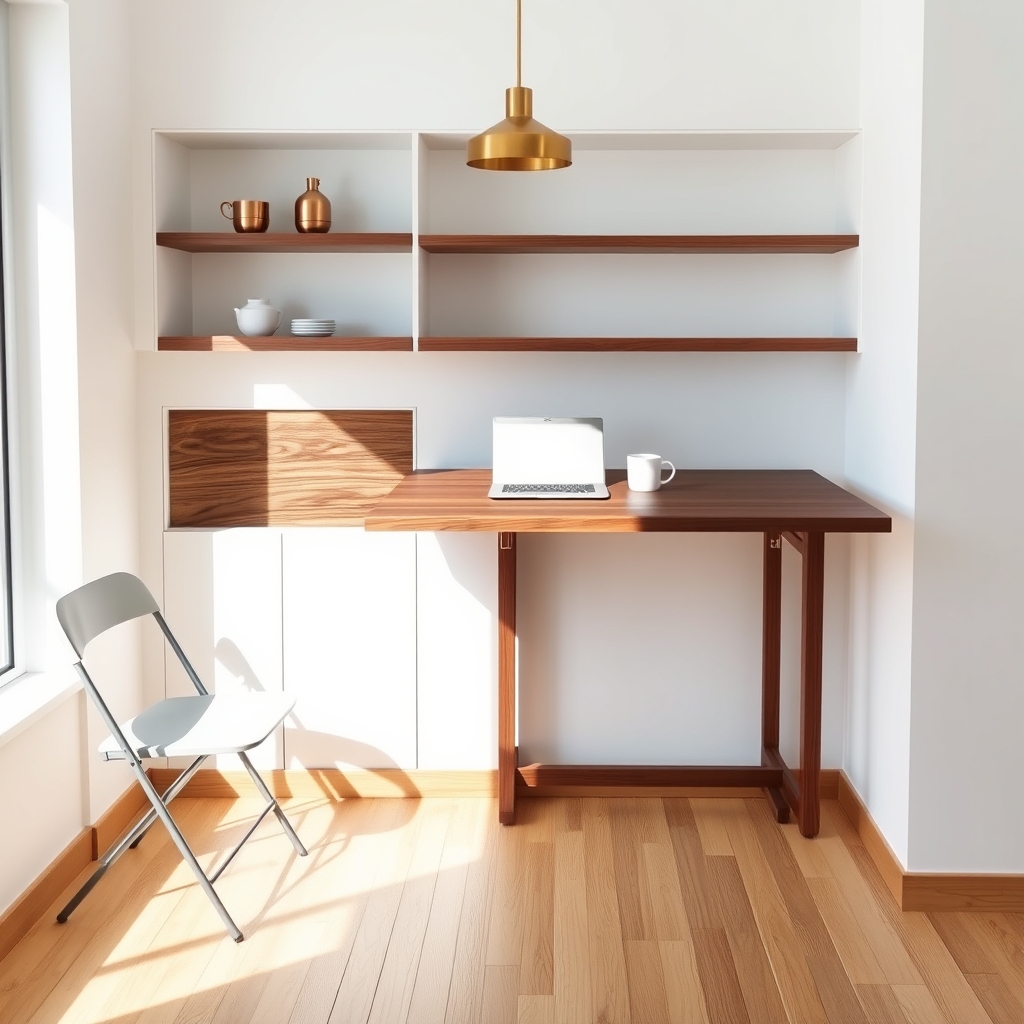
In tiny homes, every square inch counts, and having dedicated work and dining spaces can seem like a luxury. Fold-down surfaces offer the perfect solution, allowing you to create functional areas that disappear when not in use. These versatile installations transform your living space from a productive workspace to a comfortable dining area, then tuck away to maintain an open floor plan.
The key to successful fold-down spaces lies in thoughtful planning and strategic placement. By incorporating proper hardware and considering the room’s flow, you can create surfaces that are both sturdy when deployed and completely unobtrusive when stored. This approach maximizes your living space while ensuring you don’t sacrifice essential functions.
Required Items:
- Wall-mounted brackets
- Heavy-duty hinges
- Fold-down table or desk surface
- Wall studs locator
- Level
- Mounting screws and anchors
- Storage solutions for chairs
- Cable management systems
- Wall reinforcement materials
- Measuring tape
Installing a fold-down surface begins with selecting the ideal location, ensuring it doesn’t interfere with other living spaces when deployed. Measure the area carefully and mark the wall studs for secure mounting.
Install heavy-duty brackets at the appropriate height, considering seated comfort and ergonomics. The surface should be mounted using robust hinges that can support weight while remaining easy to operate.
For dining spaces, consider a larger surface that can accommodate multiple people, while work areas might benefit from a smaller footprint with built-in storage for supplies. Install cable management systems if the surface will be used for electronics, ensuring wires can be easily connected and disconnected.
Add wall-mounted storage solutions above or beside the fold-down surface to keep necessary items within reach.
Additional Tip: Invest in lightweight, stackable seating that can be easily stored when the surface isn’t in use. Consider adding magnetic strips or small hooks to the underside of the surface for hanging lightweight items, and implement a “clear surface” policy to ensure the space can be quickly converted between uses.
Regular maintenance of hinges and brackets will ensure smooth operation and longevity of your fold-down installation.
Magnetic Organization Zones
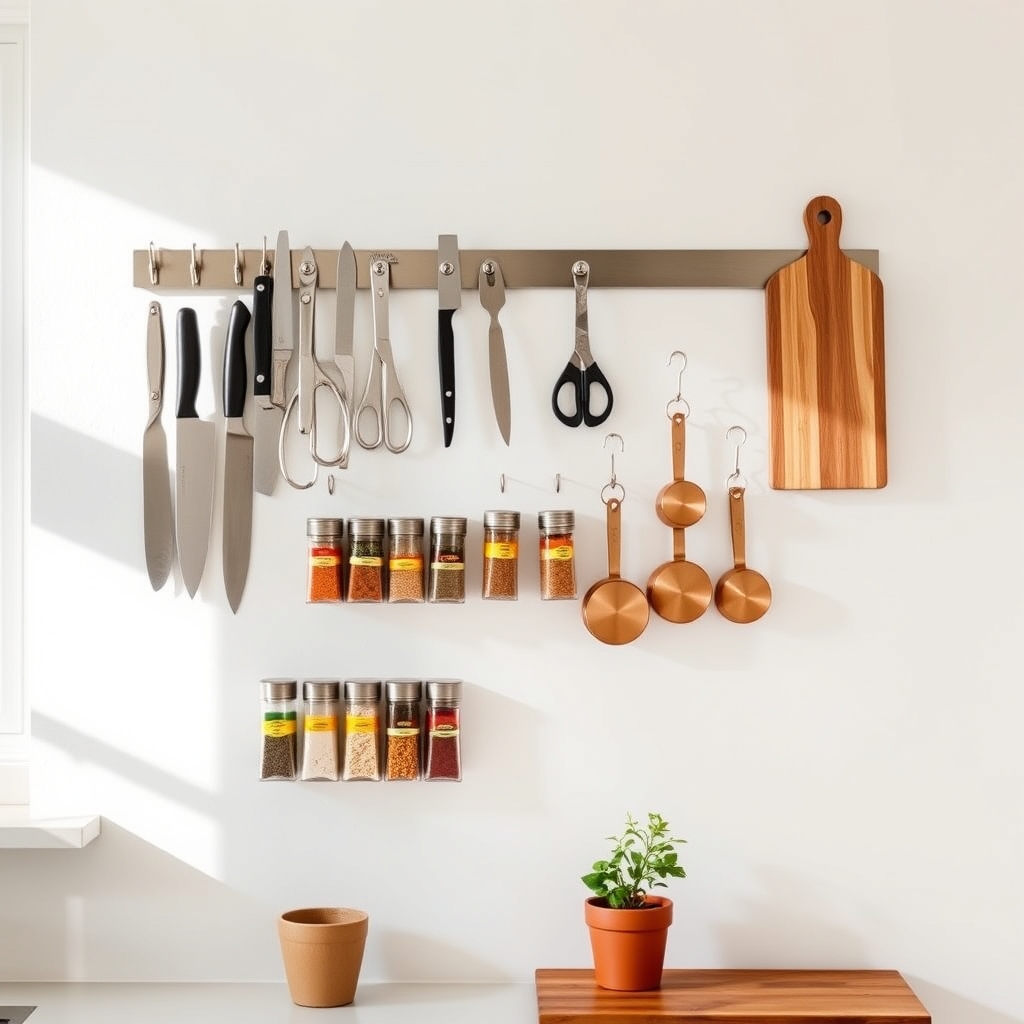
Creating magnetic organization zones in a tiny home transforms unused vertical surfaces into functional storage areas, maximizing every square inch of available space. Metal surfaces like refrigerators, walls, and cabinet sides become valuable real estate for organizing everyday items while keeping them easily accessible.
Magnetic organization systems are particularly effective in tiny homes because they eliminate the need for additional furniture or bulky storage containers. This approach keeps items visible yet orderly, and allows for quick reorganization as needs change, making it an ideal solution for dynamic tiny home living.
Required Items:
- Magnetic strips/bars
- Magnetic containers
- Magnetic hooks
- Metal mounting plates
- Strong neodymium magnets
- Command strips
- Metal-friendly paint (if creating magnetic walls)
- Screwdriver and screws
- Level
- Measuring tape
- Marker
Start by identifying potential magnetic zones in your tiny home. Install magnetic strips or mounting plates on walls near workspaces, ensuring they’re level and securely fastened. For areas without natural metal surfaces, apply metal-friendly paint or mount thin metal sheets.
Position magnetic strips at eye level for frequently used items and lower or higher for less-accessed items. Group similar items together and assign specific zones for different purposes – cooking utensils near the stove, office supplies in the workspace area, and bathroom essentials in the bathroom zone.
Create a designated spot for each item and establish a labeling system if multiple people share the space. Consider weight limitations of magnetic attachments and test the holding strength before committing to permanent placement. Rotate items seasonally and adjust zones based on usage patterns.
Additional Tips: Incorporate clear magnetic containers for small items to maintain visibility while preventing clutters. Use stronger magnets for heavier items and consider combining magnetic storage with other organization methods for a comprehensive system.
Regularly assess the effectiveness of your magnetic zones and adjust the layout to optimize functionality and accommodate changing needs.
Space-Maximizing Door Hacks
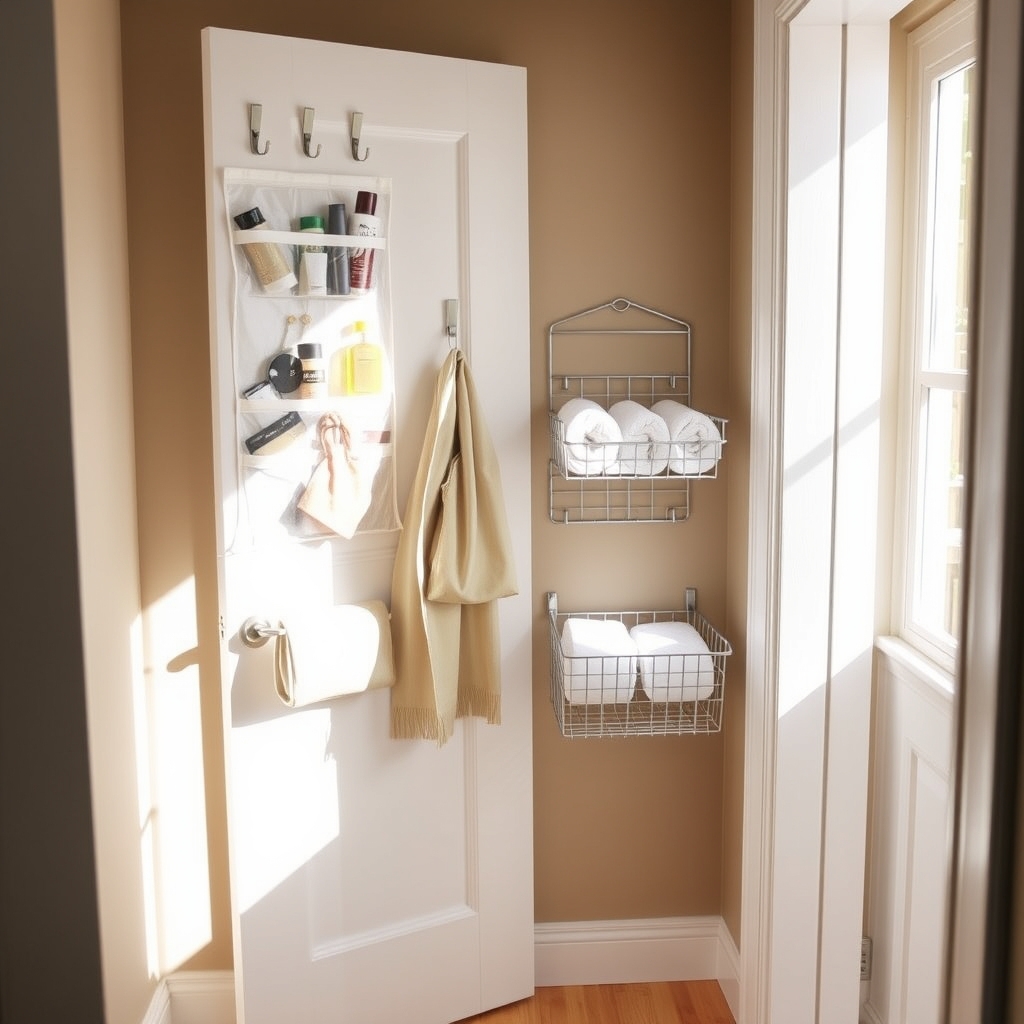
Making the most of every vertical surface becomes crucial in tiny home living, and doors represent some of the most underutilized space in compact dwellings. Door storage solutions can transform these overlooked surfaces into valuable storage real estate, effectively doubling or tripling their functionality without compromising the door’s primary purpose.
Strategic door organization not only maximizes storage capacity but also keeps frequently used items easily accessible while maintaining a clutter-free environment. By implementing thoughtful door storage solutions, tiny home dwellers can create designated spaces for everything from pantry items to cleaning supplies, all while maintaining the minimalist aesthetic that makes tiny homes so appealing.
Required Items:
- Over-the-door hanging organizers
- Adhesive hooks
- Command strips
- Door-mounted racks
- Tension rods
- S-hooks
- Measuring tape
- Level
- Drill and screws (if mounting permanent solutions)
- Wire baskets
- Clear storage pockets
Start by measuring your door dimensions, including thickness, to ensure proper fit of organizing tools. Install over-the-door hangers on the most frequently accessed doors, ensuring they don’t interfere with door closure.
For bathroom doors, mount towel bars at different heights to maximize vertical space. Kitchen cabinet doors can be fitted with narrow spice racks or sheet pan organizers on the interior.
For closet doors, install clear pocket organizers for smaller items like accessories or toiletries. Utilize adhesive hooks strategically placed at different heights for hanging items like robes, bags, or umbrellas.
Consider mounting wire baskets on the inside of utility doors for cleaning supplies or pantry items, ensuring proper weight distribution.
Additional Tips: Consider the door’s swing radius when planning storage depth to prevent items from hitting walls or furniture. Use clear organizers whenever possible to maintain visibility of stored items.
Label storage spaces to maintain organization systems, and regularly assess stored items to prevent overcrowding. Remember to check weight limits for adhesive solutions and ensure all mounted items are secure to prevent accidents during door movement.

