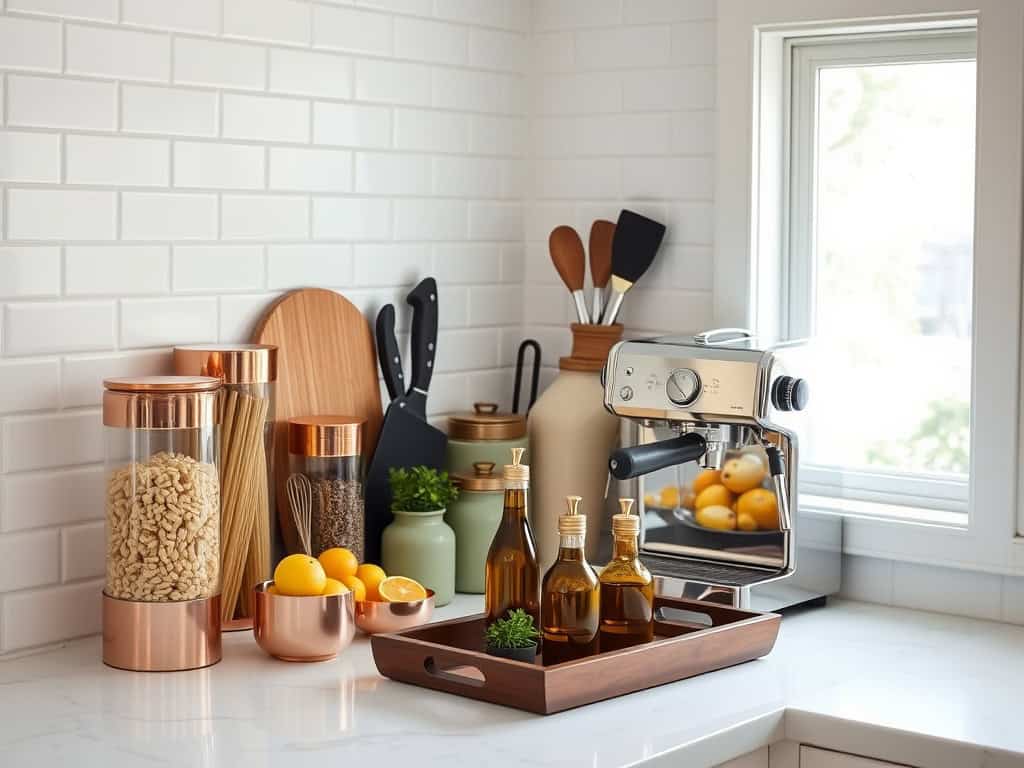
Just like a well-choreographed dance, an organized kitchen counter creates a beautiful flow that makes cooking feel effortless. I’ve transformed countless cluttered spaces into stunning functional sanctuaries, and I’m excited to share my favorite solutions that’ll revolutionize your kitchen. From sleek charging stations that banish cord chaos to designer storage that doubles as decor, these eight ideas will help you create a space that’s both Instagram-worthy and practical for your daily culinary adventures.
Floating Shelves With Hidden Storage Solutions
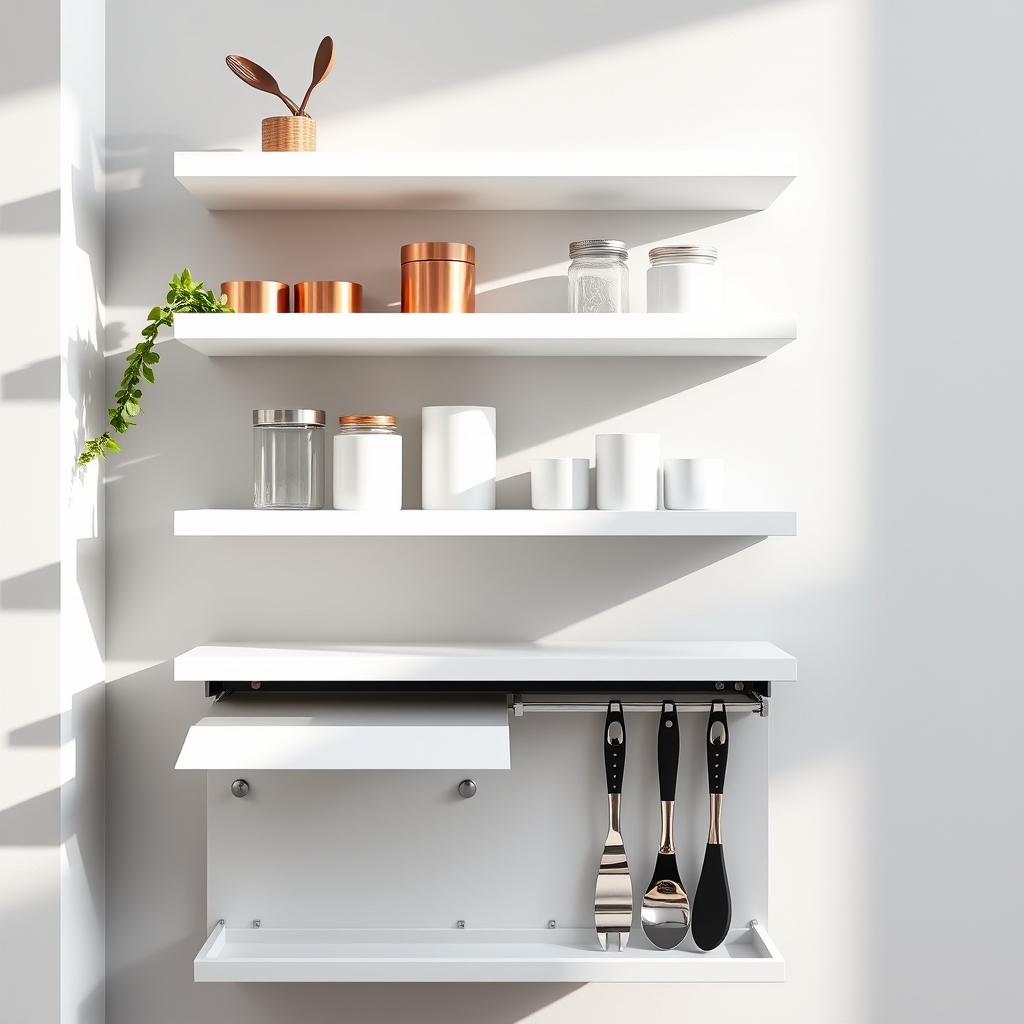
Floating shelves have become increasingly popular in modern kitchens, offering both aesthetic appeal and practical storage solutions. These versatile installations create an illusion of space while providing essential storage areas that keep countertops clear and organized.
When combined with hidden storage features, floating shelves transform into powerful organizational tools that maximize vertical space without sacrificing style. The key to successful floating shelf organization lies in utilizing both visible and concealed storage elements.
While the exposed portions showcase decorative items and frequently used cooking essentials, the hidden compartments safely store less attractive but necessary items. This dual-purpose approach maintains a clean, minimalist appearance while dramatically increasing storage capacity.
Required Items:
- Floating shelves with built-in storage compartments
- Shelf brackets and mounting hardware
- Wall anchors
- Level
- Drill
- Storage containers and bins
- Label maker
- Drawer organizers
- Clear containers for visible storage
- Baskets or boxes for hidden compartments
Installation and organization begins with proper shelf placement, ensuring adequate spacing between shelves and strategic positioning near work areas.
Mount the floating shelves securely, using appropriate wall anchors and checking for level alignment. Once installed, organize visible areas with frequently used items in clear containers, positioning them for easy access.
Utilize the hidden storage compartments for seasonal items, extra supplies, or less attractive necessities. Group similar items together and implement a zone-based system, keeping cooking supplies near the stove and coffee accessories near the coffee maker.
For optimal organization maintenance, implement a rotating system where items in hidden storage are reviewed quarterly. Label all containers clearly, including those in concealed spaces, and maintain a consistent organizational system that all household members can follow.
Consider using drawer organizers within hidden compartments to maximize space efficiency and prevent items from becoming jumbled or lost in deeper storage areas.
Stylish Rotating Spice Organizers
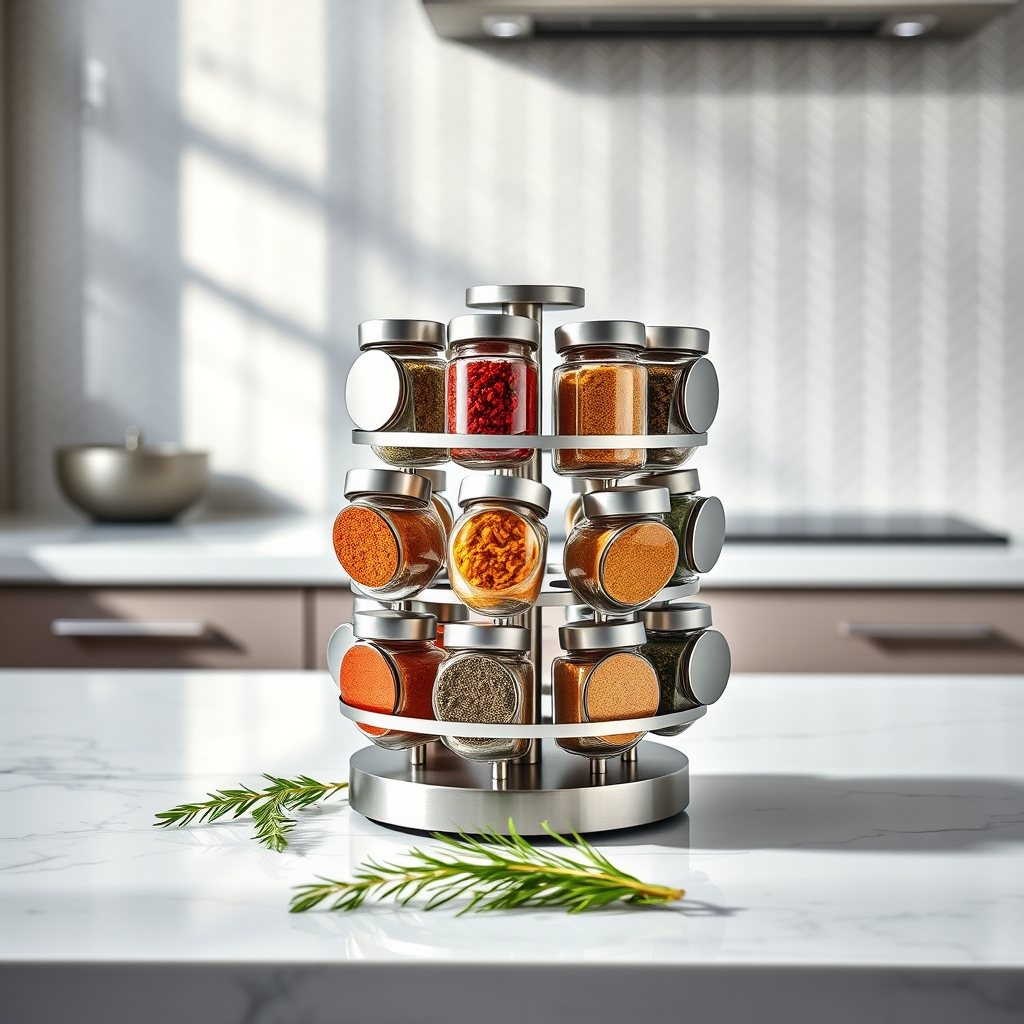
An organized spice collection is essential for any functional kitchen, transforming cooking from a chaotic scramble to find ingredients into a smooth, enjoyable experience. A rotating spice organizer not only keeps your seasonings readily accessible but also adds a professional touch to your counter space while maximizing storage in a compact footprint.
Rotating spice organizers have become increasingly popular in modern kitchens because they combine style with practicality. These carousel-style systems allow you to store numerous spice containers in an easily viewable arrangement, eliminating the need to dig through cabinets or drawers while cooking, and ensuring that all your spices remain fresh and visible.
Required Items:
- Rotating spice rack (single or multi-tier)
- Clear spice containers with labels
- Label maker or waterproof labels
- Measuring funnel
- Clean cloth
- Small brush for cleaning
- Container for excess spices
- Organizational dividers (optional)
Start by emptying your current spice collection and checking expiration dates. Transfer spices to uniform containers, using the funnel to avoid waste. Label each container clearly with both the spice name and purchase date.
Arrange the spices alphabetically on the rotating rack, placing frequently used spices at eye level and grouping similar items together (such as baking spices in one section and savory seasonings in another).
For optimal organization, create zones on your rotating rack based on usage patterns. Position everyday spices within easy reach of your primary cooking area. Consider using multiple tiers if available, with the top tier dedicated to frequently used items and lower tiers for occasional-use spices.
Ensure the rack rotates smoothly and sits securely on your counter, away from heat sources and direct sunlight.
To maintain your organized spice system, conduct monthly check-ups to clean the rack and containers, verify freshness dates, and replenish depleted items. Consider keeping an inventory list inside a nearby cabinet door to track when spices need replacement.
For maximum longevity, store backup spices in airtight containers in a cool, dark place, and transfer only working quantities to your rotating rack.
Minimalist Countertop Charging Stations
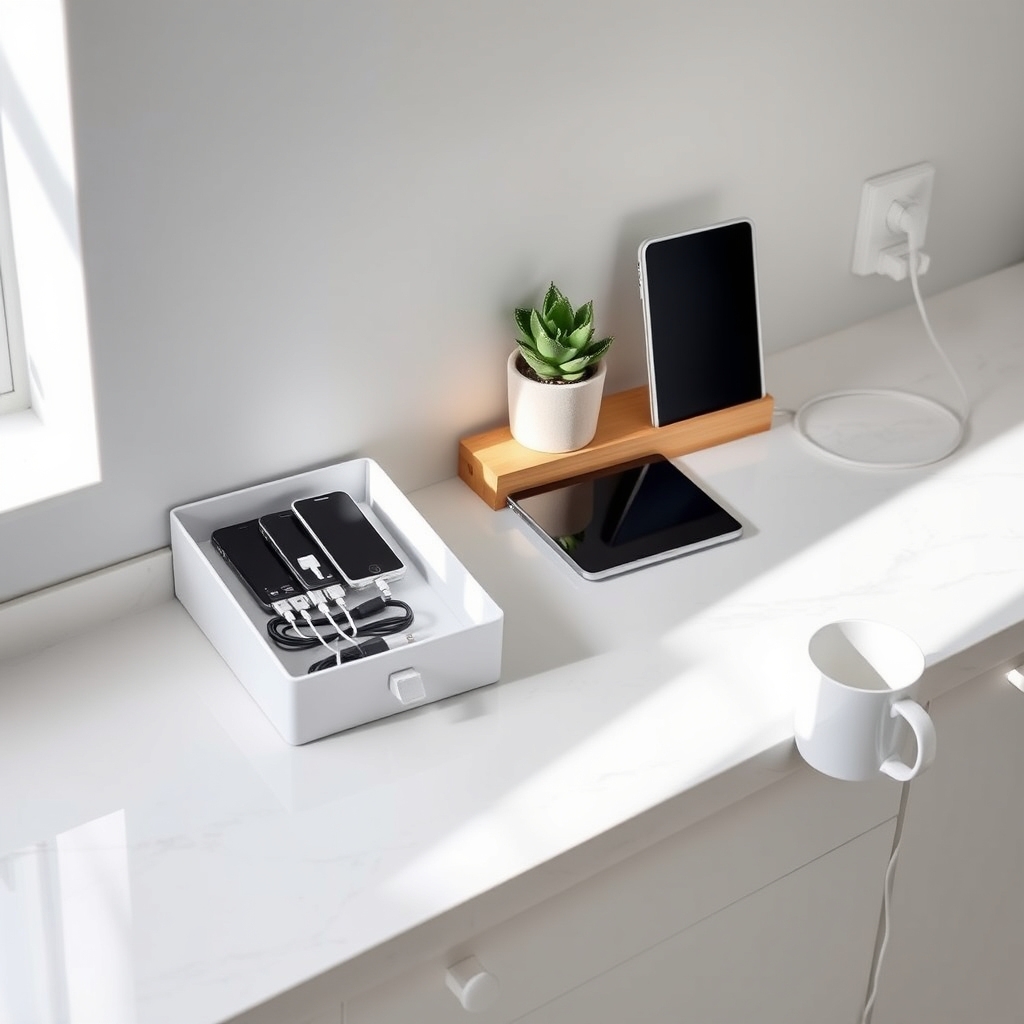
In today’s connected world, having a designated charging area in the kitchen has become essential. Counter space is precious, and scattered cables and devices not only create visual clutter but also expose electronics to potential kitchen hazards like water splashes and food debris.
A well-organized minimalist charging station keeps devices accessible while maintaining the clean aesthetic of your kitchen. It eliminates the daily hunt for chargers and ensures devices are always powered up when needed, all while protecting them from kitchen-related accidents.
Required Items:
- Cable management box or dock
- Multi-port USB charging hub
- Short charging cables
- Cable clips or ties
- Non-slip mat or pad
- Cord concealer strips
- Small drawer organizer or tray
- Power strip with surge protection
Select a corner of your counter that’s away from the sink and food preparation areas. Install the charging hub inside a cable management box, threading the power cord through the designated opening and securing it with cable ties. Position the box against the wall, preferably near an outlet, and place the non-slip mat underneath to prevent sliding.
Arrange short charging cables neatly within the box, using cable clips to prevent tangling. For vertical space optimization, consider mounting a small shelf above the charging station to hold devices while they charge. This keeps the counter surface clear and creates a dedicated zone for electronics.
Label each cable discretely to avoid confusion, and use cord concealer strips to route the main power cable along the wall or under cabinets for a cleaner look.
Additional Tips: Establish a rule to remove devices once fully charged to maintain the minimalist appearance. Consider using a charging box with a lid to completely hide cables when not in use, and implement a regular cleaning schedule to prevent dust accumulation.
For additional organization, use small containers within the charging box to store extra cables and adapters, keeping everything contained and easily accessible.
Designer Appliance Garages
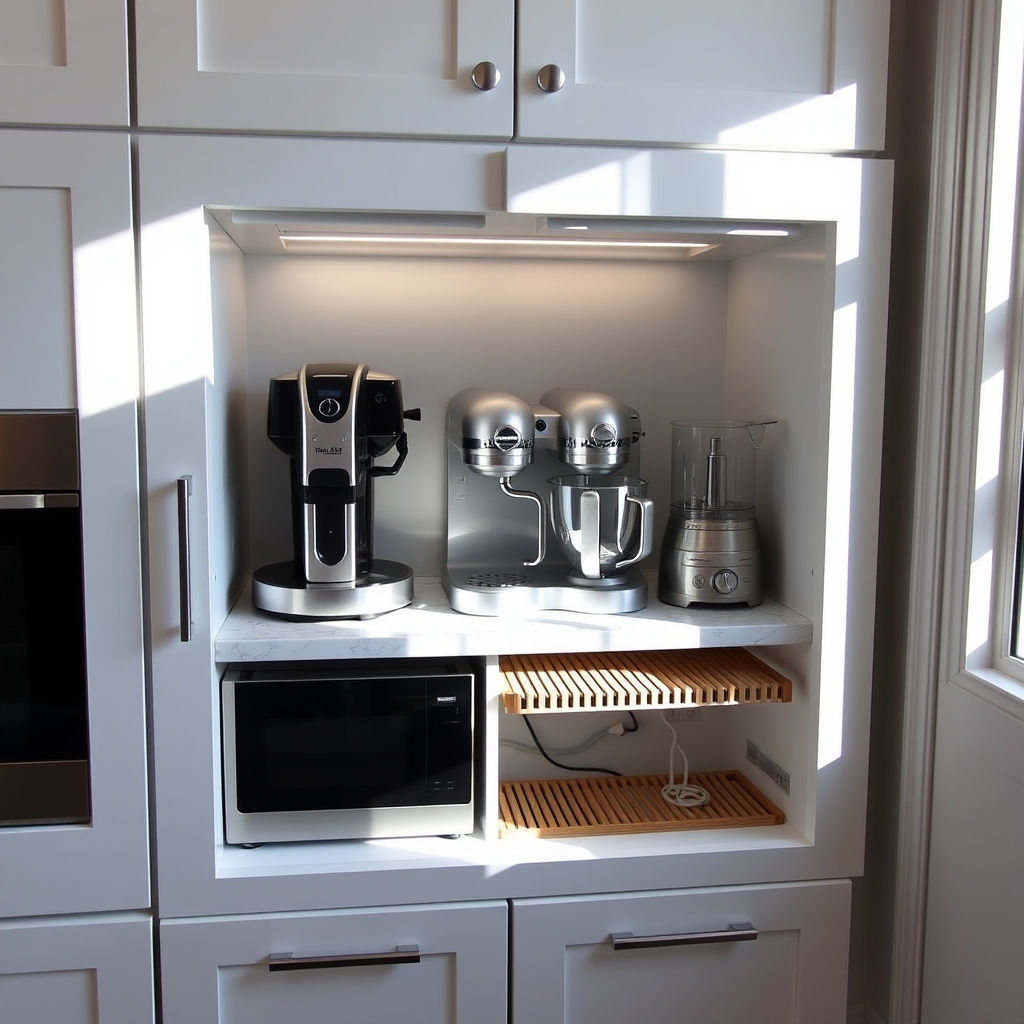
Appliance garages have become an essential feature in modern kitchen design, offering a sleek solution to counter clutter while keeping frequently used appliances easily accessible.
These designated storage spaces, typically built into the counter with roll-up doors or sliding panels, prevent the visual chaos of multiple appliances while maintaining their convenience.
Creating an organized appliance garage transforms your kitchen workflow by establishing a dedicated home for each device while protecting them from dust and grease. A well-planned appliance garage can save precious counter space and create a more streamlined cooking environment, making it easier to maintain a clean, professional-looking kitchen.
Required Items:
- Measuring tape
- Shelf liner
- Power strip or outlet system
- Cable management solutions
- Labels or label maker
- Cleaning supplies
- Storage bins or dividers
- Door hardware (if installing)
- Shelf risers (optional)
- LED strip lighting (optional)
Begin by thoroughly cleaning the appliance garage space and installing a non-slip shelf liner to protect both the surface and your appliances.
Install a power strip or electrical system that can accommodate multiple devices while keeping cords organized and easily accessible. Position frequently used appliances toward the front, with less-used items stored toward the back.
Consider the height clearance needed for each appliance when in use, and install any necessary shelf risers to maximize vertical space.
Group similar items together based on function – coffee-making equipment in one section, food prep tools in another. Use cord management solutions to keep power cables neat and prevent tangling.
If your appliance garage has multiple compartments, designate specific zones for different categories of appliances to maintain organization long-term.
For optimal functionality, incorporate motion-sensor lighting to illuminate the space when accessing appliances, and consider installing pull-out shelves or lazy Susans for corner units.
Keep instruction manuals in a nearby drawer, and establish a regular cleaning schedule to prevent dust accumulation.
Remember to leave enough clearance around heat-producing appliances and ensure proper ventilation to prevent any safety hazards.
Multi-Tiered Corner Organization Systems
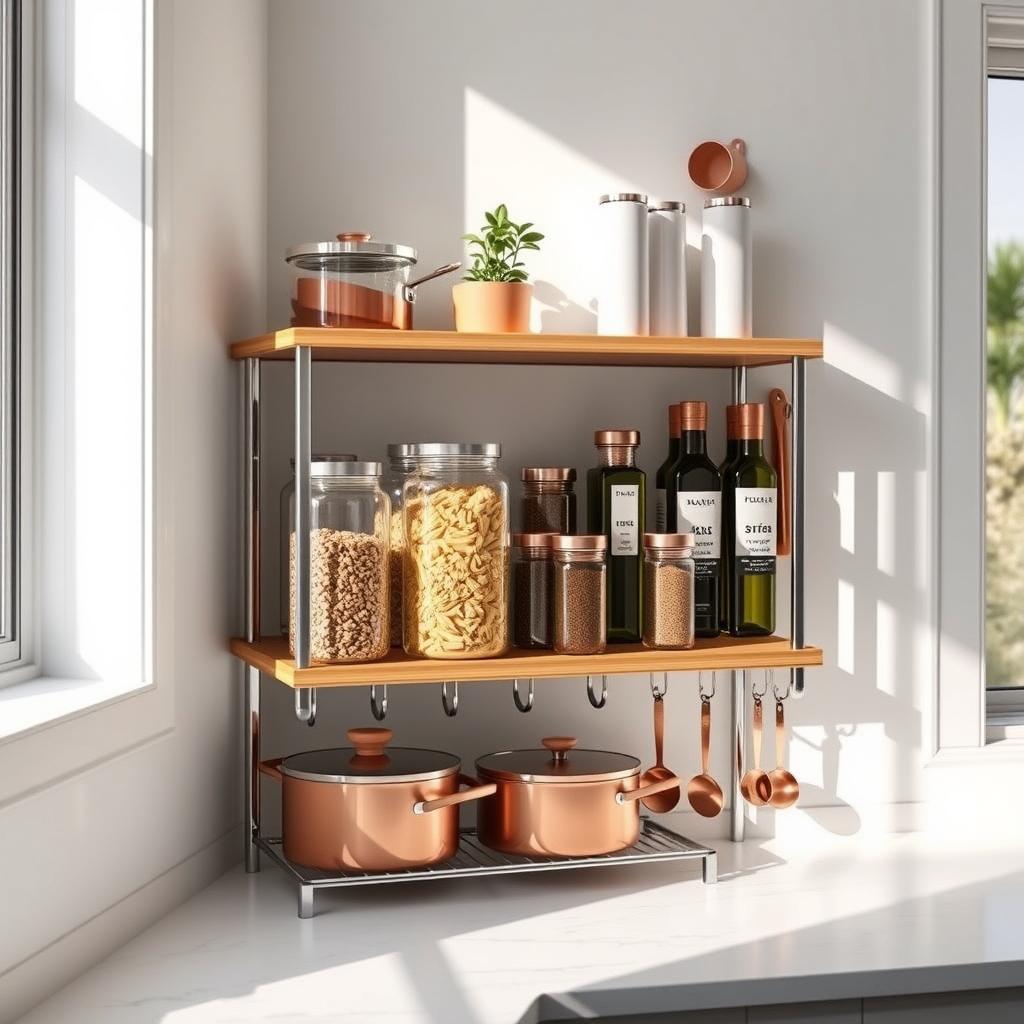
Corner spaces in kitchens often become cluttered catchalls or wasted space due to their awkward angles and hard-to-reach depths. A well-organized corner system can transform these challenging areas into highly functional storage zones that maximize every inch of counter space while keeping frequently used items easily accessible.
Multi-tiered corner organizers offer a practical solution by utilizing vertical space and creating designated zones for different categories of items. This systematic approach not only increases storage capacity but also improves workflow by keeping essential items visible and within reach, ultimately making food preparation and cooking more efficient.
Required Items:
- Multi-tiered corner shelf unit
- Non-slip shelf liners
- Clear storage containers
- Label maker
- Measuring tape
- Cleaning supplies
- Small bins or baskets
- Drawer organizers (optional)
- Lazy Susan (optional)
- Under-shelf hooks
Start by thoroughly cleaning the corner space and measuring both the height and width to ensure proper fit of your tiered system. Position the largest, heaviest items on the bottom tier for stability, typically including appliances or storage containers with dry goods.
The middle tier should house frequently accessed items like cooking oils, spices, or everyday pantry items. Reserve the top tier for lighter, less frequently used items or decorative pieces that enhance the kitchen’s aesthetic while maintaining functionality.
Additional tips for maximizing your corner organization system: Incorporate clear containers to easily identify contents, use shelf risers within tiers to create extra levels, and implement a rotating schedule to clean and reassess the organization system every three months.
Consider adding under-shelf hooks for hanging measuring cups or small tools, and use drawer organizers within larger containers to prevent smaller items from getting lost in the depths of corner spaces.
Decorative Container Collections
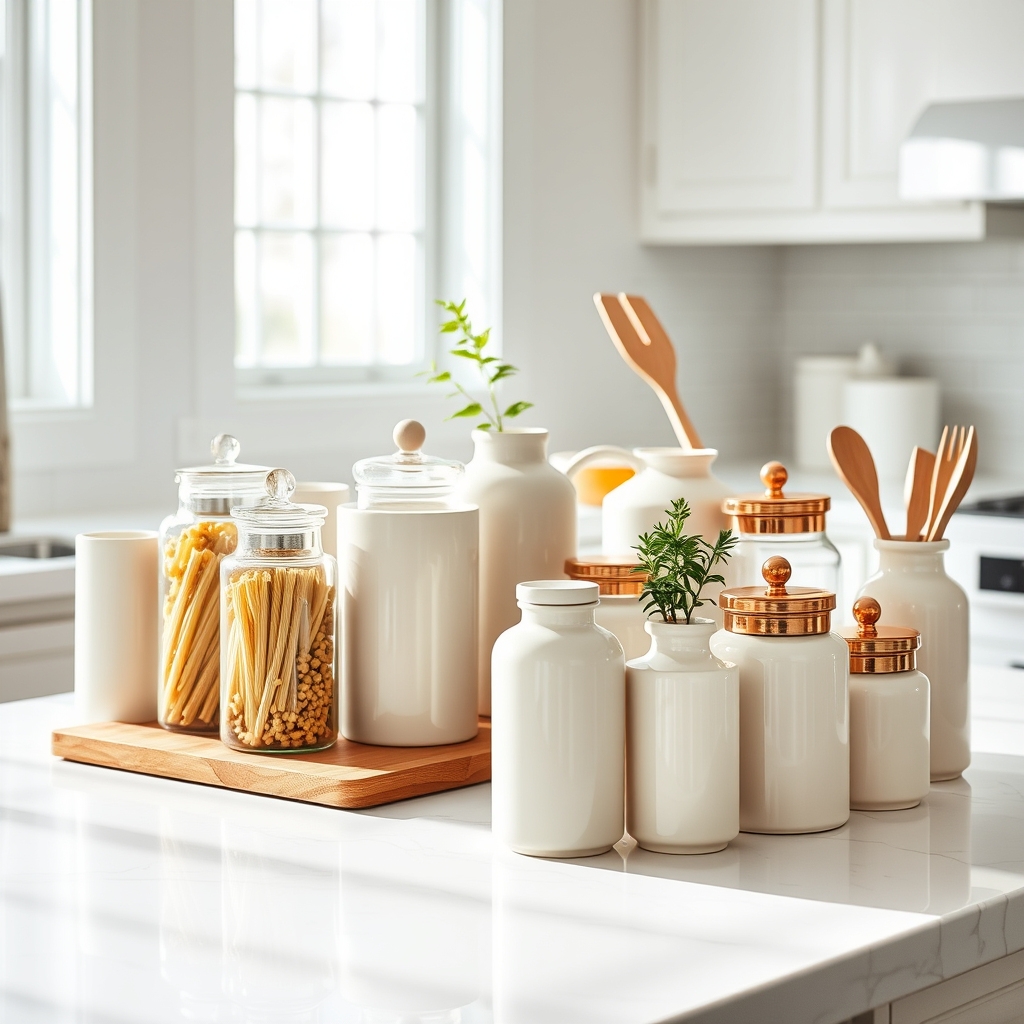
A well-curated collection of decorative containers serves both functional and aesthetic purposes in kitchen counter organization. These vessels not only keep frequently used items within easy reach but also create a cohesive, visually appealing display that enhances the overall kitchen design.
Organizing decorative containers thoughtfully can transform cluttered countertops into an efficient workspace while adding personality to your kitchen. The right combination of containers can house everything from cooking utensils to dry goods, making them accessible while maintaining a polished appearance that complements your kitchen’s style.
Required Items:
- Decorative canisters
- Glass jars
- Ceramic containers
- Matching baskets
- Labels or label maker
- Measuring tape
- Cleaning supplies
- Container risers or stands
- Tray or platform (optional)
- Shelf liner
Start by measuring your designated counter space and clearing it completely. Sort your containers by size, material, and intended purpose. Group similar items together, such as baking supplies, cooking utensils, or coffee station accessories.
Arrange larger containers toward the back of the counter and smaller ones in front, creating visual depth. Position frequently used items within easy reach while maintaining a balanced arrangement.
For maximum impact, choose containers that share common design elements, such as color, material, or style. Transfer dry goods and frequently used items into appropriately sized containers, ensuring airtight seals where necessary. Label each container clearly, especially for items that might look similar, such as different types of flour or sugar.
Additional Tips:
Consider rotating your container collection seasonally to keep the display fresh and interesting. Use risers or elevated platforms to create height variation and visual interest. Clean containers regularly to maintain their appearance, and periodically assess their contents to ensure everything remains fresh and relevant to your current cooking needs.
Keep some open space between groupings to prevent a cluttered appearance and maintain easy access to all items.
Pull-Out Counter Extensions
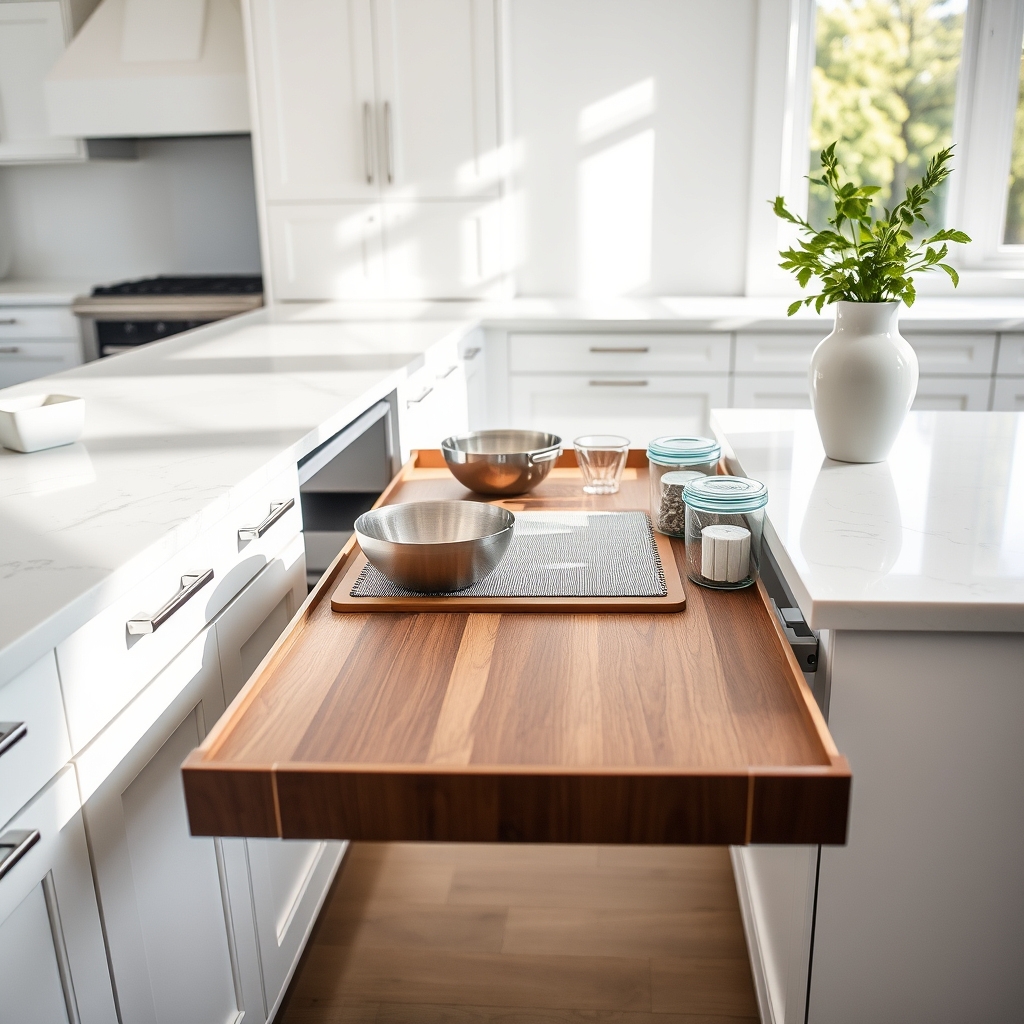
Pull-out counter extensions are revolutionary solutions for kitchens where counter space comes at a premium. These clever additions effectively double your working surface when needed, while staying neatly tucked away when not in use. They serve as an excellent compromise between maintaining a streamlined kitchen aesthetic and having ample space for food preparation, baking, or handling large cooking projects.
Organizing these extensions properly ensures they remain functional, accessible, and contribute to your kitchen’s workflow rather than becoming cluttered catch-all spaces. A well-organized pull-out counter extension can transform your kitchen’s functionality, providing designated areas for specific tasks while maintaining the flexibility to hide away when space is needed elsewhere.
Required Items:
- Non-slip drawer liner
- Drawer dividers or organizers
- Label maker
- Cleaning supplies
- Storage containers
- Mounting hardware
- Counter-height stools (optional)
- Task lighting (optional)
The organization process starts with thoroughly cleaning and preparing the pull-out surface. Install non-slip liner material to prevent items from sliding when the extension is pulled out or pushed in. Create designated zones on the extension based on your most common uses – perhaps a baking station, meal prep area, or small appliance space.
If the extension includes storage underneath, utilize drawer organizers to keep tools and accessories neatly arranged and easily accessible. Consider the weight capacity of your pull-out extension and distribute items accordingly. Heavier items should be placed closer to the back where the extension has the most support.
Install task lighting underneath upper cabinets if the extension will be used frequently for detailed work. Ensure all items stored on or in the extension can be easily accessed without removing multiple things first.
Additional Tips: Regularly inspect the extension’s hardware and mechanisms to ensure smooth operation and prevent potential issues. Create a maintenance schedule for cleaning and reorganizing the space every few months.
Consider using clear containers for stored items to maintain visibility, and always keep frequently used items toward the front for easy access. When not in use, ensure the extension is completely clean and dry before storing it away to prevent moisture damage or odors.
Vertical Storage With Magnetic Elements
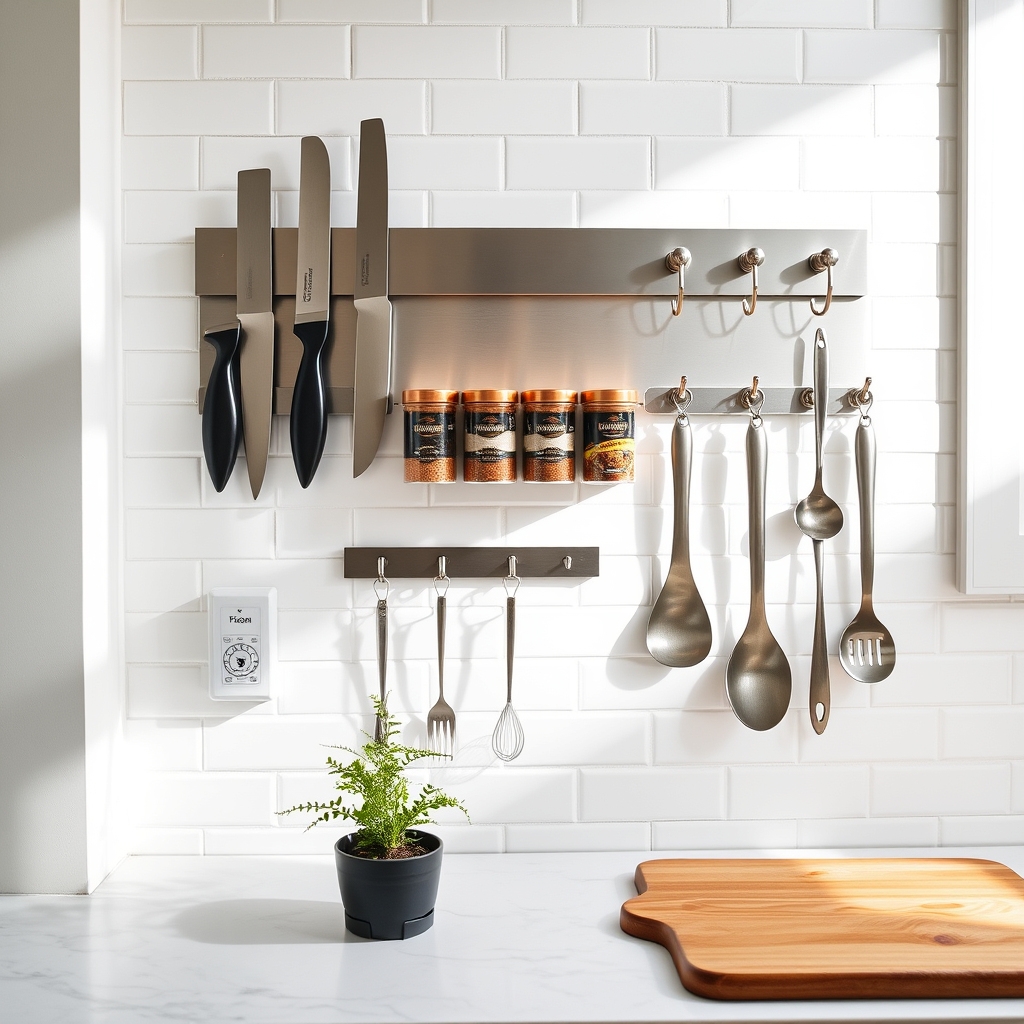
Maximizing vertical space in the kitchen is a game-changer for counter organization, particularly when traditional horizontal space is limited. Magnetic storage solutions offer a versatile and modern approach to keeping frequently used items accessible while maintaining a clutter-free workspace. This system proves especially valuable in compact kitchens where every inch of counter space counts.
The magnetic organization method transforms unused vertical surfaces into functional storage areas, creating an efficient workflow by keeping essential items within arm’s reach. Whether it’s knife storage, spice organization, or utensil management, magnetic elements provide a sleek, space-saving solution that combines practicality with contemporary design.
Required Items:
- Magnetic knife strips
- Magnetic spice containers
- Magnetic hooks
- Metal backing plates (if surfaces aren’t magnetic)
- Heavy-duty mounting hardware
- Level
- Drill and screwdriver
- Measuring tape
- Pencil
- Magnetic utensil holders
- Command strips (optional)
Installation and organization begins with identifying suitable vertical surfaces near your primary work areas. Mount magnetic knife strips at eye level, ensuring they’re securely attached to wall studs or using appropriate anchors.
Position magnetic spice containers on the backsplash or on a mounted metal plate, arranging them by frequency of use. Install additional magnetic strips or hooks at varying heights to accommodate different utensil sizes and shapes.
For areas without magnetic surfaces, attach metal backing plates first, ensuring they’re level and secure. Create zones for different categories of items – cooking utensils near the stove, meal prep tools near the main workspace, and frequently used spices within easy reach.
Consider weight distribution when mounting items, placing heavier objects lower for stability and safety.
To maintain this organization system effectively, regularly assess which items truly need immediate access and rotate seasonal or less-used items to traditional storage. Clean magnetic surfaces weekly to prevent grease buildup, and periodically check all mounting hardware for security.
Consider adding labels to spice containers and implementing a consistent return policy for all items to maintain the system‘s efficiency.

