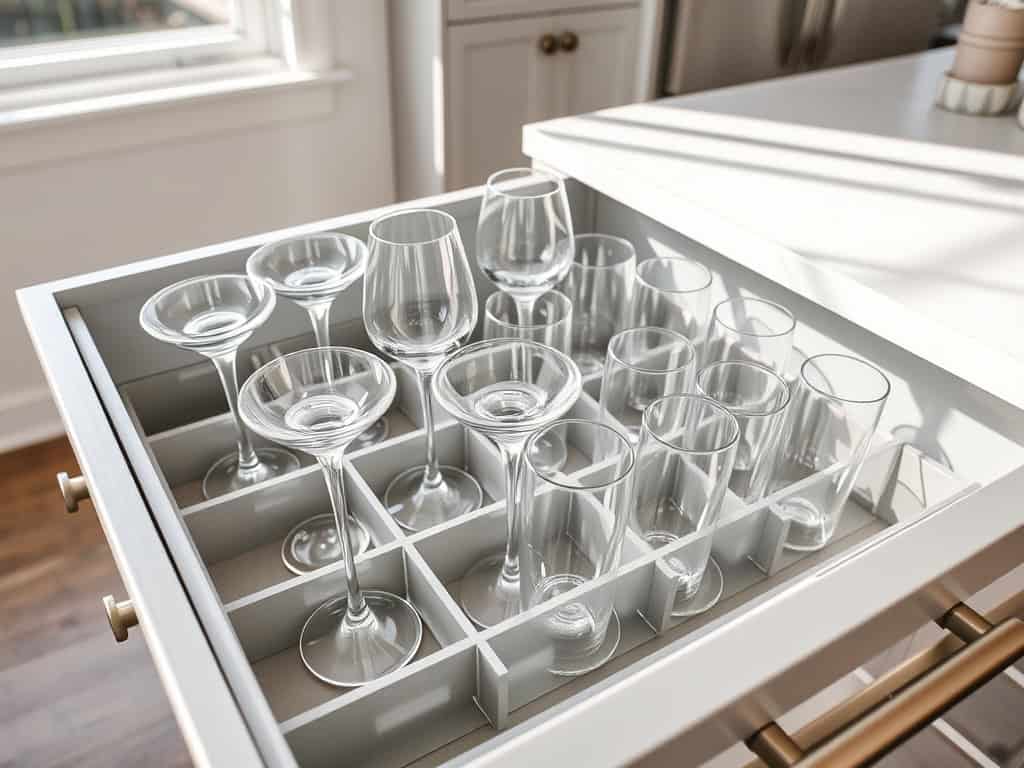
You’ve probably noticed how challenging it can be to keep your kitchen glassware organized – I know I have! From wine glasses teetering precariously on cabinet shelves to mason jars taking up precious counter space, it’s a common frustration. But here’s the good news: with a few clever tricks and some creative thinking, you can transform your glass storage from chaotic to perfectly coordinated. Let me show you some game-changing solutions that’ll make your kitchen feel like a professional organizer designed it.

Vertical Space Maximizers: Under-Shelf Hanging Solutions
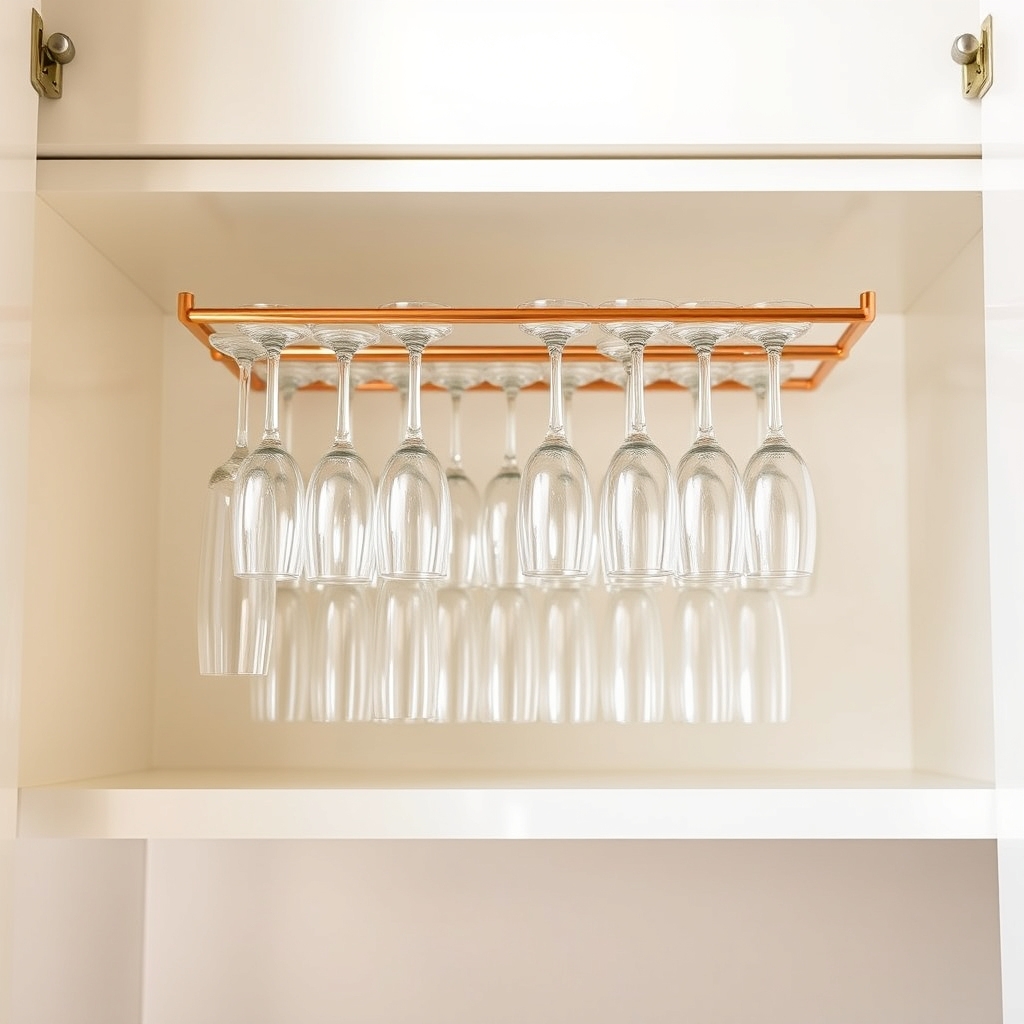
Making the most of vertical space in kitchen cabinets is crucial for maximizing storage capacity, particularly when it comes to glassware. Under-shelf hanging solutions transform unused air space into valuable storage real estate, effectively doubling your cabinet’s functionality without requiring additional square footage.
Proper implementation of hanging storage systems not only creates more space but also protects delicate stemware and makes accessing your glasses more convenient. This organization method prevents overcrowding on shelves and reduces the risk of breakage while keeping frequently used items within easy reach.
Required Items:
- Under-shelf stemware racks
- Measuring tape
- Pencil
- Screwdriver
- Cabinet shelf liner
- Small level
- Drill (if mounting required)
- Mounting screws
- Rubber shelf grips (optional)
Installation and organization begins with measuring the available space under your existing shelves, ensuring adequate clearance for your tallest glasses. Position the hanging rack at least 2 inches from the shelf edge for stability.
For wire racks that slide on, simply attach the rack to the shelf’s front edge, ensuring it’s level and secure. For mounted racks, mark drilling points carefully and install using appropriate screws and anchors if necessary.
Once installed, arrange glasses by type and size, placing frequently used items toward the front for easy access. Maintain at least a finger’s width of space between each glass to prevent clinking and potential breakage.
Consider adding a shelf liner above to prevent sliding and protect both the shelf and glassware. For optimal longevity and safety, periodically check the security of all mounting hardware and clean both the rack and surrounding areas regularly.
Install rubber grips on rack prongs to prevent slipping, and consider placing stemware at a slight angle to maximize space utilization. In earthquake-prone areas, additional securing measures such as retention bars or deeper hooks may be necessary.
Smart Stacking Techniques for Glassware Safety
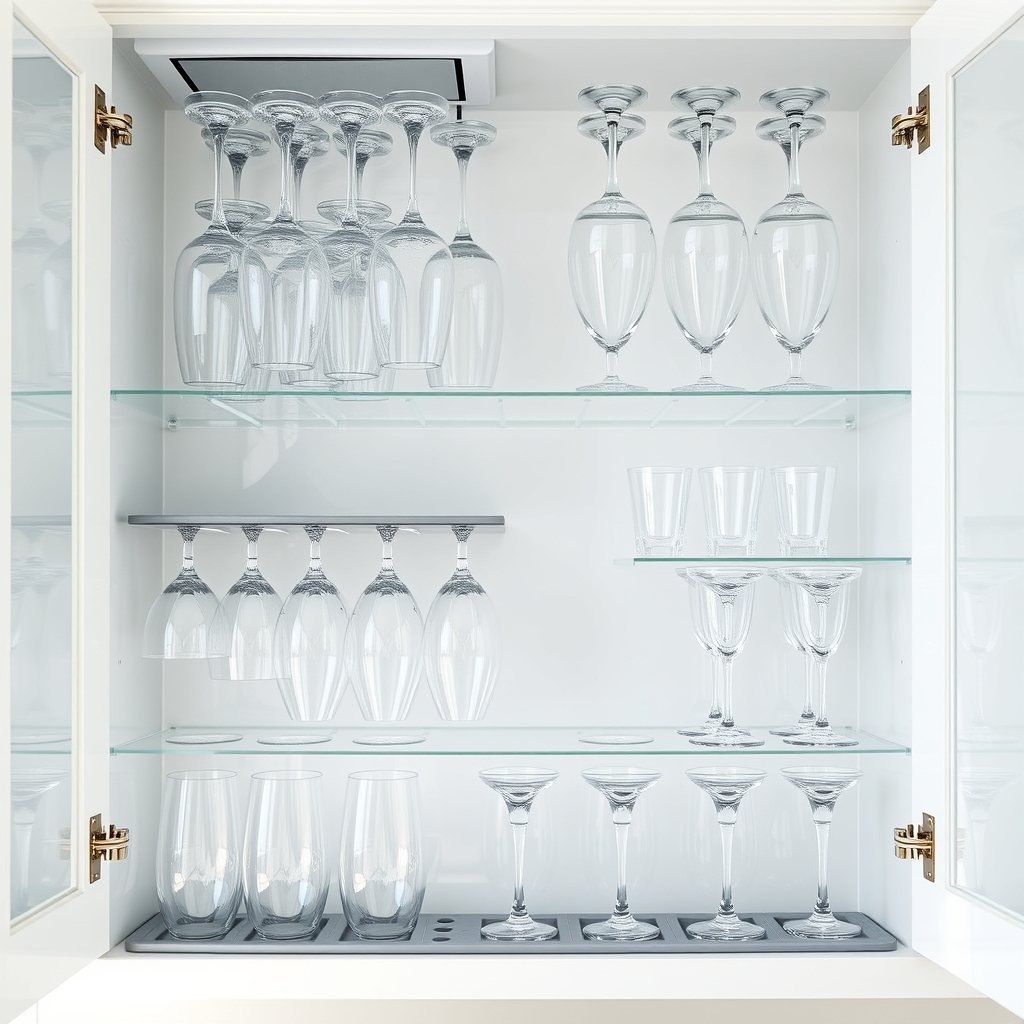
Proper glassware organization is crucial for both the longevity of your items and kitchen safety. Poorly stacked glasses can lead to chips, cracks, and breakage, potentially causing injuries and expensive replacements.
Additionally, an organized glass storage system saves valuable cabinet space and makes it easier to locate specific items when needed. Strategic glass stacking not only protects your investment in quality glassware but also streamlines your kitchen workflow.
When glasses are properly organized, you spend less time searching for the right item and reduce the risk of accidents during retrieval. This organization system is particularly valuable for households that entertain frequently or have limited storage space.
Required Items:
- Non-slip shelf liner
- Cabinet dividers or separators
- Stackable risers
- Glass identification labels
- Microfiber cleaning cloth
- Storage containers for seasonal items
- Measuring tape
- Cabinet door organizers
- Protective padding materials
To implement safe stacking techniques, start by grouping similar glasses by type, size, and frequency of use. Place heavier, sturdier glasses on lower shelves and lighter, delicate items on upper levels.
Install non-slip liner on each shelf surface to prevent sliding. When stacking, never pile more than two glasses high, and ensure the rim of each glass rests on the base of the one above it, never rim-to-rim. Create designated zones using cabinet dividers, maintaining at least a finger-width space between each glass cluster.
For stemware, consider installing under-cabinet hanging racks or using stepped risers to maximize vertical space while preventing contact between items. Store seasonal or special occasion glasses in protective containers on higher shelves or in separate storage areas.
Always position glasses with their openings facing downward to prevent dust accumulation and maintain cleanliness.
Additional Tips: Regularly inspect your glassware arrangement for stability and adjust as needed. Clean shelf liners monthly to maintain grip effectiveness.
Consider implementing a rotation system for frequently used items to prevent wear patterns in specific spots. Label shelf edges to maintain organization when other household members help with kitchen tasks, and keep a small step stool nearby for safely accessing higher shelves.
DIY Cabinet Dividers and Shelf Risers
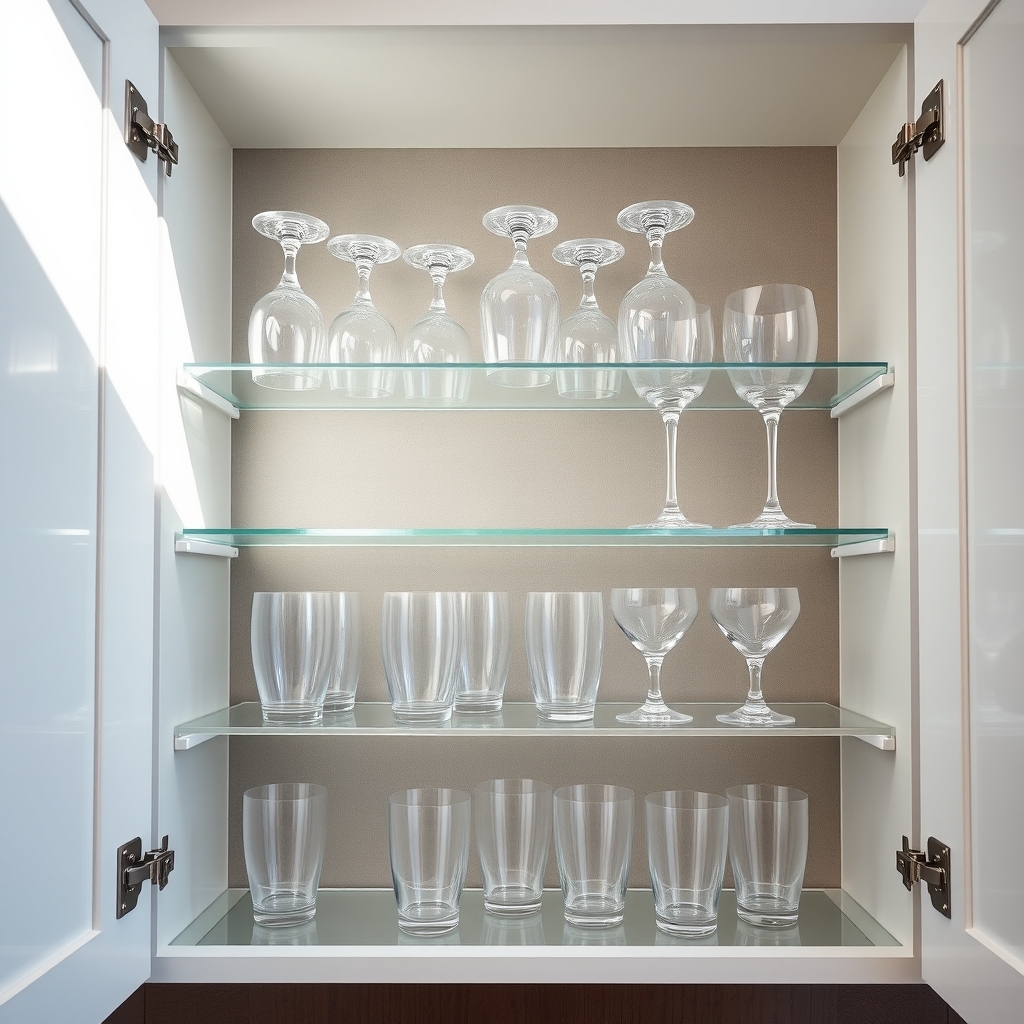
Organizing glassware in kitchen cabinets can be a constant challenge, with different sizes and shapes competing for space and creating potential safety hazards. Proper organization not only prevents breakage but also maximizes storage capacity while making items easily accessible.
DIY cabinet dividers and shelf risers offer cost-effective solutions to transform cluttered cabinets into efficient storage spaces. These customizable options allow you to work with your existing cabinet dimensions and accommodate your specific glassware collection, creating a system that works perfectly for your needs.
Required Materials:
- Plywood or acrylic sheets
- Measuring tape
- Pencil
- Saw
- Sandpaper
- Wood glue
- Non-slip shelf liner
- Screws (optional)
- Power drill (optional)
- Level
- Safety glasses
- Work gloves
Start by measuring your cabinet’s interior dimensions, including depth, width, and height between shelves. Cut your chosen material to create vertical dividers that fit snugly between existing shelves, leaving enough space between divisions to accommodate your largest glasses.
For shelf risers, cut platforms in various heights to create stepped levels, ensuring each platform is slightly smaller than your cabinet depth to allow easy access.
Install the dividers by securing them with wood glue at the bottom and top where they meet the shelves. For extra stability, you can add small screws if desired. Place non-slip liner on each shelf and riser to prevent sliding.
Position your tallest glasses at the back of the cabinet and shorter ones in front, using the risers to create a stadium-seating effect that makes all items visible. For optimal results, group similar glasses together and leave about one inch of space between each glass.
Consider adding labels to the front of each section to maintain organization long-term. Test the stability of your dividers and risers before fully loading them with glassware, and periodically check for any signs of wear or needed adjustments to maintain a safe storage system.
Mason Jar Storage Hacks and Creative Displays
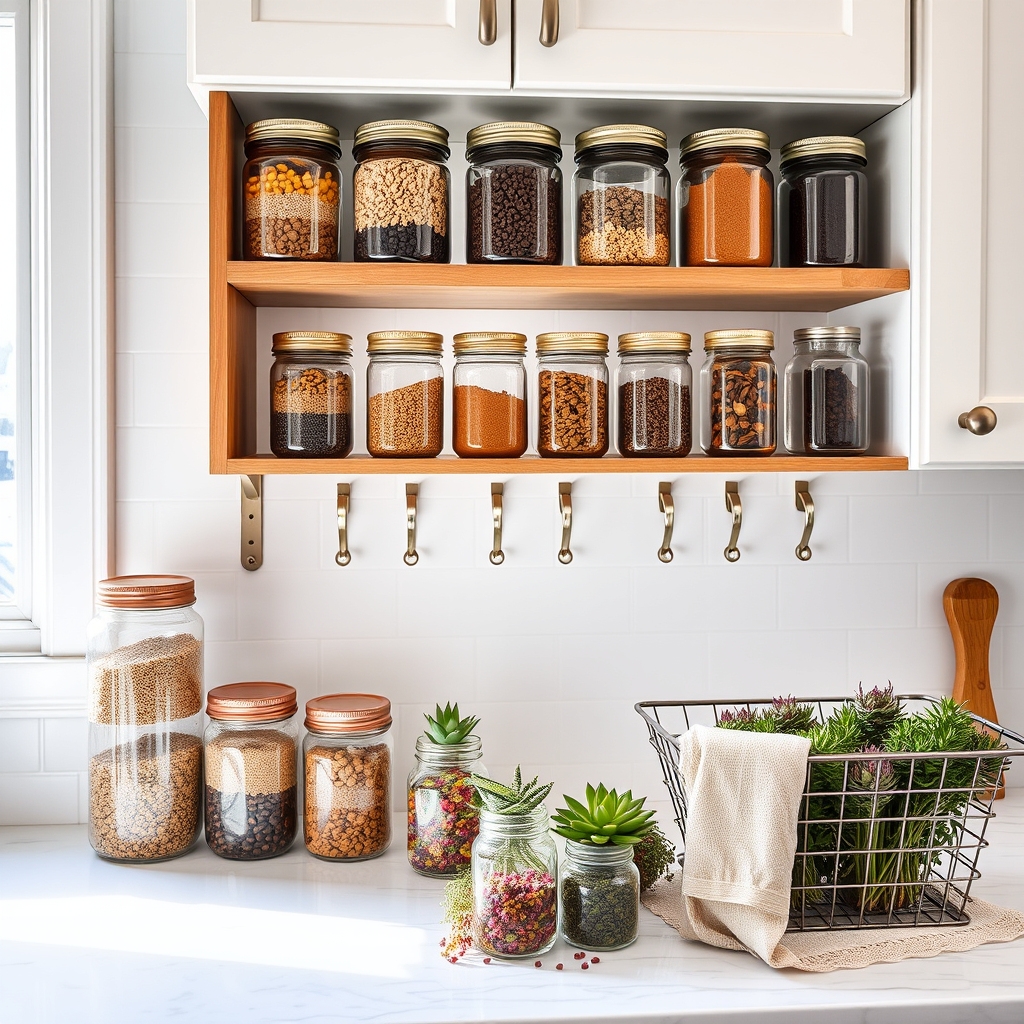
Mason jars have become an indispensable part of modern kitchen organization, offering versatile storage solutions while adding a touch of rustic charm to any space. Their transparent nature allows for easy identification of contents, while their sturdy construction ensures long-lasting durability for both dry goods and preserved items.
Proper mason jar organization not only maximizes storage efficiency but also transforms these functional containers into attractive display pieces. When thoughtfully arranged, mason jars can create an aesthetic that enhances your kitchen’s appeal while maintaining practical accessibility for everyday use.
Required Items:
- Mason jars (various sizes)
- Labels or label maker
- Shelf risers or tiered organizers
- Under-cabinet mounting brackets
- Clear adhesive hooks
- Chalkboard paint (optional)
- Wire baskets or crates
- Measuring cups/scoops
- Airtight lids
- Cleaning supplies
Start by thoroughly washing and drying all mason jars, then sort them by size and intended use. Group jars designated for pantry storage separately from those intended for decoration or craft supplies.
Create zones in your kitchen based on frequency of use – everyday items should be easily accessible at counter level, while seasonal or occasional-use items can be stored higher up.
For pantry organization, install shelf risers to maximize vertical space and create clear visibility of jar contents. Label each jar clearly with contents and expiration dates. Consider implementing a color-coding system using different lid colors or label styles for various categories (grains, spices, baking supplies).
For decorative displays, arrange jars in ascending height order and group similar items together for visual impact.
When mounting jars under cabinets or on walls, ensure brackets are securely installed and weight-tested. Create functional stations by grouping related items together – for example, a coffee station with jars containing beans, filters, and sugar, or a baking station with common ingredients and measuring tools.
Additional Tips: Rotate stored items regularly to prevent sticking or clumping, and periodically check seals on storage jars. Keep a few empty spare jars for flexibility in storage needs, and consider using moisture-absorbing packets in jars storing hygroscopic ingredients.
Photograph your organized displays to maintain consistent arrangements after cleaning or reorganizing.
Wine Glass Storage Solutions Beyond the Rack
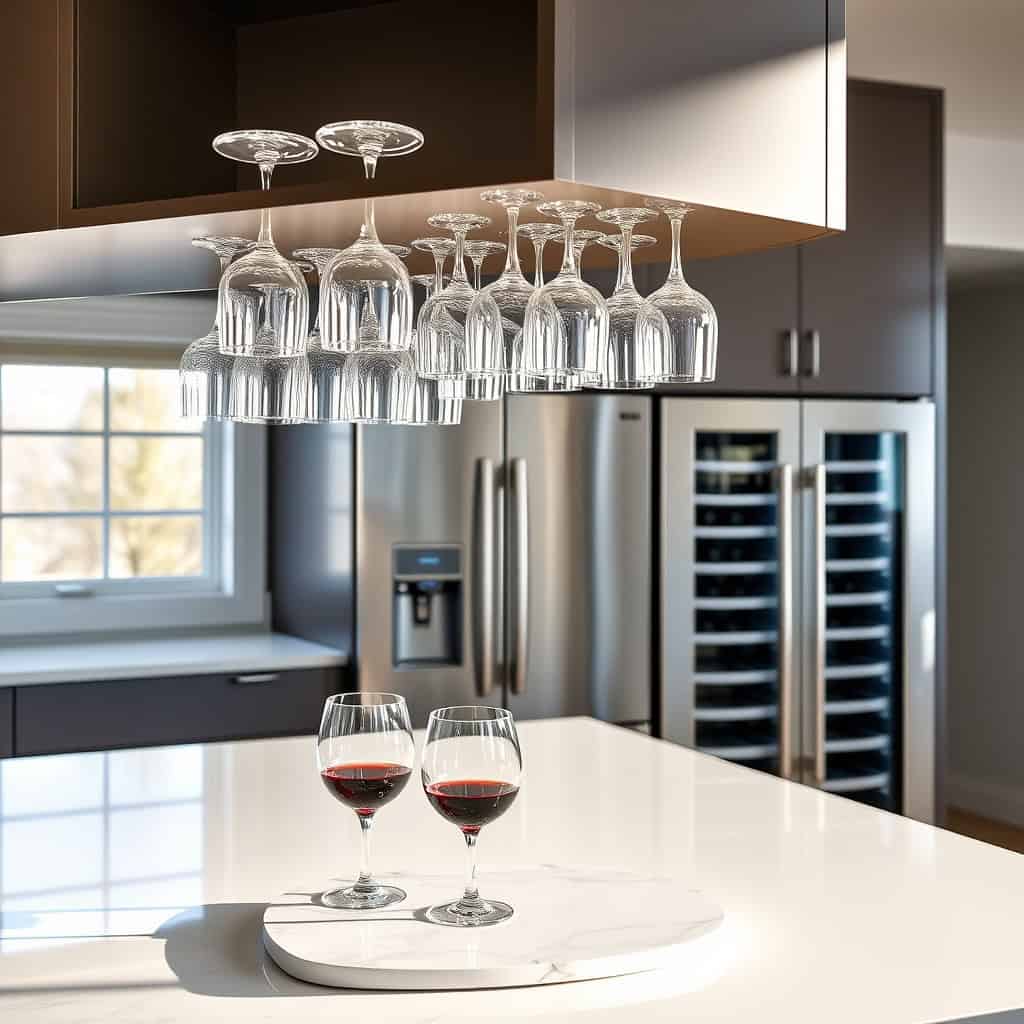
Proper wine glass storage is essential not only for protecting delicate stemware but also for maximizing kitchen space and maintaining an elegant aesthetic. Well-organized wine glasses remain dust-free, are less likely to break, and are readily accessible when entertaining guests or enjoying a casual evening at home.
Traditional wine racks don’t always suit every kitchen’s layout or storage capacity, and they may not provide adequate protection for valuable crystal stemware. Alternative storage solutions can offer better space utilization while keeping glasses safe and displaying them attractively.
Required Items:
- Under-cabinet mounting hardware
- Adhesive felt pads
- Glass storage boxes
- Hanging stemware holders
- Cabinet shelf inserts
- Drawer dividers
- Microfiber cleaning cloths
- Stemware storage bags
- Level
- Screwdriver
- Measuring tape
Begin by assessing your available space and measuring the dimensions of your storage area. Install under-cabinet stemware racks by marking mounting points, ensuring they’re level, and securing them firmly.
For cabinet storage, add shelf inserts designed specifically for stemware, positioning them at a height that accommodates your tallest glasses. When using drawer storage, install custom dividers and line them with felt padding to prevent scratching and movement.
For seasonal or special occasion glasses, invest in protective storage boxes with individual compartments. Store these boxes in upper cabinets or other less-accessed areas. Consider hanging racks mounted to walls or ceiling beams in kitchen spaces with adequate clearance, ensuring they’re installed into sturdy support structures.
Additional Tips: Always store wine glasses upright to prevent rim damage and maintain stability. Clean glasses thoroughly before storage and handle them by the stem to avoid fingerprints.
Leave adequate space between glasses to prevent clinking, and consider rotating your collection periodically to ensure even use of all pieces. For humid environments, include silica gel packets in storage areas to prevent moisture accumulation.
Clear Container Systems for Small Spaces
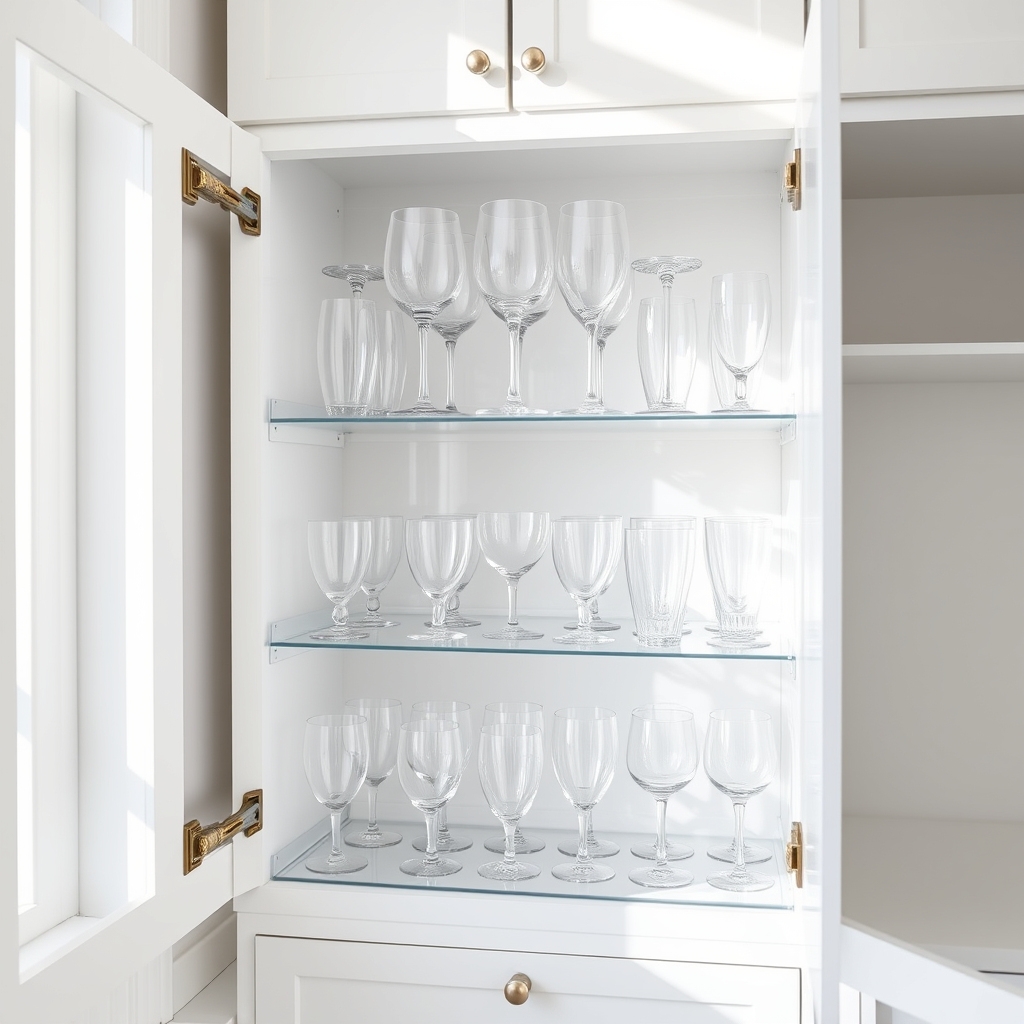
Organizing glassware in small kitchen spaces presents a unique challenge that requires thoughtful planning and efficient use of available space. Proper glass storage not only protects valuable items but also makes them easily accessible while maximizing limited cabinet real estate.
Clear container systems offer an ideal solution for small spaces, as they allow immediate visibility of contents while providing safe, stackable storage options. This systematic approach eliminates the frustration of searching through cluttered cabinets and reduces the risk of breakage.
Required Items:
- Clear acrylic containers
- Shelf liner or rubber matting
- Label maker
- Measuring tape
- Cabinet dividers
- Stackable risers
- Glass cleaning cloth
- Container height extenders
- Drawer organizers
- Non-slip grip pads
Start by measuring your cabinet spaces and removing all glassware for sorting. Group similar items together based on frequency of use and function. Select appropriately sized clear containers that fit your cabinet dimensions, ensuring they can accommodate your tallest glasses while allowing for easy access.
Line each container with non-slip matting to prevent sliding and protect against chips. Arrange glasses in the containers by size and type, placing frequently used items at the front. Utilize vertical space by implementing stackable risers within larger containers, creating multiple levels for different sized glasses.
For stemware, consider specialized containers with designated compartments to keep stems secure and prevent contact between glasses. Position the filled containers in your cabinets with the most commonly used items at eye level and within easy reach. Label each container clearly to maintain organization and make it simple for everyone in the household to return items to their proper place.
Additional tip: Conduct a monthly review of your glass organization system, checking for any needed adjustments or cleaning of containers. Remove any rarely used items to maintain efficient use of space, and consider rotating seasonal glassware into storage when not needed. This regular maintenance ensures your system continues to function optimally in your small space.
Open Shelving Organization Strategies
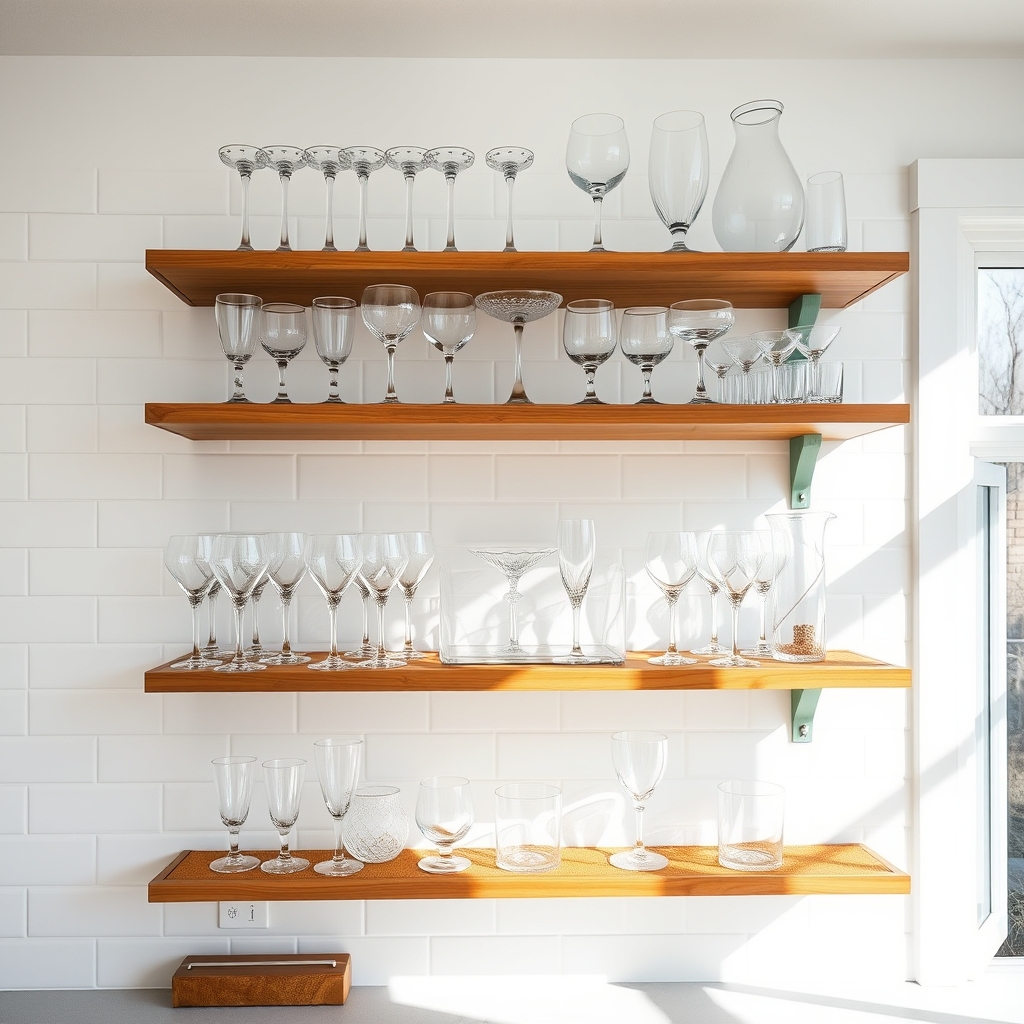
Open shelving has become increasingly popular in modern kitchen design, offering both aesthetic appeal and functional storage solutions. When properly organized, these exposed shelves can showcase your glassware while maintaining a clutter-free, easily accessible arrangement that enhances your kitchen’s overall functionality.
Thoughtful organization of glass items on open shelves not only creates an attractive display but also ensures safer handling and reduced risk of breakage. Strategic placement based on frequency of use and careful grouping by type can transform your open shelves into an efficient system that makes daily kitchen activities more streamlined.
Required Items:
- Glass-safe shelf liners
- Height-adjustable shelf brackets
- Shelf dividers
- Glass risers or platforms
- Microfiber cleaning cloths
- Glass cleaner
- Label maker
- Measuring tape
- Safety step stool
Start by removing all items from the shelves and thoroughly cleaning both the surfaces and glassware. Group similar items together, such as drinking glasses, wine glasses, and serving pieces. Position frequently used items at eye level and within easy reach. Arrange glasses by height, with taller items toward the back of the shelves and shorter pieces in front for better visibility and access.
Install shelf liners to prevent sliding and protect both the shelves and glassware. Create designated zones for different types of glassware, using shelf dividers to maintain separate sections. Implement a logical system, such as keeping everyday drinking glasses closest to the dishwasher or sink, and special occasion pieces in a separate area.
Utilize glass risers to maximize vertical space and create visual interest while maintaining organization.
Additional Tips: Consider the weight distribution across your open shelves and avoid overloading them. Leave some breathing room between items for easy removal and replacement. Regularly dust and clean both the shelves and glassware to maintain their appearance. Evaluate your organization system every few months and adjust as needed based on usage patterns and seasonal entertaining needs.
Drawer Organization for Delicate Glassware
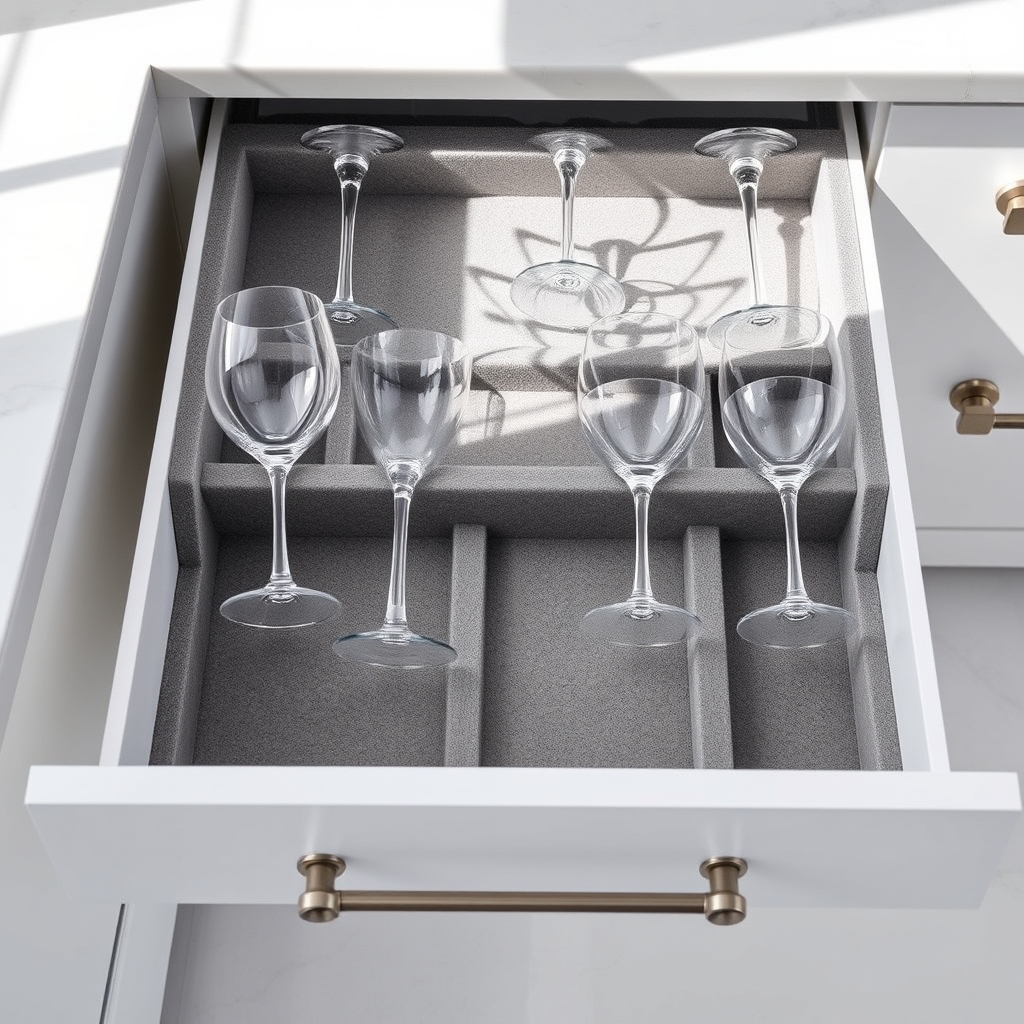
Proper organization of delicate glassware in kitchen drawers is crucial for both protection and accessibility. When expensive crystal, fragile wine glasses, and cherished family heirlooms are stored haphazardly, they become susceptible to chips, cracks, and breakage, potentially resulting in significant losses.
Implementing a systematic approach to drawer organization not only safeguards your valuable glassware but also streamlines your kitchen workflow. Well-organized drawers make it easier to locate specific pieces quickly, reduce the risk of accidents while retrieving items, and maximize available storage space.
Required Items:
- Drawer dividers or adjustable separators
- Non-slip drawer liner
- Foam padding or felt sheets
- Measuring tape
- Scissors
- Glass storage boxes (optional)
- Stemware holders
- Microfiber cleaning cloths
- Labels or markers
Start by emptying the drawer completely and measuring its dimensions. Install a non-slip drawer liner as the base layer to prevent glassware from sliding. Next, position drawer dividers to create designated sections based on glass types and sizes, ensuring each compartment is slightly larger than the items it will hold.
For stemware, install specialized holders or create padded slots using foam dividers cut to size. Layer the compartments with felt sheets or additional padding to provide extra protection against vibration and impact. Arrange glasses by category, keeping frequently used items toward the front and special occasion pieces in the rear. Ensure adequate space between pieces to prevent contact and potential damage.
For optimal long-term protection, clean glasses thoroughly before storage and periodically inspect the organizational system for wear and tear. Consider using glass storage boxes for extremely delicate pieces, and maintain consistent spacing when returning items to their designated spots.
Label sections clearly to ensure family members or guests can easily maintain the organizational system you’ve established.
Repurposed Items as Glass Storage Solutions
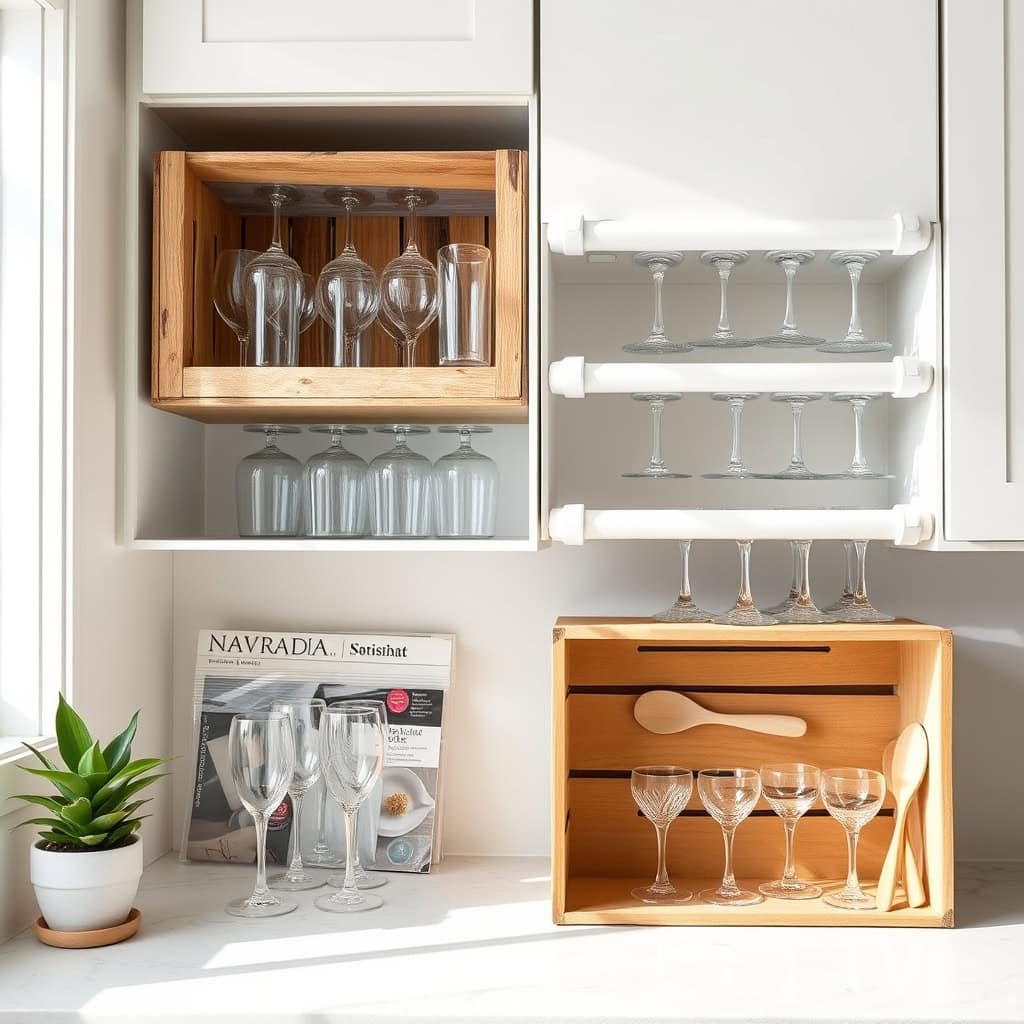
Organizing glassware using repurposed items offers a sustainable and cost-effective solution to kitchen storage challenges. Rather than purchasing expensive organizational systems, everyday items can be transformed into practical storage solutions that protect delicate glassware while maximizing space efficiency.
Creative repurposing not only reduces waste but also allows for customizable storage options that perfectly fit your specific glassware collection and kitchen space. These solutions can adapt to changing needs and often provide better protection than conventional storage methods.
Required Items:
- Wine crates
- Shoe boxes
- Magazine holders
- File organizers
- PVC pipes
- Cardboard dividers
- Velcro strips
- Rubber shelf liner
- Scissors
- Measuring tape
- Cleaning supplies
Begin by assessing your glassware collection and measuring your available cabinet or shelf space. Clean and dry all repurposed items thoroughly before use. For wine crates, sand any rough edges and line the bottom with rubber shelf liner to prevent glass movement.
Convert shoe boxes into stemware storage by cutting X-shaped slots in the lid to secure wine glass stems. Magazine holders can be mounted horizontally under cabinets or secured to walls for storing frequently used glasses.
For taller cabinets, PVC pipes cut to size create perfect cylindrical storage for drinking glasses. Stand them vertically and secure them together with strong adhesive or zip ties.
File organizers can be transformed into convenient divisional storage for different types of glasses, while cardboard dividers can be customized to fit any container size.
To ensure long-term success, regularly inspect repurposed items for wear and tear, replacing them as needed. Label storage sections clearly to maintain organization, and consider implementing a rotation system for frequently used items.
Keep heavier items on lower shelves and protect delicate pieces by adding extra cushioning with bubble wrap or felt between glasses when necessary.
Cabinet Door and Corner Space Optimization
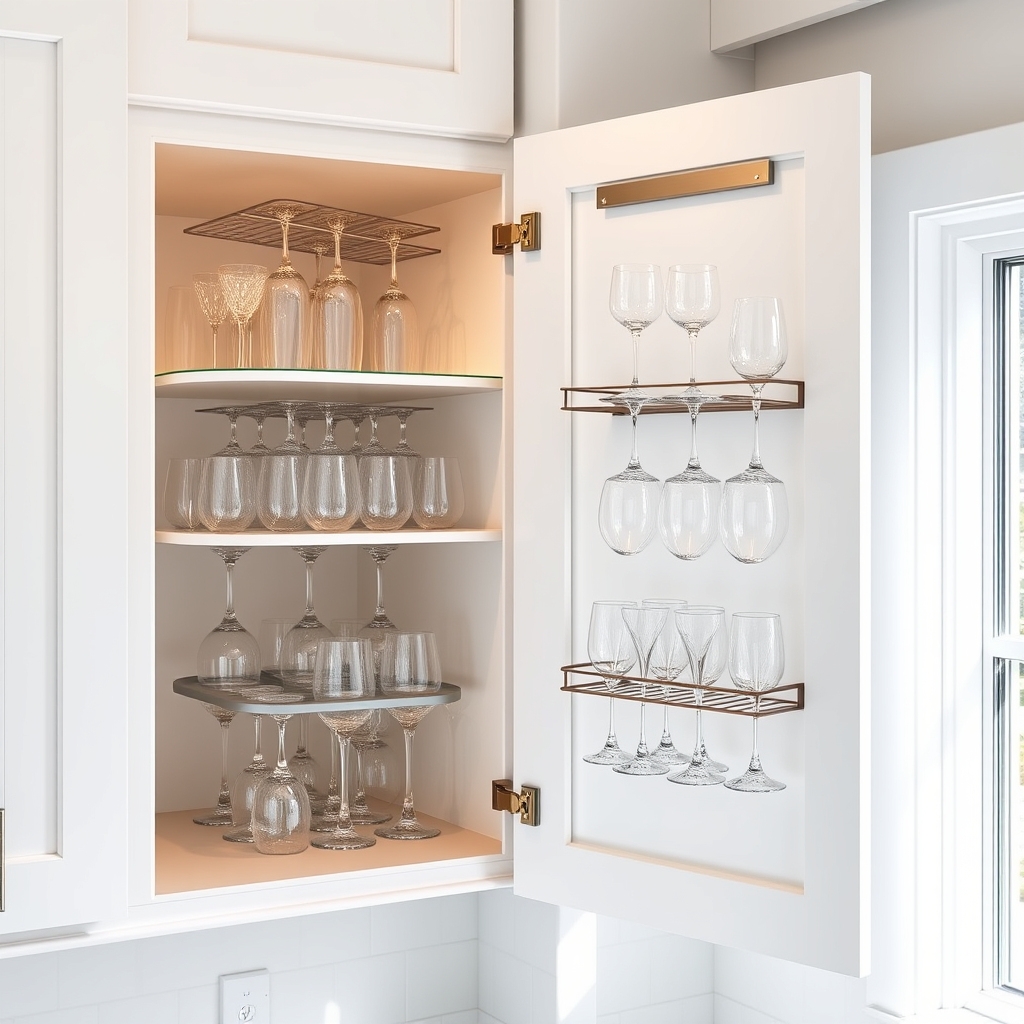
Maximizing cabinet door and corner space is crucial for any functional kitchen, particularly when storing delicate glassware. These often-overlooked areas can provide valuable storage solutions while keeping fragile items easily accessible and protected from damage.
Corner cabinets and door spaces are typically underutilized, leading to wasted space and inefficient storage. By implementing smart organization strategies, these areas can be transformed into prime storage locations for glasses, stemware, and other kitchen items, making your kitchen more functional and reducing clutter on countertops.
Required Items:
- Over-the-door organizers
- Corner shelf inserts
- Adhesive hooks
- Cabinet door mounting brackets
- Measuring tape
- Screwdriver
- Level
- Non-slip shelf liner
- Command strips
- Corner lazy susan
- Door-mounted wine glass racks
Start by measuring both your cabinet doors and corner spaces carefully, noting any hinges or obstacles that might interfere with organization solutions. Install door-mounted racks on the interior of cabinet doors, ensuring they don’t interfere with shelving when doors close.
For corner spaces, begin at the bottom by installing a lazy susan or corner shelf insert, working your way up with additional shelving as needed. For stemware storage, mount wine glass racks under cabinet shelves or on door-mounted organizers, ensuring glasses hang securely without touching each other.
In deep corner cabinets, utilize tiered corner shelves or pull-out systems that make accessing items in the back easier. Remember to leave adequate space between items to prevent breakage.
Additional Tips: Line all shelves and organizers with non-slip material to prevent sliding and protect glassware. Consider installing LED strip lighting to illuminate dark corners and make items more visible.
Always test door-mounted organizers with a few items first to ensure the hinges can support the weight, and periodically check that all mounting hardware remains secure to prevent accidents.

