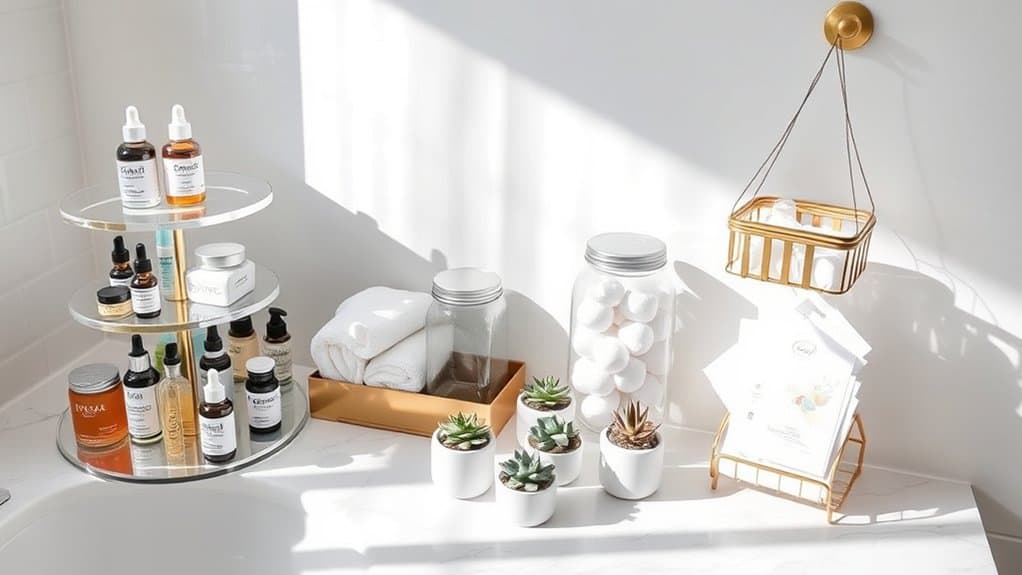
If you’re tired of digging through cluttered drawers to find your favorite serum or moisturizer, you’re not alone! I used to waste precious morning minutes searching for products until I discovered these game-changing organization hacks. From clever storage solutions to smart labeling systems, these seven tricks will transform your bathroom into a skincare sanctuary. Let’s explore how you can cut your morning routine in half while keeping your products fresh and accessible.
Use Clear Acrylic Organizers for Visual Storage
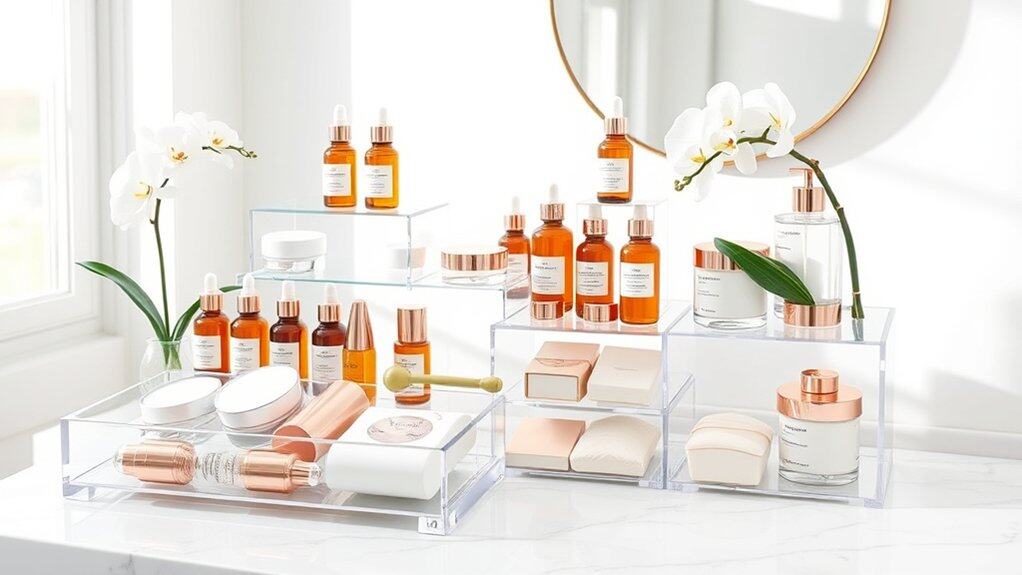
Clear acrylic organizers have revolutionized bathroom storage solutions by combining functionality with aesthetic appeal. These transparent containers not only keep skincare products neatly arranged but also allow for quick identification of items, preventing the frustration of searching through opaque containers or drawers during daily routines.
The visibility offered by acrylic organizers helps maintain organization long-term, as you can easily spot when products are running low or identify items that haven’t been used in a while. This visual accountability also prevents product overlap and unnecessary purchases, ultimately saving money and counter space.
Required Items:
- Clear acrylic drawer organizers
- Clear acrylic shelf risers
- Stackable acrylic containers
- Drawer dividers
- Measuring tape
- Label maker (optional)
- Cleaning cloth
- Glass cleaner
Start by measuring your bathroom counter space and drawer dimensions to determine the appropriate size of acrylic organizers needed. Sort skincare products by category (cleansers, toners, serums, moisturizers) and frequency of use. Place daily-use items in easily accessible spots using shorter containers at the front of counters or top drawers.
Arrange taller items like bottles and sprays in graduated-height organizers to maintain visibility of all products. For drawer organization, use interlocking acrylic dividers to create customized compartments. Position frequently used items toward the front of drawers, with backup products stored behind.
Consider using stackable containers for items like cotton pads, sheet masks, or small tools, maximizing vertical space while maintaining visibility.
Additional Tips: Clean acrylic organizers weekly with a gentle glass cleaner to maintain clarity and prevent product residue buildup. Rotate products seasonally to ensure all items remain visible and accessible.
Consider adding silicone grip liners to prevent containers from sliding, especially in humid bathroom environments. Review and declutter organized spaces monthly to maintain system efficiency and prevent overcrowding.
Create a Morning vs. Night Routine Station
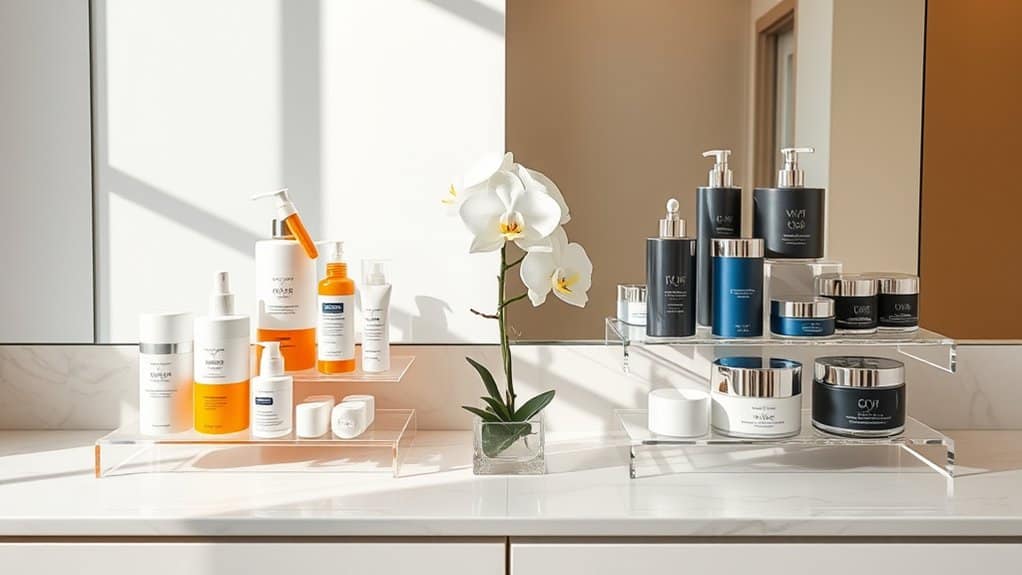
Separating morning and nighttime skincare routines is essential for maintaining an effective skincare regimen. When products are clearly organized by time of use, it eliminates confusion, saves precious minutes during busy schedules, and ensures you’re using the right products at the right time.
Creating designated spaces for AM and PM routines not only streamlines your skincare process but also helps maintain product efficacy. Many active ingredients work better at specific times of day – like vitamin C in the morning for antioxidant protection and retinols at night for renewal – making proper organization crucial for maximizing their benefits.
Required Items:
- Two separate organizers or caddies
- Clear labels or label maker
- Drawer dividers or small containers
- Acrylic risers
- Storage bins
- Shelf liner
- Small baskets
- Counter-top tray
- Cleaning supplies
Start by thoroughly cleaning your bathroom counter or cabinet space and designating two distinct areas – one for morning products and one for evening products. Sort all skincare items by time of use, removing expired products and items you no longer use.
Place morning essentials (cleanser, toner, vitamin C serum, moisturizer, sunscreen) in one organizer, positioning frequently used items at the front. Arrange evening products (makeup remover, night cream, treatments, oils) in the second organizer, using risers or tiered shelving to maintain visibility.
For optimal organization, arrange products in order of use from left to right or front to back. Use clear containers or labels to identify each product’s purpose and maintain separate sections for backup products or seasonal items. Consider implementing a rotating system for products that should be used within specific timeframes after opening.
To maintain your organized routine stations, implement a monthly audit system to check expiration dates and assess product effectiveness. Store temperature-sensitive items away from direct sunlight or heat sources, and keep a cleaning cloth nearby to wipe containers and surfaces regularly.
Consider taking photos of your organized setup to help maintain the system and make restocking easier when products run low.
Maximize Vertical Space With Wall-Mounted Shelves
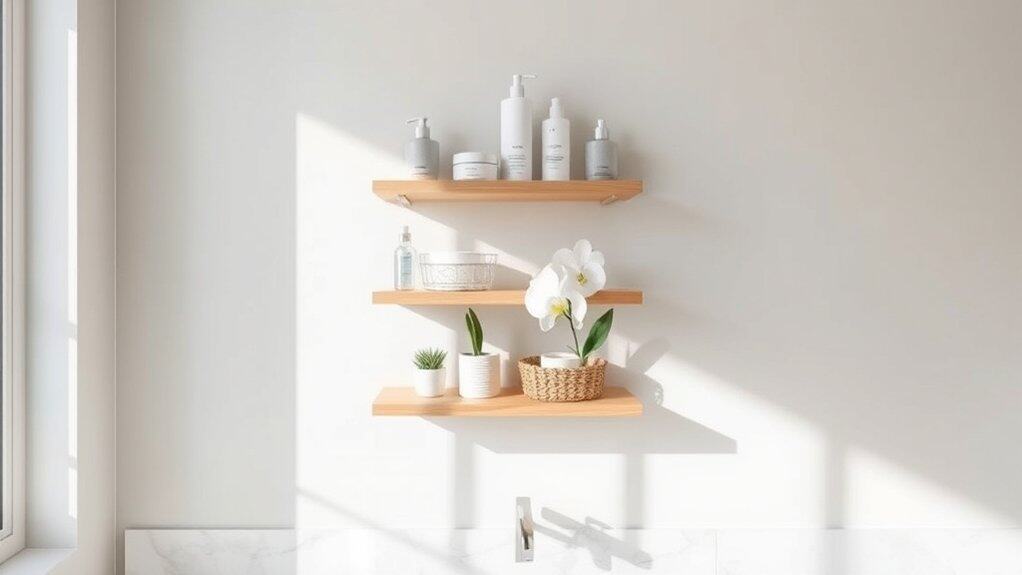
Making the most of vertical wall space in your bathroom is crucial for creating an organized and clutter-free skincare routine. Most bathrooms have limited counter space, making it challenging to keep essential products readily accessible while maintaining a tidy appearance.
Wall-mounted shelves transform unused vertical space into valuable storage real estate, allowing you to display and organize skincare products in a way that’s both functional and aesthetically pleasing. This organization method not only keeps products within easy reach but also protects them from bathroom moisture by elevating them off counter surfaces.
Required Items:
- Wall-mounted shelves (floating or bracket-style)
- Wall anchors and screws
- Power drill
- Level
- Measuring tape
- Pencil
- Clear acrylic organizers
- Small baskets or containers
- Labels
- Cleaning supplies
Start by measuring your wall space and determining the ideal height for your shelves based on your reach and product accessibility needs. Install the first shelf at eye level, followed by additional shelves spaced 12-15 inches apart. Use a level to ensure proper alignment and wall anchors to support the weight of your products.
Once mounted, group skincare items by category (cleansers, toners, treatments, moisturizers) and arrange them on the shelves accordingly. For optimal organization, implement a tiered system where frequently used products occupy the most accessible shelves, while occasional-use items can be stored on higher shelves.
Utilize clear acrylic organizers or small baskets to further compartmentalize products within each shelf, creating designated spaces for different skincare categories.
Additional Tips: Consider installing adjustable shelves to accommodate products of varying heights, and use shelf liners to protect against moisture. Implement a rotation system where newer products are placed at the back of each shelf section, ensuring older products are used first. Clean shelves regularly and assess product arrangement monthly to maintain organization and prevent expired products from accumulating.
Sort Products by Expiration Date
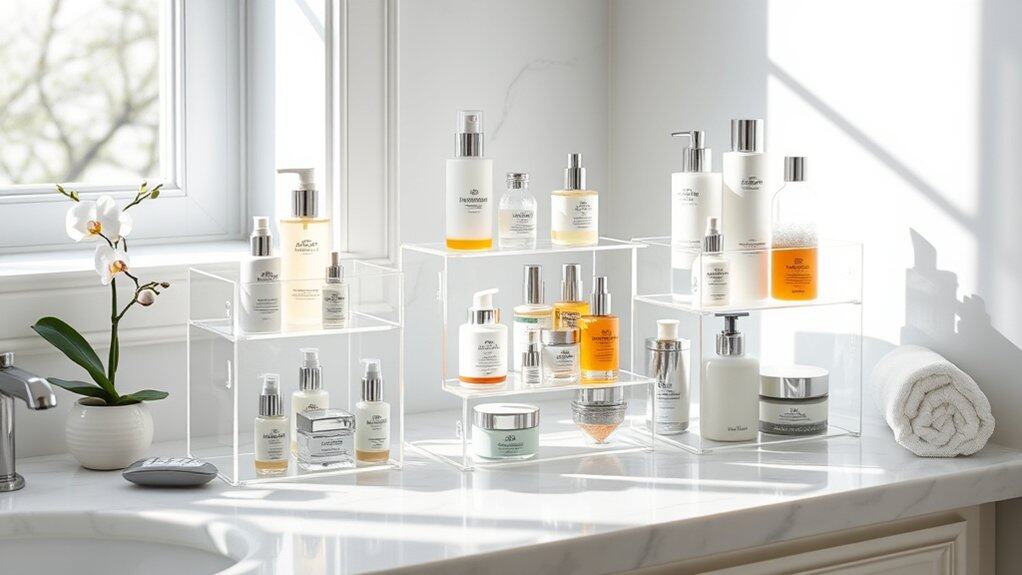
Organizing skincare products by expiration date is crucial for maintaining the safety and effectiveness of your beauty routine. Expired products can harbor harmful bacteria, lose their potency, and potentially cause skin irritation or breakouts, making proper organization essential for both health and beauty benefits.
Taking control of product expiration dates not only ensures you’re using safe, effective products but also helps prevent waste by allowing you to use items before they expire. This system creates a natural rotation of products and makes it easier to maintain a streamlined skincare collection.
Required Items:
- Sticky labels or label maker
- Permanent marker
- Small storage bins or organizers
- Calendar or tracking notebook
- Clean cloth or paper towels
- Cleaning supplies
- Clear containers or shelf organizers
Gather all skincare products and check each item for its expiration date or Period After Opening (PAO) symbol, which looks like an open jar with a number indicating months of shelf life.
Create three zones: products expiring within 3 months, products expiring in 4-6 months, and products with 6+ months remaining. Label each product clearly with its expiration date if not already visible.
Arrange products in clear containers or on shelves with the soonest-to-expire items at the front and longer-lasting products toward the back. Group similar products together within their expiration categories (cleansers, serums, moisturizers) to maintain an intuitive system.
Consider using tiered organizers to maximize visibility and accessibility while maintaining the expiration date organization.
Additional Tip: Create a monthly reminder in your phone or calendar to review expiration dates and update your organization system.
Take photos of your organized collection to maintain a reference point, and keep a running inventory list with expiration dates in a notes app or journal. This proactive approach prevents expired products from getting lost in the shuffle and helps with future purchasing decisions.
Implement the Rotating Carousel System
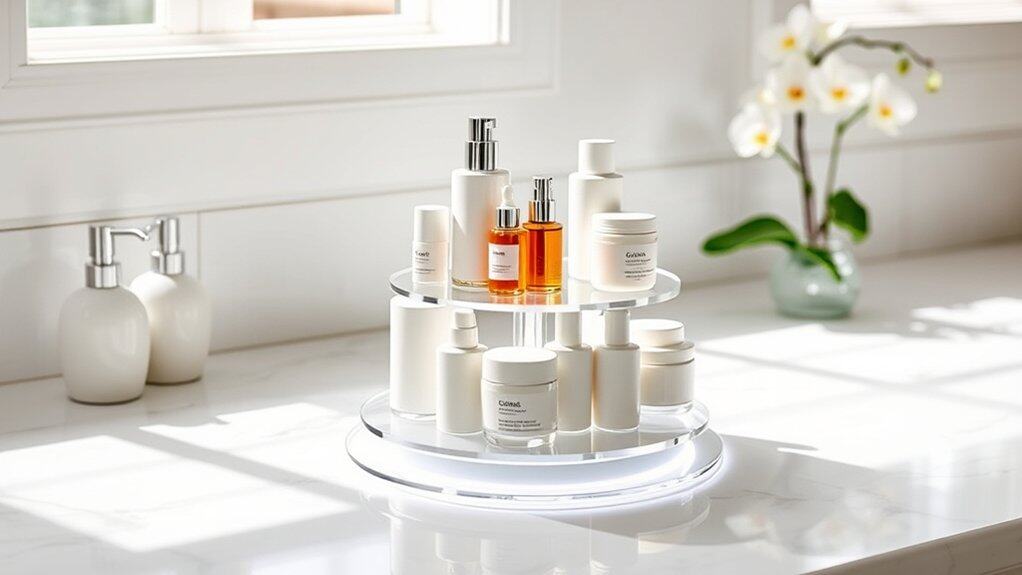
A rotating carousel system revolutionizes bathroom skincare organization by maximizing vertical space and providing easy access to all products. This smart storage solution eliminates the frustration of reaching for items in the back of cabinets or forgetting about products hidden behind others.
The carousel concept transforms cluttered countertops and cramped cabinets into an efficient, spa-like experience where every product is visible and accessible with a simple spin. This system works particularly well for daily skincare routines, ensuring that products are used before their expiration dates and making it easier to track inventory.
Required Items:
- Lazy Susan or rotating carousel (1-2 tiers)
- Clear storage containers
- Label maker or waterproof labels
- Measuring tape
- Container dividers
- Non-slip mat
- Small storage bins
- Height risers (optional)
Start by measuring your available space and selecting an appropriately sized carousel. Place the non-slip mat underneath to prevent movement. Organize products by category (cleansers, toners, serums, moisturizers) and arrange them in clear containers on the carousel. Position frequently used items toward the front and taller items in the back to maintain visibility.
For multi-tier carousels, dedicate the bottom tier to larger items like bottles and jars, while reserving the top tier for smaller items such as serums and samples. Use container dividers to create sections within each level, preventing items from tipping when the carousel rotates. Apply waterproof labels to both the containers and carousel sections for easy identification.
Additional Success Tips: Review and adjust the arrangement after a week of use to optimize placement based on your routine. Consider installing small LED strip lights around the carousel for better visibility, and implement a quarterly rotation system to move lesser-used products to more accessible positions. Keep a small notepad nearby to track products running low, ensuring timely replacements without overbuying.
Design a Travel-Ready Drawer
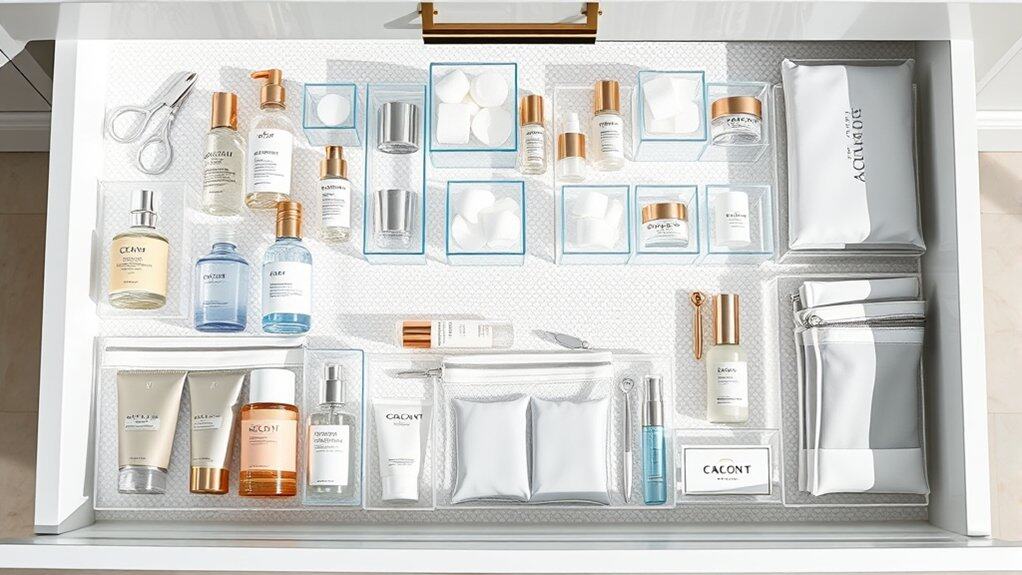
Having a dedicated travel-ready drawer for skincare essentials eliminates the stress of last-minute packing and ensures no important products are forgotten during trips. This organized system allows you to maintain your skincare routine while traveling, preventing the skin issues that often arise from disrupted care routines or using unfamiliar hotel products.
A well-organized travel drawer also serves as a backup storage solution for sample sizes and travel containers, making it easier to comply with airline regulations for liquid items. By keeping everything in one designated space, you can quickly grab what you need and be confident that your skincare routine won’t suffer while you’re away from home.
Required Items:
- Clear drawer organizers or dividers
- Travel-sized containers
- Clear ziplock bags
- Labels and marker
- Drawer liner
- Small storage boxes
- Travel bottles
- Cosmetic spatulas
- Cotton rounds
- Travel-sized skincare tools
Start by thoroughly cleaning the designated drawer and lining it with non-slip drawer liner. Separate the drawer into distinct zones using clear organizers: one for daily essentials, another for backup travel containers, and a third for tools and accessories. Place frequently used items at the front of the drawer for easy access.
Create a categorized system within these zones, grouping similar products together (cleansers, treatments, moisturizers). Transfer full-sized products into travel containers, ensuring each is clearly labeled with the product name and date of transfer. Store these alongside any sample-sized products you’ve collected. Maintain a stock of empty travel containers in various sizes for future use.
For maximum efficiency, keep a laminated checklist inside the drawer listing all essential skincare items needed for travel. Regularly audit the contents to ensure products haven’t expired and restock travel containers as needed. Consider keeping a pre-packed clear bag of items that meet TSA requirements, making security checks smoother and reducing preparation time before trips.
Label Everything With a Simple Color Code
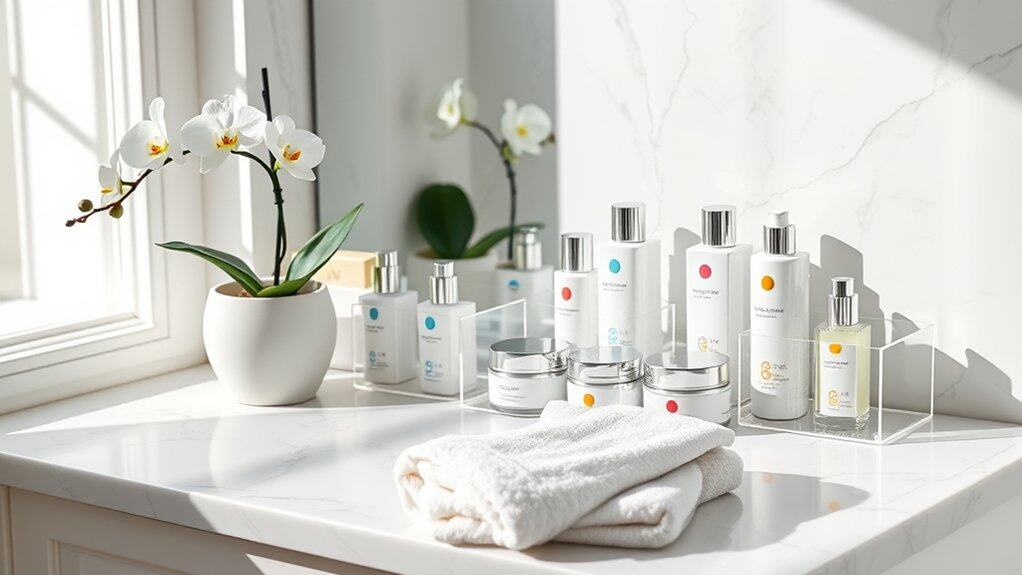
A well-organized skincare collection is essential for maintaining an effective daily routine and ensuring products are used before their expiration dates. When products are clearly labeled and color-coded, you can quickly identify items at a glance, saving precious time during busy mornings or tired evenings.
Color coding your skincare products creates an intuitive system that helps maintain order and prevents confusion between similar-looking bottles and containers. This organizational method also makes it easier to spot when products are running low and need replacement, ensuring you never run out of essential items unexpectedly.
Required Items:
- Colored dot stickers or washi tape in various colors
- Clear labels or label maker
- Fine-point permanent marker
- Small scissors
- Clear plastic containers or organizers
- Cleaning cloth
- Paper and pen for planning color system
Begin by determining your color-coding system – for example, red for morning products, blue for evening products, and yellow for weekly treatments. Clean all product containers with a damp cloth to ensure labels will stick properly.
Apply colored dots or cut small pieces of washi tape to place on each container, positioning them consistently in the same spot (such as the upper right corner) for easy visibility. Create a reference chart listing what each color represents and store it in your bathroom for easy reference.
Consider using multiple dots to create sub-categories – for instance, two red dots could indicate morning products that must be used first, while one red dot shows products used later in the morning routine. Apply clear labels beneath the color codes to note the date opened and expiration date of each product.
For maximum effectiveness, audit your color-coding system monthly to ensure all labels remain firmly attached and visible. Store products with similar color codes together in designated areas or containers, and consider adding corresponding colored dots to your storage containers for seamless organization.
Remember to keep your system simple enough to maintain long-term – too many color variations can become confusing and counterproductive.

