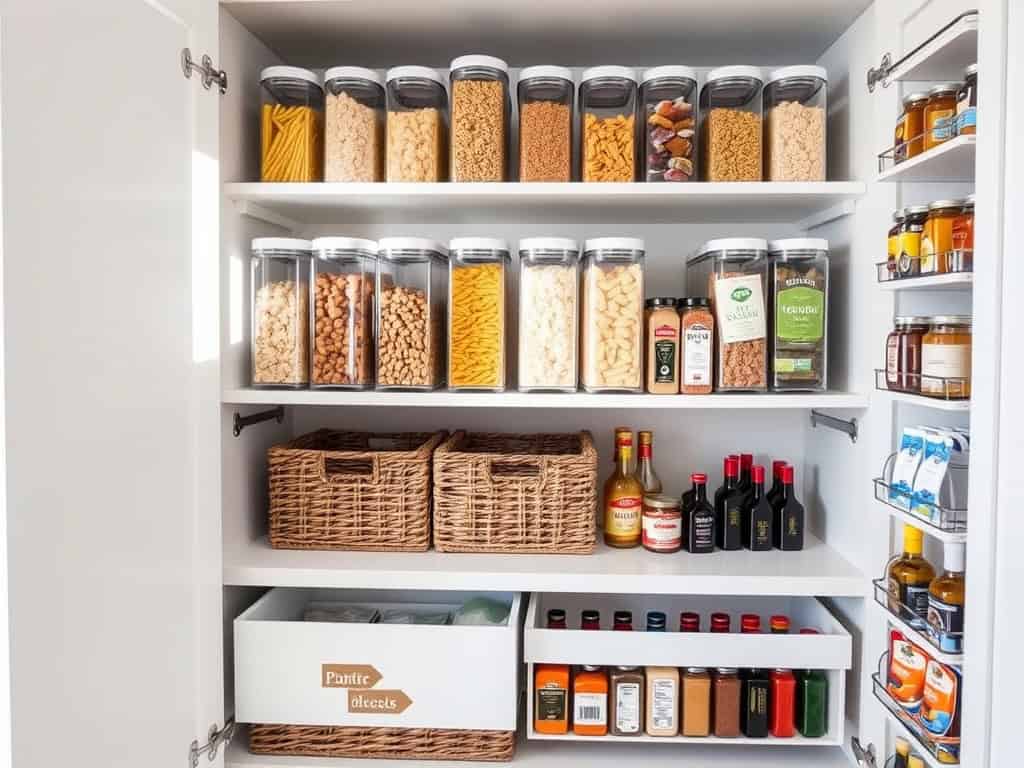
Ever felt like your kitchen cupboards are playing a frustrating game of hide-and-seek with your cooking essentials? I’ve been there, staring at chaotic shelves and wondering where that one pan disappeared to. After years of trial and error, I’ve discovered nine genius layout solutions that’ll transform your cupboard chaos into an organized masterpiece. From vertical dividers that make your pans stand at attention to sneaky door-mounted storage that utilizes every inch, you’ll love how these game-changing ideas can revolutionize your kitchen space.
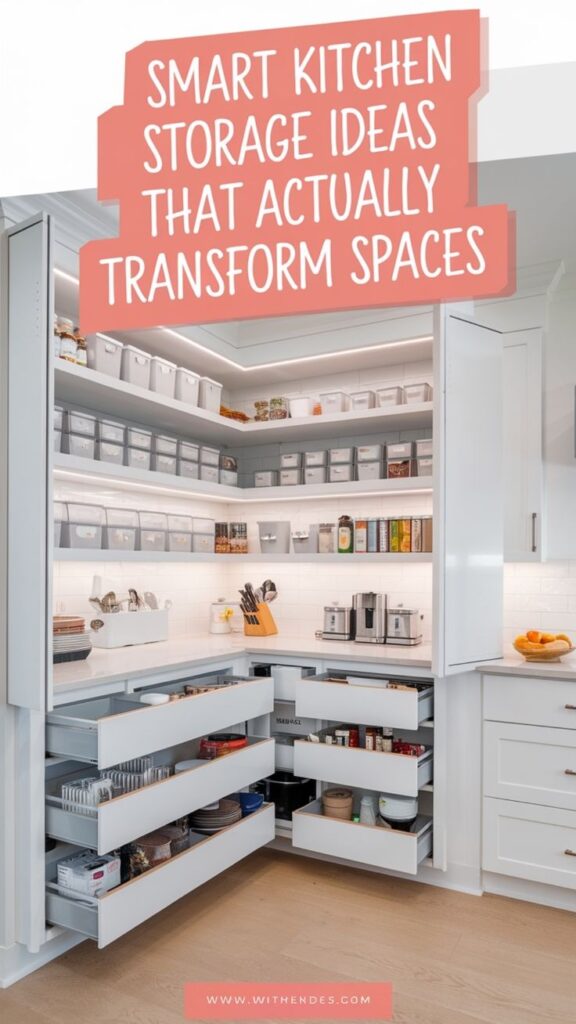
Vertical Dividers and Pan Organizers
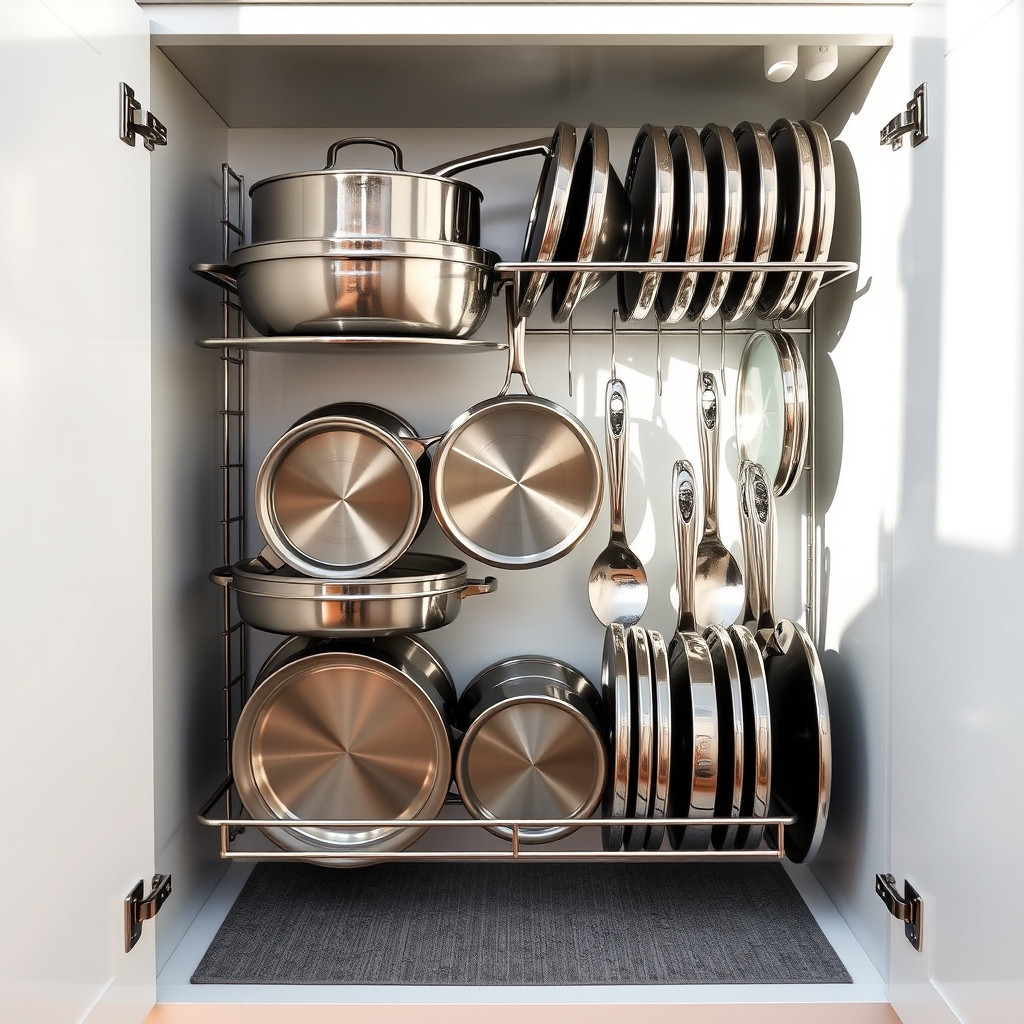
Kitchen cabinets often become cluttered with stacks of pans, lids, and baking sheets haphazardly piled on top of each other, making it frustrating to find what you need. Proper organization of these items not only saves valuable time during meal preparation but also prevents damage to your cookware and reduces the risk of items falling when accessing the cabinet.
Vertical dividers and pan organizers transform chaotic cabinets into efficient storage spaces by utilizing vertical space effectively. This organization method allows for quick identification and easy access to specific items while maximizing available storage space and protecting your cookware investments.
Required Items:
- Vertical pan organizer rack
- Cabinet shelf dividers
- Measuring tape
- Non-slip shelf liner
- Label maker (optional)
- Adhesive hooks for lids (optional)
- Storage bins for smaller items
- Drawer organizers (if applicable)
Installation and organization begins with measuring your cabinet space to ensure proper fit of dividers and organizers. Remove all items from the cabinet and line the bottom with non-slip shelf liner.
Install the vertical pan organizer, ensuring it’s securely positioned and level. Sort pans by size and type, placing larger items like cookie sheets and cutting boards in the back slots, with frequently used pans in easily accessible front slots.
Add cabinet shelf dividers to create separate sections for different categories of cookware. For optimal lid organization, store them vertically alongside their corresponding pans or install adhesive hooks on cabinet doors.
Group similar items together, such as baking pans in one section and everyday cooking pans in another. Consider adding drawer organizers if storing smaller items or pan accessories.
Additional Tips: Evaluate your organization system after two weeks of use and make adjustments as needed. Remove items that aren’t frequently used to prevent overcrowding.
Consider installing under-shelf hooks for additional storage of lightweight items, and implement a “one in, one out” rule when acquiring new cookware to maintain organization long-term.
Pull-Out Corner Cabinet Solutions
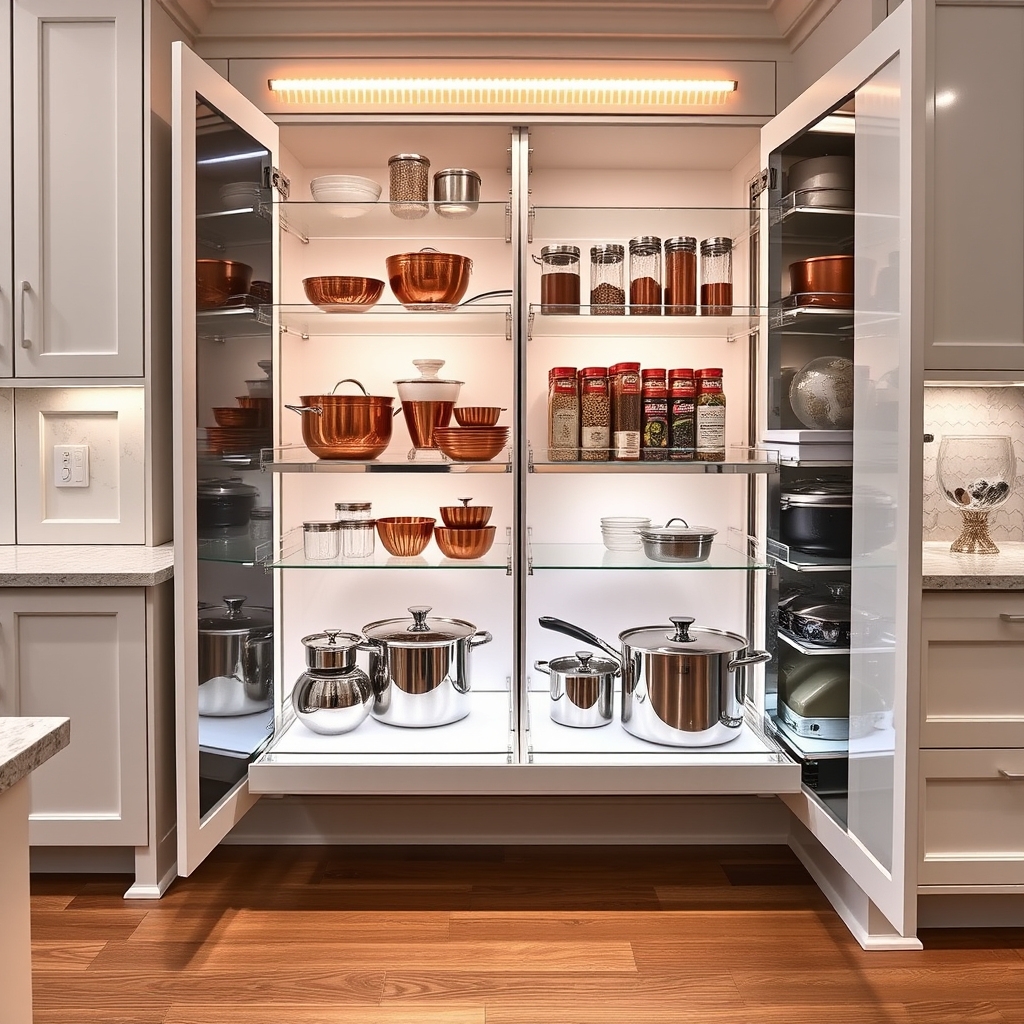
Corner cabinets often become the black holes of kitchen storage, swallowing items into their deep recesses and making retrieval a frustrating experience. These awkward spaces can account for up to 20% of your cabinet storage, making proper organization crucial for maximizing kitchen efficiency.
Installing pull-out solutions transforms these problematic spaces into functional storage areas, providing easy access to items while utilizing the cabinet’s full depth. Modern corner cabinet solutions can double your usable space and eliminate the need to crawl halfway into your cabinets to reach items in the back.
Required Items:
- Pull-out corner cabinet mechanism
- Mounting hardware
- Screwdriver and drill
- Measuring tape
- Level
- Cabinet liner
- Storage bins or containers
- Labels
- Shelf dividers
- LED strip lights (optional)
Installation and organization begins with removing existing shelving and thoroughly cleaning the cabinet interior. Measure the cabinet dimensions carefully, ensuring your chosen pull-out mechanism will fit properly.
Install the sliding hardware according to manufacturer specifications, typically mounting the base rails first, followed by the vertical supports and shelving units. Once installed, organize items by frequency of use, placing everyday items on the front of the pullouts and less-used items toward the back. Group similar items together on each shelf level, using containers to prevent smaller items from shifting during movement.
Consider implementing a zone system within your pull-out corner cabinet. The bottom shelf works well for heavy items like pots and appliances, while middle shelves can house frequently used cooking items. Upper shelves are ideal for lighter, less-frequently used items.
Stack items vertically when possible to maximize space, and use shelf dividers to maintain organization.
Additional Tips: Install LED strip lighting to illuminate dark corners and prevent items from being overlooked. Use non-slip liner on shelves to prevent shifting during operation, and implement a regular maintenance schedule to check hardware tightness and clean tracking mechanisms.
Consider using clear containers to easily identify contents, and maintain a list of stored items on the inside of the cabinet door for quick reference.
Adjustable Shelf Systems
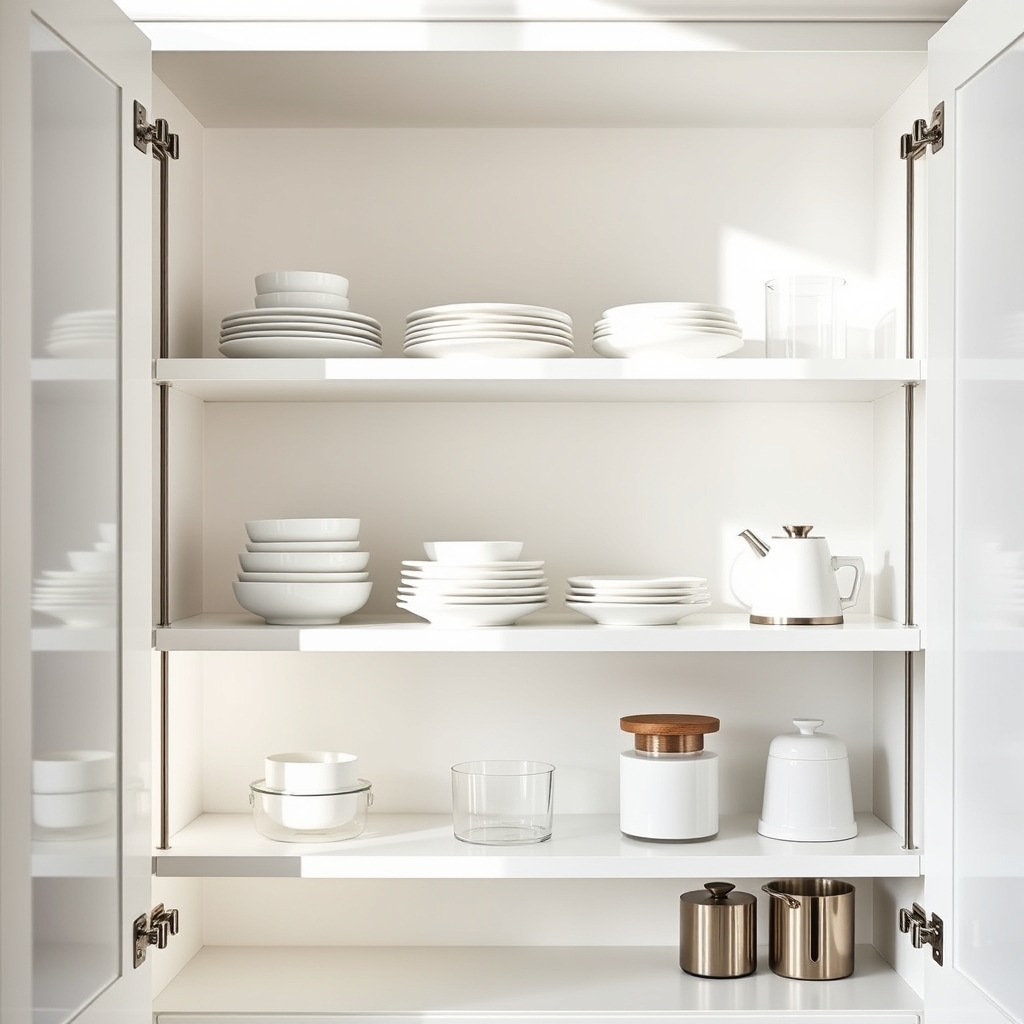
An adjustable shelf system transforms ordinary kitchen cupboards into versatile storage spaces that adapt to your changing needs. By maximizing vertical space and creating custom heights between shelves, you can accommodate items of various sizes while eliminating wasted space that often occurs with fixed shelving.
Implementing an adjustable shelf system allows you to modify your storage configuration as your kitchen items and needs evolve over time. This flexibility is particularly valuable when storing appliances, serving pieces, or bulk items that don’t conform to standard shelf spacing, ultimately helping you maintain an organized and efficient kitchen environment.
Required Items:
- Adjustable shelf brackets or clips
- Shelf standards (metal tracks)
- Additional shelf panels
- Level
- Measuring tape
- Pencil
- Drill and drill bits
- Screwdriver
- Wall anchors
- Safety glasses
- Dust mask
Start by removing all items from your cupboard and measure the interior dimensions carefully. Install vertical shelf standards at equal intervals, ensuring they’re perfectly level and securely anchored to the cabinet walls. Most standard systems require tracks to be placed 8-12 inches apart, depending on the shelf load capacity needed.
Once the tracks are secure, insert shelf clips at desired heights, ensuring they’re aligned horizontally across all tracks. Place your shelf panels onto the clips, making sure they’re fully seated and level. Before loading items onto shelves, test the stability by applying gentle pressure.
Organize items by frequency of use, placing frequently accessed items at eye level and heavier items on lower shelves to maintain system integrity. For optimal results, avoid overloading shelves and regularly assess your storage needs to adjust shelf heights accordingly.
Consider using shelf liners to prevent sliding and protect surfaces, and label each shelf’s contents to maintain organization long-term. Periodically check bracket tightness and track security to ensure continued safe operation of your adjustable shelf system.
Door-Mounted Storage Racks
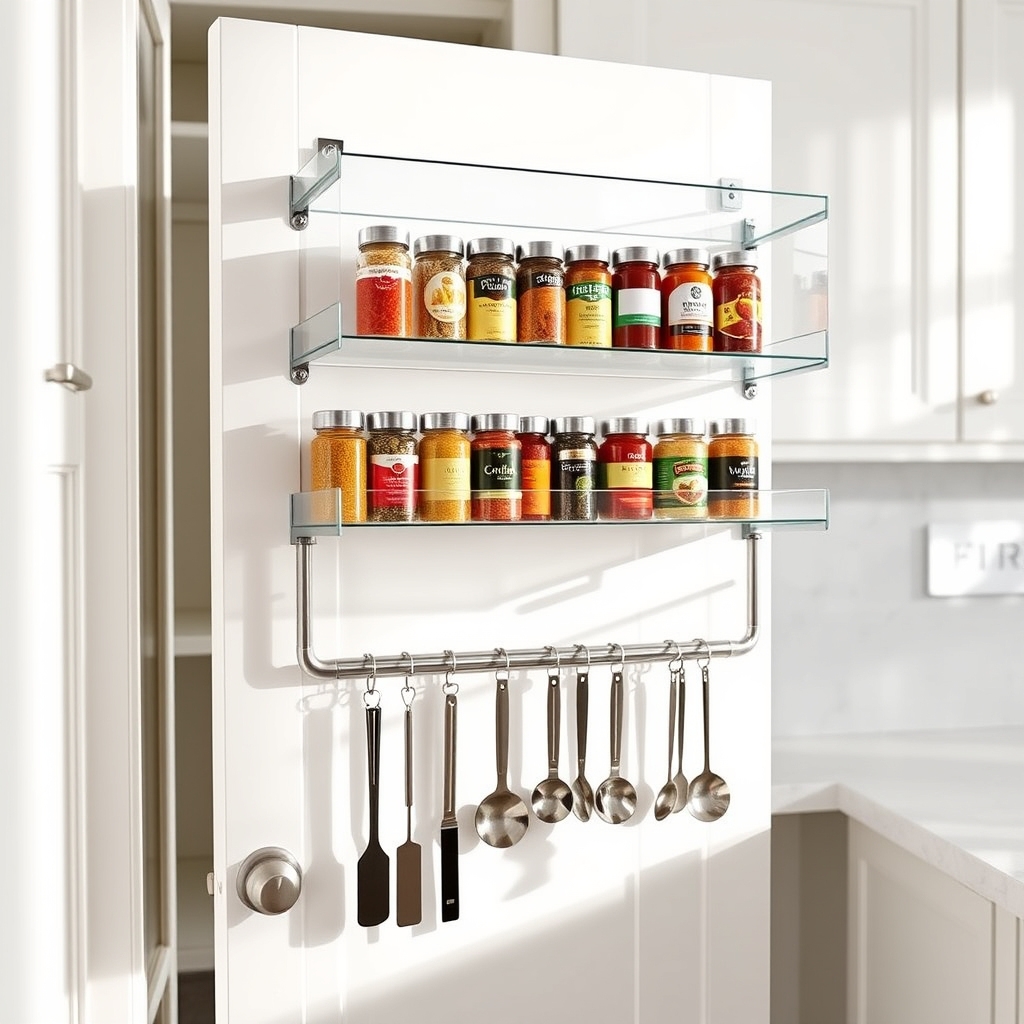
Door-mounted storage racks represent one of the most underutilized spaces in any kitchen. These vertical storage solutions transform dead space into valuable storage real estate, maximizing every square inch of your cupboard doors while keeping frequently used items within easy reach.
By implementing door-mounted storage solutions, you can free up significant shelf space inside your cupboards while creating designated spots for items that might otherwise get lost in the depths of your cabinets. This organization method proves particularly valuable for small kitchens or households where storage space comes at a premium.
Required Items:
- Over-the-door storage racks
- Cabinet door mounting brackets
- Screwdriver
- Measuring tape
- Level
- Pencil
- Adhesive hooks (optional)
- Command strips (optional)
- Storage bins or baskets
- Cleaning supplies
Start by measuring both the interior height and width of your cabinet doors to ensure proper fit of your storage racks. Remove the cabinet doors and clean them thoroughly before installation.
If using screw-mounted racks, mark the mounting points with a pencil and pre-drill holes if necessary. For adhesive-mounted options, carefully follow the manufacturer’s instructions for surface preparation and application. Install the mounting brackets or adhesive strips, ensuring they’re level and properly spaced.
Once mounted, organize items by frequency of use and weight distribution. Place heavier items at the bottom of the rack for stability. Group similar items together, such as spices, cleaning supplies, or cooking utensils.
Consider using small bins or baskets within the racks to contain loose items and maintain organization.
For optimal longevity and functionality, regularly check the mounting hardware and tighten any loose screws. Avoid overloading the racks beyond their weight capacity, and periodically rotate items to prevent doors from warping.
Consider adding rubber bumpers to prevent the racks from rattling against the cabinet doors, and label storage sections to maintain organization long-term.
Stackable Container Zones
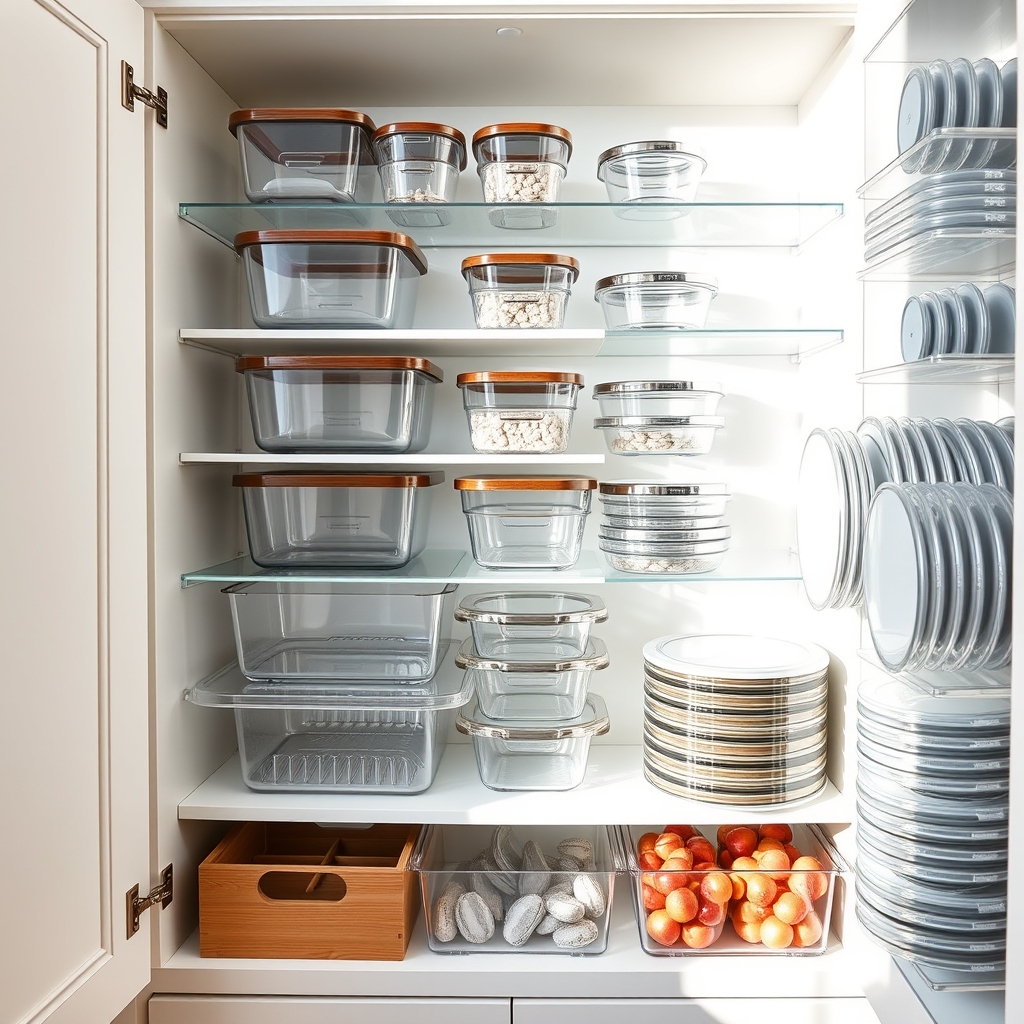
Creating organized zones for stackable containers is crucial for maximizing kitchen storage space and maintaining an efficient cooking environment. When containers are properly organized, you can easily locate specific sizes, reduce time spent searching for matching lids, and prevent avalanches of tumbling plasticware every time you open a cabinet.
A well-planned container storage system not only streamlines meal prep and leftover storage but also extends the life of your containers by preventing unnecessary wear and tear. Organized zones make it simple to inventory what you have, identify what you need, and maintain a clutter-free kitchen space that works for your lifestyle.
Required Items:
- Clear storage bins or drawer organizers
- Container lid organizers
- Label maker or labels
- Measuring tape
- Shelf liner (non-slip)
- Container sorting bins
- Drawer dividers
- Vertical organizers
Start by removing all containers and lids from your cupboard space. Sort them by size and type, discarding any damaged pieces or containers without matching lids. Measure your cabinet space and install non-slip liner to prevent containers from sliding.
Create designated zones using clear storage bins: one for everyday-use containers, another for specialty storage, and a separate area for lids. Stack containers by size, with the largest at the bottom and smallest at the top.
Position frequently used containers at eye level or in easily accessible areas. Use vertical organizers for lids, arranging them by size from front to back. Consider implementing a color-coding system for different container types or uses.
Install drawer dividers if storing containers in deep drawers to maintain organized sections. To maintain your organized container zones, implement a regular audit system every three months. Remove any containers that have become stained or warped, and immediately recycle orphaned pieces.
Consider limiting your container collection to two or three standard sizes that stack efficiently, and invest in quality containers that will last longer and stack more securely. Keep a small basket for temporary lid storage during dishwasher cycles to prevent mismatched sets.
Deep Drawer Organizers
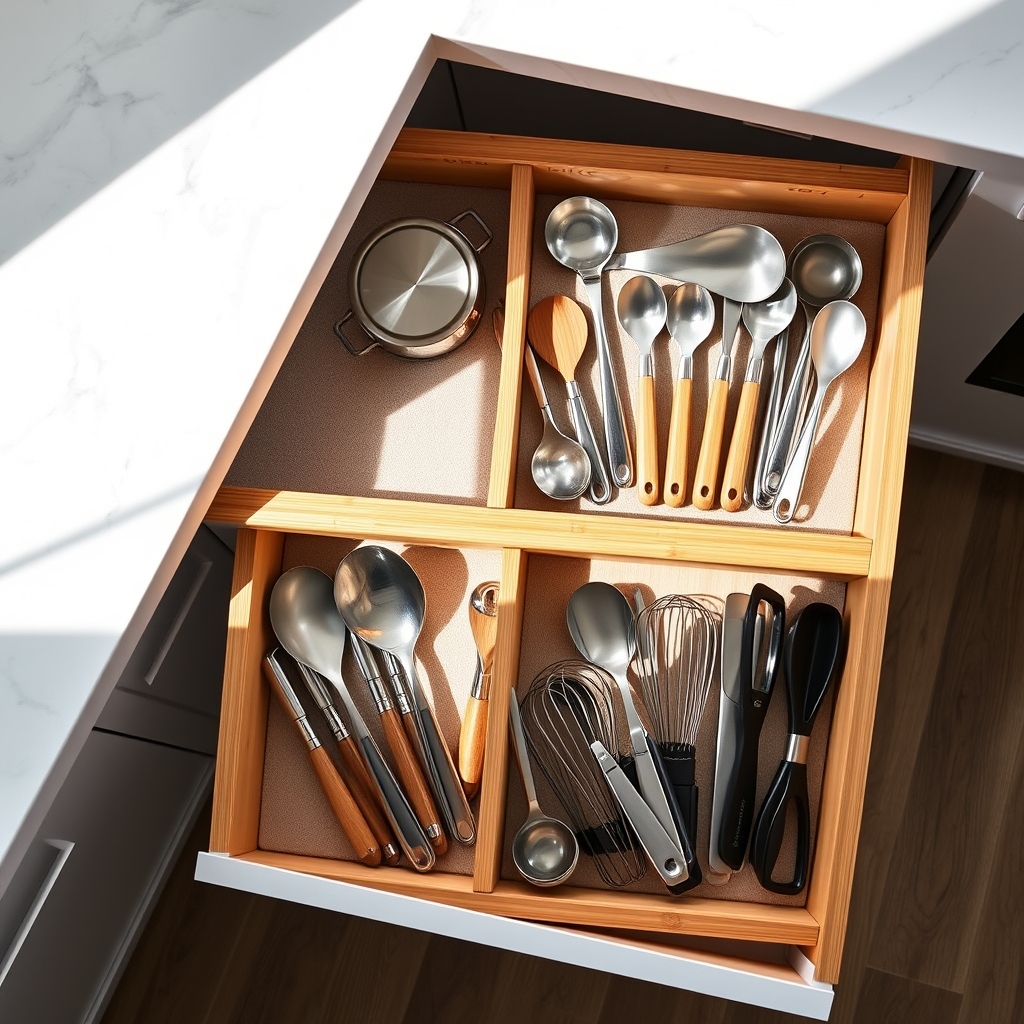
Deep drawers in kitchens often become chaotic catch-alls for various cooking tools, utensils, and equipment. Without proper organization, these spacious storage areas quickly transform into cluttered spaces where items become difficult to find, leading to frustration and wasted time while cooking or meal prepping.
Organizing deep drawers effectively can revolutionize your kitchen workflow by maximizing vertical space and creating designated zones for different categories of items. Proper drawer organization not only makes items more accessible but also protects them from damage and helps maintain order long-term.
Required Items:
- Drawer dividers
- Expandable drawer organizers
- Measuring tape
- Drawer liner material
- Label maker
- Container bins in various sizes
- Vertical file organizers
- Drawer pegboard systems
- Drawer depth spacers
- Cleaning supplies
Start by completely emptying the drawer and cleaning it thoroughly. Measure the drawer’s dimensions, including depth, width, and height. Sort all items into categories based on frequency of use and function. Common groupings include cooking utensils, baking tools, food storage containers, and specialty items.
Install drawer liner material to prevent items from sliding and protect the drawer bottom. Position drawer dividers or expandable organizers to create designated sections. Place frequently used items toward the front of the drawer for easy access.
Utilize vertical organizers for items like cutting boards, baking sheets, or pot lids. For deeper drawers, consider implementing a two-tier system using drawer depth spacers to maximize vertical space.
Additional optimization tip: Regularly evaluate the effectiveness of your organization system and adjust as needed. Consider using clear containers for smaller items, implementing a rotation system for seasonal cooking tools, and maintaining a “one in, one out” policy to prevent drawer overcrowding.
Review contents every three months and relocate rarely used items to alternative storage spaces.
Lazy Susan Turntables
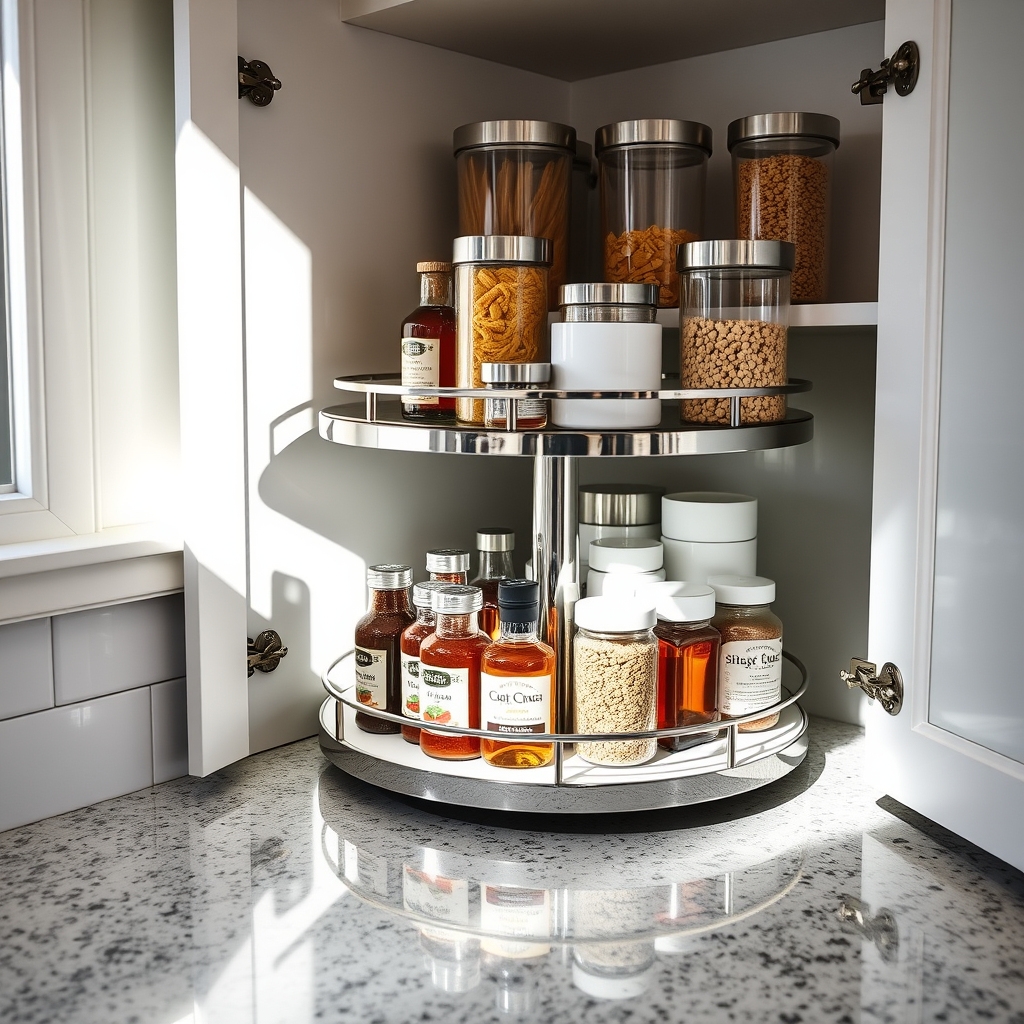
Lazy Susan turntables are revolutionary solutions for maximizing corner cabinet space and accessing items that would otherwise be lost in the depths of your cupboards. These rotating platforms eliminate the need to reach awkwardly into dark corners or remove multiple items to access what’s needed, making your kitchen workflow more efficient and enjoyable.
When properly organized, a Lazy Susan can transform a problematic corner cabinet into a highly functional storage space. The rotating mechanism allows for quick access to all items, making it ideal for storing frequently used ingredients, spices, oils, or small appliances that might otherwise get forgotten in traditional cabinet arrangements.
Required Items:
- Lazy Susan turntable (single or multi-tier)
- Cabinet cleaning supplies
- Measuring tape
- Storage containers or bins
- Labels
- Non-slip liner
- Glass cleaner
- Microfiber cloth
Start by removing everything from your corner cabinet and thoroughly cleaning the space. Measure the cabinet’s dimensions to ensure your Lazy Susan fits properly, allowing for adequate rotation clearance. Install non-slip liner on the turntable surface to prevent items from sliding during rotation.
Group similar items together, placing frequently used products toward the front of each section. For multi-tier units, position heavier items on the bottom level and lighter ones on top. Arrange tall items toward the center of the turntable where there’s typically more vertical space.
Consider categorizing items by usage type (baking supplies, breakfast items, or cooking oils) or by frequency of use. Use clear containers to store loose items and add labels for easy identification. When placing items, ensure they don’t extend beyond the turntable’s edge to prevent catching on cabinet walls during rotation. Test the rotation several times to confirm smooth movement and adjust item placement as needed.
Additional Tips: Maintain organization by implementing a quarterly review system to remove expired items and reassess placement. Consider using shelf risers or small bins on the turntable to create additional vertical storage space. Keep a small gap between items to prevent overcrowding and ensure smooth rotation. Regular cleaning of both the turntable and items will prevent sticky residue from affecting the rotating mechanism.
Under-Sink Storage Maximizers
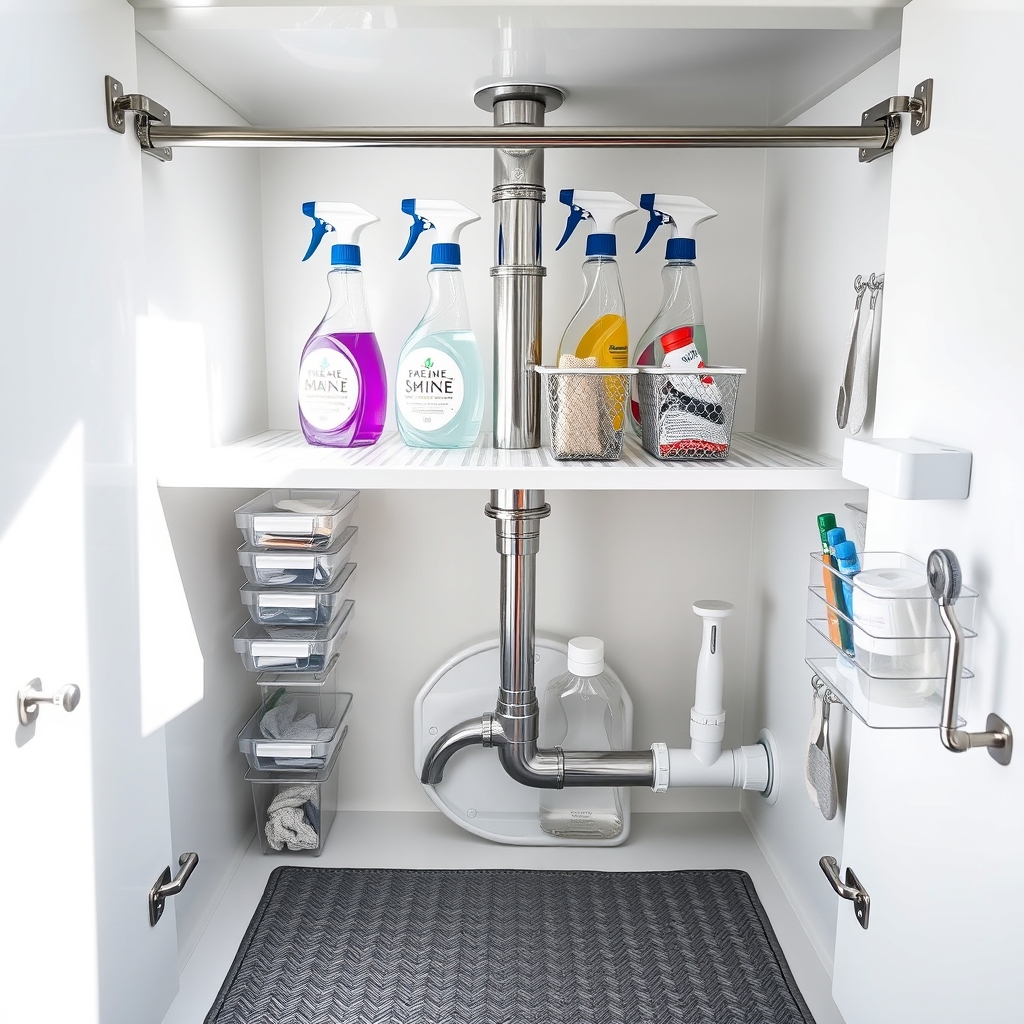
The space under the kitchen sink often becomes a cluttered catch-all for cleaning supplies, plastic bags, and miscellaneous items. This valuable storage area requires thoughtful organization to maximize its potential and ensure easy access to frequently used items. Proper organization of this space not only makes cleaning supplies readily available but also protects the cabinet interior from potential leaks and spills.
Efficient under-sink organization can transform this traditionally chaotic space into a functional storage solution. By implementing strategic storage systems and maintaining clear categories, you can double your usable space while keeping essential items within arm’s reach. This organization system also helps monitor cleaning supply inventory and prevents the purchase of unnecessary duplicates.
Required Items:
- Pull-out drawer organizers
- Tension rods
- Clear plastic bins
- Cabinet shelf liner
- Label maker
- Small hooks
- Over-cabinet door organizers
- Stackable containers
- Leak detector
- Adjustable shelf risers
The organization process begins with completely emptying the cabinet and thoroughly cleaning all surfaces. Install a water-resistant shelf liner to protect against moisture damage and leaks.
Mount a tension rod high in the cabinet to hang spray bottles, leaving floor space for larger items. Position pull-out drawers or clear bins around the sink’s plumbing, utilizing every inch of available space.
Categorize items by frequency of use, placing daily cleaning supplies at the front and occasional-use items toward the back. Group similar items together in designated containers: cleaning supplies, dishwashing items, and disposal bags.
Install small hooks on cabinet walls for hanging brushes or gloves. Position a leak detector near the plumbing to alert you of potential water damage. Use stackable containers to maximize vertical space, and implement door-mounted organizers for additional storage of frequently used items.
Additional Tips: Conduct monthly maintenance checks to prevent disorder from returning. Rotate cleaning supplies based on expiration dates, keeping newer items in the back.
Consider installing battery-operated motion-sensor lights to illuminate dark corners, and maintain a small notepad inside the cabinet door to track supply inventory. Regular assessment of stored items helps eliminate unnecessary products and maintains the organized system.
Custom Cabinet Inserts and Dividers
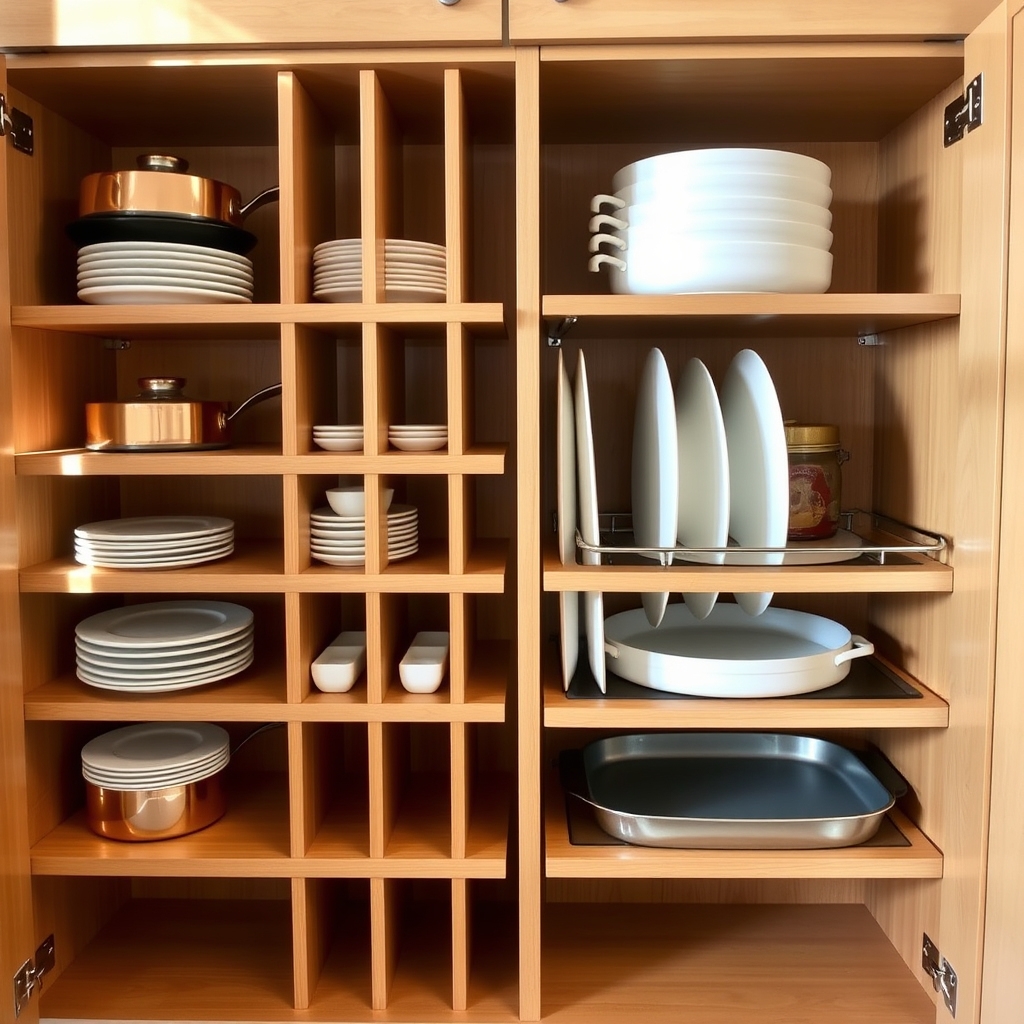
Custom cabinet inserts and dividers are game-changers for maximizing storage space and maintaining order in kitchen cabinets. These organizational tools transform chaotic, cluttered spaces into efficient storage systems where every item has its designated spot, making it easier to find and access kitchen essentials.
When properly implemented, cabinet inserts and dividers eliminate the frustration of searching through stacked items or dealing with toppling piles of cookware. They create vertical and horizontal spaces that can be customized to fit specific items, from cutting boards and baking sheets to pot lids and serving platters.
Required Items:
- Measuring tape
- Pencil and paper
- Cabinet inserts (pull-out, sliding, or stationary)
- Drawer dividers
- Tension rods
- Shelf risers
- Mounting hardware
- Screwdriver
- Level
- Non-slip liner
Start by measuring your cabinet interiors, including width, depth, and height. Account for any hinges or existing hardware that might interfere with insert placement. Sketch a plan for each cabinet, determining which type of insert would work best for the items you need to store.
For deep cabinets, consider pull-out organizers that bring items from the back within easy reach. Install the chosen inserts according to manufacturer instructions, ensuring they’re level and secure.
Begin with larger items like pots and pans, using dividers to create vertical storage spaces. Add tension rods to create slots for cutting boards or baking sheets, and implement shelf risers to maximize vertical space. Place frequently used items at easily accessible heights and locations.
For optimal results, incorporate adjustable features whenever possible, as storage needs often change over time. Use non-slip liner materials beneath organizers to prevent shifting, and label sections clearly if multiple family members use the kitchen.
Consider leaving some space for future additions rather than filling every available inch, allowing flexibility for new kitchen items or changing needs.

