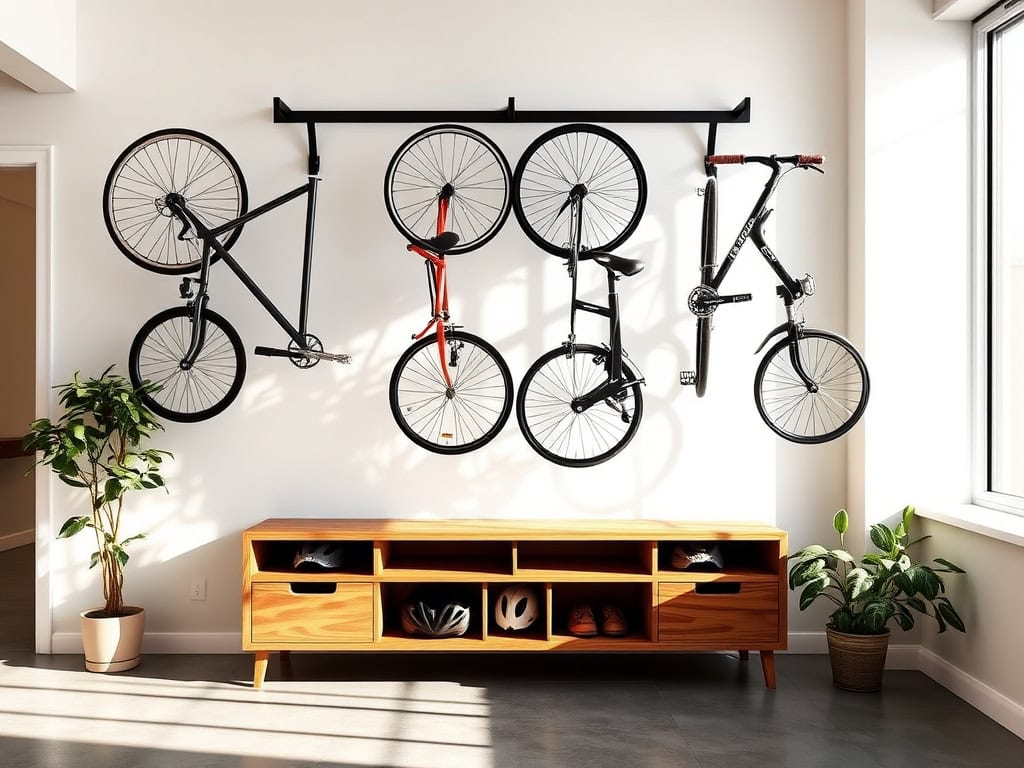
If you’re tired of tripping over bikes in your garage or watching them take up precious floor space in your apartment, you’re not alone! As an avid cyclist who’s lived everywhere from tiny studios to spacious homes, I’ve discovered that smart bike storage is a game-changer. Whether you’re dealing with multiple family bikes or just your trusty commuter, there’s a clever solution that’ll work for your space. Let’s explore eight innovative ways to store your wheels without sacrificing style or functionality.
Wall-Mounted Bike Racks: Stylish and Space-Saving
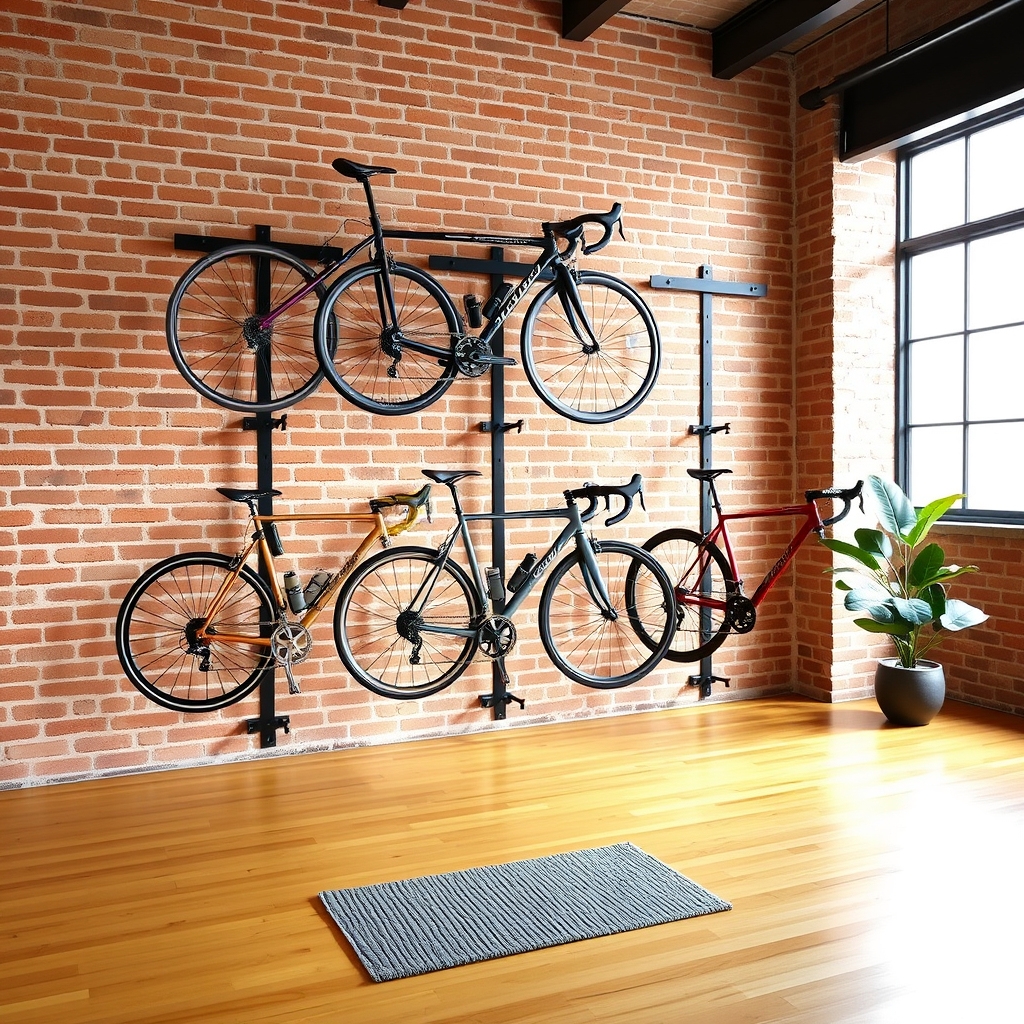
Wall-mounted bike racks have become increasingly popular among urban dwellers and cycling enthusiasts seeking to maximize their living space while displaying their bikes as functional art pieces.
These storage solutions transform ordinary walls into efficient storage areas, keeping bikes secure and easily accessible while freeing up valuable floor space.
Proper organization of wall-mounted bike storage not only protects your investment but also creates an aesthetically pleasing arrangement that can enhance your home’s interior design.
Strategic placement and installation of these racks can turn an otherwise cluttered space into an organized and inviting area that showcases your bikes while maintaining their functionality.
Required Items:
- Wall-mounted bike rack(s)
- Stud finder
- Level
- Drill and drill bits
- Screwdriver
- Mounting hardware (screws, anchors)
- Measuring tape
- Pencil
- Safety goggles
- Dust mask
- Step ladder
The organization process begins with careful planning of your bike storage layout.
Measure your wall space and the dimensions of your bikes, allowing at least 12 inches of clearance between bikes and 24 inches from any corners.
Use a stud finder to locate and mark wall studs, as these provide the most secure mounting points.
Install the first rack at approximately 72 inches from the floor for optimal accessibility.
For multiple bikes, arrange racks in an alternating pattern – one high, one low – to prevent handlebars from overlapping.
This configuration typically allows 2-3 feet of horizontal space between bikes.
When mounting the racks, ensure all hardware is properly secured and weight-tested before hanging bikes.
Additional Tips:
Consider installing a small shelf or hooks near each bike rack for helmets, locks, and other accessories.
Use rubber-coated hooks or padding where the bike contacts the rack to prevent frame scratches.
For maintenance purposes, place a small mat beneath each bike to catch any dirt or grease drips.
Regularly check the mounting hardware’s tightness and the wall’s integrity around the mounting points to ensure long-term security.
Ceiling Pulley Systems: Maximize Vertical Storage
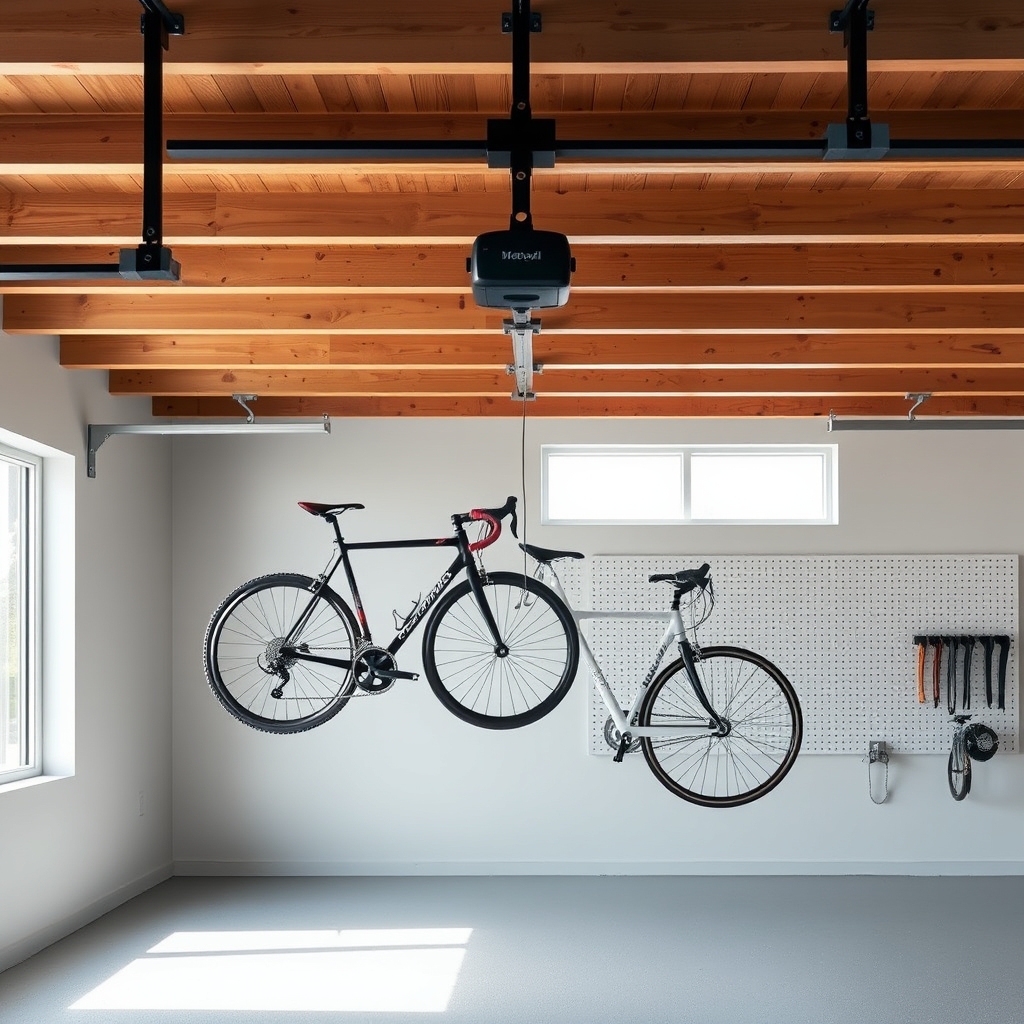
Making the most of vertical space in your garage or storage area has become increasingly important as living spaces become more compact. Ceiling pulley systems offer an innovative solution for bike storage, allowing cyclists to utilize otherwise wasted overhead space while keeping their valuable bikes safe and accessible.
A well-installed ceiling pulley system not only protects bikes from potential damage but also frees up valuable floor space for other activities. This storage method is particularly beneficial for seasonal riders or those with multiple bikes who need to rotate their equipment throughout the year.
Required Items:
- Ceiling-mounted bike pulley system
- Drill and drill bits
- Stud finder
- Measuring tape
- Level
- Pencil
- Screwdriver
- Ladder or step stool
- Anchors and mounting hardware
- Safety glasses
- Work gloves
Installation begins with locating ceiling joists using a stud finder and marking their positions. Measure and mark the mounting points for your pulley system, ensuring they align with your bike’s length and weight distribution.
Install the mounting brackets securely into the joists using appropriate anchors and hardware, testing each connection for stability.
Once the main hardware is mounted, thread the pulley ropes through the system according to manufacturer specifications. Attach the bike hooks at the proper height and spacing to accommodate your bicycle’s frame.
Test the pulley system without the bike first, ensuring smooth operation and checking that all components are properly secured.
Additional Tips:
Consider installing a safety lock mechanism to prevent accidental release of the pulley system.
Mark the floor directly below where your bike will hang to ensure proper positioning when raising and lowering.
Keep the rope mechanisms clean and periodically inspect all components for wear. For heavier bikes or electric models, consider using a double-pulley system for additional support and easier lifting.
Behind-the-Door Bike Hooks: Hidden Storage Solutions
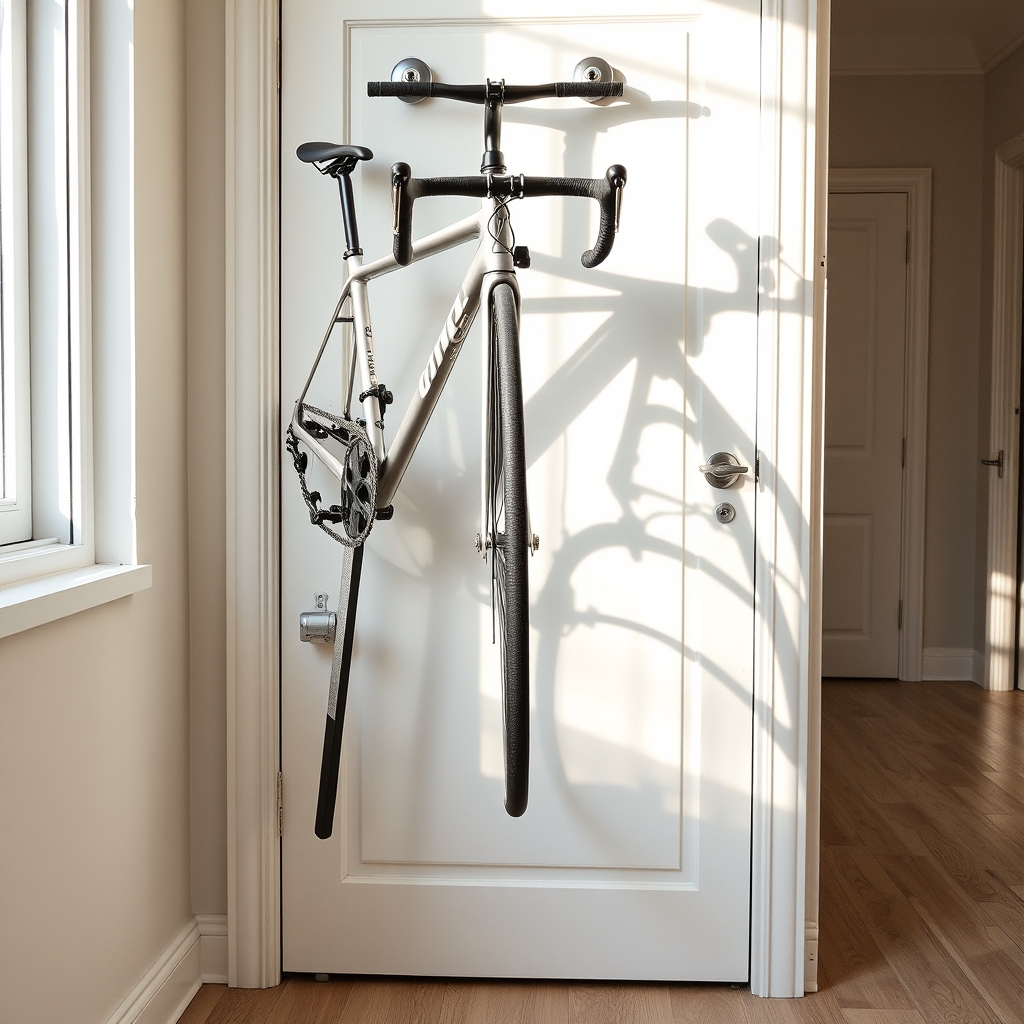
Making efficient use of limited space in urban living environments has become increasingly crucial, particularly when it comes to storing larger items like bicycles. Behind-the-door bike storage represents an innovative solution that transforms often-overlooked spaces into functional storage areas, keeping bikes secure yet accessible.
This storage method not only preserves valuable floor space but also protects bikes from damage while maintaining easy access for daily use. Behind-the-door bike hooks offer a practical solution that works particularly well in apartments, small homes, or garages where space optimization is essential.
Required Items:
- Heavy-duty over-the-door bike hooks (2-3 depending on bike size)
- Measuring tape
- Pencil
- Door padding or protective strips
- Screwdriver
- Wall anchors (if mounting to door frame)
- Level
- Rubber door stopper
- Protective wheel covers (optional)
Installation and organization begins with measuring the door’s height and width to determine optimal hook placement. Position the first hook at least 6 feet from the floor, ensuring the bike’s wheels won’t touch the ground when hung.
Install protective padding where the bike might contact the door to prevent scratching. If mounting directly to the door frame, use appropriate wall anchors and ensure hooks are level and securely fastened.
For multiple bikes, stagger the hooks at different heights to prevent handlebar interference. The higher hook should be mounted first, with subsequent hooks positioned 12-18 inches lower and offset horizontally.
Test the weight capacity of each hook before fully loading bikes, and ensure the door can still close completely without the bikes hitting the wall or frame.
Place a door stopper to prevent the door from swinging too widely and potentially damaging the bikes or walls. Consider using wheel covers to keep tire marks off the door and wall, and regularly check hook tightness and door stability to maintain safe storage.
For optimal organization, designate specific hooks for each bike based on frequency of use, with most-used bikes positioned for easiest access.
Multi-Bike Floor Stands: Family-Friendly Organization
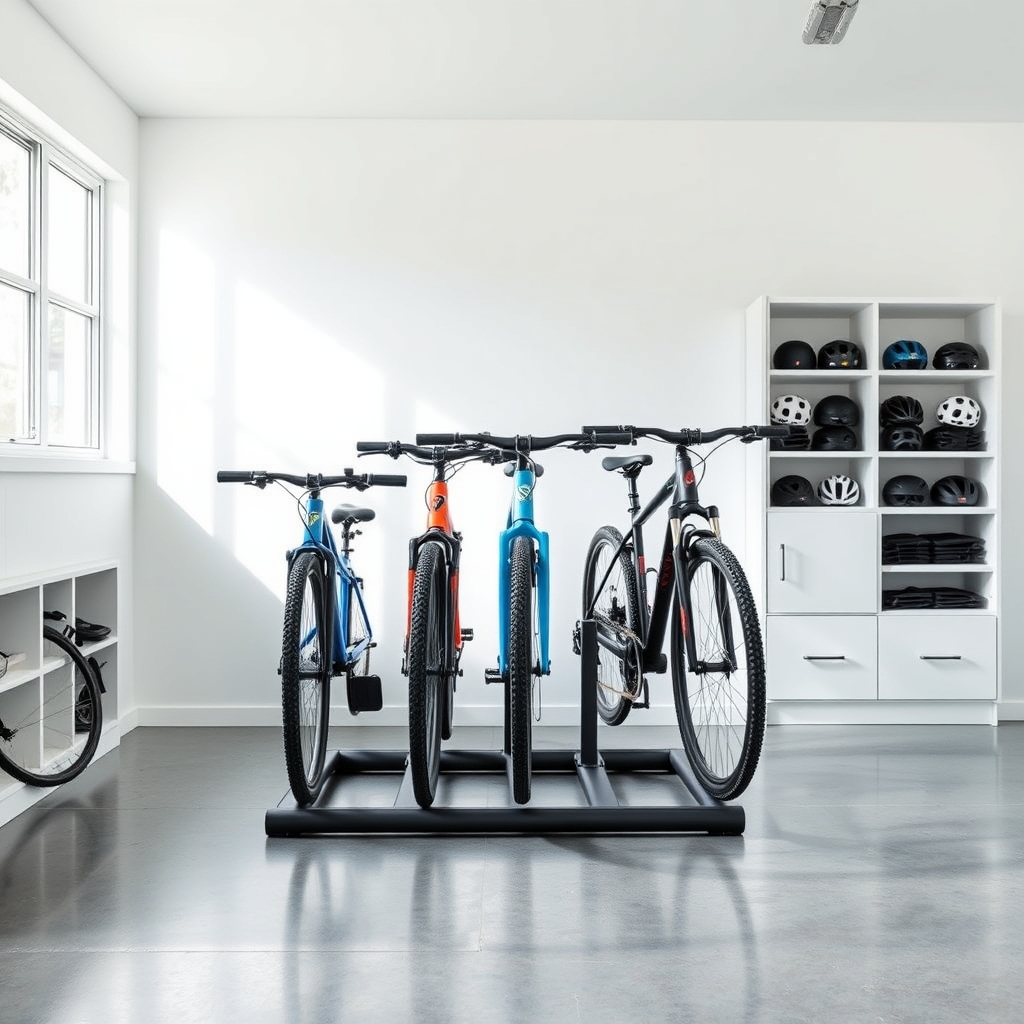
Organizing multiple bikes for a family can quickly become chaotic without a proper storage system in place. Floor stands designed for multiple bikes offer an efficient solution that keeps bicycles organized, accessible, and protected from damage, while maximizing available space in your garage or storage area.
A well-organized multi-bike storage system not only prevents bikes from falling over and getting scratched but also encourages family members to use their bikes more frequently. When bikes are easily accessible and neatly arranged, it becomes simpler to maintain them and keep track of each family member’s equipment.
Required Items:
- Multi-bike floor stand
- Measuring tape
- Level
- Marker or pencil
- Cleaning supplies
- Bike locks (optional)
- Floor anchors (optional)
- Basic tools (screwdriver, wrench)
- Storage bins for accessories
Start by measuring your available floor space and determining the best location for your multi-bike stand. Position the stand away from foot traffic and ensure there’s enough clearance for each bike to be removed without interference.
Clean the designated area thoroughly and assemble the floor stand according to manufacturer instructions, making sure it’s level and stable.
Arrange bikes by size and frequency of use, placing regularly used bikes in the most accessible positions. Consider height differences among family members when assigning spots, and ensure the bikes alternate directions (handlebars facing opposite ways) to prevent interference between pedals and handlebars.
If using adjustable arms or hooks, position them to accommodate different frame sizes and styles.
For optimal organization and longevity of your multi-bike storage system, establish a few key practices: assign specific spots for each family member’s bike, implement a system for storing helmets and accessories nearby, and regularly check the stability of the stand and tighten any loose components.
Consider labeling each spot and creating a maintenance schedule to keep the storage area clean and organized throughout the year.
Freestanding Bike Storage Columns: No Installation Required
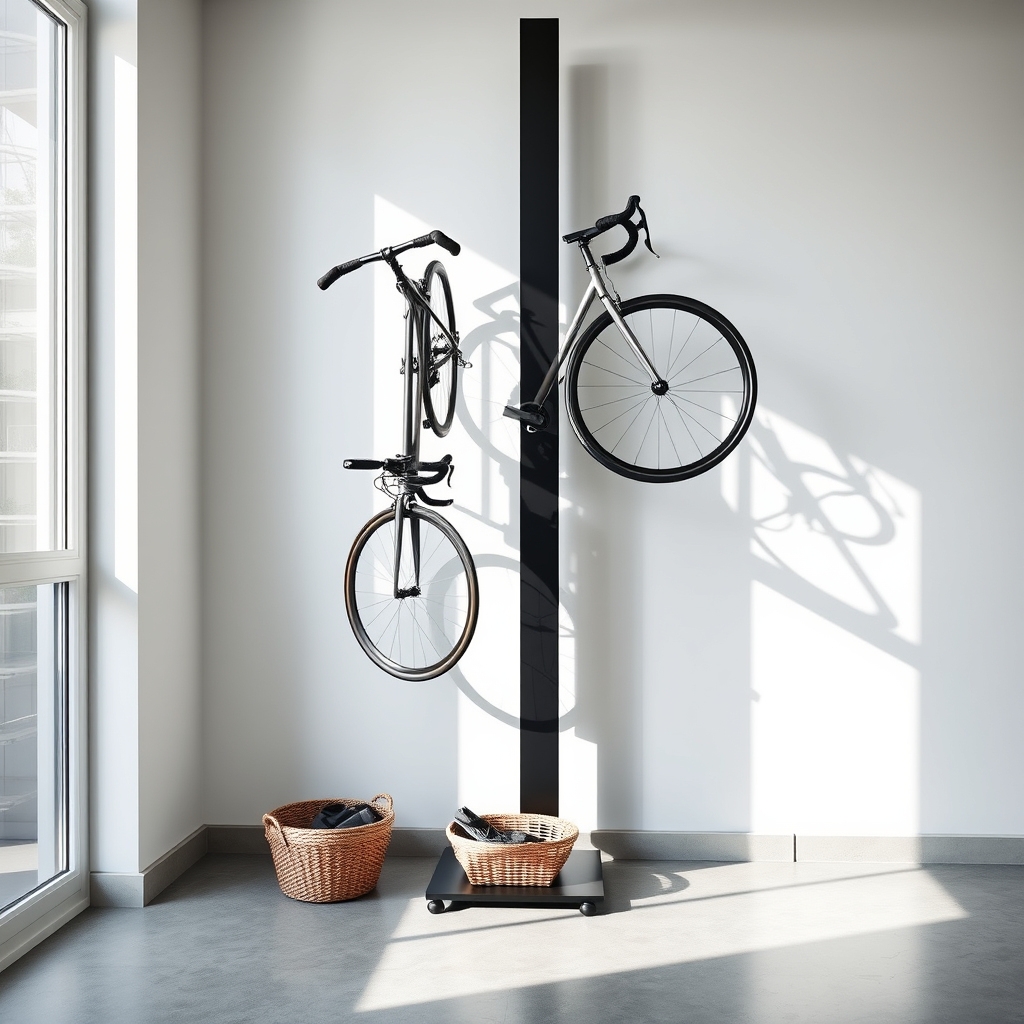
Organizing your bikes with freestanding storage columns represents a practical solution for cyclists who want to maximize their space without making permanent modifications to their homes.
These versatile units provide an efficient way to store multiple bikes vertically while maintaining easy access and protecting your valuable equipment from damage.
Freestanding columns offer particular advantages for renters, apartment dwellers, or anyone seeking a flexible storage solution that can be easily relocated. Their tension-mounted or gravity-based designs eliminate the need for drilling holes or permanent installation, while still providing stable and secure bike storage that keeps your cycles organized and readily available.
Required Items:
- Freestanding bike storage column
- Measuring tape
- Level
- Rubber floor protectors
- Bike hooks or cradles
- Allen wrench set
- Cleaning supplies
- Storage bins for bike accessories
- Non-slip floor mat
Position your storage column in a location with adequate clearance for bikes to hang without interference. Measure the floor-to-ceiling height and adjust the column accordingly, ensuring it’s perfectly vertical using a level.
Most columns use either a spring-loaded mechanism or screw-jack system to create tension between floor and ceiling. Once positioned, install the bike hooks or cradles at appropriate heights, considering the different sizes of your bikes and allowing enough space between them to prevent contact.
For optimal organization, arrange bikes alternating their directions (one facing forward, next facing backward) to minimize handlebar overlap. If storing multiple bikes, position the most frequently used ones at the most accessible angles.
Install any included accessory hooks or shelves for helmets, locks, and other gear at convenient heights between the bikes.
To maximize the effectiveness of your freestanding storage solution, periodically check the tension mechanism to ensure stability. Place heavier bikes closer to the bottom of the column for better balance, and use rubber floor protectors to prevent marking or damage to your floors.
Consider adding a small storage basket or shelf at the base of the column for shoes, tools, or other cycling accessories that need to remain easily accessible.
DIY Pallet Bike Racks: Budget-Friendly Options
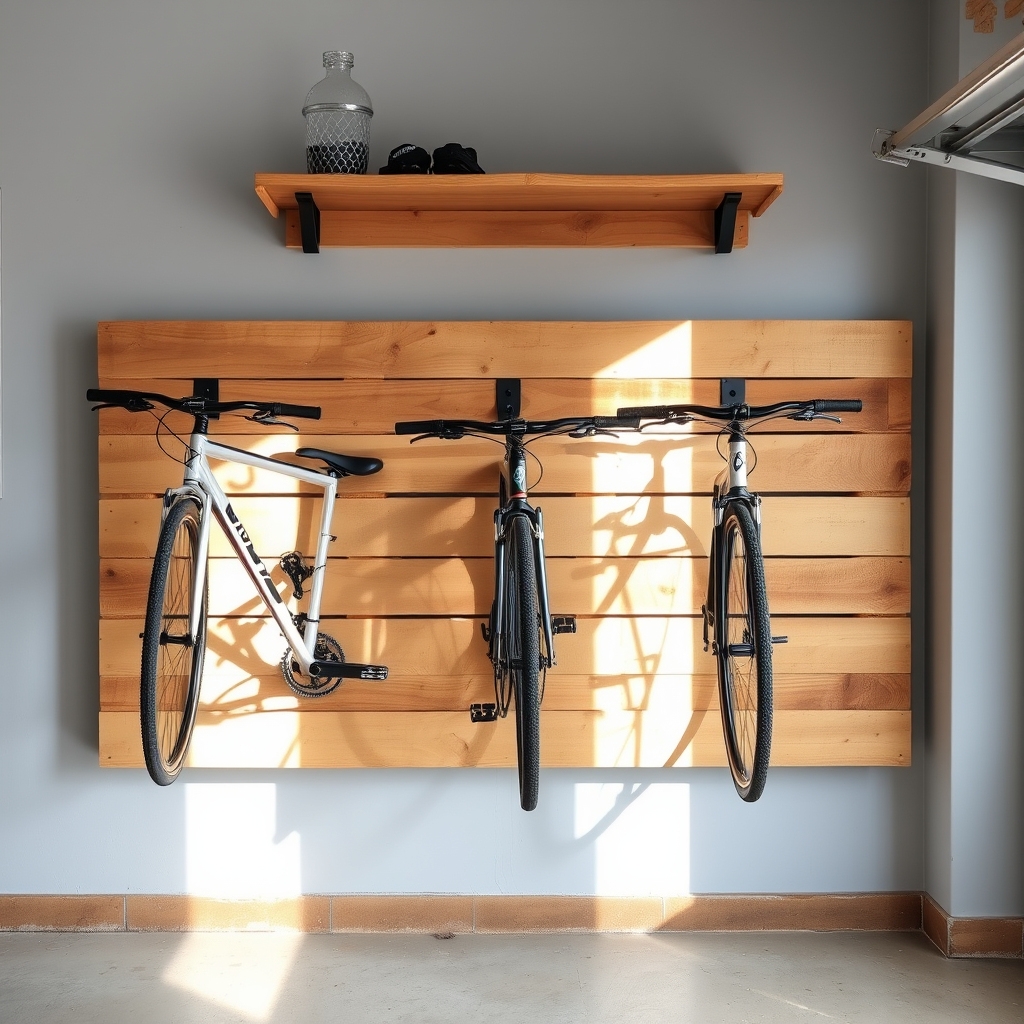
Creating a DIY pallet bike rack represents one of the most cost-effective solutions for bicycle storage, particularly for those working with limited space and budget constraints. Pallets are readily available, often for free from local businesses, and can be transformed into functional bike storage systems that keep vehicles organized and protected.
A well-designed pallet bike rack not only prevents bikes from getting scratched or damaged but also maximizes available space while adding a rustic, industrial aesthetic to any garage or storage area. These customizable storage solutions can be adapted to accommodate multiple bikes and various bike sizes, making them ideal for families or cycling enthusiasts.
Required Materials:
- 2-3 wooden pallets
- Power drill
- Wood screws (3-inch)
- Saw (circular or hand)
- Sandpaper
- Wood stain or paint
- Wall anchors
- Level
- Measuring tape
- Safety gear (gloves, goggles)
- Wood brackets
- Bike hooks
Begin by thoroughly inspecting and cleaning the pallets, removing any loose nails or splinters. Sand all surfaces to prevent bike damage and potential injuries.
For a wall-mounted rack, cut one pallet in half lengthwise, creating two long sections. Secure the first section to wall studs using heavy-duty brackets and anchors, ensuring it’s level and at an appropriate height for easy bike access. Add the second section above or below, depending on your spacing needs. Install bike hooks at strategic points, typically 16-24 inches apart, to accommodate your bikes’ frames.
When mounting multiple bikes, stagger the hooks at alternating heights to prevent handlebars from interfering with each other. For added stability, reinforce the mounting points with additional brackets if needed.
Consider adding a small shelf section at the top of the pallet for storing helmets, locks, or other cycling accessories. To maximize the effectiveness of your DIY pallet bike rack, consider treating the wood with weather-resistant stain or paint, especially if the rack will be exposed to moisture or outdoor conditions.
Install rubber or foam padding on the hooks to protect bike frames, and add small blocks between the pallet and wall to create space for pedal clearance. Label each hook position for specific bikes to ensure optimal spacing and prevent confusion when multiple family members use the storage system.
Under-Stair Bike Storage: Making Use of Dead Space
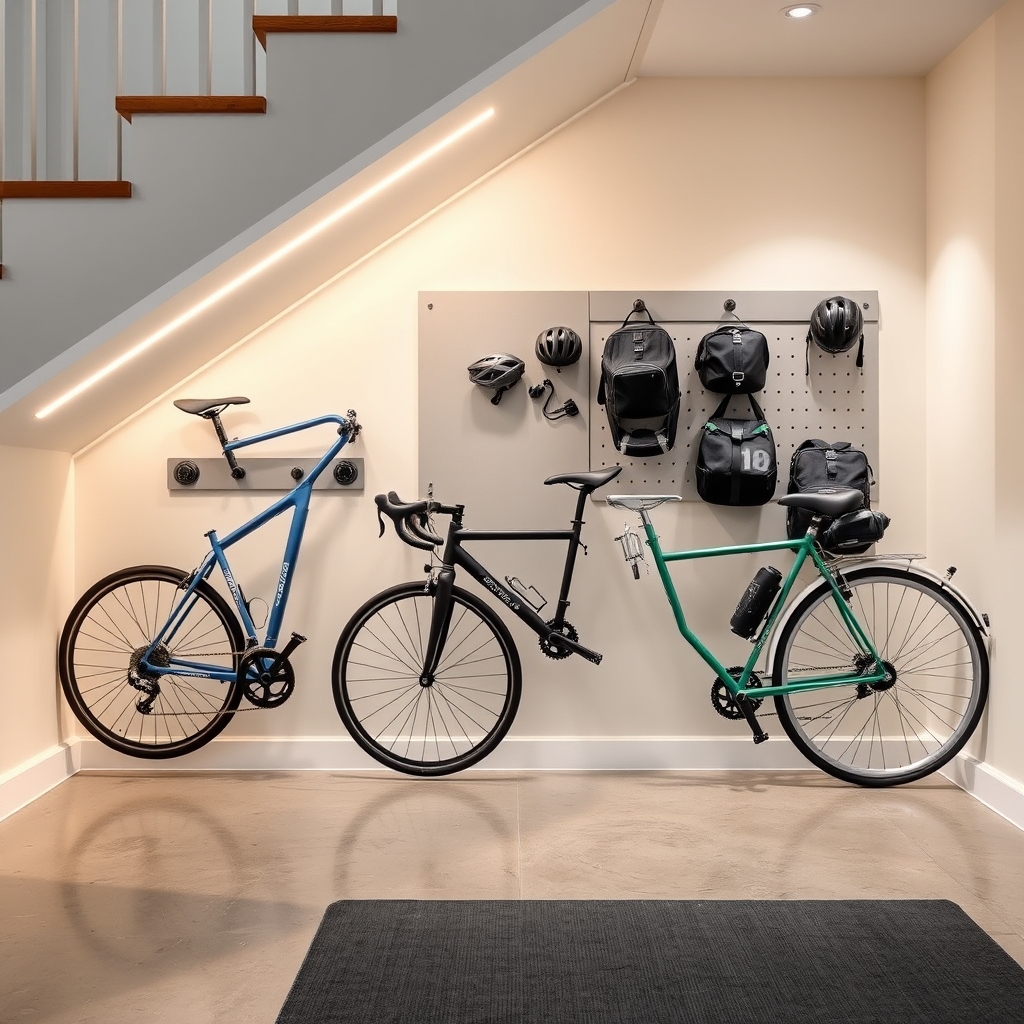
Bike Storage Solutions
Under-Stair Bike Storage: Making Use of Dead Space
Maximizing unused space under stairs has become increasingly important in modern homes where storage is at a premium. The area beneath staircases often represents valuable square footage that goes unutilized, yet it offers perfect dimensions for storing bicycles securely and efficiently.
Converting this dead space into a functional bike storage area not only protects valuable bicycles from weather and theft but also keeps them from cluttering hallways, garages, or living spaces. A well-organized under-stair bike storage system can accommodate multiple bicycles while maintaining easy access for daily use.
Required Items:
- Measuring tape
- Wall-mounted bike hooks or brackets
- Drill and drill bits
- Wall anchors
- Screwdriver
- Level
- Stud finder
- LED motion sensor light
- Anti-slip floor mat
- Basic tool kit
- Rubber wheel trays (optional)
- Storage hooks for accessories
Begin by thoroughly measuring the under-stair space, noting the height at different points and the total depth available. Install wall-mounted bike hooks at staggered heights to maximize space efficiency, ensuring each hook is securely anchored into wall studs.
Position bikes at alternating angles, with handlebars and pedals arranged to prevent interference between adjacent bicycles. For optimal organization, create designated zones within the space: one area for bikes, another for helmets and safety gear, and a third for maintenance tools and spare parts.
Install motion-sensor lighting to illuminate the space when accessing bikes, and place rubber mats or trays beneath tire contact points to protect flooring and prevent bikes from sliding.
Additional Tips: Consider installing a small pegboard on any available wall space for hanging lightweight tools and accessories. Use vertical space efficiently by mounting bikes at an angle, and label each storage spot for family members to maintain organization.
Weather stripping around the storage area can prevent dust accumulation, while a simple curtain or sliding door can conceal the space when desired.
Outdoor Bike Lockers: Weather-Protected Security
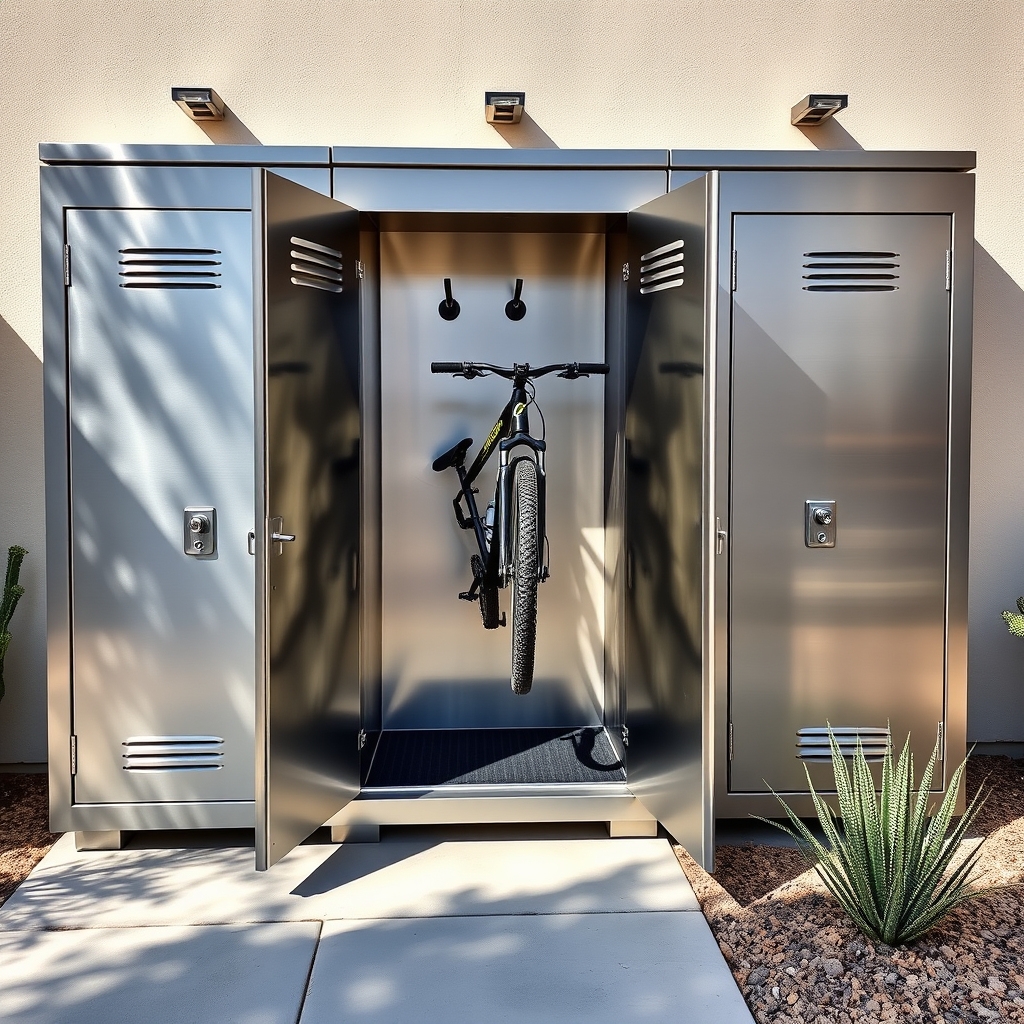
Outdoor bike lockers represent a crucial investment for cyclists who need secure, weather-protected storage for their bicycles. These dedicated storage units protect valuable bikes from theft, harsh weather conditions, and potential damage while providing convenient access for regular riders.
Proper organization of outdoor bike lockers maximizes available space, extends the lifespan of both the storage unit and the bicycles, and creates an efficient system for multiple users. A well-organized bike locker system ensures quick access, proper ventilation, and maintained security features while accommodating various bike sizes and styles.
Required Items:
- Bike locker units
- Weather stripping
- Security locks
- Ventilation materials
- Mounting hardware
- Level
- Drill and bits
- Measuring tape
- Marking tools
- Cleaning supplies
- Anti-moisture packets
- Rubber floor mats
Install bike lockers on a flat, sturdy surface, ensuring proper drainage to prevent water accumulation. Position units away from direct exposure to harsh elements while maintaining accessibility. Create designated zones for each locker, with clear numbering systems and adequate spacing between units for easy access.
Install weather stripping around doors and edges to prevent moisture infiltration. Incorporate a ventilation system to manage condensation and prevent rust formation inside the lockers. Install rubber floor mats to protect the bottom surface and provide a stable platform for bikes. Mount bike hooks or stands inside each unit at appropriate heights to maximize vertical space usage and prevent bikes from falling.
Establish a maintenance schedule for regular cleaning and inspection of seals, locks, and ventilation systems.
Additional Tips: Consider installing motion-sensor lighting near the locker area for enhanced security and visibility during dark hours. Implement a registration system for users to maintain accountability and prevent unauthorized access. Keep spare parts for common maintenance issues readily available, and establish clear guidelines for users regarding proper storage practices and cleaning responsibilities.
Regular maintenance checks will help identify potential problems before they become serious issues.

