Painting ceiling tiles is a great way to give your home a fresh look. It can completely change the look of the room. Here’s how to paint ceiling tiles in place:
Is It Ok to Paint Ceiling Tiles?
It is completely okay to paint ceiling tiles. You can paint them to freshen up the look of the room, cover up stains or make them match with the walls. It is a pretty cheap way to give the room a small makeover.

Most people remove all the tiles one by one, lay them down, paint them and reattach them to the ceiling. This can be a long process and will take a lot of time and effort. Painting ceiling tiles in place is an easier and quicker alternative.
If you want to paint ceiling tiles in place, chances are you have a drop ceiling. It takes a lot of work to remove all the tiles from a drop ceiling to paint them, so painting them in place naturally saves you a lot of trouble.
However, you can’t just paint the ceiling like you would a wall, you need to take special care to ensure that you paint it the right way. Otherwise, you will end up with cracks in the paint and uneven texture.
How to Paint Ceiling Tiles in Place
Painting ceiling tiles in place is easy if you know the right way to do it. You cannot paint over a drop ceiling like any ceiling. This is because the paint will make the tiles stick to the frame.
If they shift a little (which is bound to happen), it will result in cracks and the paint will start peeling off. The best way to paint ceiling tiles in a drop ceiling is to use furring strips.
Here is a step-by-step guide to painting ceiling tiles in place:
Step 1: Prepping the Ceiling
Before you do anything, you need to prep the ceiling. Prepping is the most important factor in ensuring that the paint job goes smoothly and you don’t run into any problems.
How you clean your ceiling tiles depends on the kind of tiles they are, how long you’ve had them and what kind of ambiance they are in.
If there is not much dirt, you can just dust them lightly with a cloth. Running them over a vacuum is a good way to ensure that you get all the dirt and grit stuck to the ceiling.
In case you’ve had the tiles for a long time, it is best to be as thorough as possible with your cleaning. Remember to cover the ground with a tarp to avoid staining the floor with paint.
If your ceiling has sustained water damage or has been exposed to smoke, there will likely be stubborn stains that do not come off no matter how much elbow grease you put into it. This is especially true for drop ceilings.
Try cleaning them with a mixture of bleach and water. If the stains still remain, do not worry. As long as there isn’t anything that will show through the new layer of paint, you’ll be fine. The stains should get covered up with the primer.
Step 2: Prop Up Tiles Using Furring Strips
If you do not have a drop ceiling, you can skip this step. You could also skip this step and paint your drop ceiling with a roller, but as we mentioned before, using furring strips is the best way to ensure a quality finish.
Start by propping up 2-3 tiles using furring strips. This way, the tiles you prop up will not touch the frame at all.
Take a paintbrush and paint the part of the frame that is exposed by propping the tiles up. Don’t forget to paint the edges of the tiles too.
This process can take some time, as you need to wait for the paint to dry before you let the tiles drop down again. It is best to let the paint dry to ensure a smooth finish throughout the ceiling frame.
Do this for all the tiles in the ceiling you want to paint.
Step 3: Paint the Tiles
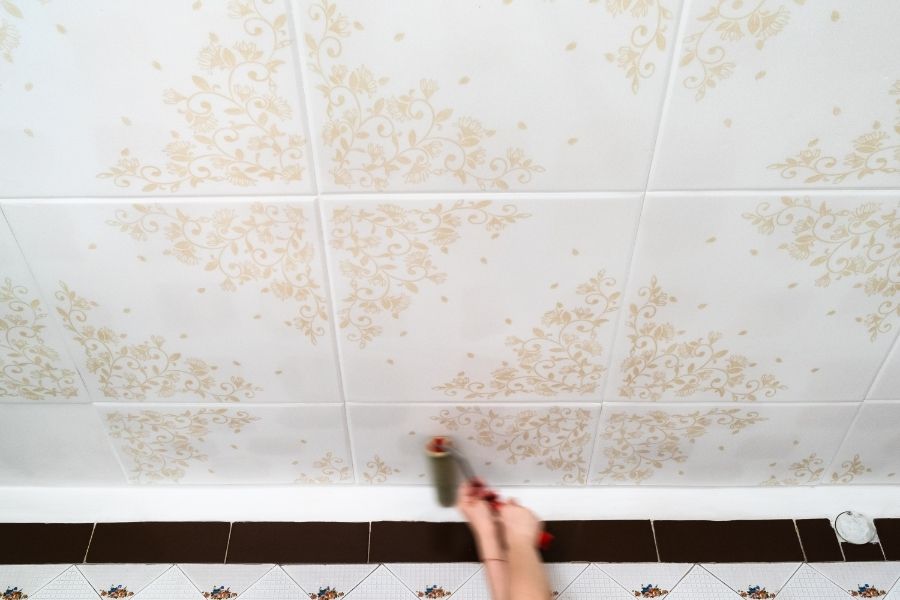
Once you have gone over the frame using furring strips, it is time to paint the middle of the tiles. You can use a roller for this part.
Paint the middle part of the tiles carefully. You can’t put too much pressure as you will just lift the tile up and mess up the paint. Apply very little pressure with a steady hand. This part can be a little slow and difficult.
Don’t use too much paint as you need to match the look and feel of the frame and edges you painted using the furring strips.
If you are not painting a drop ceiling using furring strips, you need to start by applying a coat of primer to the ceiling. Make sure to create a nice smooth layer to ensure a good finish.
Any remaining spots or stains should get covered up when you apply primer. The primer might feel dry to the touch within an hour but wait at least 2-4 hours before you start applying paint.
Start painting using long strokes. Make sure you don’t use too much paint. It will take forever to dry and it might drip down the sides or make a huge mess on the tarp. You need a smooth, thin layer of paint for the best possible finish.
Give the tiles a second coat once the first coat is dry.
Picking the Equipment
Having the right equipment is fundamental to a good paint job. Start by making sure you have the right attire for the job.
Wear old clothes you don’t mind getting dirty. It is also a good idea to throw on a cap while painting a ceiling.
For drop ceilings, you need a roller for the middle part of the tiles and a brush to paint the frame and edges of the tiles.
You can use natural brushes with bristles of animal hair if you are using oil-based paint. Nylon or polyester brushes are best for latex paint.
If you are painting regular ceiling tiles, you need 2 brushes—a chisel trim brush for ‘cutting’ or painting around the edges and a square trim brush for filling in the flat surfaces.
You can also get a brush kit for painting the ceiling. It will have many different kinds of brushes and you can choose whichever one you are most comfortable with.
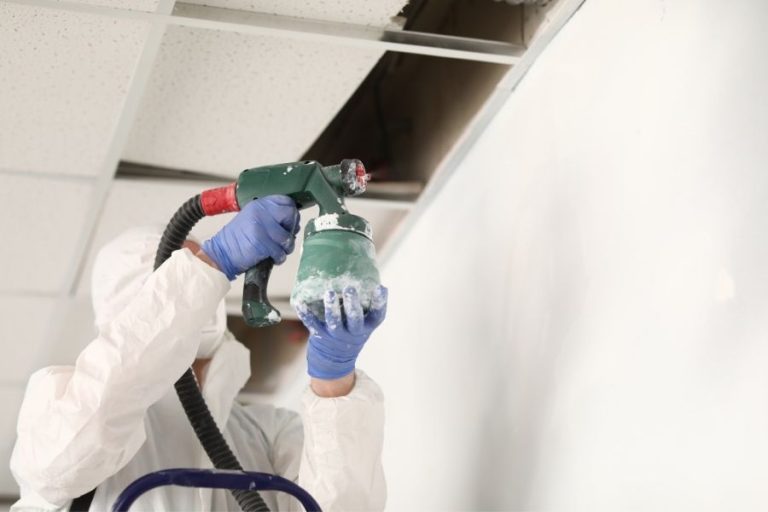
Sprayers are also quite effective for painting ceilings. If you are using a sprayer, follow these steps:
- Stir your paint well and strain it to get rid of any lumps or debris. This is an important step, as the sprayer will get clogged if there are any solid particles in the paint.
- Test the sprayer on a sheet of cardboard before using it on the ceiling. You can also do a few practice strokes to get a feel of how to spray the ceiling evenly.
- Start spraying the ceiling tiles slowly. Make nice long strokes until you reach the corners. At the corners, switch to a vertical position in small, quick spurts.
- Inspect the ceiling for any missed spots. You can cover these with a roller or brush.
- Make sure you clean out your sprayer as soon as the job is done.
What Type of Paint Is Best for Ceiling Tiles?
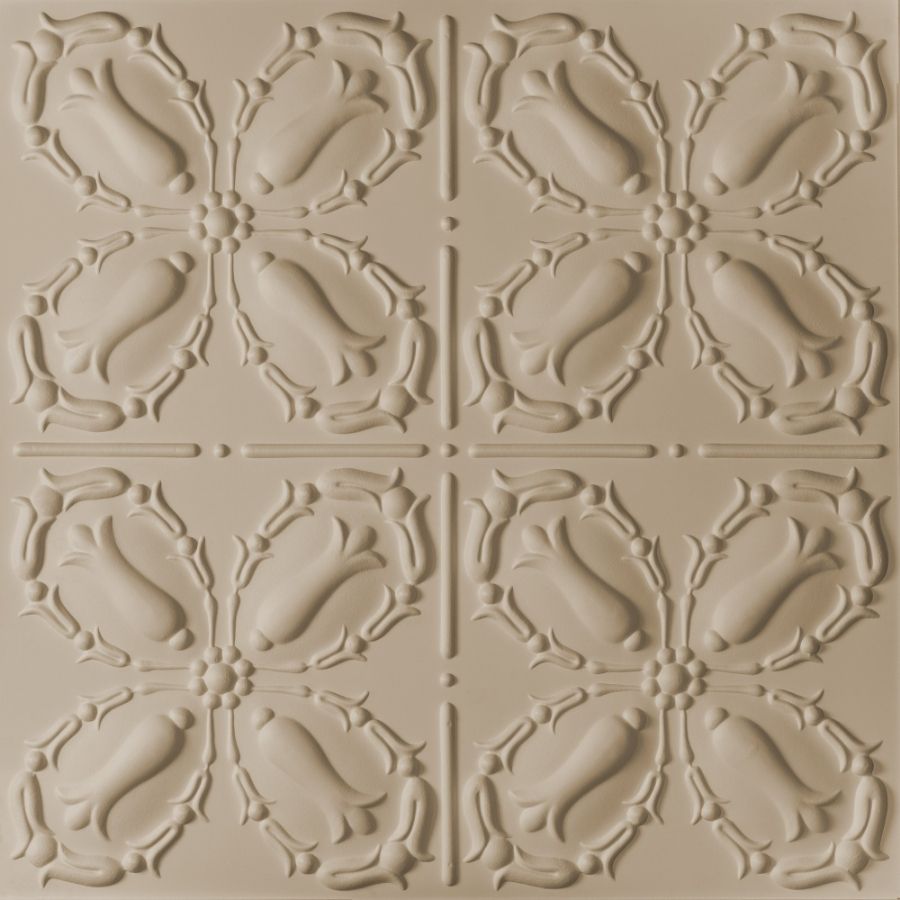
The type of paint you should use depends on the kind of ceiling tiles you have. Here’s the best kind of paint according to ceiling tile type:
Tin or Faux Tin Tiles
You need a coat of primer for this kind of tile. Since there is a lot of detail on these tiles, thin paints like spray paint work best. Sheer-style finish paints will fare much better than matte finish ones.
Drop Ceilings
Water-based or latex paints are best for drop ceilings. Normal paint will make the ceiling less sound absorbent. Avoid thin paint as you will end up using a lot of it and it might need multiple coats.
Plastic Tiles
Plastic tiles need to be prepped by sanding them down before you paint them. You will need an oil-based primer for plastic tiles.
This is quite cumbersome as it takes about 8 hours to dry and the fumes can be toxic if inhaled directly for too long.
Wooden Ceiling Tiles
Wooden tiles need the same kind of treatment as plastic tiles. You need to sand the tiles down to roughen them a little, otherwise, the paint won’t stick.
Using an oil-based primer is very important for wooden tiles.
Wrapping Up
Painting ceiling tiles is an easy, cheap way to make the room brighter. The best part is that you can do it yourself! Follow our guide to painting your ceiling tiles in place.


